What makes seated bicep curls such an effective part of arm workouts? The answer lies in the controlled isolation it offers to the bicep muscles.
As a seated bicep curls expert, I often recommend this exercise to those looking to build strength and enhance muscle definition efficiently.
Seated bicep curls offer a controlled movement that isolates the bicep, maximizing your efforts with every rep. This exercise builds strength and enhances endurance, making it a vital part of any routine.
In this guide, we will explore the benefits of seated bicep curls, the equipment required, and provide a step-by-step walkthrough to help you get the most out of this exercise.
So let’s get started!
Tables of contents
1. What Are Seated Bicep Curls?
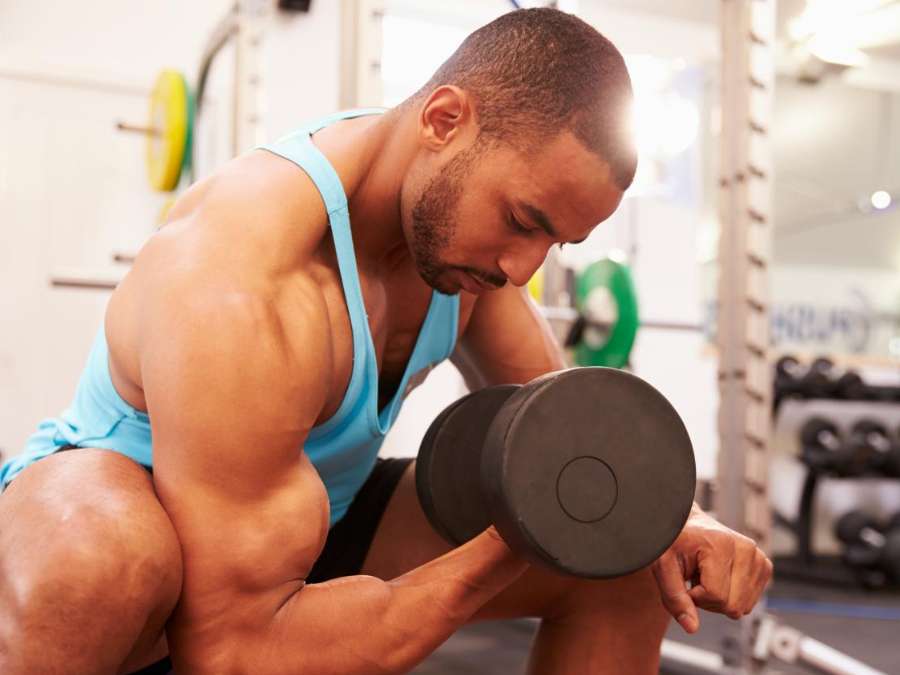
Seated bicep curls are a strength-training exercise that focuses on the biceps, the muscles on the front of the upper arms. Performing this exercise while seated helps stabilize the body, minimizing the involvement of other muscles and allowing for better isolation of the biceps. With controlled, slow movements, seated bicep curls are highly effective for building strength and muscle definition.
As strength-training exercises like seated bicep curls grow in popularity, the global fitness equipment market is expected to reach USD 17.39 billion by 2030, according to Grand View Research. This growth is driven by the increasing demand for strength-training tools, with both home and commercial gyms investing in equipment to support targeted muscle-building workouts.
2. Benefits of Seated Bicep Curls
Seated bicep curls are a fantastic addition to any strength training routine, offering specific advantages over other exercises. By focusing on controlled movement, they can help improve muscle strength and form. Below are some key benefits of adding seated bicep curls to your workout.
Better Muscle Isolation
When performing seated bicep curls, your body is stabilized, which reduces the involvement of other muscles. This allows you to focus directly on the biceps, making each repetition more effective. And the best part? By limiting unnecessary movement, you can target the biceps with more precision. Over time, this helps enhance the muscle-building process for better results.
Reduced Strain on the Lower Back
Standing curls can sometimes put strain on your lower back, especially if you’re using heavier weights. Seated bicep curls eliminate this concern by taking the pressure off your back, allowing you to focus on the exercise without discomfort. This makes seated curls a safer option for those who may have back issues. By reducing strain, you can concentrate more on form and building strength.
Improved Control and Form
One of the main advantages of seated bicep curls is the increased control over each movement. When seated, you’re less likely to swing or use momentum, which can happen with standing exercises. This encourages proper technique and prevents common mistakes. As you build control, you’ll notice better muscle activation and a more consistent workout routine.
3. Equipment Needed for Seated Bicep Curls
Before diving into seated bicep curls, it’s important to have the right equipment to make the most of your workout. With just a few simple tools, you can effectively target your biceps and build strength. Below are the key items you’ll need for seated bicep curls:
Dumbbells
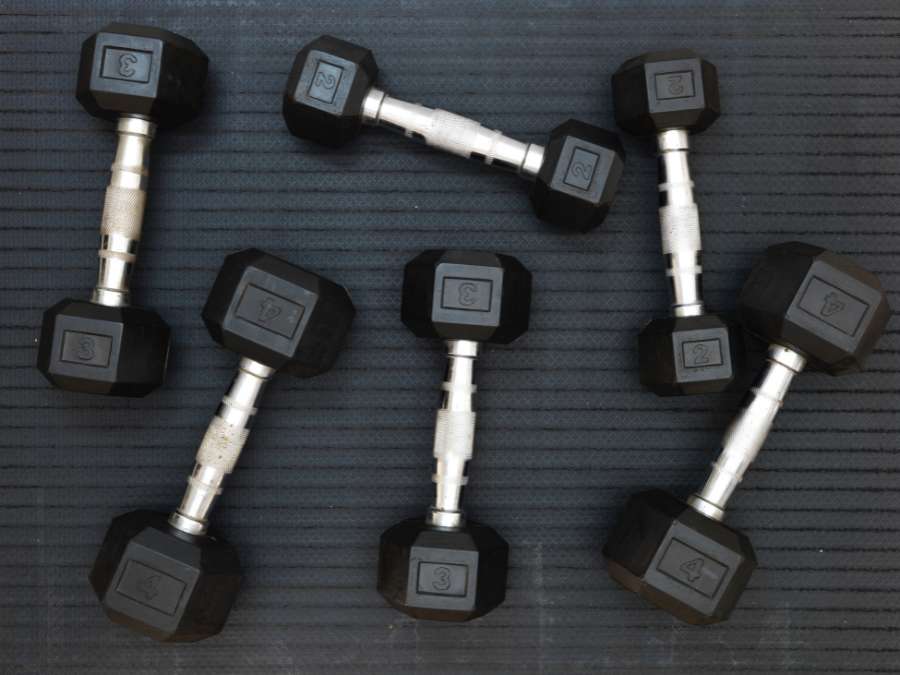
Dumbbells are the main tool for seated bicep curls. Start with lighter weights and increase as strength builds. They should fit comfortably in the hands, allowing smooth, controlled movements. Adjustable dumbbells, like those offered by YR Fitness, are a convenient option for varying workout intensity.
A Sturdy Bench
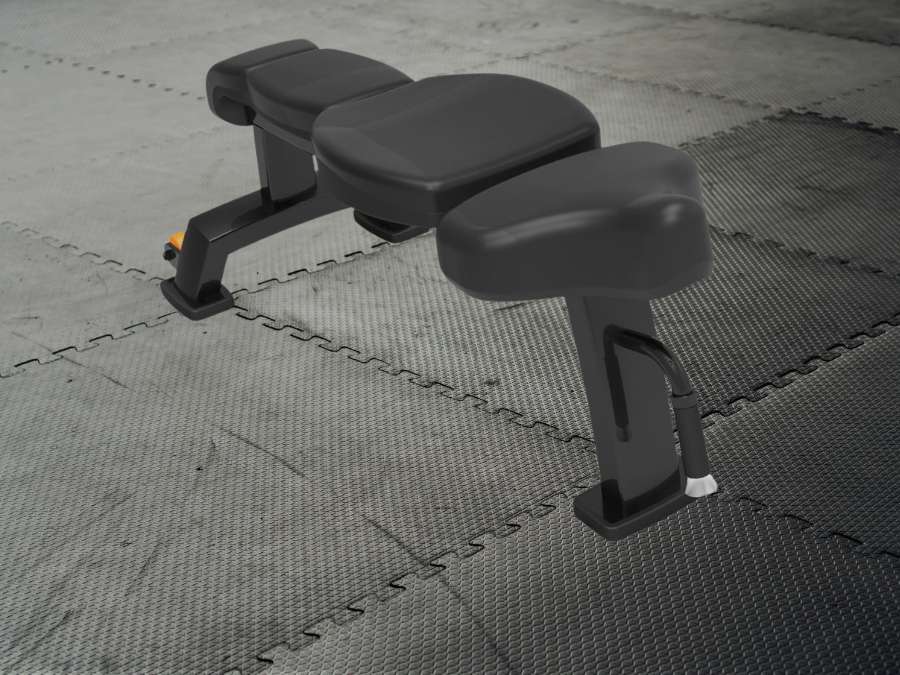
A solid, stable bench is essential for performing seated bicep curls properly. It supports your back and keeps you in the right position during the exercise. The bench should be at a height where your feet are flat on the floor, giving you a firm base for each curl. You don’t need anything fancy—a simple flat bench will work just fine.
Wrist Wraps
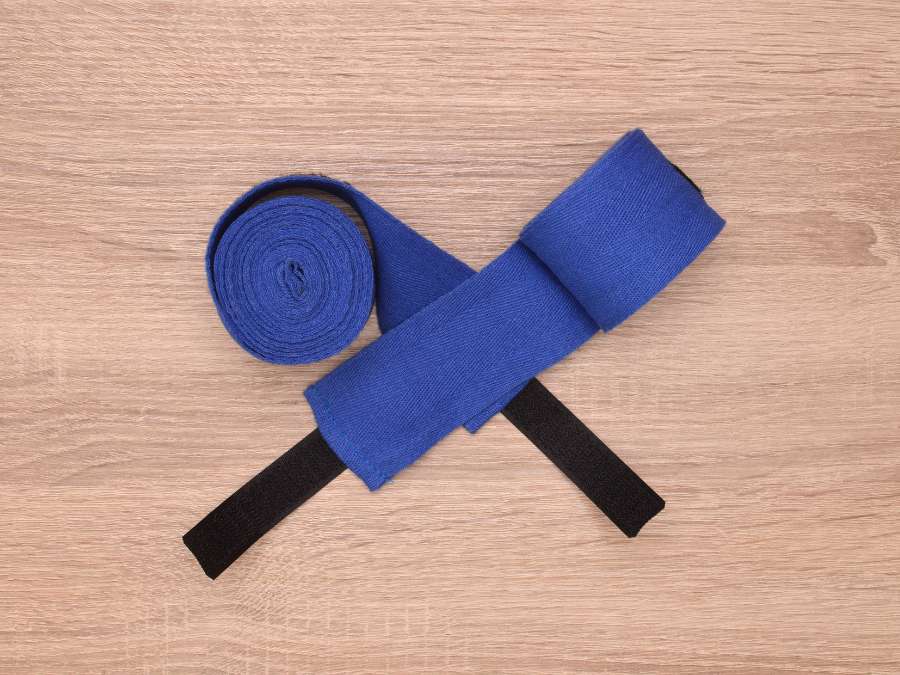
Wrist wraps offer extra support when lifting heavier weights. They help stabilize your wrists, reducing strain and making your workout more comfortable. By the way, though not required, they’re useful for added comfort and support when lifting heavier loads.
4. Step-by-Step Guide to Performing Seated Bicep Curls
Seated bicep curls are simple but effective when done correctly. By following a few key steps, the exercise can be maximized, promoting proper form and efficiency. Here are the basic steps to perform seated bicep curls properly:
Step#1 Set Up the Position
Begin by sitting on a sturdy bench with feet flat on the floor. Hold a dumbbell in each hand with arms hanging down by the sides. Keep the back straight and core engaged. Elbows should remain close to the body throughout the exercise to maintain proper form.
Step#2 Curl the Weights Up
Lift the dumbbells by bending the elbows, bringing the weights toward the shoulders. Keep the upper arms stationary while the forearms move, isolating the biceps. Avoid involving the shoulders so the biceps remain the primary muscles engaged. At YR Fitness, this technique is emphasized to help users get the most out of their seated bicep curls. Hold the position briefly at the top before lowering the weights with control.
Step#3 Lower the Weight Slowly
After the brief pause, gradually lower the dumbbells back to the starting position, fully straightening the arms. Controlled movements during the lowering phase are key to fully engaging the muscles. The posture should remain steady, and the arms should return to full extension.
Step#4 Repeat for Multiple Reps and Sets
Perform 8 to 12 repetitions, adjusting based on strength levels and training goals. Rest for 30-60 seconds between sets, aiming for a total of 3-4 sets. The point is, over time, consider increasing the weight or the number of repetitions to continue building strength.
5. Variations of Seated Bicep Curls
Seated bicep curls can be adjusted with different variations to target specific muscles and keep arm workouts engaging. These variations provide distinct benefits, offering new challenges and promoting overall strength. Below are 3 key variations to incorporate:
Alternating Seated Bicep Curl
In this version, one arm curls while the other remains stationary, alternating between reps. It allows for focused muscle activation and improved balance between the arms. This technique increases stability demands, engaging more muscle control compared to simultaneous

Seated Hammer Curl
This variation uses a neutral grip with palms facing each other, targeting the brachialis and forearm muscles in addition to the biceps. The hammer curl provides a more comprehensive arm workout and is easier on the wrists, making it ideal for those seeking additional arm strength.

Seated Concentration Curl
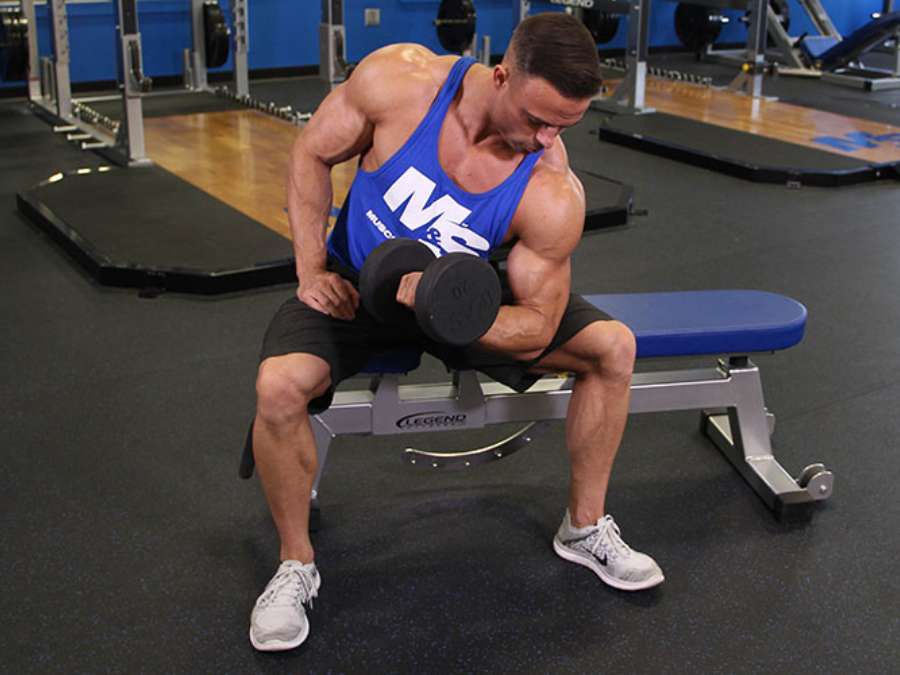
Performed with one arm at a time, this variation isolates the bicep further by resting the elbow on the inner thigh. Here’s the deal: the seated concentration curl focuses on maximizing contraction for enhanced muscle growth and definition. This method is often used to improve the peak of the biceps.
6. Seated vs. Standing Bicep Curls
After reviewing the variations of seated bicep curls and comparing them to other exercises, here’s the thing: it’s important to take a closer look at how seated bicep curls differ from standing bicep curls. Each method offers distinct benefits and focuses on different muscle groups. Here are the key differences to consider:
Aspect | Seated Bicep Curls | Standing Bicep Curls |
Stability | Seated curls provide more stability by reducing body movement. | Standing curls involve more core engagement to maintain balance. |
Focus on Muscle | Isolates the biceps more effectively since the body is stabilized. | Less isolation; requires more muscle groups for stabilization. |
Strength Building | Allows better control over the weight, helping with muscle focus. | Engages other muscles, including core and legs, for overall strength. |
Risk of Swinging | Lower risk of using momentum, ensuring better form. | Higher chance of swinging weights, which can reduce bicep focus. |
Core Activation | Minimal core engagement. | Requires more core strength to maintain posture. |
Suitability for Beginners | Ideal for beginners due to its stability and isolation. | Can be more challenging for beginners due to the need for balance. |
Versatility | Less versatile; focused primarily on bicep isolation. | More versatile, engaging multiple muscles at once. |
7. Common Mistakes to Avoid
Seated bicep curls are effective, but several common mistakes can reduce their impact or even cause injury. Recognizing and correcting these errors helps maximize the exercise’s benefits. Below are key mistakes and how to avoid them:
- Swinging the Weights: Many lifters use momentum to lift the weights, especially as they fatigue, which shifts the focus away from the biceps. Keep movements controlled and slow, focusing on using the biceps for the lift to maintain proper muscle engagement and prevent injury.
- Lifting Too Heavy: Using weights that are too heavy often leads to compromised form, including excessive back involvement. Choose a weight that allows for controlled, smooth reps. Gradually increase the weight as strength builds while maintaining good technique.
- Incomplete Range of Motion: Some lifters fail to fully extend their arms, which limits muscle engagement. Fully extend the arms at the bottom of the movement before curling the weight back up. This allows for better bicep activation and improved results.
- Ignoring the Eccentric Phase: Rushing through the lowering phase reduces muscle activation. Think about it—slowing down the descent contributes more to muscle growth than the lifting phase. Controlled lowering leads to better strength gains and reduced risk of injury.
8. 3 Tips for Maximum Effectiveness
To get the most out of seated bicep curls, focusing on technique and proper engagement is key. Small adjustments can make a significant difference in muscle activation and workout efficiency. Below are 3 practical tips to enhance your seated bicep curls.
#1 Maintain Constant Tension
Keep the shoulders and elbows stationary to maintain tension on the biceps throughout the movement. For example, if the elbows start moving forward, other muscles may take over, reducing the focus on the biceps. Keeping the movement controlled and avoiding momentum leads to better muscle engagement and growth.
#2 Focus on Proper Elbow Position
Avoid letting the elbows flare out or move during the exercise. Meanwhile, pinning the elbows to the sides keeps the biceps as the primary focus and prevents shifting tension onto the shoulders or wrists. Maintaining proper elbow positioning helps fully isolate the biceps.
#3 Controlled Reps with Full Range of Motion
Don’t rush through the reps. Perform each repetition slowly, especially during the lowering phase, as this eccentric motion promotes greater muscle growth. For example, lowering the weight over 3-4 seconds increases muscle tension. Also, extend the arms fully at the bottom of each rep to activate the biceps fully.
Conclusion
Seated bicep curls are a key exercise for building stronger, more defined arms. This guide covered the best techniques, proper form, and how to incorporate them into your routine for maximum results. Whether you’re focusing on strength or muscle growth, seated bicep curls can help you achieve your goals.
We hope this guide provided you with valuable insights on mastering the seated bicep curl. If you’re looking for a reliable manufacturer of fitness equipment like seated bicep curl machines, consider YR Fitness. Feel free to contact us through our website here to learn more.
Related articles:


