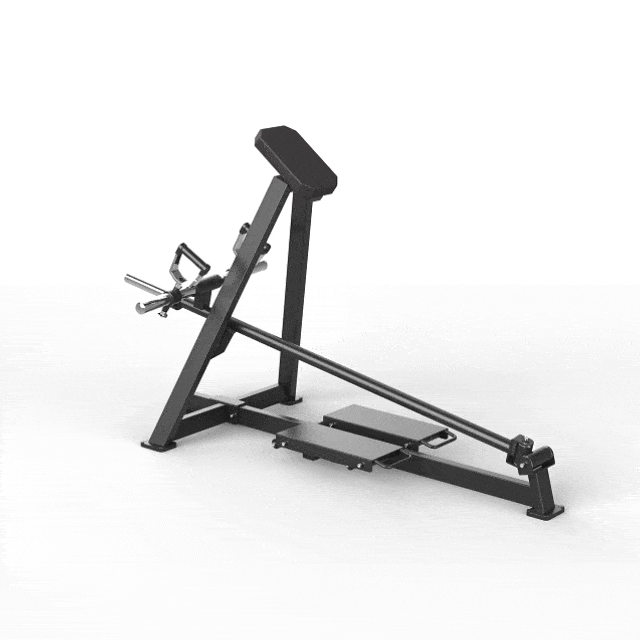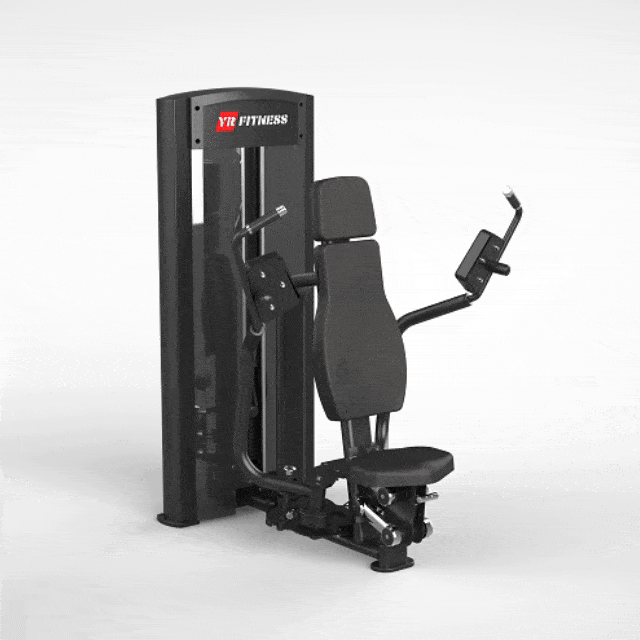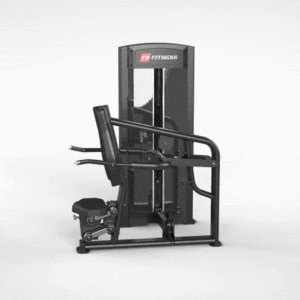
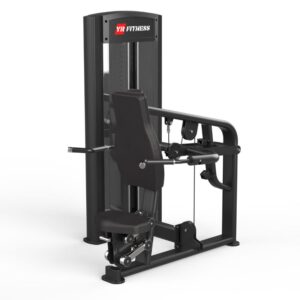
Description
The YR Fitness 61A11 Triceps Dip is designed to effectively strengthen the triceps muscles with enhanced comfort and flexibility. Its rotating EZ-style pressing handles support multiple grip positions, enabling varied triceps activation and a more personalized workout experience.
Designed for Comfort and Precision
- Rotating EZ Handles: Allow for varied hand positions and targeted muscle engagement
- Ergonomic Pressing Path: Promotes smooth, natural triceps extension
- Supportive Seat Positioning: Ensures stability and comfort throughout the movement
- Ideal for All Users: Adjustable features accommodate a wide range of training needs
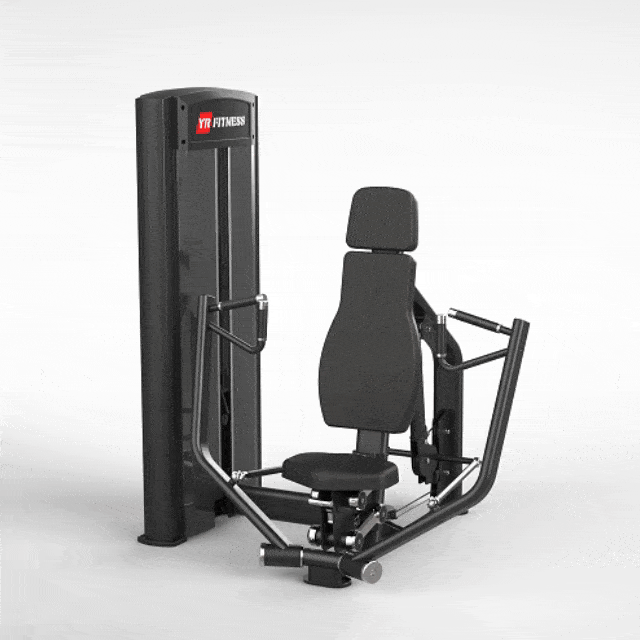
Heavy-Duty Frame and Components
- Main Frame: 75×118×3.0 mm semi-elliptical pipe
- Functional Area Frame: 50×120×3.0 mm flat oval pipe
- Movement Arm: 40×80×3.0 mm pipe
- Joint Pipe: 50×100×3.0 mm flat oval pipe
- Material: Constructed with Q235 qualified steel
Comfortable and Clean Finish
- Seat Construction: Aluminum alloy parallelogram structure with torsion spring adjustment
- Upholstery: High-density foam and furniture-grade PU leather
- Guard Cover: Integral ABS enhances safety and durability
- Cable Routing: Internal cable design keeps the machine tidy and professional
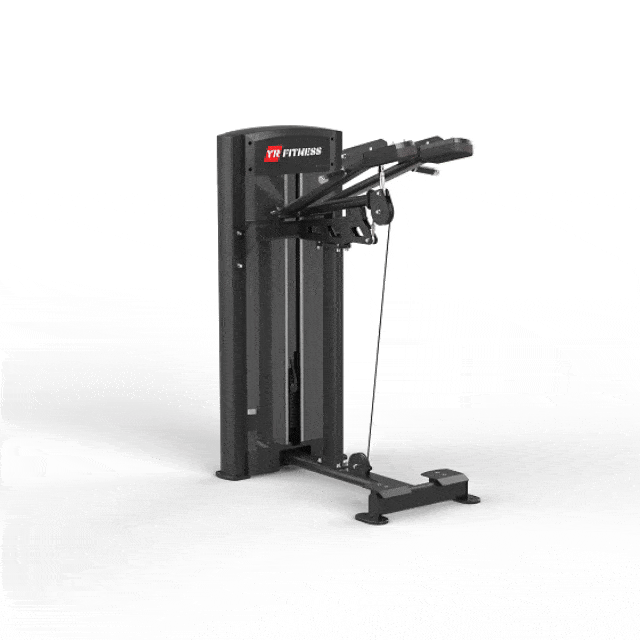
Smooth Performance and Durability
- Pulley System: CNC-machined POM components
- Bearings: High-quality, built to withstand long-term use
- Cable: Japan-made 6×19+1×75 coated wire, supports up to 1400 kg
- Shroud: 4 mm ABS virgin plastic, eco-friendly and impact-resistant
Specs:
- N.W: 211kgs
- G.W: 222kgs
- Installation Size: 1020*1260*1620mm
- Weight Stacks: 80kg-16pcs