


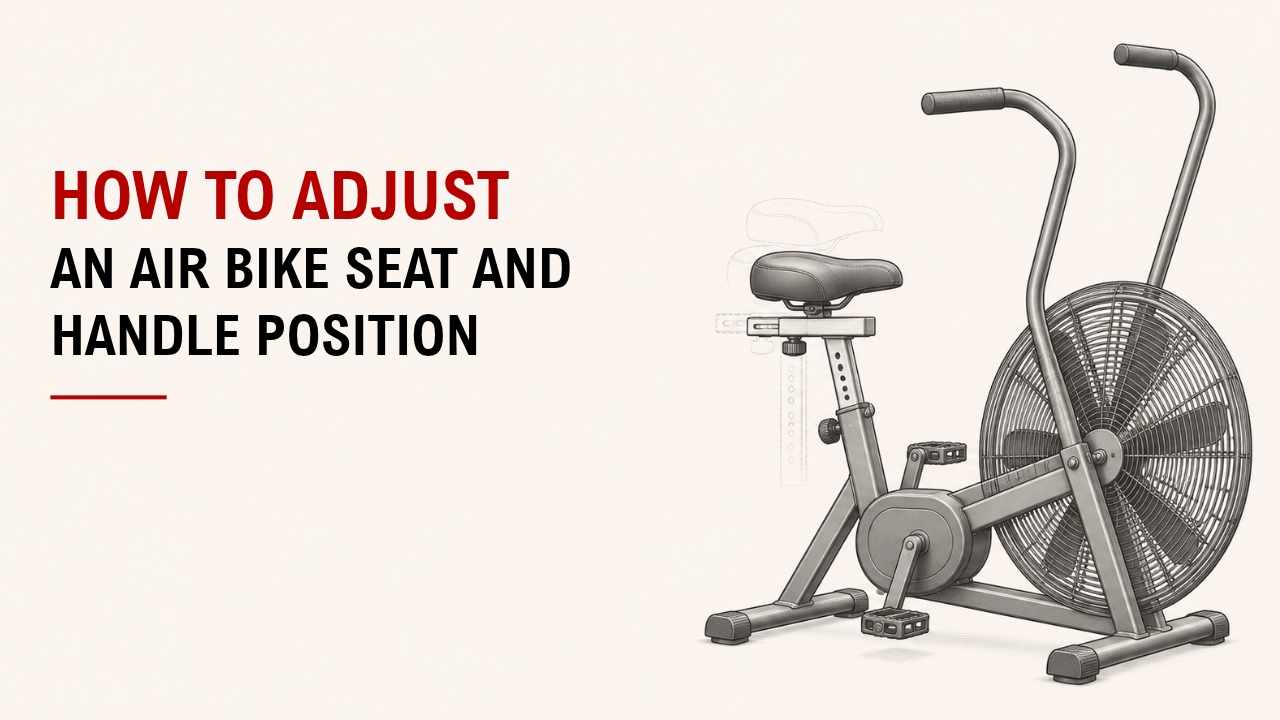

Does your air bike feel uncomfortable when you pedal or reach for the handles? Your seat position could be the reason.
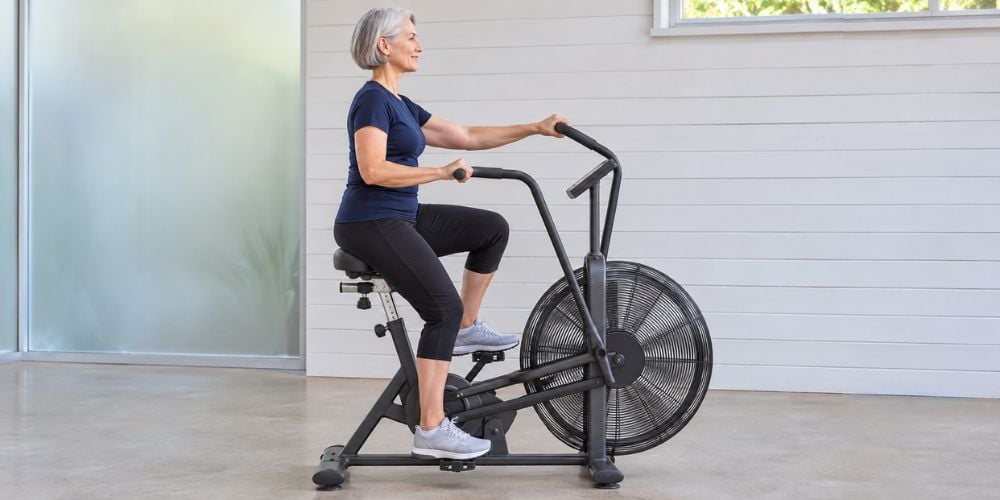
To adjust an air bike, set the seat height, move the seat forward or backward, and check your handle reach. Your knees should stay slightly bent, and your shoulders should feel relaxed.
As an ergonomics engineer at YR Fitness, I understand how equipment positioning affects comfort and movement. I’ve seen how small adjustments can make exercise feel much more natural.
In this guide, you’ll learn four simple steps to adjust your air bike correctly. Follow along to find a comfortable position before your next workout.
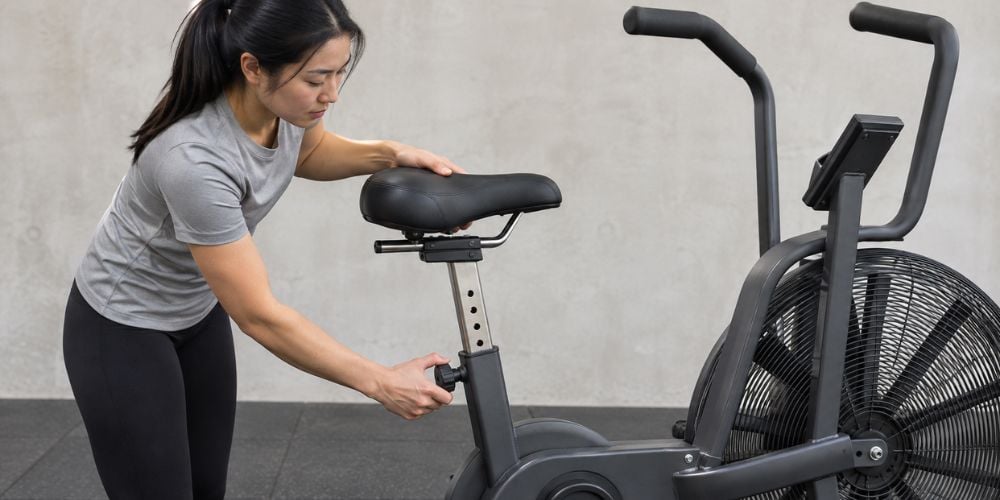
1. How to Adjust the Air Bike Seat Height
Your seat height affects how comfortably your legs move. If it’s too high or too low, pedaling can feel awkward.
Follow these steps:
- Stand beside your air bike and set the seat around hip height.
- Sit on the seat and place your feet on the pedals.
- Move one pedal to its lowest position.
- Check that your knee has a slight bend.
- Get off the bike and raise or lower the seat if needed.
- Tighten the adjustment knob or locking pin.
I suggest making small adjustments rather than moving the seat too much at once.
Why does seat height matter?
According to research on bicycle positioning, a knee bend of around 25–35 degrees at the bottom of the pedal stroke is commonly recommended for bicycle fitting. For everyday air bike workouts, you don’t need to measure the exact angle, but your knee should remain comfortably bent.
Use this table to check your position:
Seat Position | What You’ll Notice | What to Do |
Too high | Hips rock from side to side | Lower the seat slightly |
Too low | Knees bend too much | Raise the seat |
Correct height | Legs move smoothly with a slight knee bend | Keep the position |
Quick tip: Your feet should stay comfortably on the pedals without stretching your legs to reach the bottom.
If you’re new to the machine, our guide on how to use an air bike also explains how to position your feet and start pedaling smoothly.
2. How to Adjust the Seat Forward or Backward
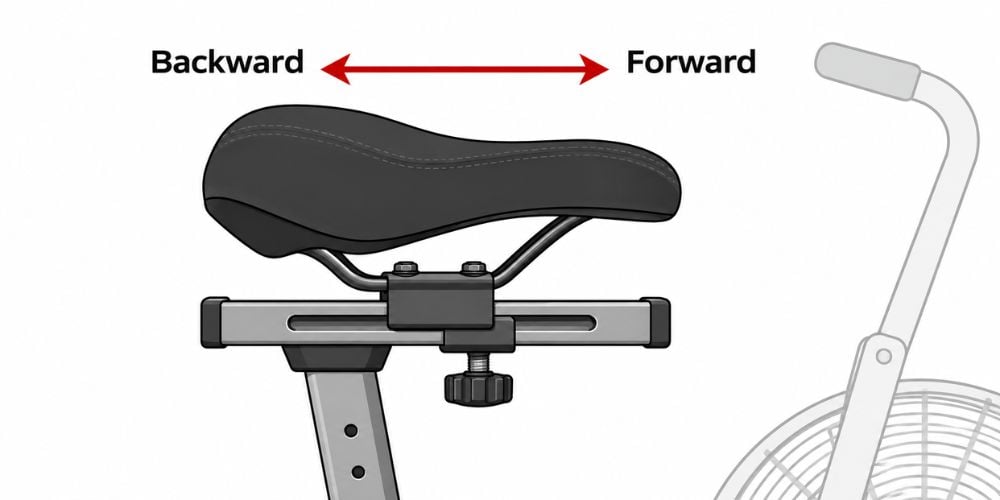
The seat’s forward and backward position affects how easily you reach the handles and pedals.
If you feel stretched out or cramped, this is the next adjustment to check.
Here’s how to adjust it:
- Sit on the bike with both feet on the pedals.
- Position the pedals horizontally, with one foot forward.
- Check your knee position and how comfortably you reach the handles.
- Get off the bike and loosen the horizontal seat adjustment knob.
- Slide the seat forward or backward.
- Tighten the knob and test your position again.
Which direction should you move?
- Move forward: If the handles feel too far away.
- Move backward: If your knees or upper body feel cramped.
I’ve found that even a small change in seat position can make pedaling feel more comfortable.
After moving the seat, check your knee position again. You should be able to pedal smoothly without feeling stretched or crowded.
Remember: Not every air bike has a forward-backward seat adjustment. Check whether your model supports this feature before trying to move the seat.
You can also review the air bike adjustment and riding checks to understand what to inspect when checking seat and handlebar functions.
3. How to Adjust the Air Bike Handle Position
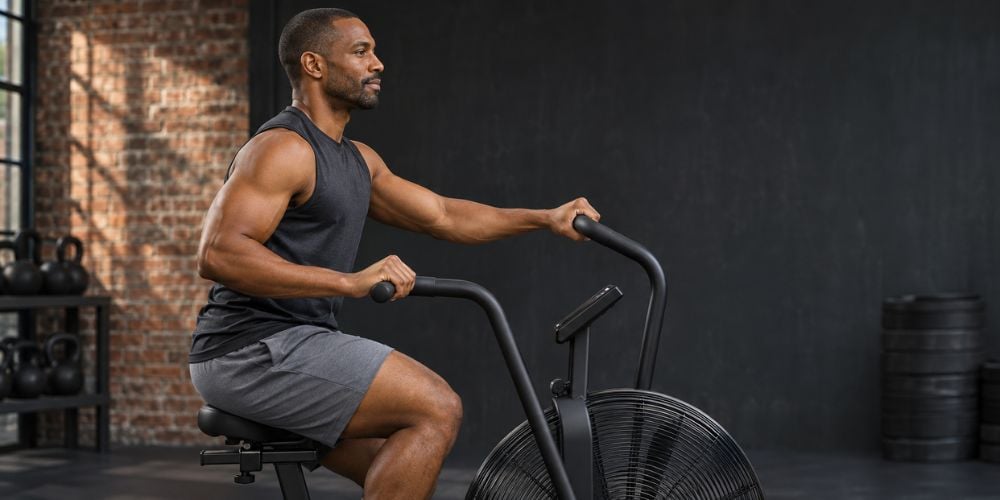
Your air bike handles should feel comfortable to push and pull. You shouldn’t have to stretch your arms too far or raise your shoulders.
Most air bikes have fixed moving handles, so you usually can’t adjust their height or distance separately.
Follow these steps:
- Sit upright with your back in a comfortable position.
- Hold the moving handles with a relaxed grip.
- Keep your shoulders down instead of raising them.
- Let your elbows bend naturally as the handles move.
- Avoid leaning too far forward or fully stretching your arms.
- Adjust your seat position if the handles feel too far away.
Quick tip: If your shoulders feel tense, relax your grip and check your seat position again.
Can you adjust the handles directly?
That depends on your air bike model.
Some models offer handle adjustments, while others have fixed moving arms. If your bike has adjustable handles, follow its instructions before changing their position.
On the other hand, if the handles are fixed, adjusting your seat is usually the easiest way to improve your reach.
At YR Fitness, we pay attention to how seat position, pedals, and handles work together to support comfortable exercise. If you’re comparing different machines, explore our commercial cardio equipment to find designs and adjustment features that suit your training needs.
4. How to Check Your Air Bike Setup
Once you’ve adjusted the seat, test your position before starting your workout.
You only need about a minute to check whether everything feels right.
Here’s a quick setup check:
- Sit on the bike and place your feet on the pedals.
- Pedal slowly for 30–60 seconds.
- Push and pull the handles at a comfortable pace.
- Keep your shoulders relaxed and your back stable.
- Check that your knees stay slightly bent at the bottom of each pedal stroke.
- Stop and readjust if anything feels uncomfortable.
I always recommend checking the seat lock before exercising. A loose seat can move during your workout.
How do you know your position is right?
You should feel comfortable throughout the movement, without having to reach, twist, or shift your hips excessively.
A study on cycling comfort and bike fit found that saddle height and upper-body position can affect how riders experience comfort, fatigue, and pain.
If you feel sharp pain or discomfort that doesn’t improve after adjusting the bike, stop exercising and check your setup.
A good air bike position should let you pedal and move the handles without forcing your body into an awkward posture.
Once everything feels comfortable, start slowly before increasing your speed. If you want more training ideas, explore these air bike and full-body cardio workout options.
Conclusion
Adjusting your air bike doesn’t have to be complicated. Start with the seat height, adjust its forward-backward position, and check whether you can reach the handles comfortably.
Before every workout, make sure your seat is secure and your shoulders feel relaxed. These small changes can make your riding experience smoother and more comfortable.
At YR Fitness, we believe proper equipment positioning is an important part of a good workout. Explore our fitness equipment and training resources to learn more about comfortable and effective exercise.
Related articles:



