


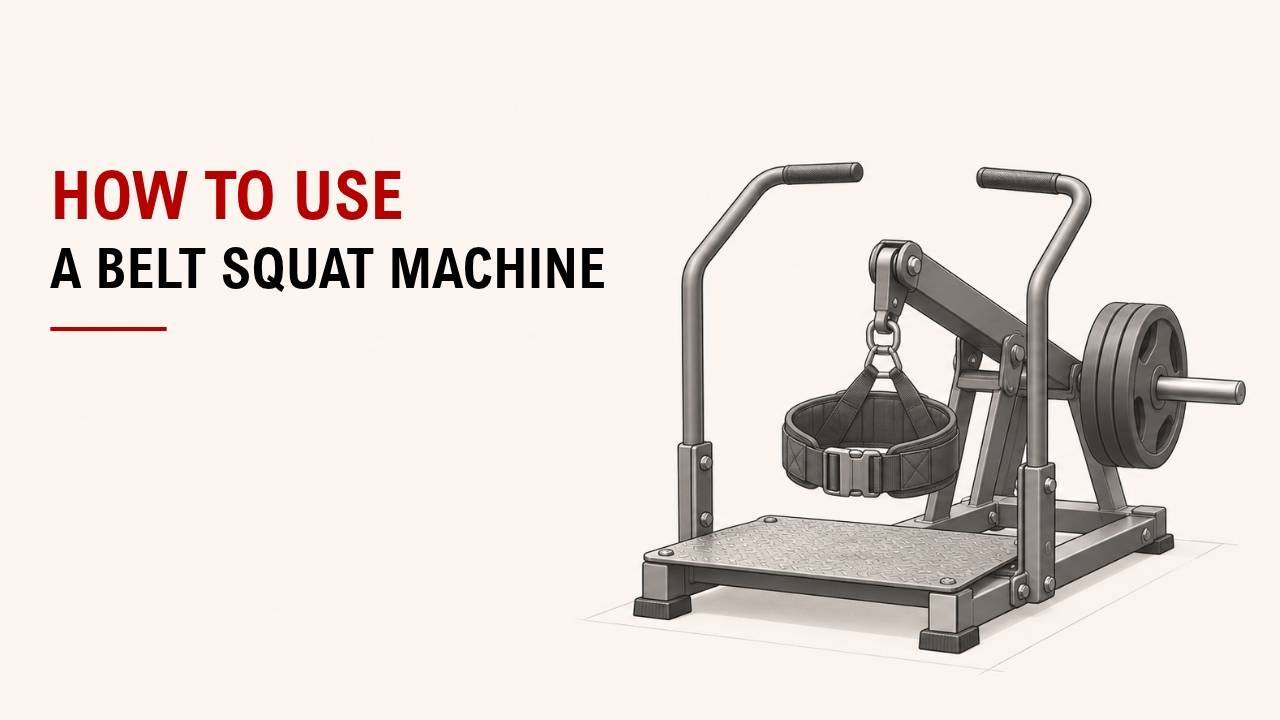

Have you ever used a belt squat machine and felt unsure about the belt or safety release? The setup is easier than it looks.
The basic steps are simple: secure the belt, plant your feet, release the safety, squat under control, and stand back up. Start light until the movement feels comfortable.
As the founder and chief designer of YR Fitness, I have spent decades working with strength machines and movement design. In my experience, good setup and smooth reps matter more than adding weight too quickly.
Below, I will show you how to use a belt squat machine in eight simple steps. Follow them in order, and you can take the movement straight into your next workout.
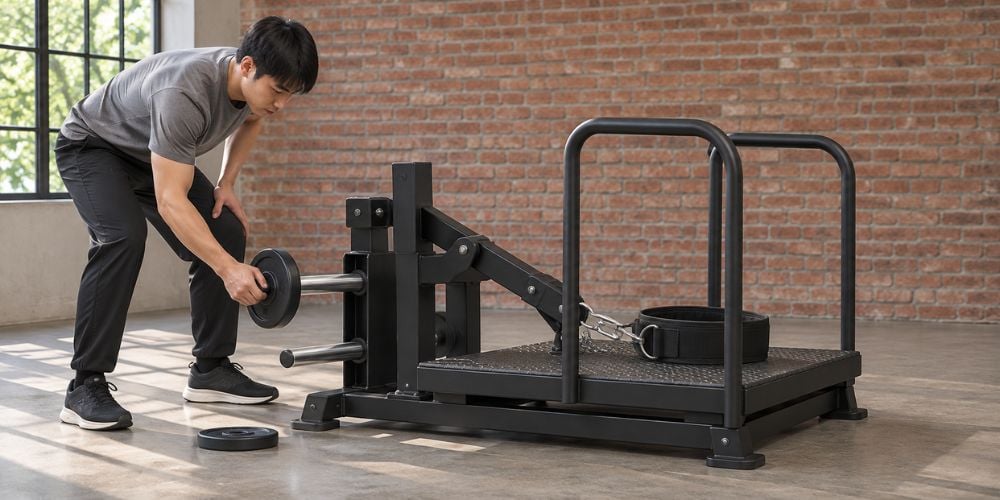
1. Choose a Light Starting Weight
Start with a weight you can move comfortably.
Even if you regularly squat with a barbell, a belt squat can feel different because the load hangs from your hips rather than resting on your shoulders.
Research comparing belt squats with back squats found that belt squats can reduce external loading on the lower back while still placing substantial demands on the lower body.
For your first few sets:
- Use a light load.
- Test your balance.
- Learn how the safety mechanism works.
- Make sure you can reach a comfortable squat depth.
Already feel stable? Add weight gradually rather than making one big jump.
2. Put on the Belt Correctly
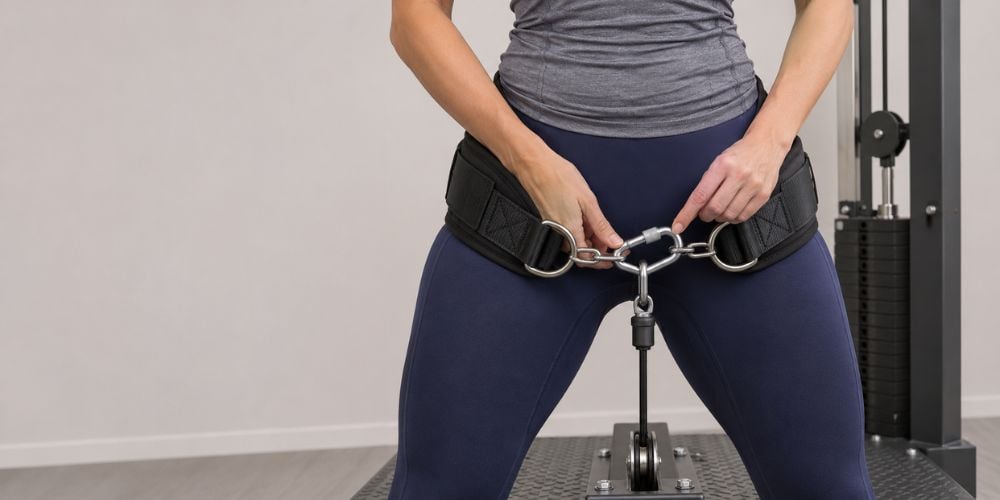
Wrap the belt securely around your hips.
Keep it low around your hip area, rather than high around your stomach. It should feel secure without digging painfully into your body.
Then:
- Connect the belt to the machine’s cable, chain, or loading hook.
- Check that the attachment is fully secure.
- Stand up slightly to create tension in the belt.
Do not start your set if the belt feels loose or uneven.
Different machines use different belt and loading systems, so take a few seconds to understand the setup before adding more weight.
3. Set Your Foot Position
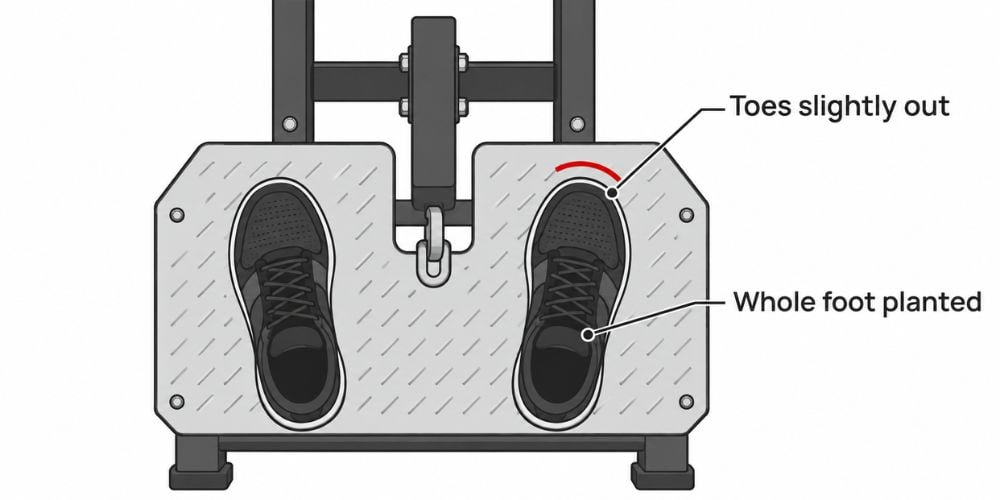
Place your feet about shoulder-width apart.
Keep your whole foot planted on the platform. Let your toes point slightly outward if that feels more natural.
A good starting position is:
- Feet around shoulder-width apart
- Toes slightly outward
- Heels flat
- Weight balanced across both feet
You do not need to copy someone else’s exact stance. The American Council on Exercise’s squat guidance also recommends finding a comfortable stance while keeping the knees moving in line with the toes and the heels down.
Not comfortable? Move your feet slightly wider or narrower and try again.
4. Stand Tall and Release Safety
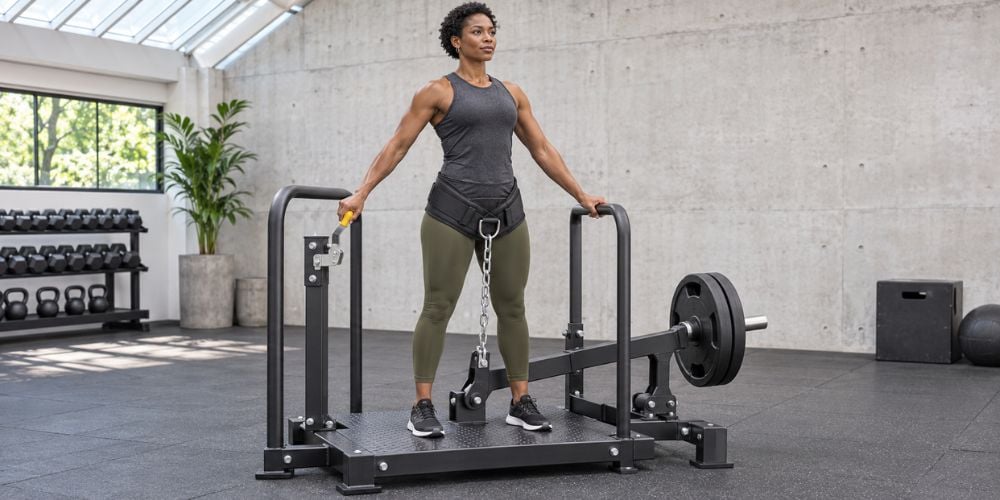
Stand tall enough to take the weight through the belt.
Brace your core and keep your chest in a comfortable upright position.
Next, release the machine’s safety mechanism. Depending on the design, this may involve a lever, handle, or support arm.
Make sure the safety is fully disengaged before starting your squat.
I often suggest practicing this step with very little weight first. It is much easier to learn the release system when you are not also trying to control a heavy load.
If you want to see how commercial strength machines are built around practical movement paths and straightforward adjustment systems, explore our strength equipment at YR Fitness.
5. Squat Down Under Control
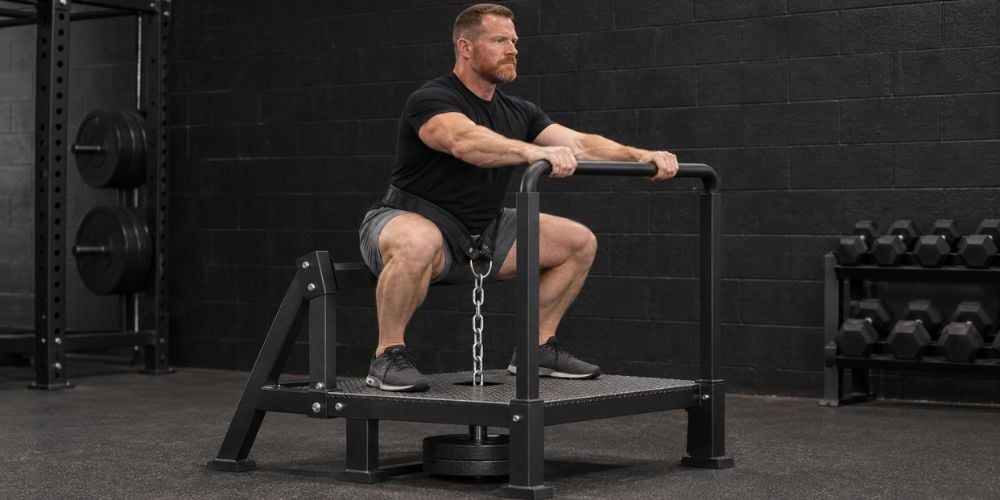
Bend your knees and hips together as you lower yourself.
Keep your feet firmly planted and your knees moving in the same direction as your toes.
As you descend:
- Keep your heels down.
- Keep your torso controlled.
- Avoid letting your knees collapse inward.
- Lower only as far as you can comfortably control.
How deep should you go? Only as deep as you can while keeping good control.
More depth is not automatically better. NASM’s squat biomechanics guidance recommends keeping the whole foot planted and avoiding forced depth when movement quality starts to break down.
6. Drive Back Up
Once you reach the bottom, push through your feet to stand back up.
Think about driving the platform away rather than simply pulling your body upward.
Keep your knees tracking in line with your toes.
At the top:
- Stand tall.
- Keep control of the load.
- Do not snap your knees backward.
- Prepare for the next rep.
Your hips and knees should extend together in one smooth movement.
7. Keep Each Rep Smooth
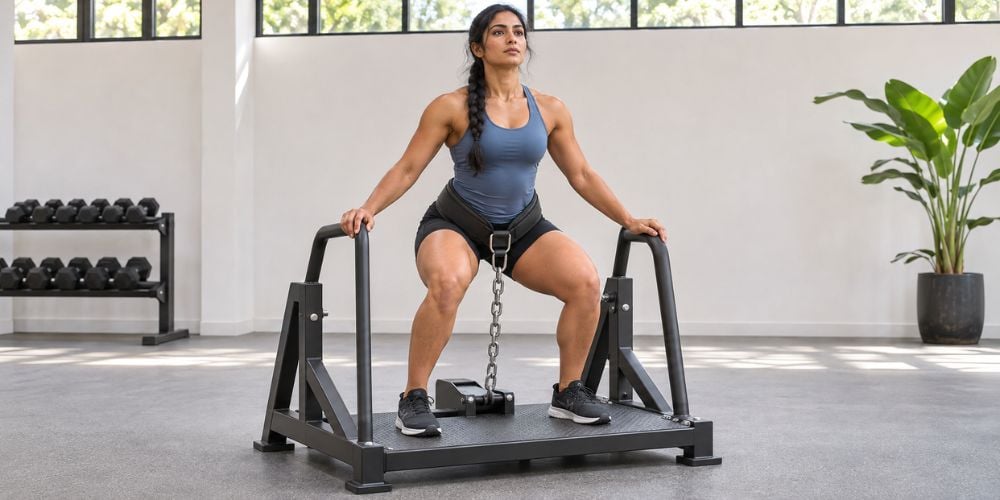
Do not rush your repetitions.
Lower yourself under control, reach the bottom smoothly, and then drive back up.
A simple cue is:
Down under control. Drive up smoothly.
Avoid these common mistakes:
- Bouncing out of the bottom
- Dropping too quickly
- Letting your heels lift
- Allowing your knees to collapse inward
- Using more weight than you can control
If your form starts changing near the end of the set, reduce the weight rather than forcing more reps.
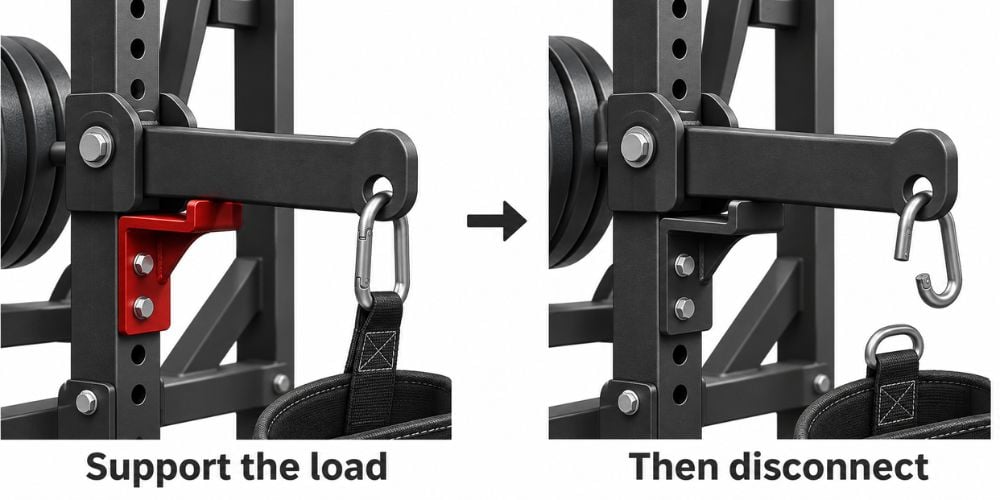
8. Re-Rack the Machine Safely
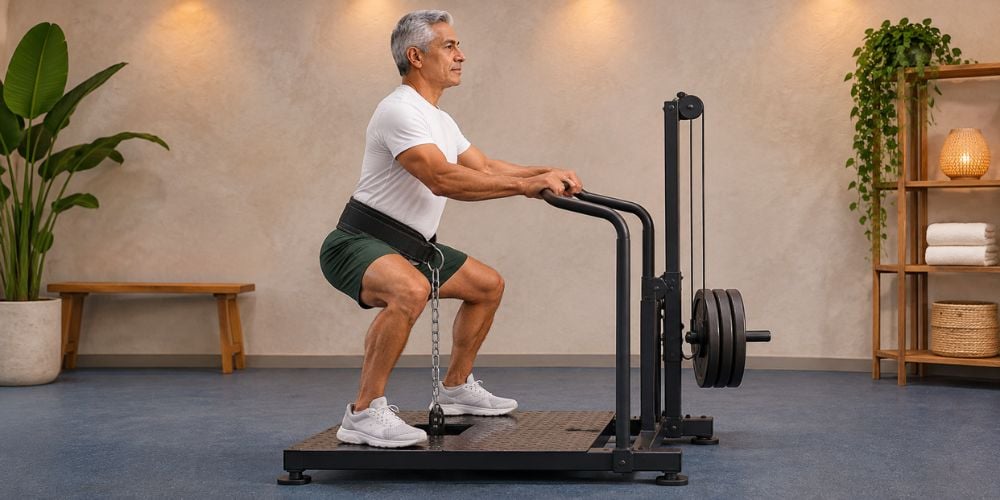
When your set is finished, do not step away immediately.
Stand fully upright and engage the machine’s safety mechanism first.
Follow this order:
- Finish your last rep.
- Stand tall.
- Engage safety.
- Make sure the weight is supported.
- Disconnect the belt.
- Step away from the platform.
One last check: Is the weight fully supported?
Never remove the belt while the weight is still hanging freely from your hips.
Conclusion
Using a belt squat machine is simple once you know the sequence: start light, secure the belt, set your feet, release the safety, squat under control, drive up, and re-rack carefully.
Focus on smooth reps before adding more weight. A stable setup will usually do more for your training than rushing to load extra plates.
If you want strength equipment designed around practical movement paths and comfortable daily training, at YR Fitness we can help you explore commercial-grade options built for reliable, repeatable workouts.
Related articles:



