


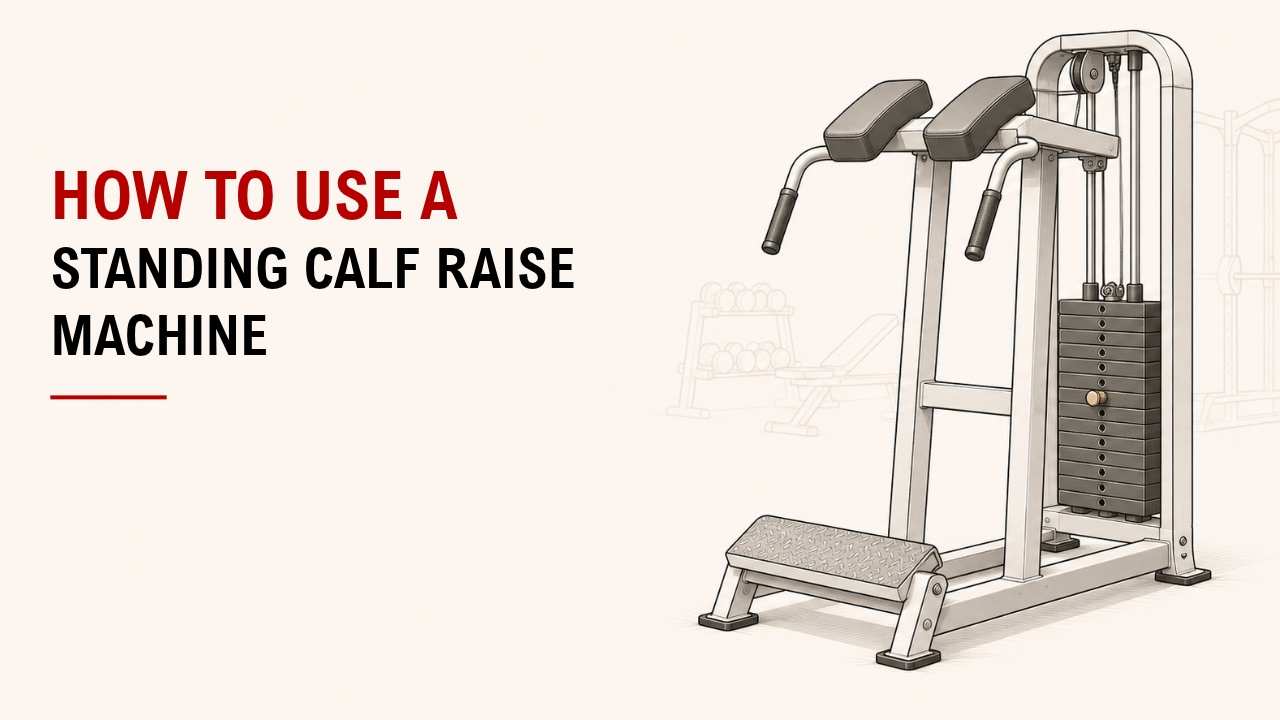

Not sure how to set up a standing calf raise machine? The right foot and pad position make the movement much easier.
The basic steps are simple: set the pads, place the balls of your feet on the platform, release the safety, lower your heels, and rise onto your toes.
As the founder and chief designer of YR Fitness, I have spent decades working with strength-machine design. In my experience, a good setup and controlled reps matter more than using heavy weight.
Below, I will show you the seven steps to use the machine correctly. Follow them in order and keep the movement controlled.
1. Adjust the Shoulder Pads
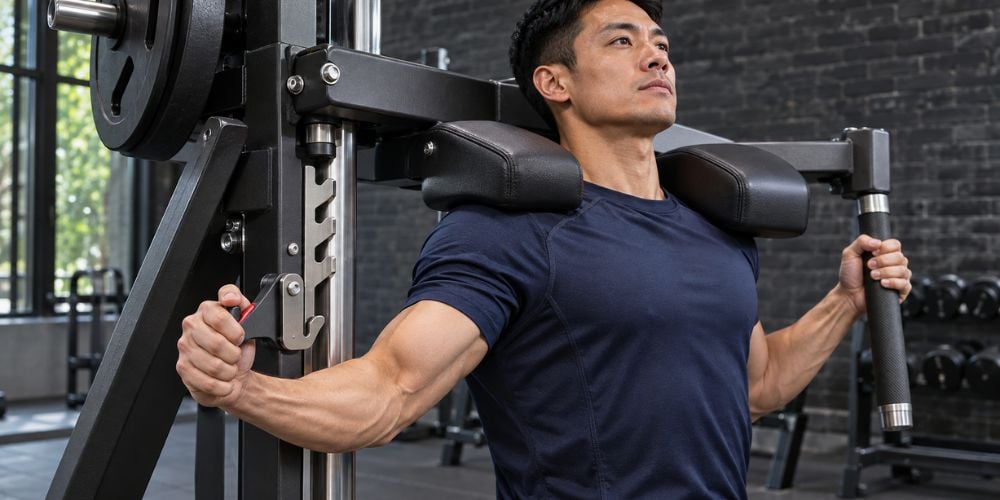
Start by setting the shoulder pads to match your height.
Stand underneath them and make sure they sit comfortably across the top of your shoulders. You should be able to stand almost upright without crouching deeply.
Before you start, check that:
- The pads sit firmly on your shoulders.
- Your torso stays upright.
- Your knees can remain slightly bent.
- You can lift the machine comfortably from the safety position.
Too low? You may have to crouch awkwardly.
Too high? The pads may not sit securely on your shoulders.
The goal is simple: get comfortable before adding weight.
2. Place Your Feet on the Platform
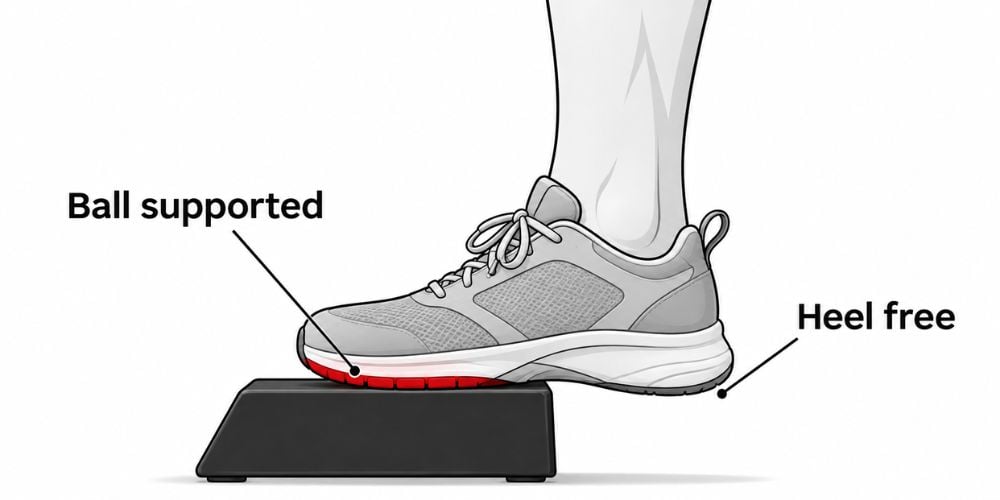
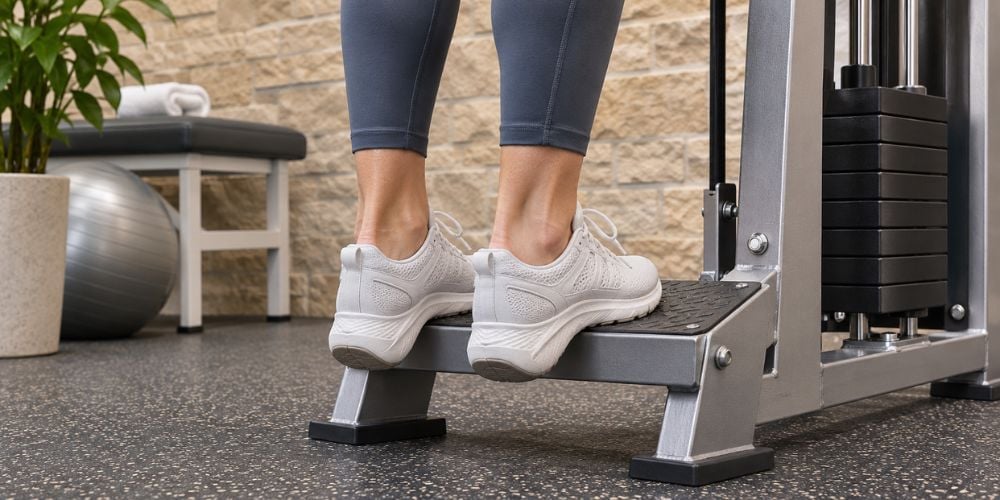
Place the balls of your feet near the edge of the platform and let your heels hang off.
Keep your feet roughly hip-width apart. Your toes can point forward or slightly outward if that feels more natural.
This setup is similar to the basic standing calf raise technique described by NASM, which uses a hip-width stance and allows the heels to move below the raised surface for a larger range of motion.
Hold the handles for balance.
Quick check: Can your heels move below the platform without your feet slipping?
If yes, your position is probably fine.
Do not place your whole foot flat on the platform. Your heels need room to travel up and down.
3. Release the Safety
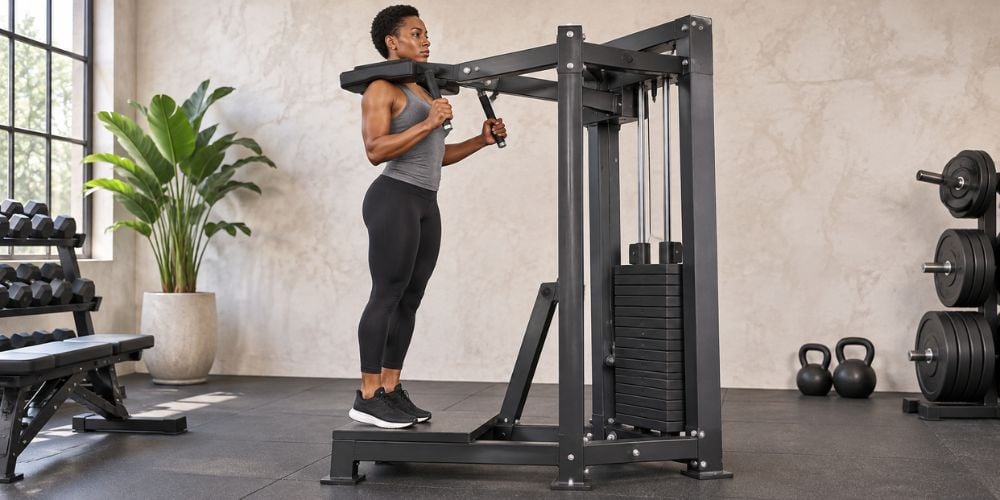
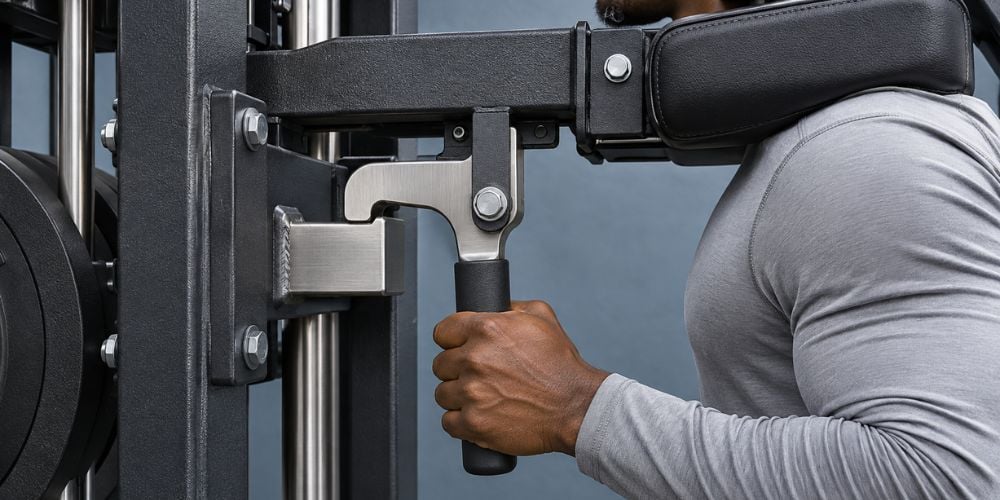
Stand tall enough to lift the weight slightly, then release the machine’s safety mechanism.
Keep your:
- Chest upright
- Core lightly braced
- Knees straight or slightly bent
- Hands on the handles
Avoid aggressively locking your knees.
I often recommend learning the safety mechanism with a light load first. Machines may use different handles, hooks, or stops, so understand yours before adding more weight.
A stable platform and easy pad adjustment can make this exercise much easier to set up. If you want to see how we build those features into our equipment, take a look at our standing calf raise machine.
4. Lower Your Heels Slowly
Now start the actual repetition.
Lower your heels below the edge of the platform until you feel a comfortable stretch through your calves.
Do you need to go as low as possible? No.
Go only as far as you can comfortably control. Do not force your ankles into a deeper position just to create more range.
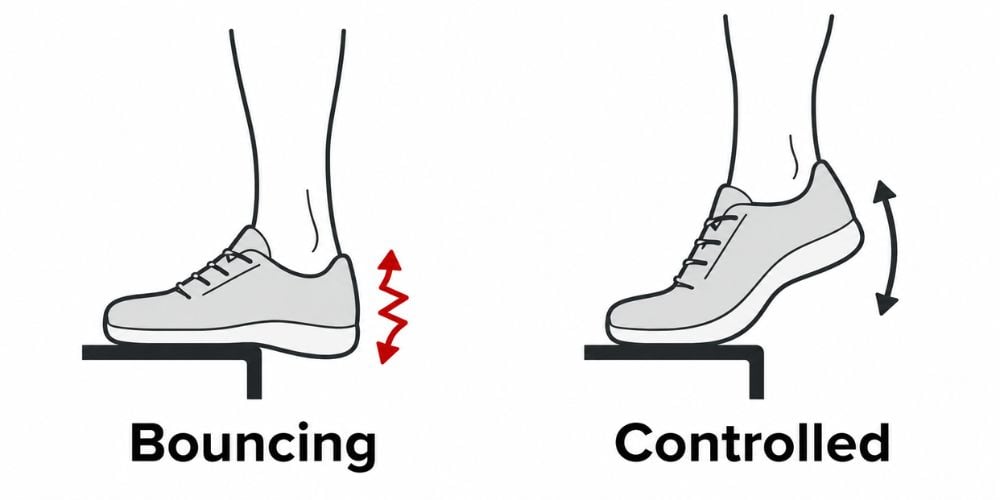
Here is why this matters: bouncing through the bottom can turn a controlled calf raise into a fast, sloppy movement.
NASM also recommends a controlled lowering phase and warns against jerky movement or using excessive weight during machine calf raises.
5. Push Up Onto Your Toes
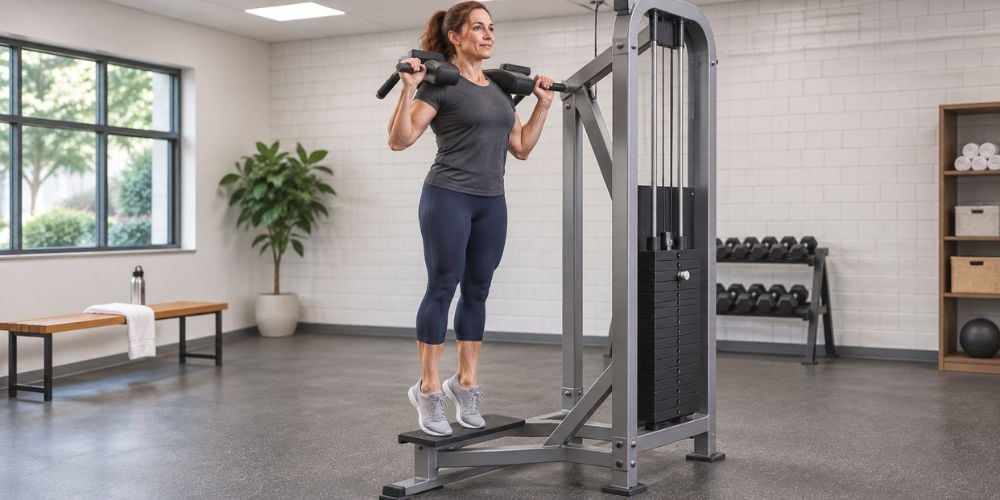
From the bottom position, press through the balls of your feet.
Raise your heels as high as you comfortably can while keeping your body upright.
At the top:
- Squeeze your calves.
- Pause briefly.
- Keep your balance.
- Avoid bouncing.
NASM’s standing calf raise guidance also recommends squeezing the calves at the top before lowering slowly.
Should you use heavy weight?
Only if you can still control the movement.
A lighter weight with a good stretch and strong contraction is usually more useful than a heavy load that forces you into short, rushed reps.
6. Lower and Repeat
Slowly bring your heels down again and repeat.
Try to make every rep look similar. Avoid speeding up as the set gets harder.
For a simple starting point:
Training Point | Starting Range |
Sets | 2–3 |
Reps | 10–15 |
Rest | 60–90 seconds |
Weight | Manageable and controlled |
These numbers are not strict rules. Adjust them to match your workout and experience.
The American College of Sports Medicine’s resistance-training guidance also emphasizes lifting and lowering resistance in a controlled manner and progressing the load over time.
If your reps become easy while your technique stays clean, gradually increase the weight.
What should you avoid? Adding so much weight that your range of motion becomes shorter.
7. Re-Rack the Machine Safely
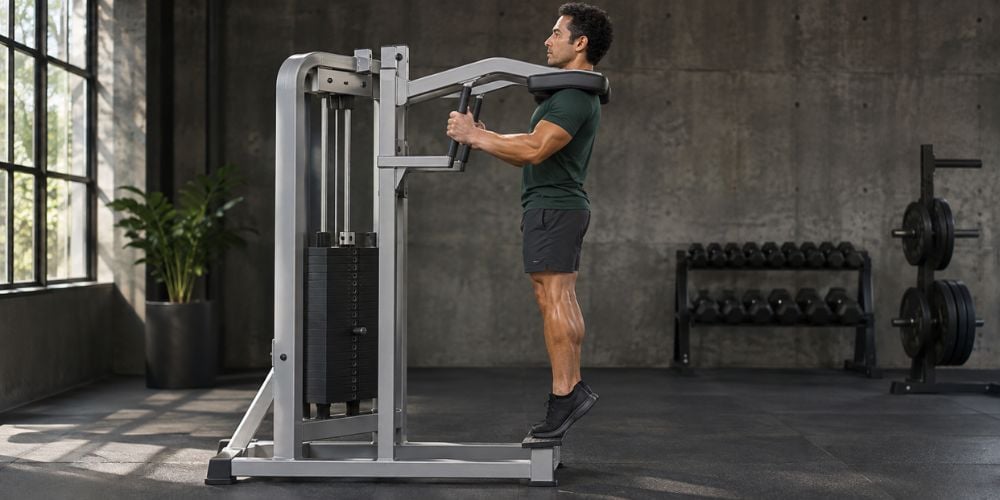
After your final rep, rise back into the top position.
Return the safety mechanism to its locked position and make sure it has fully caught the weight.
Only then should you relax your legs and step out from under the pads.
It takes only a few seconds, but it is an important habit whenever you use a standing calf raise machine.
Common Standing Calf Raise Mistakes
Most problems come from rushing the movement or choosing more weight than you can control.
Mistake | What to Do Instead |
Using too much weight | Choose a manageable load |
Bouncing at the bottom | Lower and rise smoothly |
Doing very short reps | Use a comfortable full range |
Putting the whole foot on the platform | Keep the balls of your feet near the edge |
Leaning forward | Keep your torso upright |
Rushing the safety mechanism | Lock and unlock it carefully |
One simple rule: if you cannot control the bottom and top of the rep, reduce the weight.
Conclusion
The standing calf raise machine is easy to use once your setup is right. Adjust the pads, place the balls of your feet on the platform, lower your heels under control, rise onto your toes, and secure the machine when you finish.
Focus on smooth repetitions instead of chasing heavier weight. Your calves should be doing the work, not momentum.
If you want to explore different commercial calf-training options, at YR Fitness we can help you compare standing, seated, and combination calf machines built for stable, repeatable training.
Related articles:



