








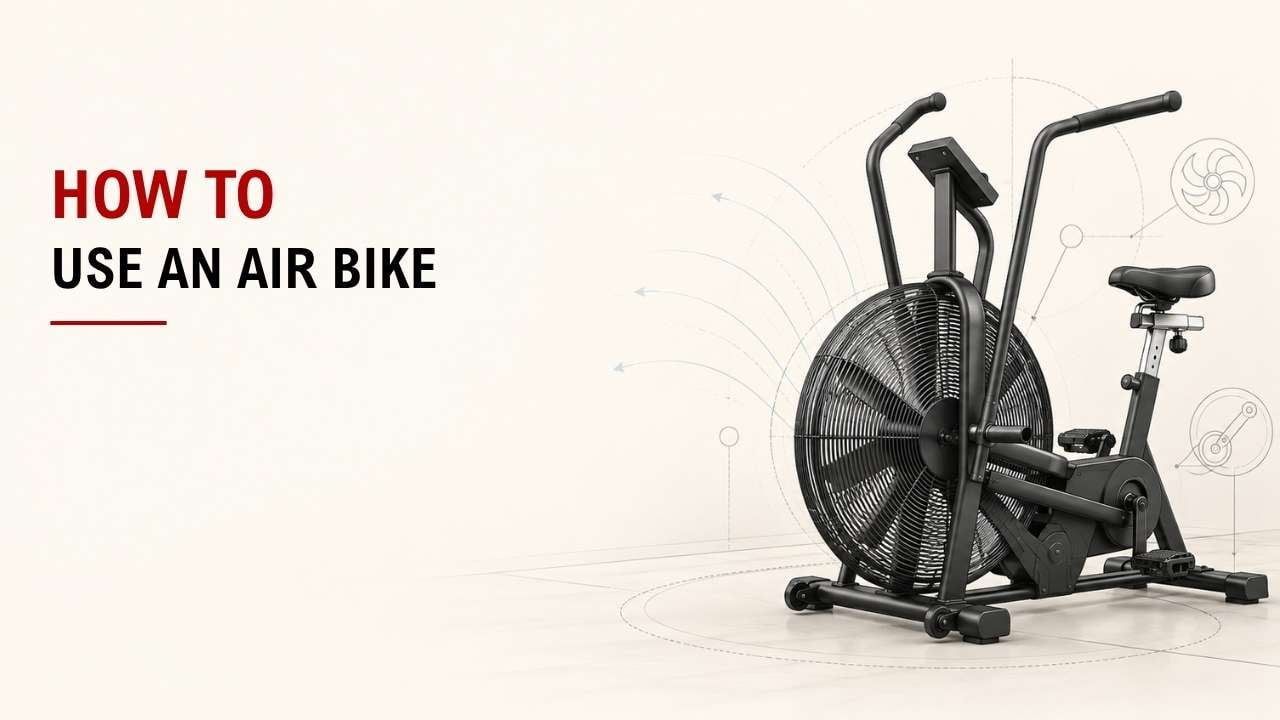

Not sure how to use an air bike without feeling awkward? The good news is that the movement is simple once your seat and body position are set correctly.
The short answer is: adjust the seat, secure your feet, sit tall, pedal smoothly, and move your arms with your legs. Start slowly, then increase your pace as the movement feels more natural.
As an Exercise Physiology & Biomechanics Expert at YR Fitness, I pay close attention to posture, joint position, and movement control. I often see beginners struggle simply because they start too fast or use a poor seat position.
Below, I’ll show you how to use an air bike in six simple steps. Follow them in order, and you can get comfortable with the machine much faster.
1. Adjust the Seat
Start with the seat.
Stand next to the bike and set it around hip height. Then sit down and place your feet on the pedals.
When one pedal reaches the bottom, your knee should still have a slight bend. Your leg should not be completely straight.
If the seat is too low, your knees stay too bent. If it is too high, your hips may start rocking from side to side.
Many air bikes also allow both height and front-to-back seat adjustments. For example, the Rogue Echo Bike specifications list multiple seat height and fore-aft positions, showing why it is worth taking a moment to find a comfortable setup.
I usually recommend making small adjustments instead of searching for one supposedly perfect position.
2. Place Your Feet on the Pedals
Place the middle or ball of each foot securely on the pedal.
Your feet should feel stable without sliding forward. Keep your knees roughly in line with your feet as you pedal.
Avoid letting your knees collapse inward.
Why does this matter?
A stable foot position gives you better control when your speed increases.
You should feel like you are pushing the pedals smoothly rather than reaching for them with each stroke.
3. Sit Tall and Hold the Handles
Sit upright with your chest comfortably lifted.
Keep your back neutral and your shoulders relaxed. Hold the moving handles firmly, but do not squeeze them harder than necessary.
Your elbows can stay slightly bent.
Should you lean forward?
A small natural lean is fine when your effort increases. Just avoid spending the whole workout collapsed over the handles.
Good posture makes it easier to coordinate your arms and legs.
At YR Fitness, we pay attention to how the seat, pedals, handles, and user position work together when developing cardio equipment. If you want to compare different training machines and see which design fits your workouts, explore our commercial gym equipment before choosing your next machine.
4. Start Pedaling Slowly
Do not sprint as soon as you sit down.
Start at an easy pace for around 2–5 minutes. Let your legs pedal smoothly while your arms begin moving naturally with the handles.
The fan creates resistance as you move.
What happens when you pedal faster?
The bike gets harder.
That is one of the main differences between an air bike and many traditional exercise bikes. Your effort helps determine how much resistance you feel.
I often tell beginners to use the first few minutes to find their rhythm instead of worrying about speed, calories, or power.
The American Heart Association also recommends gradually increasing activity during a warm-up and reducing it during a cool-down rather than changing intensity suddenly.
Once your movement feels smooth, gradually increase your pace.
5. Push and Pull the Handles
Now bring your upper body into movement.
As one arm pushes forward, the other arm pulls back. Your legs continue pedaling at the same time.
Think of it as one continuous rhythm:
Push. Pull. Pedal.
Do not let your arms become completely passive. On the other hand, do not try to do all the work with your upper body.
The movement should feel coordinated.
Feeling uncoordinated?
Slow down.
This is one of the most common issues I see with beginners. Once they reduce their speed, the arm and leg movement usually becomes much easier to control.
Learn the pattern first. Add intensity later.
6. Control Your Speed
You control much of an air bike’s difficulty through your own effort.
Pedal faster and push harder, and resistance increases. Slow down, and the workout becomes easier.
This makes the machine useful for both steady cardio and short intervals.
Not sure how hard you are working? The CDC explains that during moderate aerobic activity you can generally still talk, while vigorous activity makes speaking more difficult. You can use those moderate and vigorous intensity guidelines as a simple way to judge your effort.
Simple Beginner Air Bike Workout
Stage | Time | Effort |
Warm-up | 3–5 minutes | Easy |
Faster pace | 20–30 seconds | Hard |
Recovery | 40–60 seconds | Easy |
Repeat | 5–8 rounds | Controlled |
Cool-down | 3–5 minutes | Easy |
You do not need to go all-out on your first workout.
I would rather see smooth movement and good posture than a fast sprint with poor control. As your coordination improves, you can gradually increase either your speed, interval length, or number of rounds.
Conclusion
Using an air bike is simple: adjust the seat, secure your feet, sit tall, pedal smoothly, move your arms with your legs, and increase your pace gradually.
Start with control before intensity. If you want to explore more cardio and strength training options, visit YR Fitness and compare equipment that fits the way you like to train.
Related articles:



