


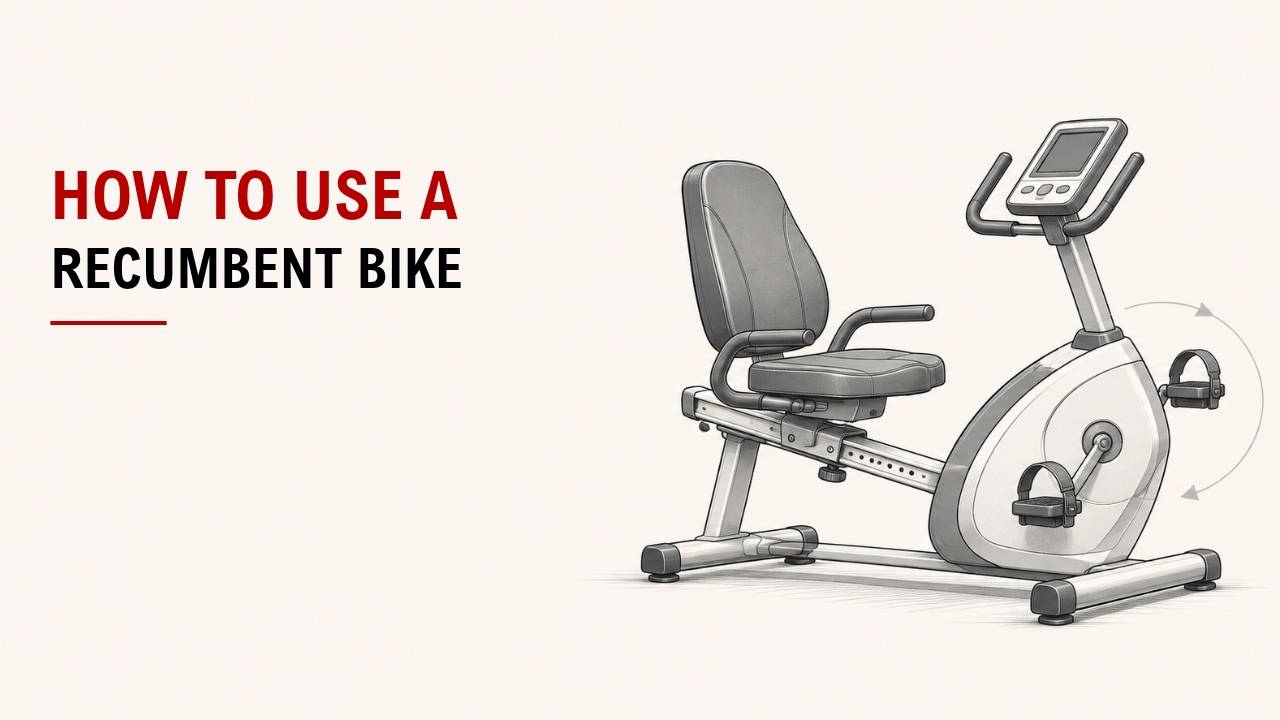

Not sure how to use a recumbent bike correctly? A few simple adjustments can make your ride feel much more comfortable.
The quick answer is: adjust the seat, secure your feet, sit back, start slowly, and increase resistance gradually. Once your setup feels right, focus on smooth and steady pedaling.
As an Exercise Physiology & Biomechanics Expert at YR Fitness, I pay close attention to seat position, posture, and how resistance affects movement. I often see beginners become much more comfortable once these basics are corrected.
Below, I’ll show you exactly how to use a recumbent bike step by step. Follow these points in order, and you can get started without overthinking it.
1. Adjust the Seat
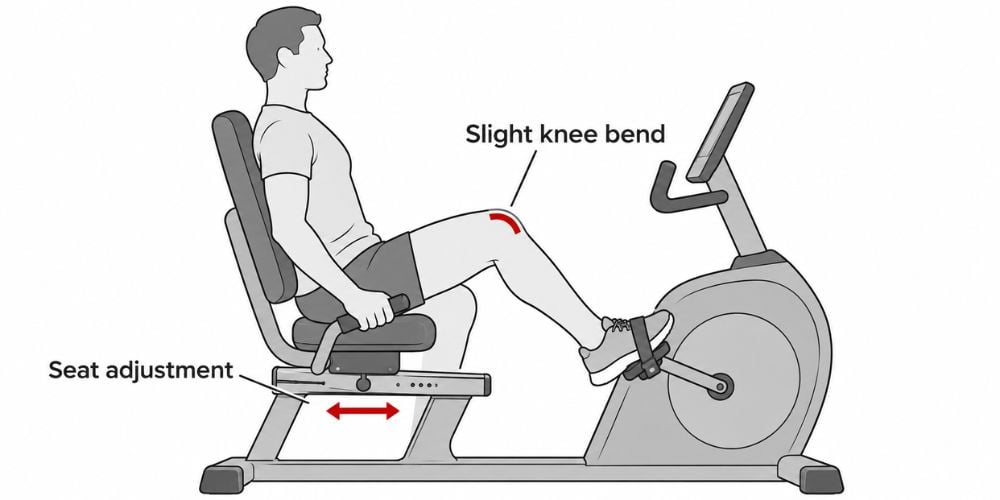
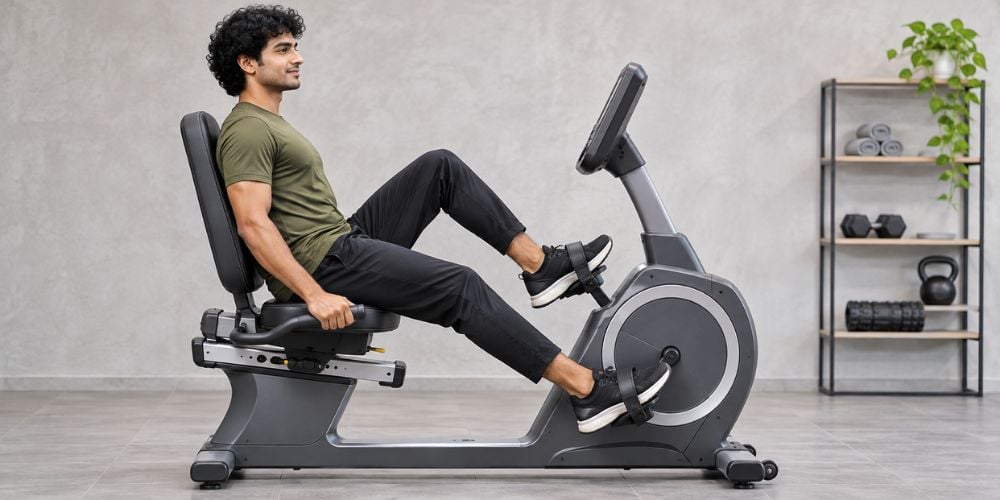
Sit fully against the backrest first.
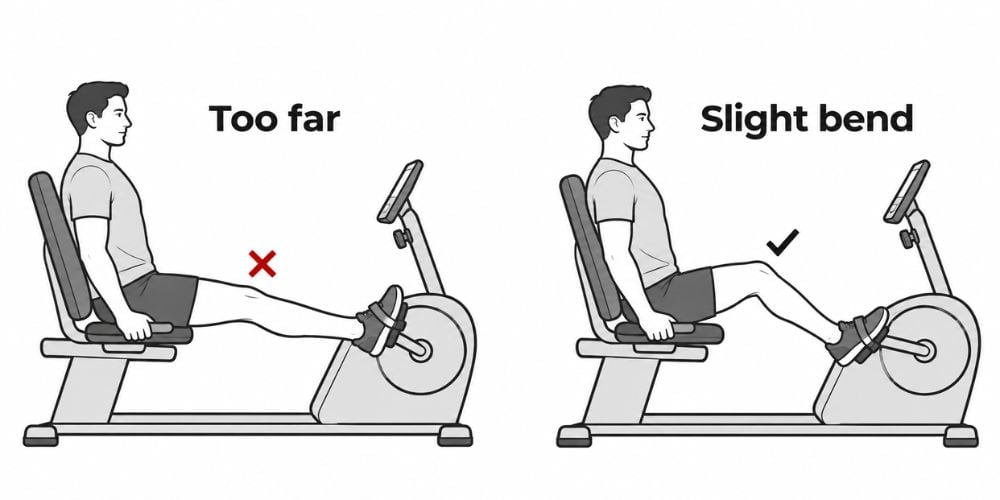
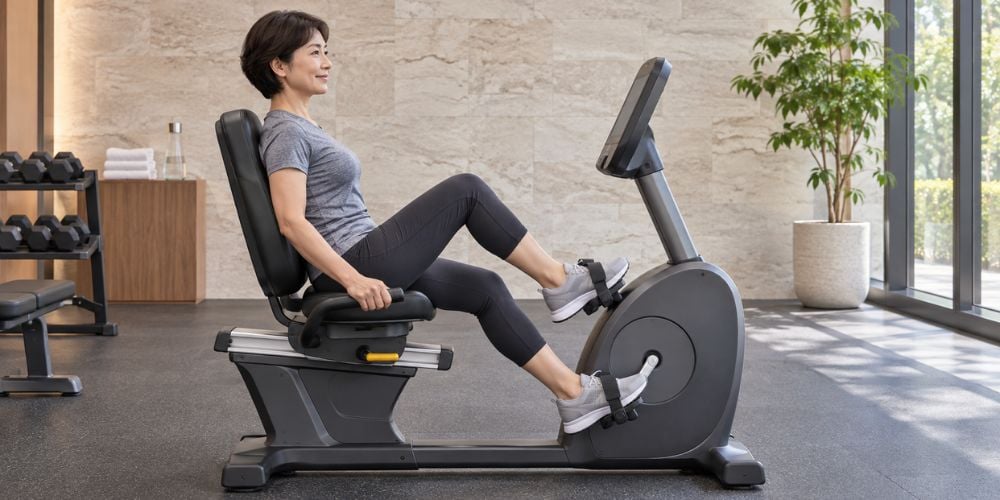
Move the seat forward or backward until you can reach the pedals comfortably. When one pedal is at its farthest point, your knee should still have a slight bend.
Do not sit so far back that your leg becomes completely straight.
This position matters because a poor bike setup can place unnecessary stress around the knee. Cleveland Clinic recommends keeping roughly 15 to 30 degrees of knee bend at the bottom of a pedal stroke when setting up a bike. See Cleveland Clinic’s cycling position guidance
Quick check: Are your hips standing against the seat while you pedal?
If they lift or slide forward, move the seat slightly closer.
I usually spend a little extra time on this step. A poor seat position can make the whole workout feel awkward.
2. Place Your Feet on the Pedals
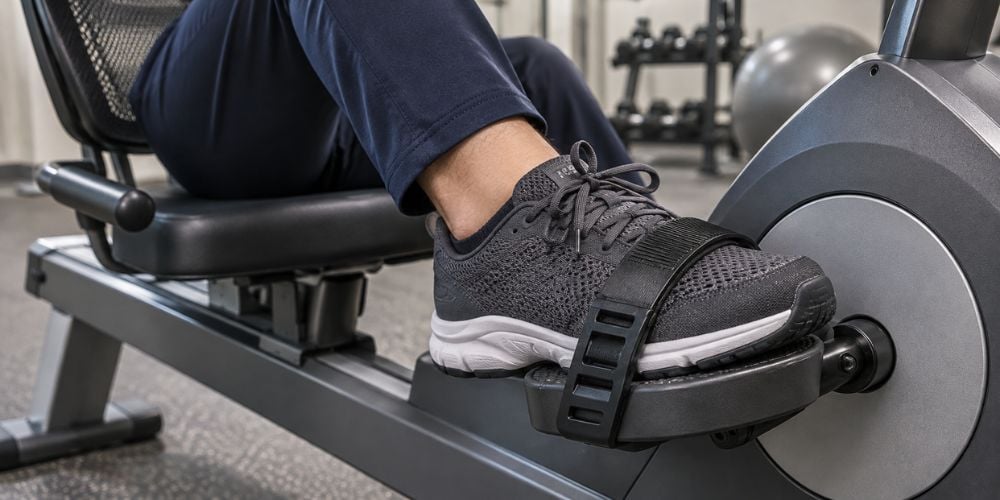
Place your feet comfortably on the pedals.
If the bike has straps, tighten them enough to keep your feet secure without squeezing them.
Keep your feet facing naturally forward. Your knees should move in the same general direction as your feet.
Avoid letting your feet slide toward the edges of the pedals.
What should it feel like? Your feet should feel secure, but you should not need to force them into an unnatural position.
3. Sit Back and Keep Good Posture
Keep your back supported by the backrest.
Relax your shoulders and keep your chest naturally upright. You can lightly hold the side handles if needed.
Try not to lean forward while pedaling.
Why does this matter?
Leaning forward removes some of the support that makes a recumbent bike comfortable.
I often see beginners lean forward when the resistance is too heavy. Lowering the resistance usually helps them sit back and move more smoothly.
Quick Position Check
Body Area | Good Position | Sign You Should Adjust |
Back | Resting against backrest | Leaning forward |
Hips | Stable on the seat | Rocking or sliding |
Knees | Slight bend at full extension | Locking completely |
Feet | Secure and facing forward | Sliding or twisting |
Shoulders | Relaxed | Tensing or shrugging |
Hands | Light grip | Holding handles tightly |
4. Start Pedaling Slowly
Begin at an easy pace.
Give your legs a few minutes to get used to the movement before increasing your speed or resistance.
Focus on smooth pedal strokes rather than pushing hard immediately. Think of the first few minutes as your warm-up.
The American Heart Association recommends warming up by doing your planned activity at a slower pace for around 5 to 10 minutes. This allows your heart rate and breathing to increase gradually.
So, do you need to pedal hard from the first minute?
No. Start easy and build up.
If you are comparing bikes for regular training, pay attention to smooth pedaling, easy seat adjustment, stable construction, and simple resistance controls. At YR Fitness, we design commercial cardio equipment around practical adjustment and reliable daily use, so you can explore our equipment and see which features matter most for a comfortable ride.
5. Set the Resistance
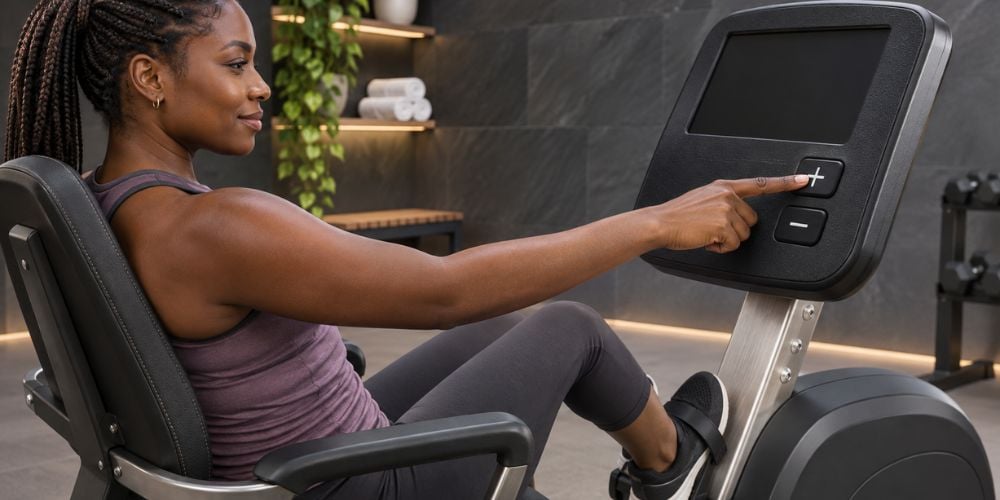
Once your legs feel warm, increase the resistance gradually.
The resistance should make you work harder without ruining your pedaling rhythm.
Ask yourself:
Can I still pedal smoothly?
If yes, the resistance is probably manageable.
If your hips start rocking, your knees feel uncomfortable, or every pedal stroke becomes a struggle, lower the resistance.
I prefer controlled resistance over simply choosing the highest setting. More resistance does not automatically mean a better workout.
Here is why this matters: your legs should drive the pedals while the rest of your body stays relatively quiet.
6. Find a Comfortable Pedaling Speed
Choose a pace you can maintain without losing control.
Keep your pedal strokes steady instead of constantly speeding up and slowing down. Your upper body should stay relaxed while your legs do most of the work.
For general cardio training, you should feel like you are exercising without losing your posture.
Not sure how hard you are working?
A simple option is the talk test. At moderate intensity, you should generally be able to talk but not sing comfortably, according to the U.S. Physical Activity Guidelines.
If your feet feel like they are being pulled around by the pedals, slow down slightly or add a little resistance.
The goal is smooth movement, not simply reaching the highest RPM possible.
7. Use the Workout Programs if Needed
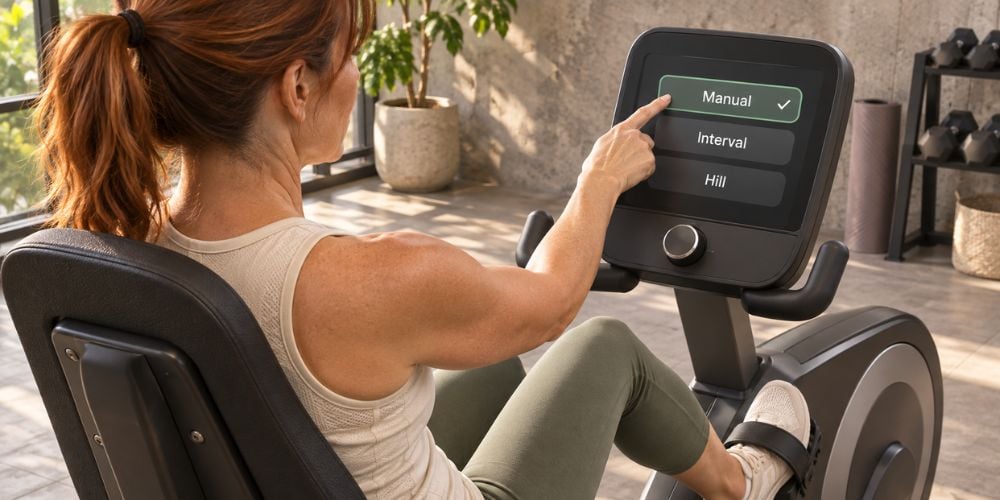
Many recumbent bikes include built-in workout programs.
Common options include:
- Manual
- Interval
- Hill
- Fat-burning
- Heart-rate programs
If you are new to the bike, keep things simple.
Start with manual mode. It lets you control your resistance while you learn how the bike feels.
Once you are comfortable, try interval or hill programs for more variety.
For example, an interval workout may switch between easier and harder resistance levels. This can make a shorter workout more challenging without forcing you to pedal extremely fast.
Common Mistakes to Avoid
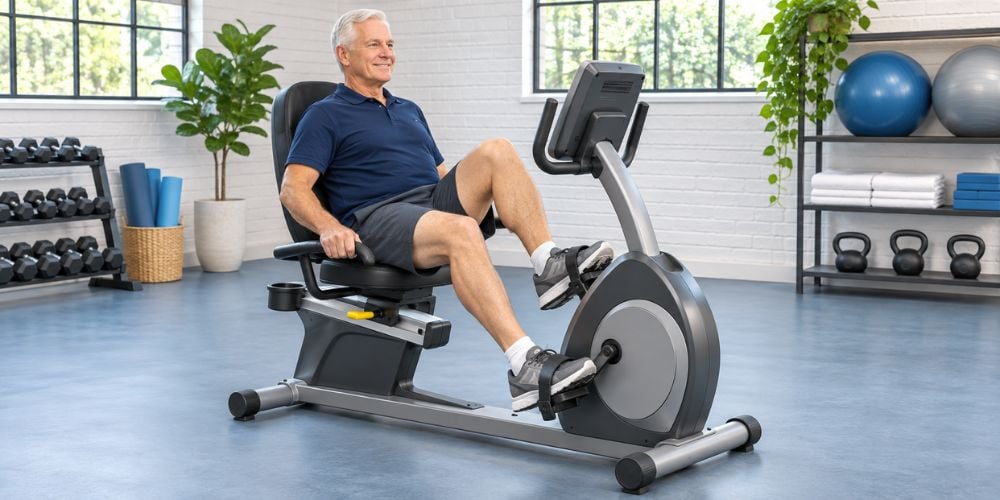
A recumbent bike is simple to use, but a few small mistakes can make the ride uncomfortable.
Avoid:
- Sitting too far from the pedals
- Locking your knees
- Leaning forward
- Starting with heavy resistance
- Pedaling too fast without control
- Letting your hips rock from side to side
- Using a complicated workout program before learning the basic movement
In my experience, small setup changes often make the biggest difference.
If something feels awkward, check your position first before assuming the bike itself is uncomfortable.
Conclusion
Using a recumbent bike is simple: adjust the seat, secure your feet, sit back, pedal slowly, and increase resistance when you are ready. Keep the movement smooth and choose a pace you can control.
If you want to see how recumbent bikes and other commercial cardio machines are designed for regular training, explore YR Fitness and compare the features that matter most for your workouts.
Related articles:



