


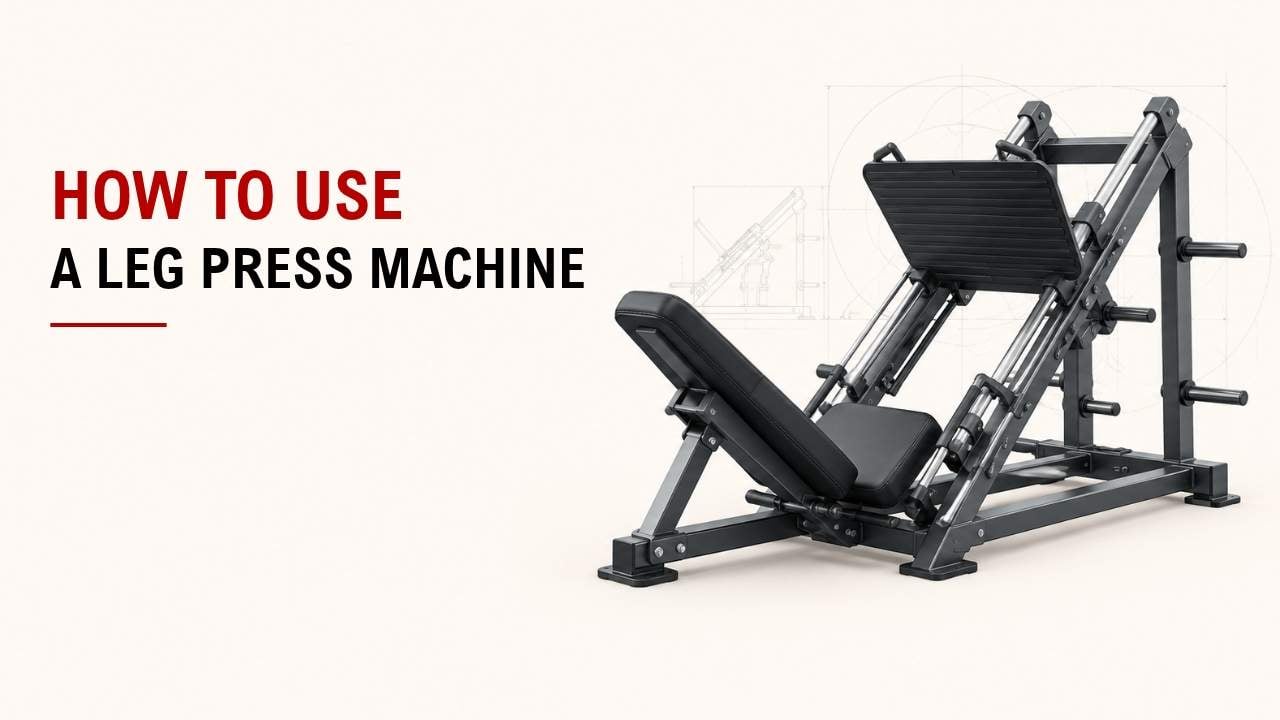

Not sure if your feet, knees, or back are in the right position on the leg press? A few small setup mistakes can make the movement feel awkward very quickly.
The short answer is simple: sit securely, place your feet flat on the platform, lower the weight under control, and press it away without locking your knees. Keep your back supported and your knees moving in line with your toes.
As an Exercise Physiology & Biomechanics Expert at YR Fitness, I focus on how the hips, knees, and feet work together during strength exercises. I often see that better positioning makes the leg press feel smoother before any extra weight is added.
In this guide, I’ll show you exactly how to set up, lower, press, and finish the movement correctly. Follow the steps below and you can start using the leg press with more control.
1. Sit in the Machine Correctly
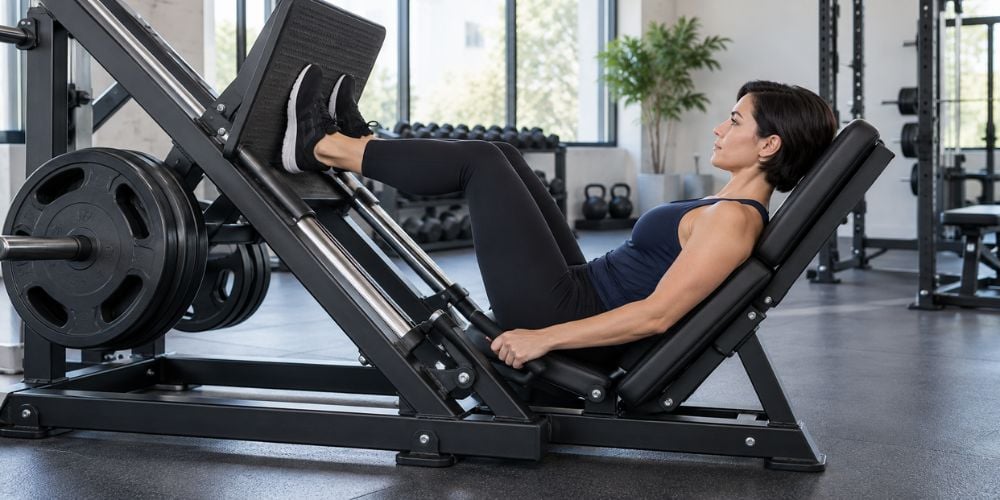
Sit all the way back in the seat.
Keep your:
- Back against the backrest
- Hips against the seat
- Head in a comfortable position
- Hands on the handles if provided
Adjust the seat so your knees can bend comfortably without your hips rolling forward.
What should it feel like? You should already feel supported before you start pressing.
I usually check hip position first. If your lower back or hips lift away from the pad, your setup or range of motion needs adjusting.
2. Place Your Feet on the Platform
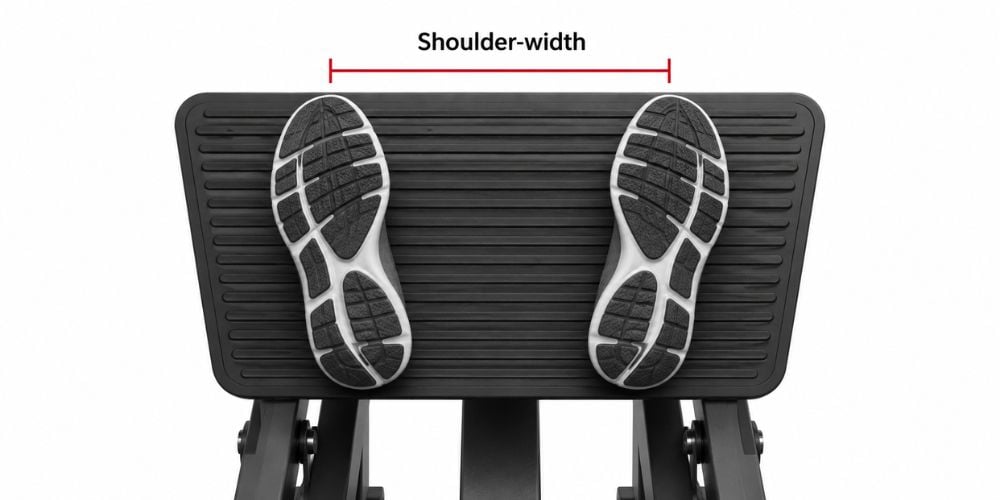
Put both feet flat on the platform about shoulder-width apart.
Let your toes point slightly outward if that feels natural. Your knees should move in roughly the same direction as your toes.
Avoid pressing with only your toes or heels.
Quick Foot Position Check
Check | Good Starting Position | Watch For |
Foot width | About shoulder-width | Feet too narrow or too wide |
Foot contact | Whole foot on platform | Heels or toes lifting |
Toes | Slightly outward | Forced foot angle |
Knees | Follow direction of toes | Knees collapsing inward |
Why does this matter? A stable foot position makes it easier to control your knees and hips through the movement.
3. Start With a Light Weight
Do not make your first set a test of strength.
Choose resistance that lets you lower and press the platform smoothly. You should not need to jerk the weight or rush the movement.
Not sure if the weight is right? Try 2 or 3 test repetitions first.
I prefer starting lighter on any unfamiliar leg press. The same displayed weight can feel very different from one machine to another.
This also fits the broader principle in the ACSM resistance training guidance: training should match the person, and consistency matters more than making the program unnecessarily complicated.
At YR Fitness, we design commercial strength equipment around controlled movement paths, practical adjustments, and heavy daily use. If you want to see how different leg press and strength-machine designs are built, browse our commercial gym equipment range before comparing your options.
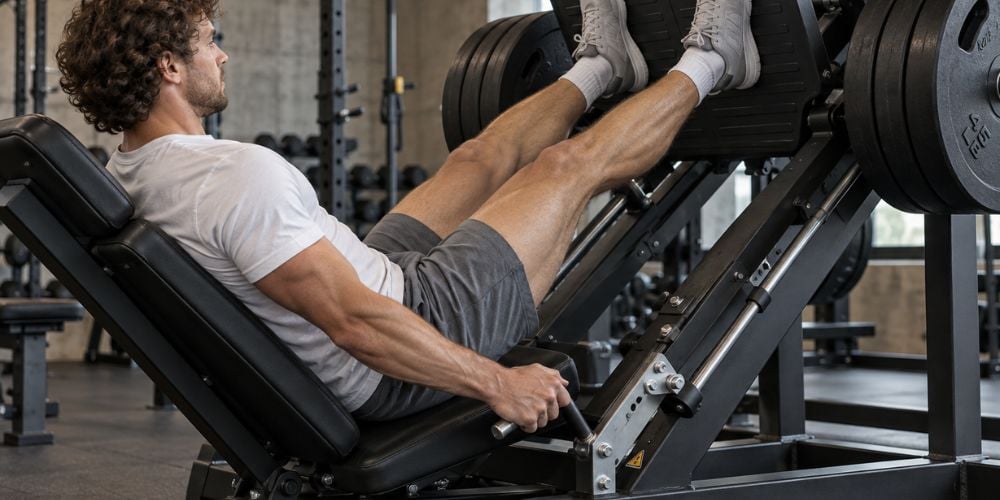
4. Release the Safety Handles
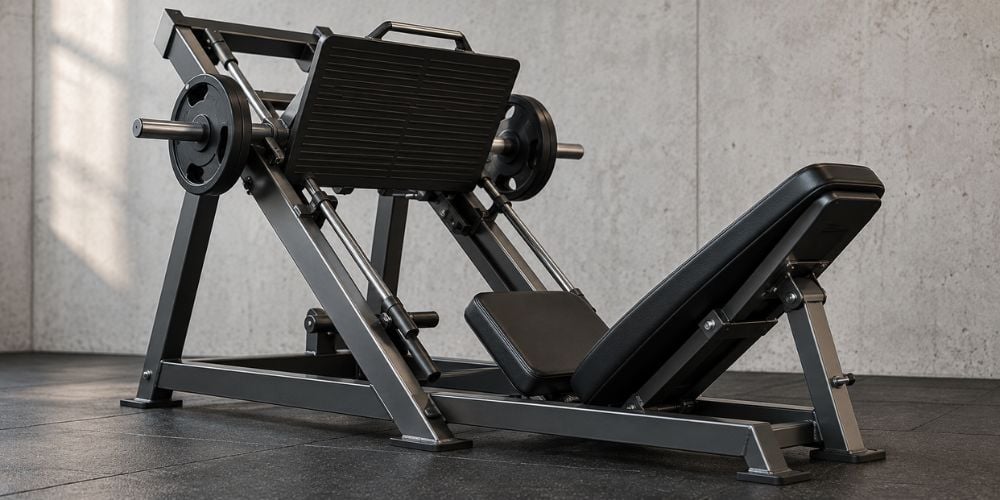
Once your feet are secure, press the platform slightly away from you.
Release the safety handles or locking mechanism according to the machine design. Keep your knees slightly bent instead of snapping them fully straight.
Make sure you understand the safety system before starting the set.
Using an unfamiliar machine? Read the instructions printed on the equipment first. Safety mechanisms can differ between machines.
5. Lower the Platform Slowly
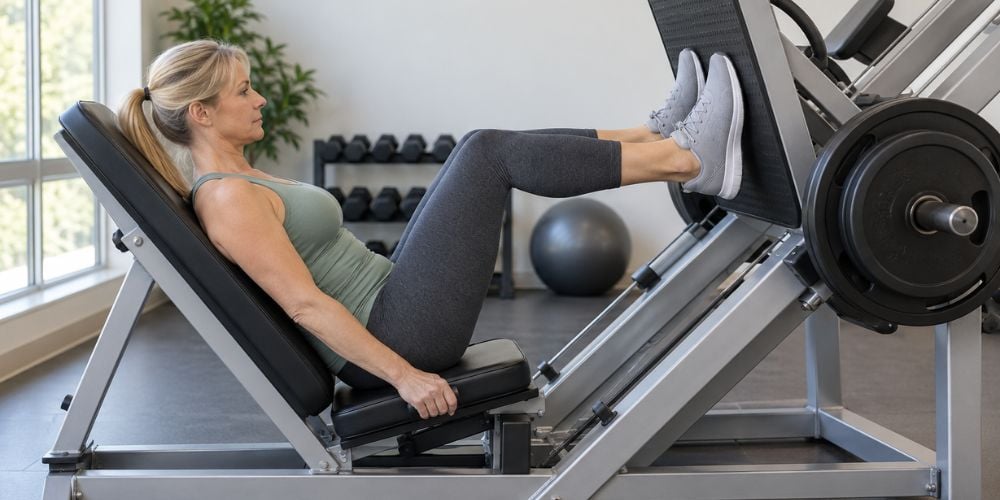
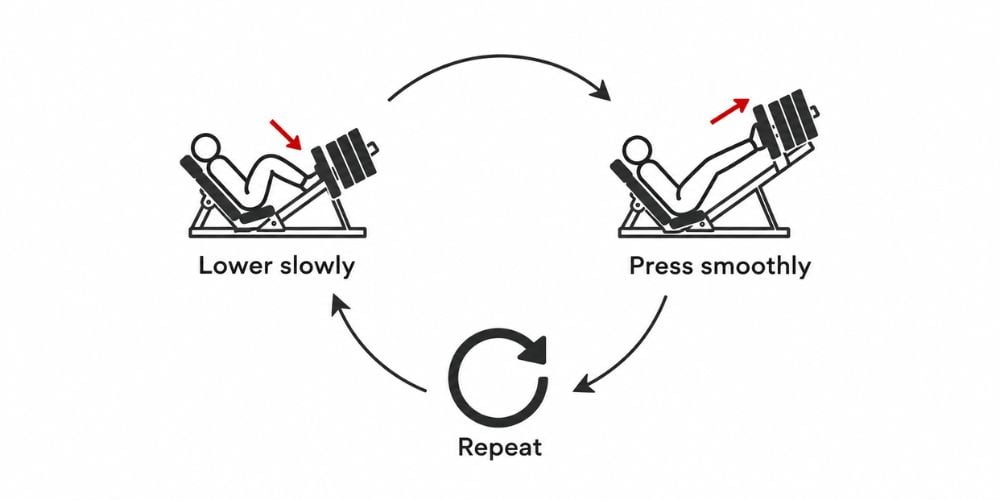
Bend your knees and allow the platform to move toward you.
Keep the movement slow and controlled.
During the Lowering Phase | What to Do |
Feet | Keep them flat |
Knees | Track with your toes |
Back | Keep it against the pad |
Hips | Keep them against the seat |
Depth | Stop before your position breaks down |
Speed | Lower under control |
Do not force the platform as deep as possible.
How deep should you go? Go only as deep as you can while keeping your hips and lower back against the pad.
This is one of the most common issues I see. More depth is not better if you lose your position.
Controlled resistance exercise is also consistent with general NHS strength-training guidance, which describes strength work as making the muscles work against resistance.
6. Press the Platform Away
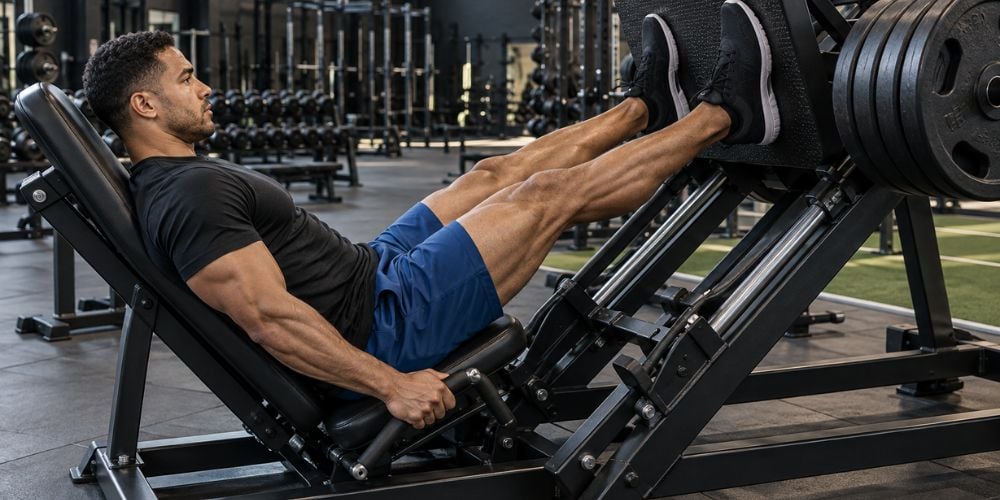
Now push through your whole foot and extend your legs.
Think about moving the platform away smoothly rather than kicking it. Keep your knees lined up with your feet as you press.
At the top, straighten your legs without forcefully locking your knees.
Should you press as fast as possible? Not for basic leg press training. Keep the movement smooth enough that you stay in control from the bottom to the top.
7. Repeat With Control
Keep the same technique for every repetition.
Avoid:
- Bouncing at the bottom
- Rushing the lowering phase
- Letting your knees collapse inward
- Lifting your hips from the seat
- Locking your knees aggressively
- Adding weight when your form breaks down
For general training, beginners can often start with 2–3 sets of 8–12 controlled repetitions using manageable resistance.
The CDC muscle-strengthening guidance also uses 8–12 repetitions as a practical target for a set and notes that two or three sets can provide additional benefit.
I would rather see 10 smooth repetitions than 10 heavy repetitions with poor knee, hip, or back position.
When you finish, extend the platform to its safe stopping position. Re-engage the locking handles before relaxing your legs.
Conclusion
Using a leg press machine is straightforward when your setup is right. Keep your feet secure, your back supported, and every repetition smooth and controlled.
Good equipment can help the movement feel stable, but your technique still matters most. Start light and only increase the resistance when you can keep the same clean form.
If you want to compare commercial leg press designs and other strength equipment, explore the YR Fitness commercial gym equipment range.
Related articles:



