


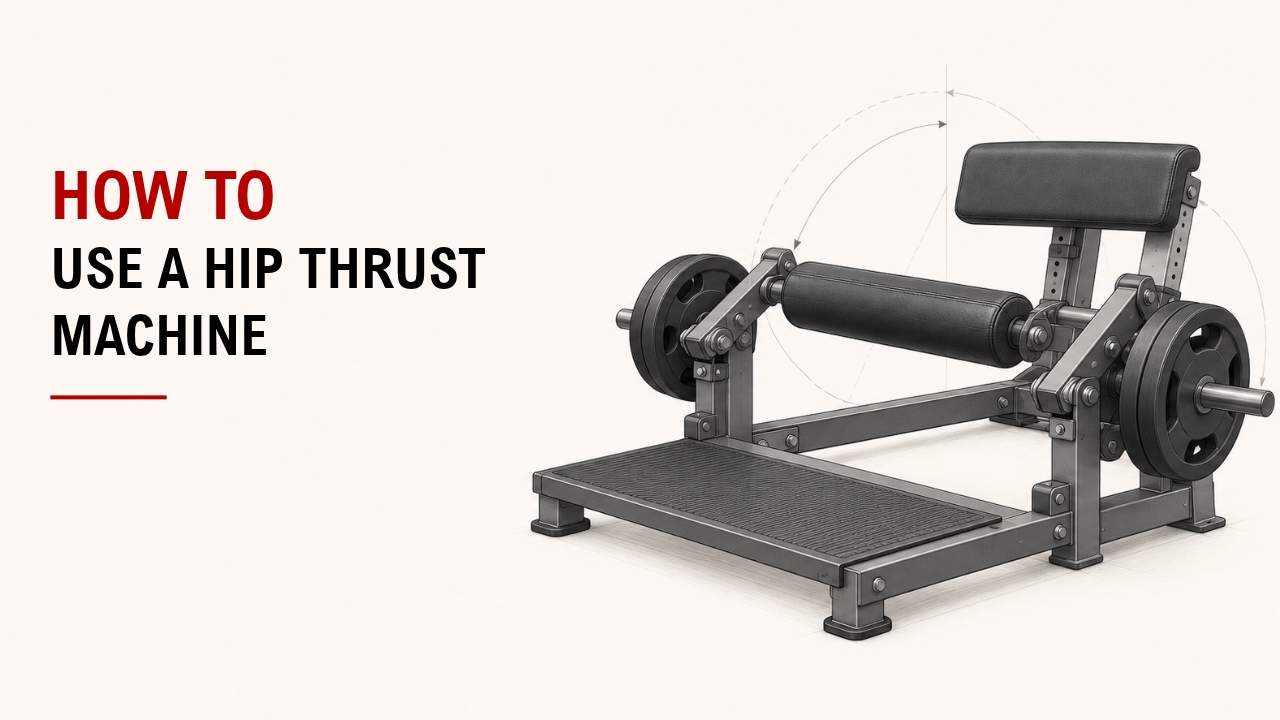

Want a full-body workout using just one machine? A cable machine can train your legs, chest, back, shoulders, arms, and core.
The simple answer is to use seven exercises, control every rep, and choose a weight you can handle with good form. This also fits the CDC’s adult activity guidelines for regular muscle-strengthening exercise.
As the Technical Department Director at YR Fitness, I oversee the technical development of cable systems, pulley positions, and machine structures. My role gives me hands-on experience with how cable machines should move, adjust, and support different exercises.
Below are the seven exercises, sets, reps, and form cues you need. Follow them for a simple full-body cable workout.
1. Adjust the Hip Thrust Machine
Start by adjusting the machine to fit your body.
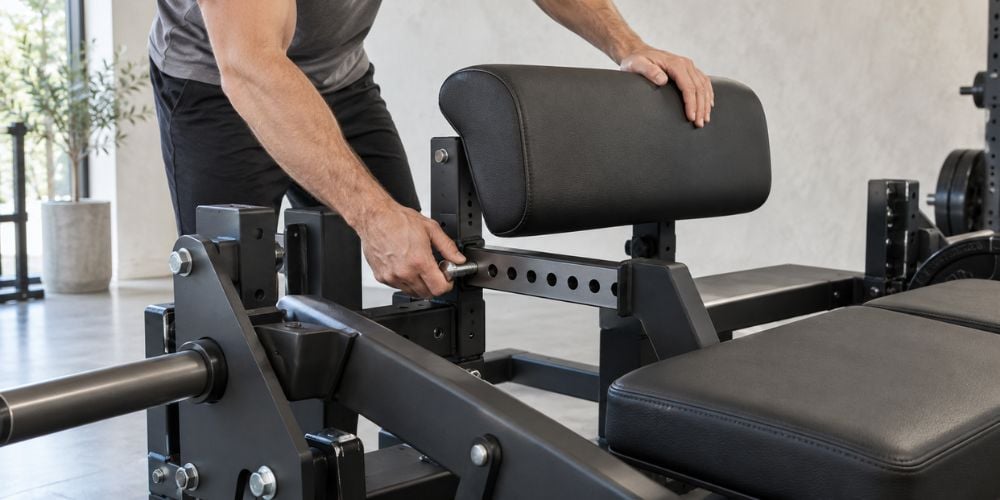
Depending on the model, you may be able to adjust the back pad, starting position, hip pad, or resistance. Make sure you can sit comfortably and reach the handles or locking mechanism easily.
Test the machine with a light load first. You should be able to move your hips without feeling cramped or forced into an uncomfortable position.
I always recommend learning the setup before adding more weight. It makes the rest of the exercise much easier.
Quick setup check:
Check | What You Want |
Back support | Upper back sits firmly against the pad |
Hip pad | Secure across the hips, not the stomach |
Feet | Flat and stable |
Starting weight | Light enough to control |
Movement | Smooth and comfortable |
The basic movement follows the same hip-extension pattern used in the ACE hip thrust guide, although a machine gives you a more fixed setup. ACE also notes that dedicated hip thrust machines can make the movement more comfortable than placing a heavily loaded bar directly across the hips.
2. Position Your Upper Back
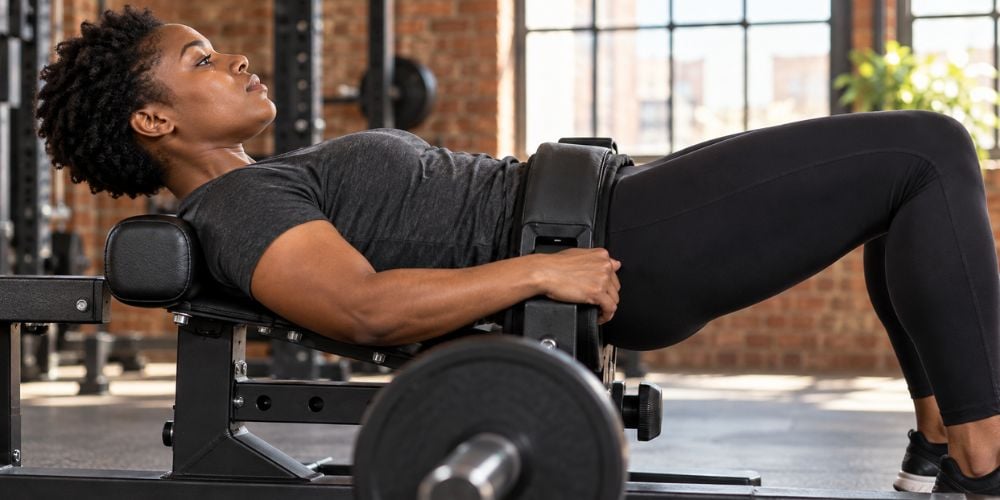
Sit on the machine and place your upper back firmly against the support pad.
The pad should normally support the area around your shoulder blades, not your neck or lower back. Keep your shoulders stable throughout exercise.
Does the position feel awkward?
Move slightly higher or lower before you start. Your upper back should stay supported while your hips are free to move.
Once you find a comfortable position, keep it there for the whole set.
3. Secure the Hip Pad
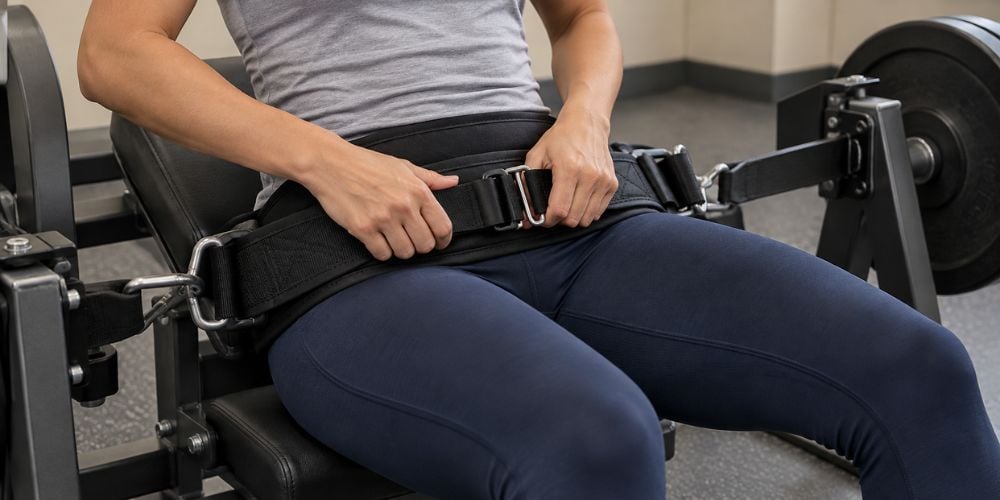
Place the hip pad, belt, or padded lever securely across your hips.
It should sit across the front of your hip area rather than directly over your stomach. If the machine uses a belt or locking system, fasten it before starting.
The restraint should feel secure without causing sharp pressure or discomfort.
Here is why this matters: if the pad keeps moving, you will spend more time adjusting yourself than focusing on the exercise.
4. Place Your Feet Correctly
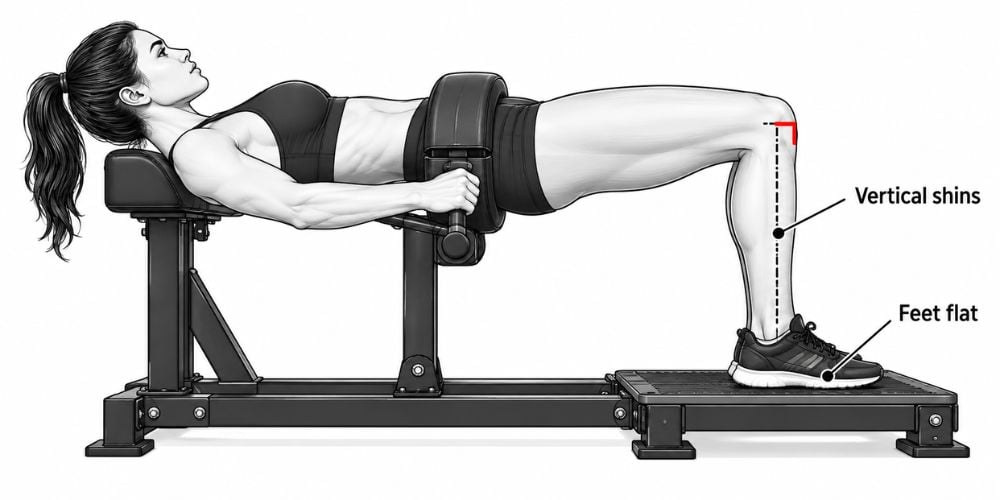
Place both feet flat on the platform or floor.
Start around shoulder-width apart. You can point your toes slightly outward if that feels more natural.
At the top of the movement, your shins should be roughly vertical and your knees close to a 90-degree angle.
If your feet are too close, you may feel more pressure around your knees. If they are too far away, you may feel more work in your hamstrings.
Not sure where your feet belong?
Try one light rep. Adjust your feet until you can push comfortably through the whole foot.
A hip thrust feels much easier when the machine gives you stable support and a comfortable movement path. At YR Fitness, we design our commercial strength equipment around practical positioning and smooth movement, so if you want to see how different strength machines are built, you can explore our strength equipment.
5. Drive Your Hips Up
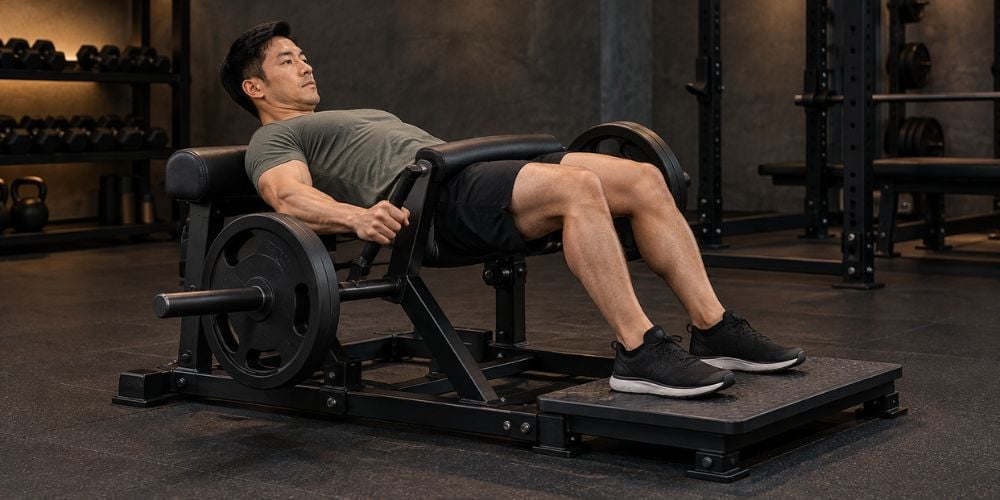
Brace your core and push through your feet.
Drive your hips upward in a smooth, controlled motion. Keep your knees moving in the same direction as your toes instead of letting them collapse inward.
Your upper back should remain supported while your hips do the work.
Do not throw the weight upward. In my experience, controlled reps make it much easier to feel what your glutes are doing.
A simple cue is: push the floor away and bring your hips up.
6. Squeeze Your Glutes at the Top
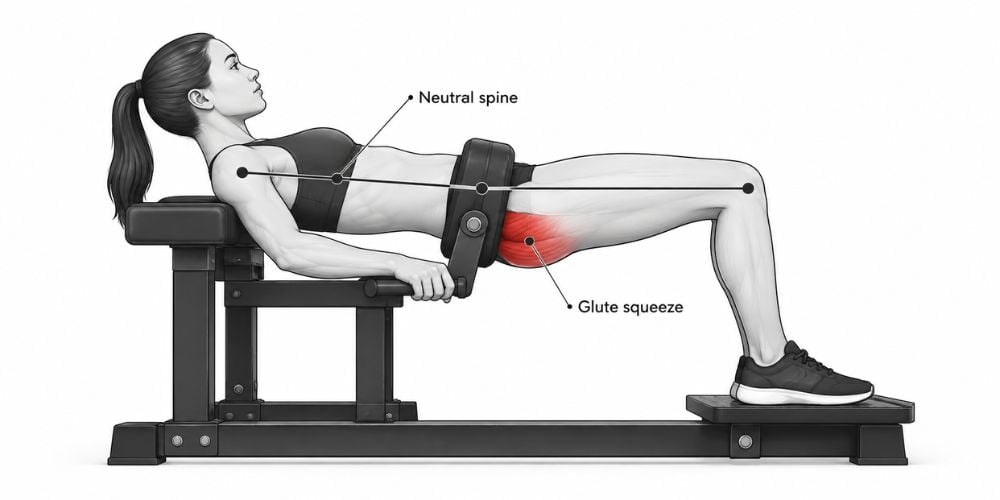
Continue lifting until your hips are fully extended.
Squeeze your glutes and pause briefly. Your body should form a strong position from your shoulders through your hips.
Avoid pushing higher by excessively arching your lower back. Once your hips are fully extended, the upward part of the rep is finished.
I like to think of this position as a glute squeeze, not a back extension.
That glute focus is one reason hip thrusts are widely used in lower-body training. A systematic review of hip thrust research found strong involvement of the hip extensors, including the gluteus maximus, across the studies it reviewed.
Hold the top for about one second, then lower.
7. Lower Weight Slowly
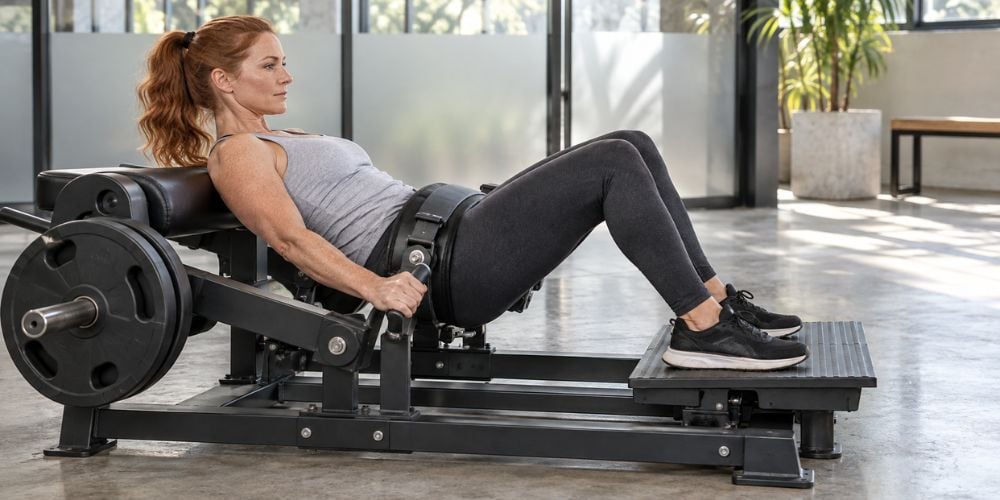
Lower your hips back toward the starting position under control.
Do not let the machine pull you down quickly. Keep your feet planted and stay in control as the resistance comes down.
Lower until you feel a comfortable stretch, then start the next rep.
For most fitness lovers, you do not need extremely heavy weight. Start with a load you can control for around 8–15 clean reps.
Conclusion
Using a hip thrust machine is simple once you get the setup right. Adjust the machine, support your upper back, secure the hip pad, plant your feet, drive your hips up, squeeze your glutes, and lower slowly.
The biggest mistake I often see is adding too much weight before learning the movement. Start lighter, find a comfortable position, and increase the resistance gradually.
At YR Fitness, we design commercial strength machines around stable movement paths and practical adjustment. If you want to explore more equipment for glute and lower-body training, you can view our commercial gym equipment and find machines that match the exercises you enjoy.
Related articles:



