


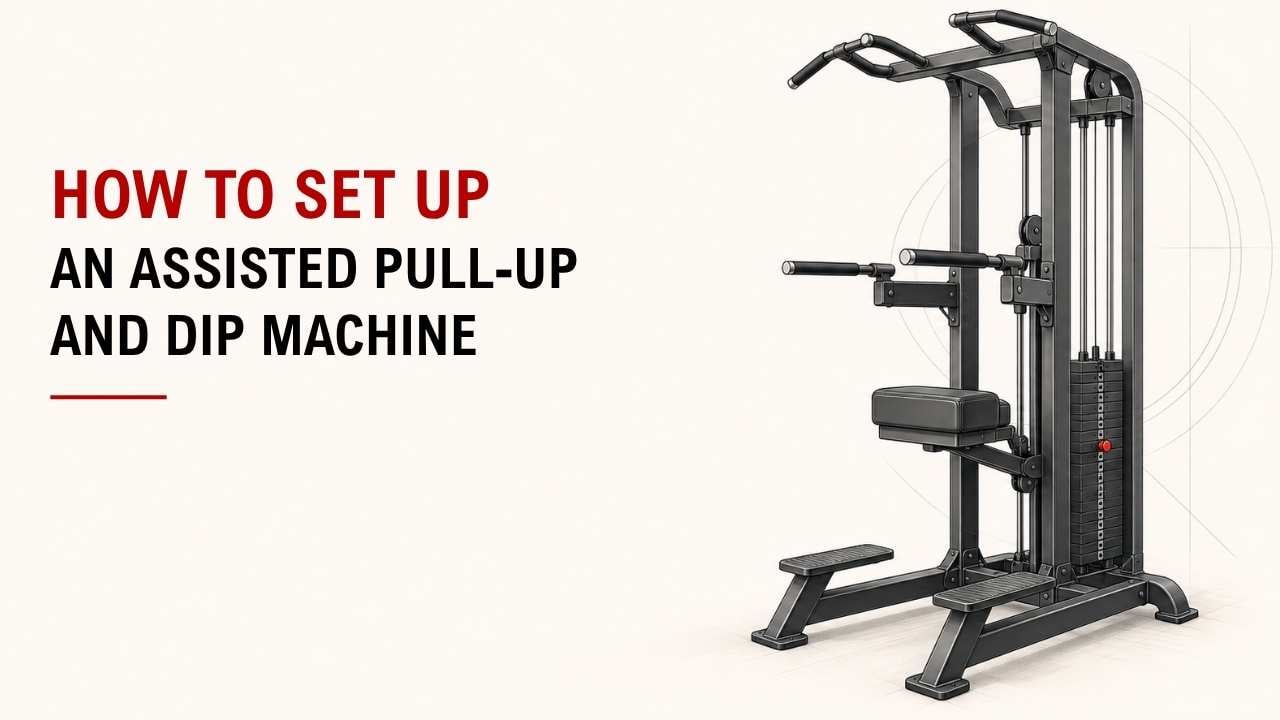

Not sure how to set up an assisted pull-up and dip machine? A few simple adjustments can help you exercise safely and comfortably.
Start by choosing your exercise, adjusting the assistance weight, and positioning yourself correctly. These steps help you perform pull-ups and dips with better control.
As an Exercise Physiology & Biomechanics Expert at YR Fitness, I focus on how body positioning affects exercise performance. I’ve seen how proper machine adjustments help beginners train with more confidence.
Below, I’ll show you seven simple steps to set up the machine correctly. Follow them to get the right support before starting your workout.
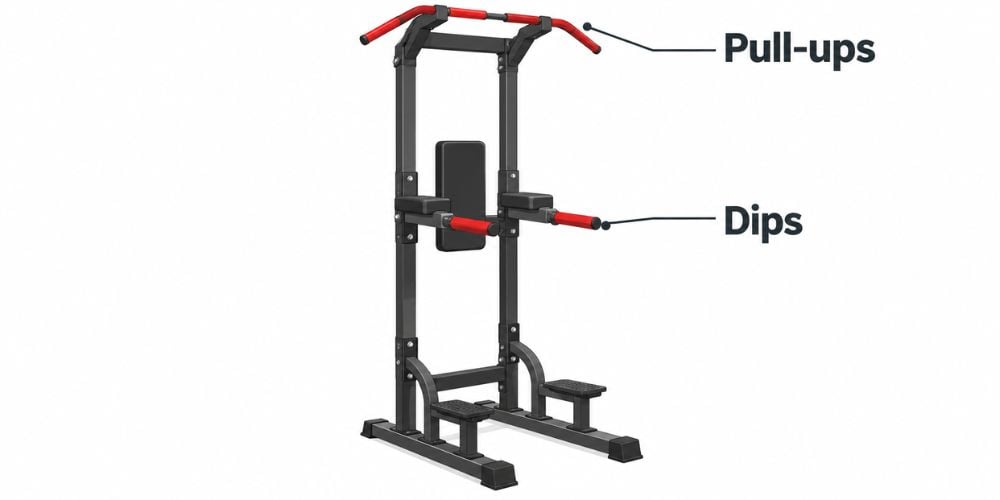
1. Choose Your Exercise
First, decide whether you want to perform assisted pull-ups or assisted dips. Both exercises use the same assistance system but target different muscles.
- Assisted pull-ups: Work your back, biceps, and shoulders.
- Assisted dips: Work your chest, triceps, and shoulders.
- Check which handles you need for your chosen exercise.
- Make sure the machine is stable before starting.
Which should you try first? If you’re a beginner, start with the exercise you feel most comfortable performing.
Learn its setup before switching to the other exercise.
2. Adjust the Assistance Weight
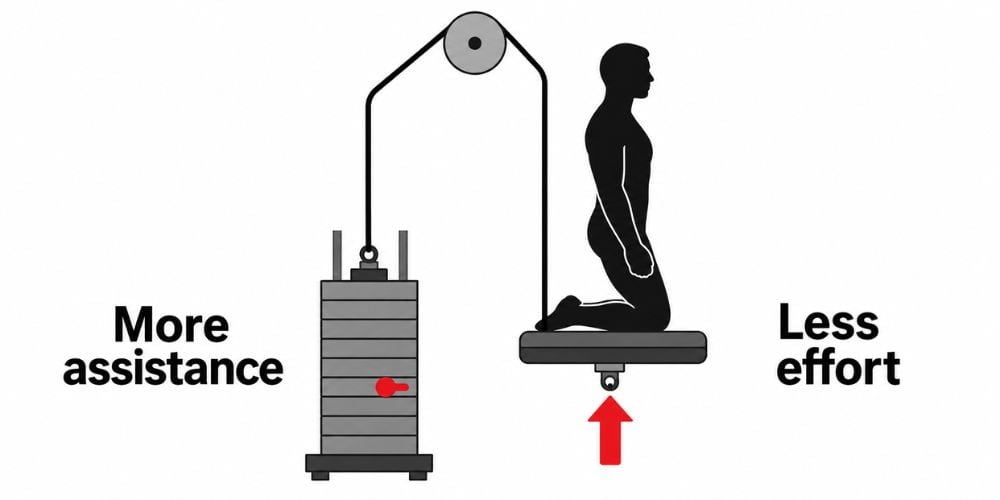
The assistance weight determines how much help the machine gives you.
More assistance means easier exercise. Less assistance means a harder exercise.
Here’s how to adjust it:
- Find the weight stack and adjustment pin.
- Select an assistance weight based on your strength.
- Make sure the pin is fully inserted.
- Adjust the weight if the exercise feels too easy or difficult.
For example, if you weigh 70 kg and select 30 kg of assistance, you’ll lift roughly 40 kg of your body weight. The actual resistance may vary depending on the machine’s design.
Here’s a quick guide:
Assistance setting | Difficulty | Best for |
High assistance | Easy | Beginners |
Medium assistance | Moderate | Building strength |
Low assistance | Hard | Stronger users |
My advice: Start with more assistance and gradually reduce it as you get stronger.
The goal is to complete each repetition with good form, not to make the exercise unnecessarily difficult.
3. Position the Knee or Foot Platform
Next, check where you’ll place your knees or feet.
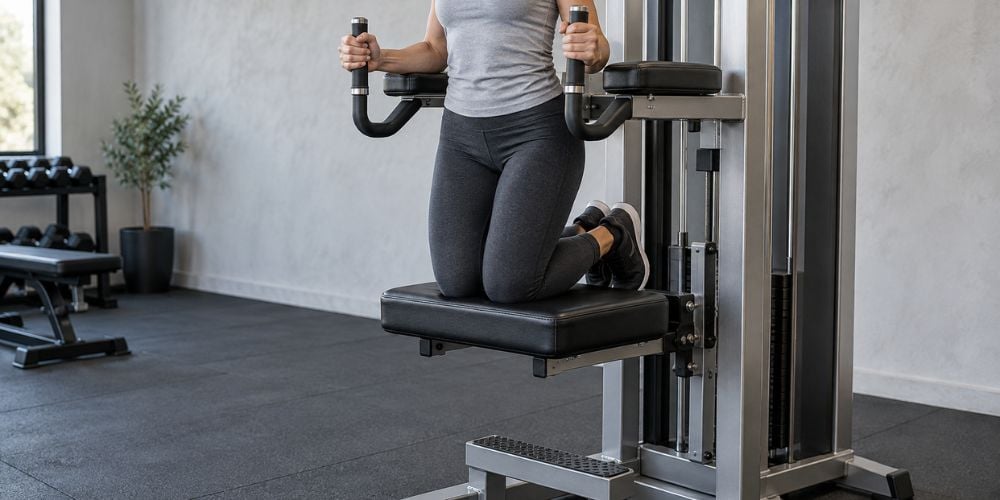
Some machines have a moving knee pad, while others use a foot platform. Both support part of your body weight during exercise.
Follow these steps:
- Check that the platform is correctly positioned.
- Hold the handles before stepping onto the machine.
- Place your knees or feet securely on the support.
- Keep your body centered and balanced.
- Avoid jumping onto the platform.
Why does this matter? A stable starting position helps you control your movements without losing balance.
Always follow the machine’s instructions when getting on or off.
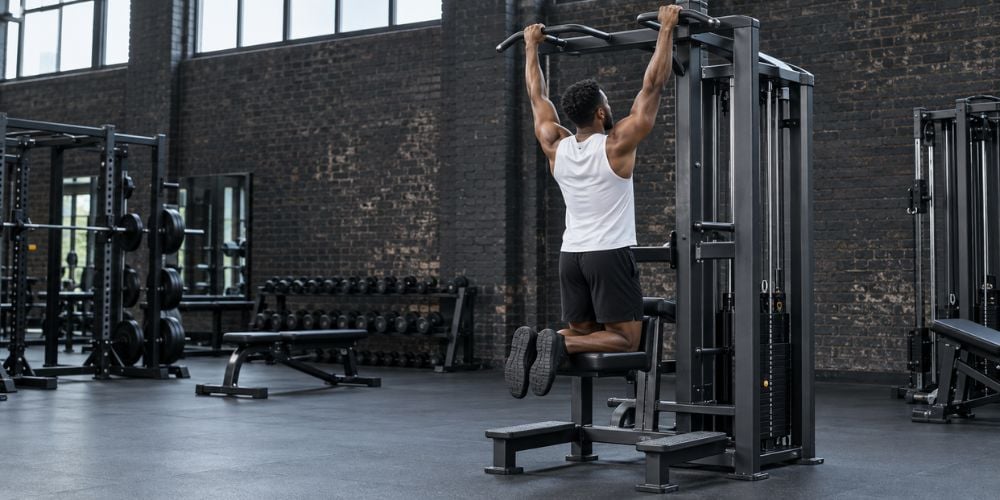
4. Set Up for Assisted Pull-Ups
Assisted pull-ups strengthen your back and arms while reducing the weight you need to lift.
Here’s how to set it up:
- Select your assistance weight.
- Grab the upper pull-up handles.
- Place your knees or feet on the support platform.
- Keep your core tight and shoulders controlled.
- Start with your arms comfortably extended.
- Pull yourself upward until your chin approaches handle height, then lower slowly.
What should you avoid? Don’t swing your legs or use momentum to pull yourself up.
I often remind beginners to focus on controlled movements rather than completing more repetitions. Slow repetitions make it easier to maintain proper form.
For more guidance on upper-body training, you can also review the American Council on Exercise exercise library.
5. Set Up for Assisted Dips
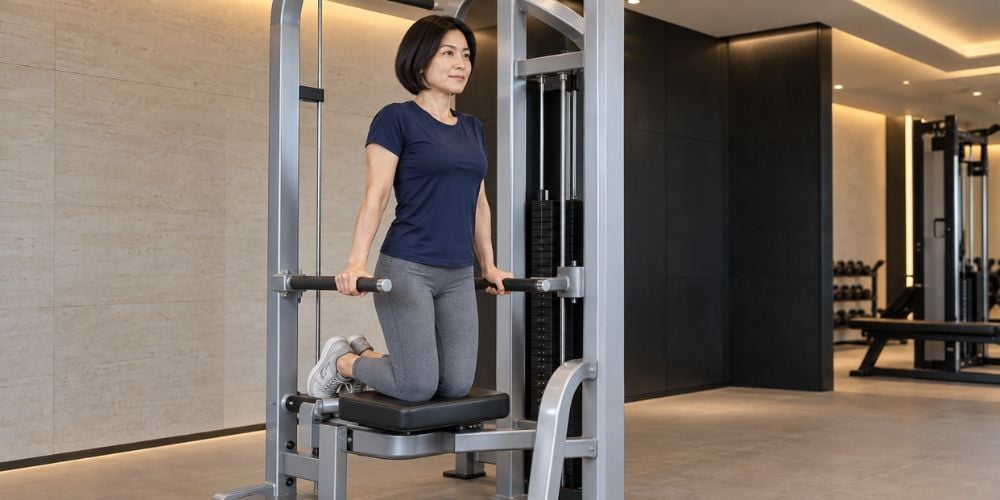
Assisted dips work your chest, triceps, and shoulders. The support platform makes the exercise easier by reducing the weight you need to push.
Follow these steps:
- Adjust the assistance weight.
- Hold the parallel dip handles firmly.
- Place your knees or feet on the support platform.
- Keep your arms straight without forcefully locking your elbows.
- Bend your elbows slowly to lower your body.
- Push through the handles to return to the starting position.
How low should you go? Lower yourself only as far as your shoulders comfortably allow.
Avoid dropping too deep or letting your shoulders roll forward.
In my experience, controlled dips are better than forcing deep repetitions that cause discomfort.
For additional guidance, see this assisted dip technique guide, which covers proper form and common mistakes.
6. Test the Setup Before Your Workout
Before starting your full workout, perform a few slow repetitions to make sure everything feels right.
Here’s what to check:
- Complete 2–3 assisted pull-ups or dips.
- Check whether the assistance feels comfortable.
- Make sure the platform moves smoothly.
- Keep your body balanced throughout movement.
- Adjust the assistance weight if necessary.
Not sure what needs adjusting? Use this quick guide.
What you notice | What to do |
Can’t complete a controlled rep | Increase assistance |
Exercise feels too easy | Decrease assistance |
Body swings during movement | Slow down and tighten your core |
Platform feels unstable or jerky | Stop and have the machine checked |
Shoulder discomfort | Reduce your range of motion or stop |
Quick tip: Beginners can start with enough assistance to complete around 8–12 controlled repetitions.
This is consistent with the American College of Sports Medicine’s resistance training recommendations, which identify 8–12 repetitions as a useful starting range for novice strength training.
Looking for Strength Equipment That’s Easy to Use?
At YR Fitness, we design commercial strength equipment with practical adjustments, stable construction, and smooth movement in mind. Our goal is to help people enjoy comfortable, controlled workouts while supporting gyms that need dependable equipment for daily training.
Explore our commercial gym equipment collection to see strength machines designed for regular use.
7. Exit the Machine Safely
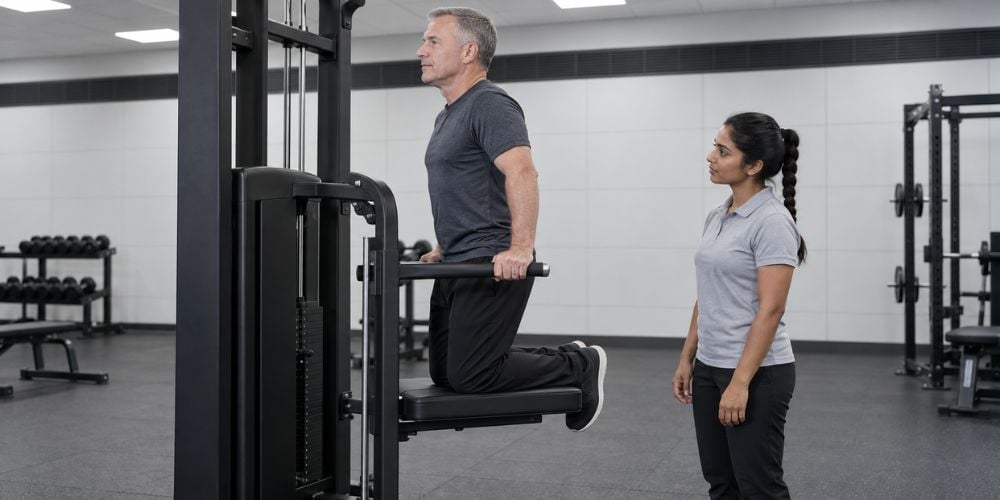
Once you’ve finished your set, take your time getting off the machine.
The moving support platform can shift when your body weight changes, so it’s important to exit carefully.
Follow these steps:
- Finish your last repetition slowly.
- Return to the starting position.
- Keep holding the handles for balance.
- Allow the platform to return to its resting position as instructed.
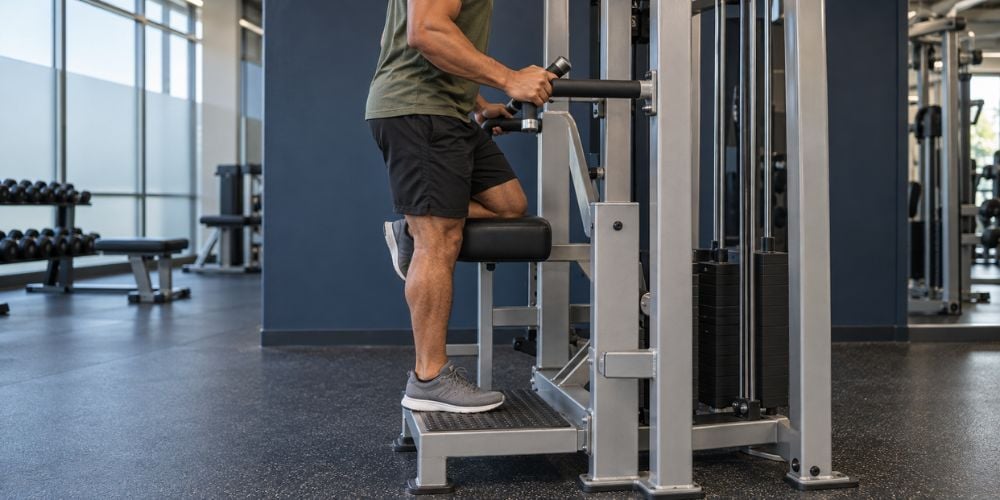
- Step off carefully using the machine’s fixed steps or supports.
One important reminder: The platform may still be under tension after your set.
Never jump off or suddenly release the moving platform.
Conclusion
Setting up an assisted pull-up and dip machine comes down to choosing the right assistance weight, positioning your body correctly, and controlling each movement. Start with comfortable assistance and gradually reduce it as your strength improves.
At YR Fitness, we believe well-designed equipment helps people train with comfort and confidence. Explore our strength training equipment to find machines built for consistent workouts.
Related articles:



