


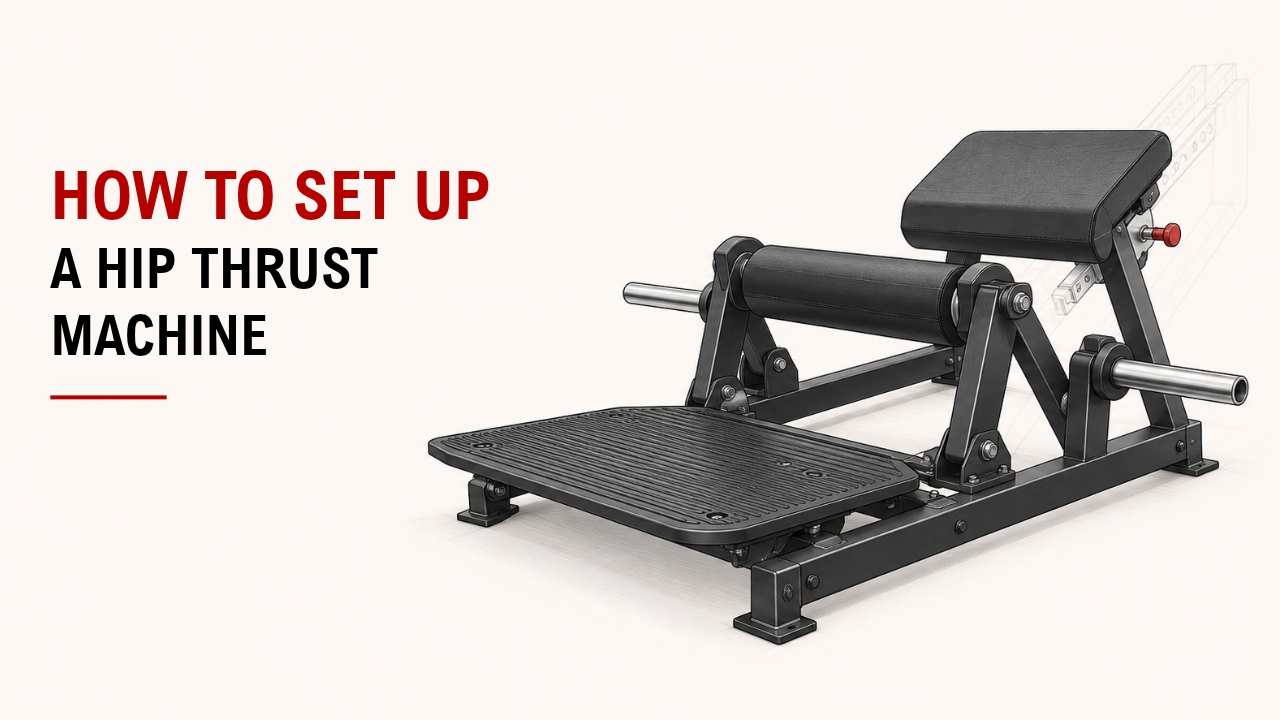

Not sure how to set up a hip thrust machine? A few simple adjustments can make your workout more comfortable.
Adjust the back pad, secure the hip pad, position your feet, and choose the right weight. This helps you train your glutes with better control.
As an Exercise Physiology & Biomechanics Expert at YR Fitness, I understand how proper positioning affects muscle engagement and comfort. I’ve seen small setup changes make a big difference in hip thrust performance.
Below are six simple steps to set up your hip thrust machine. Follow them before your next workout.
1. Adjust the Backrest or Back Pad
Start with the back support. A properly positioned pad helps you stay stable while lifting your hips.
Here’s how to adjust it:
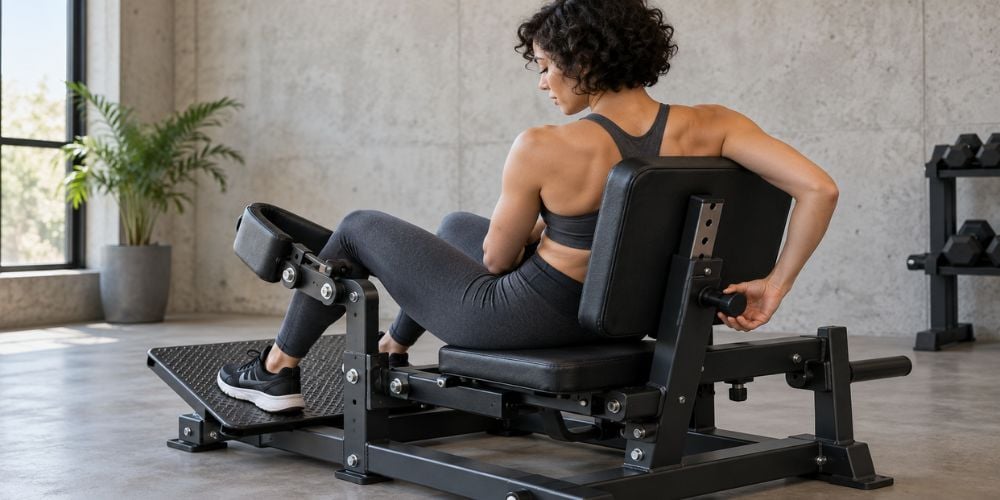
- Sit on the machine with your upper back against the pad.
- Position the support around the lower part of your shoulder blades, following the machine’s design.
- Adjust the backrest or seat if your machine allows it.
- Check that your shoulders can move comfortably as your hips rise.
Quick check: Your upper back should stay supported throughout the movement.
Why does this matter? If the back pad sits too high or low, you may struggle to lift your hips comfortably.
I often see people rush into adding weight without checking their back position. A small adjustment can make the exercise feel much better.
2. Position the Hip Pad or Belt
Next, secure the hip pad or belt. This holds the resistance against your hips during the exercise.
Follow these steps:
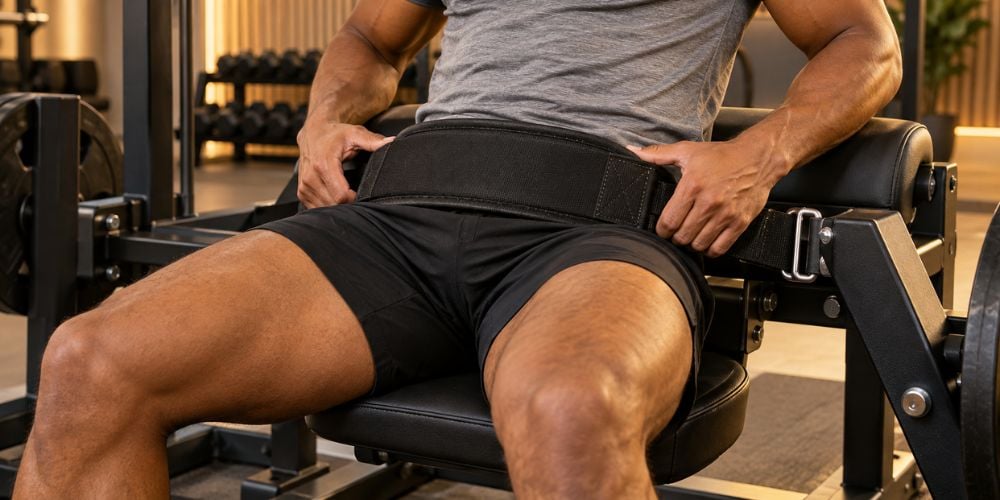
- Place the padded bar or belt across your hip crease.
- Center it evenly over both hips.
- Adjust it until it feels secure but not too tight.
- Make sure it does not press against your stomach.
- Check that the locking mechanism is secure.
How tight should the hip pad be?
It should stay in place when you lift without causing sharp pressure or discomfort.
If the pad shifts during movement, stop and readjust it.
For more information about proper hip thrust positioning, see this hip thrust technique guide from Verywell Fit.
3. Set Your Foot Position
Your foot position affects your balance, comfort, and glute engagement.
Start with your feet about shoulder-width apart.
Here’s how to position them:
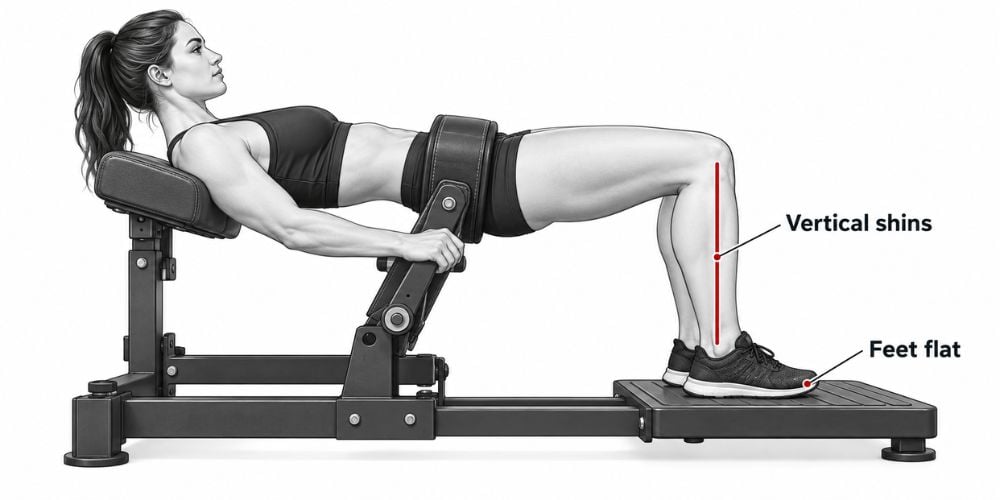
- Place both feet flat on the platform.
- Point your toes forward or slightly outward.
- Keep your knees aligned with your toes.
- Adjust your feet until your shins are roughly vertical at the top.
- Keep your heels planted as you lift.
Are your feet in the right place?
- Too far forward: You may feel more effort in your hamstrings.
- Too far backward: Your knees may move too far forward, making the exercise uncomfortable.
- Proper position: Your feet stay flat, and your hips rise smoothly.
I recommend trying small foot adjustments with light resistance. Your leg length can affect which position feels best.
Want to understand how hip thrusts work your glutes? The National Strength and Conditioning Association (NSCA) provides a useful overview of muscle activation in different hip thrust variations.
4. Choose the Right Weight
Once you’re comfortable with your position, choose your resistance.
Start light enough to control the entire movement without swinging or arching your back.
Follow these steps:
- Begin with light resistance or the machine’s minimum setting.
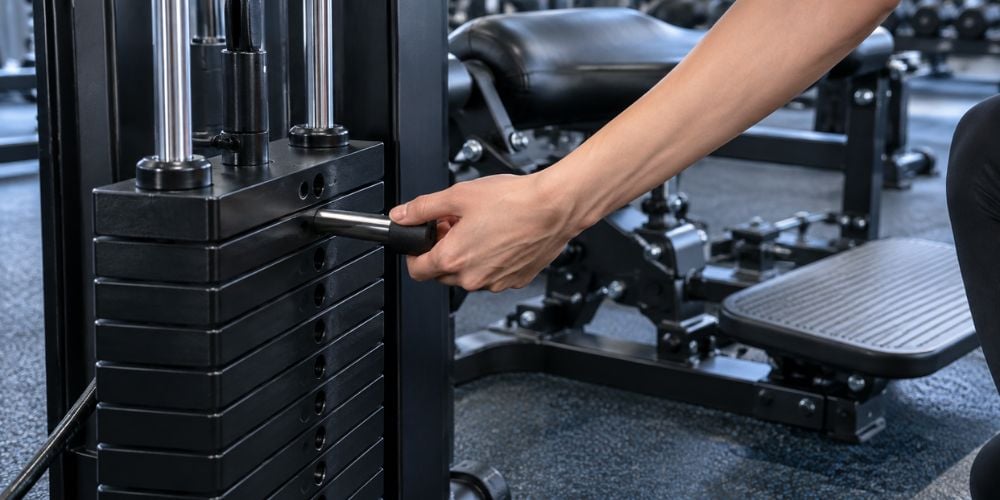
- For weight-stack machines, insert the selector pin completely.
- For plate-loaded machines, add weight evenly on both sides as required.
- Make sure the plates are secure.
- Increase resistance gradually as your technique improves.
Here’s a simple guide to choosing resistance based on your experience.
Experience Level | Recommended Approach |
Beginner | Start with minimum resistance and learn the movement |
Intermediate | Choose a moderate weight you can control |
Advanced | Increase resistance while maintaining proper form |
How do you know if the weight is too heavy?
If you’re swinging, straining, or arching your lower back to finish a repetition, reduce the weight.
Remember, heavier does not always mean better. Your glutes should do the work, not your lower back.
At YR Fitness, we design commercial strength equipment with stable frames, comfortable adjustment features, and controlled movement in mind. We believe a well-designed machine should make it easier to find the right position and focus on your workout.
If you’re interested in how machine design affects training comfort, explore our commercial strength equipment to see what features support smooth, stable movement.
5. Check the Starting Position
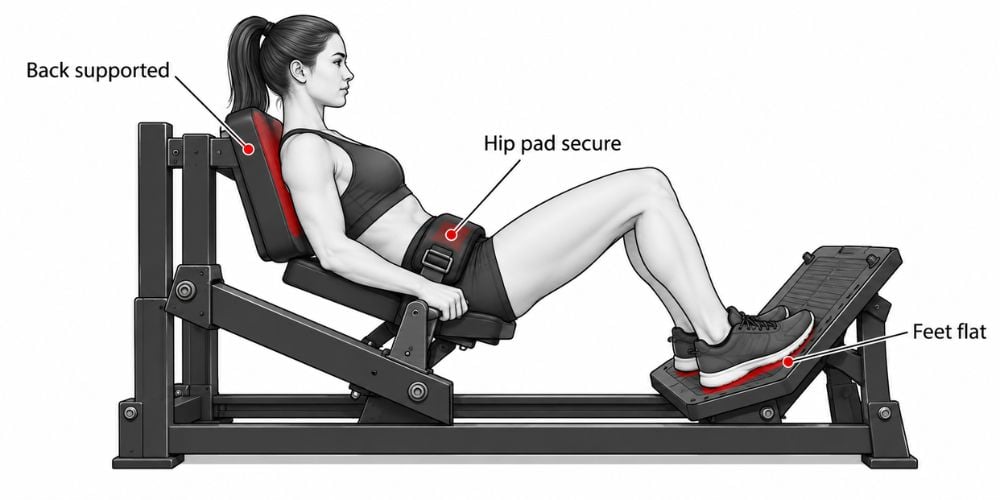
Before lifting, check your body position. A stable setup helps you move comfortably and reduces unnecessary strain.
Use this quick checklist:
- Upper back: Rest comfortably against the pad.
- Hip pad: Secure across your hips.
- Feet: Flat and about shoulder-width apart.
- Knees: Aligned with your toes.
- Core: Gently tightened to support your spine.
- Head and neck: Relaxed and aligned with your torso.
Once everything feels secure, release the safety mechanism according to the machine’s instructions.
Should you arch your lower back?
No. Keep your spine comfortable and controlled instead of exaggerating the arch.
From my experience studying exercise movement, a stable starting position makes it easier to focus on your glutes instead of relying on your lower back.
For a simple example of controlled hip extension, see the National Academy of Sports Medicine’s floor bridge guide. It covers core engagement, glute activation, and avoiding excessive lower-back arching.
6. Test the Machine Before Your Workout
Before starting your working sets, perform 2–3 slow repetitions with light resistance.
This helps you check whether the machine feels comfortable and properly adjusted.
Here’s how to test it:
- Push through your feet and slowly raise your hips.
- Keep your upper back supported.
- Lift until your torso and thighs form roughly a straight line.
- Squeeze your glutes briefly at the top.
- Avoid arching your lower back.
- Lower your hips slowly.
- Repeat for 2–3 controlled repetitions.
What if something feels wrong?
Use this table to identify common setup problems and make quick adjustments.
What You Notice | What to Adjust |
Hip pad feels uncomfortable | Reposition or adjust the pad |
Feet keep lifting | Adjust your foot placement |
Lower back feels strained | Reduce the weight and check your hip position |
Knees move inward | Keep your knees aligned with your toes |
Movement feels unstable | Check the back support and machine setup |
Still uncomfortable after adjusting?
Stop and check the setup again. If the machine feels loose, damaged, or unusually rough, avoid using it and ask gym staff to inspect it.
Remember, hip thrust machines have different adjustment systems. Always follow the instructions on your specific machine.
Conclusion
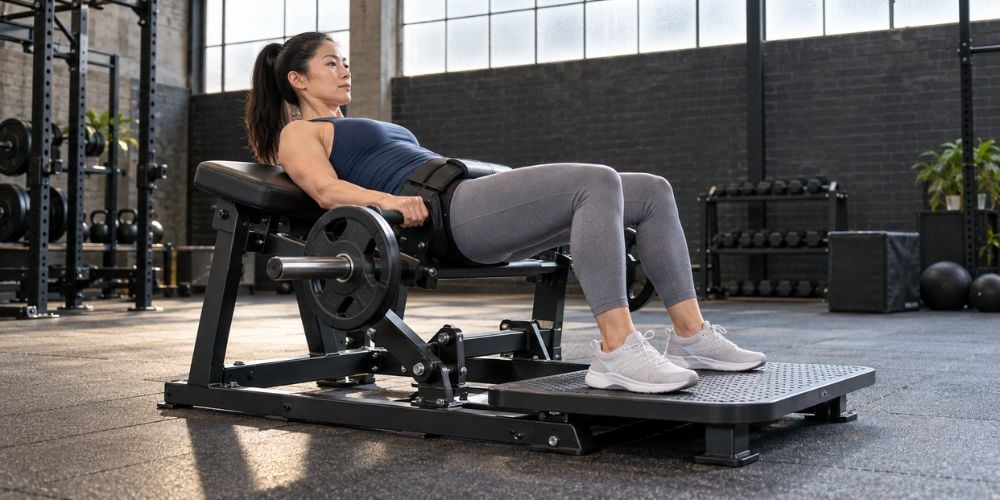
Setting up a hip thrust machine is simple. Adjust your back support, secure the hip pad, position your feet, choose the right weight, and test the movement.
A proper setup helps you train your glutes comfortably and with better control.
At YR Fitness, we focus on strength equipment designed for stable, comfortable movement. Explore our commercial gym equipment to learn how good machine design can support your workouts.
Related articles:



