









Is your gym ready for equipment delivery? A few simple checks can prevent delays, damage, and access problems.
The short answer is: confirm the delivery, measure the route, clear the path, finish the floor, mark machine positions, and check the power supply. Get these six things ready before the truck arrives.
As a Machinery & Structural Engineer at YR Fitness, I work closely with equipment dimensions, weight, access, and placement. I know how easily one missed measurement can create problems, so these are the checks I trust most before delivery.
Below, I’ll show you what to prepare step by step. Keep it simple and check each point before delivery day.
1. Confirm the Delivery Date and Site Contact
Start with the basics.
Confirm the delivery date, expected arrival window, and who will receive the equipment. Someone should be at the gym to guide the delivery team and answer questions.
Also, find out exactly what the delivery service includes.
Ask:
- Will the equipment only be dropped outside?
- Will it be carried into the gym?
- Is assembly included?
- Will packaging be removed?
- Who handles large or heavy machines?
Do not assume delivery includes installation.
I always recommend keeping the supplier, driver, installer, and site contact details in one place. If something changes, you will know who to call.
Quick question: Who will be at the gym when the truck arrives?
Decide that before delivery day.

2. Measure Every Entrance and Access Point
This is one of the most important checks.
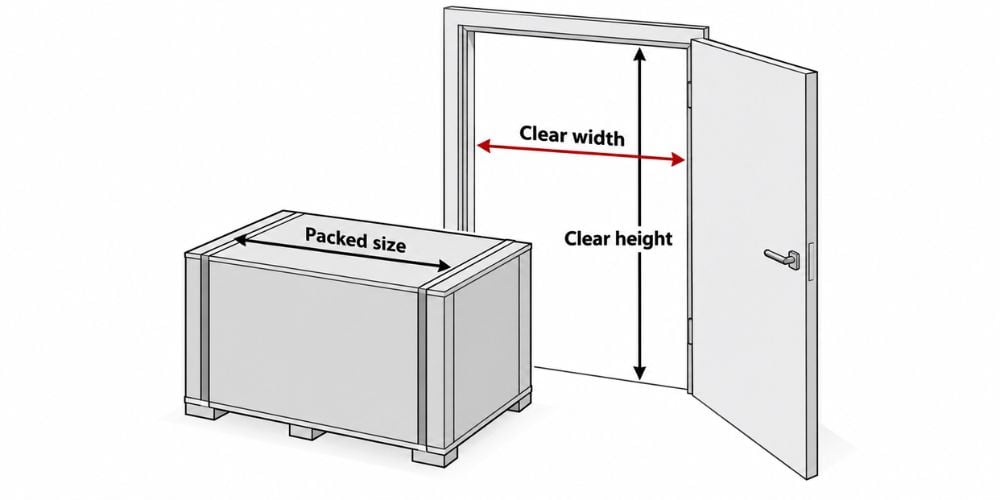
Measure the complete route from the unloading area to the final machine position. A machine may fit perfectly inside the gym but still fail to get through the front door.
Check:
- Main doorway width
- Doorway height
- Hallway width
- Stairway width
- Elevator dimensions
- Elevator weight capacity
- Tight corners
- Gates
- Ramps
- Ceiling clearance
Then compare those numbers with the packed dimensions of the equipment.
Why measure the actual opening rather than the door itself? The U.S. Access Board’s guidance on entrances and door clearances shows how usable clear width is measured with the door open, which is a useful reminder when checking a delivery route.
I often see people measure the workout room but forget the hallway leading to it. That narrow hallway can become the real problem.
Simple Access Check
Area | What to Measure | Common Problem |
Main door | Width and height | Machine is wider than usable opening |
Hallway | Narrowest point | Boxes or fixed objects reduce clearance |
Elevator | Door, interior space, weight limit | Machine fits through door but exceeds capacity |
Stairs | Width, turns, landing | Not enough space to rotate |
Corners | Turning clearance | Long frames cannot make the turn |
Final room | Entrance and floor space | Machine fits, but working space is too small |
One useful tip: Measure the tightest point, not the widest point.
3. Clear the Delivery Route
Once you know the equipment fits, clear the path.
Remove anything that may slow down the delivery team:
- Boxes
- Chairs
- Tables
- Construction materials
- Cleaning equipment
- Loose cables
- Tools
- Temporary signs
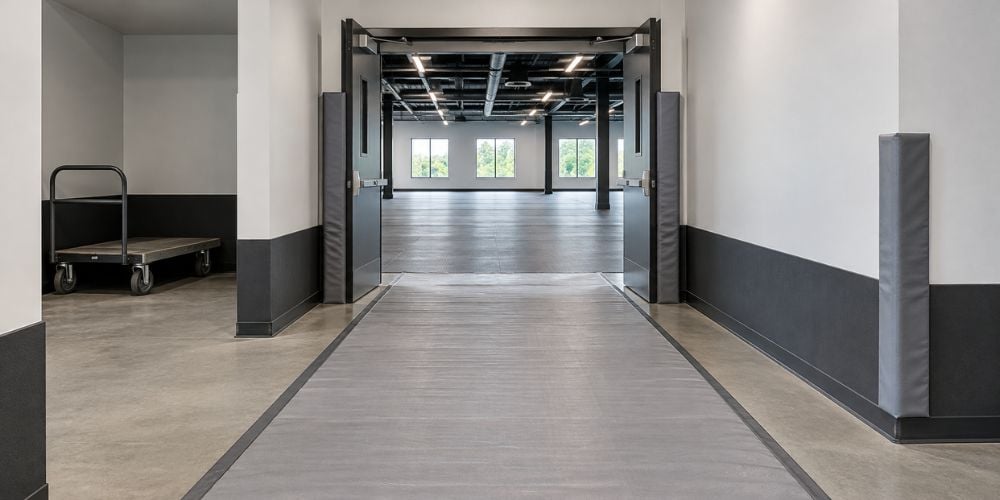
Protect finished walls, doors, corners, and floors where large machines will pass close to them.
Here is why this matters: commercial machines can be heavy and awkward to turn. Even a small obstacle can make the job harder.
The OSHA guidance on handling heavy and bulky objects also recommends using mechanical means where possible when moving heavy or bulky loads rather than relying only on manual handling.
I like to walk the whole route before delivery. If I spot a tight turn, loose cable, or obstruction, I would rather fix it before several people try to move a heavy machine.
Keep emergency exits clear too.
Preparing for several commercial machines at once? We recommend checking equipment dimensions before you finalize doors, walkways, and machine positions. You can review strength, cardio, and other commercial equipment on the YR Fitness website and use those specifications to plan your delivery route before the equipment arrives.
4. Finish the Gym Flooring First
Try to complete the flooring before the equipment arrives.
This includes:
- Rubber tiles
- Rubber rolls
- Vinyl flooring
- Platforms
- Protective mats
- Floor coatings
Make sure adhesives, coatings, and other flooring materials have properly cured before placing heavy machines on them.
Why flooring first?
Moving machines again after installation creates unnecessary work. It can also damage the new floor or force you to dismantle equipment that was already assembled.
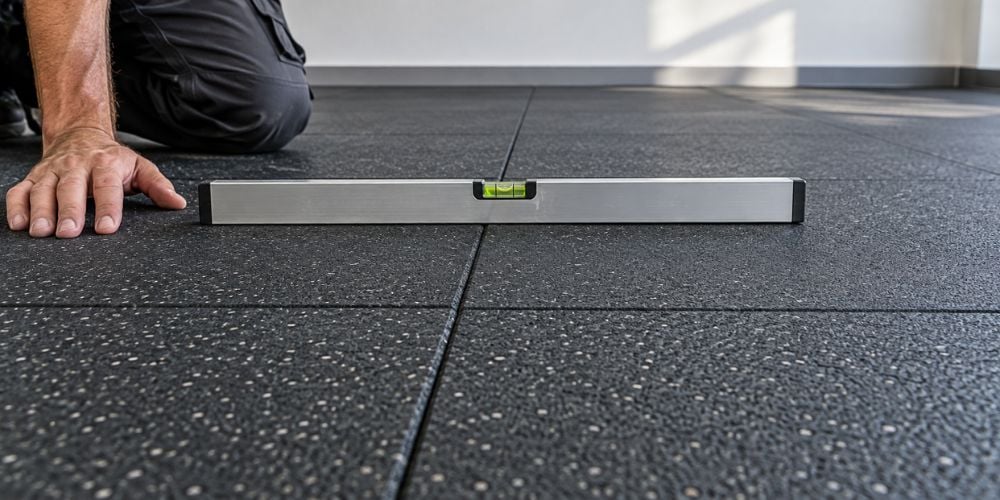
Before placement, check that the floor is:
- Level
- Stable
- Clean
- Dry
- Strong enough for the equipment
Heavy strength machines need a solid surface.
If the gym is still under construction, avoid placing new equipment where workers are drilling, painting, cutting, or moving building materials.
5. Mark Where Each Machine Will Go
Do not wait until installation day to decide the layout.
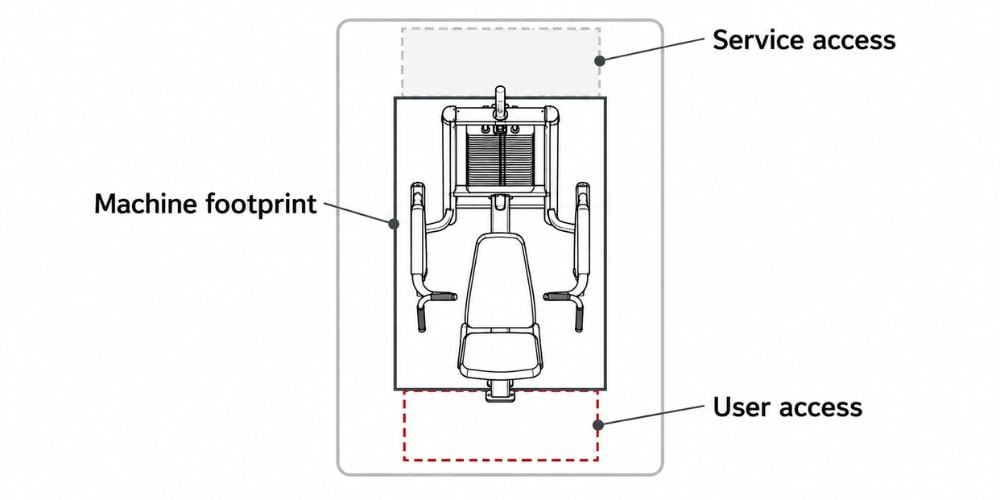
Use masking tape or removable floor markers to show where each machine should sit.
Mark:
- Machine footprint
- Front direction
- User access area
- Walkways
- Space between machines
- Maintenance access
This small step can make positioning much faster.
A machine may physically fit against a wall but still need room for adjustments, cables, servicing, and user movement.
Equipment Placement Checklist
Check | Why It Matters |
Enough workout space | Gives the user room to move |
Clear walkways | Makes movement around equipment easier |
Adjustment access | Seats and pads can move properly |
Maintenance space | Key parts remain reachable |
Correct direction | Improves traffic flow |
Nearby power | Reduces the need for long cables |
Does the frame fit? Good.
Can someone actually use and adjust the machine comfortably? That is the most important question.
6. Check Power and Utility Requirements
Not every machine needs electricity, but many cardio machines do.
Before delivery, check the requirements for:
- Treadmills
- Exercise bikes
- Ellipticals
- Stair climbers
- Connected consoles
- Entertainment screens
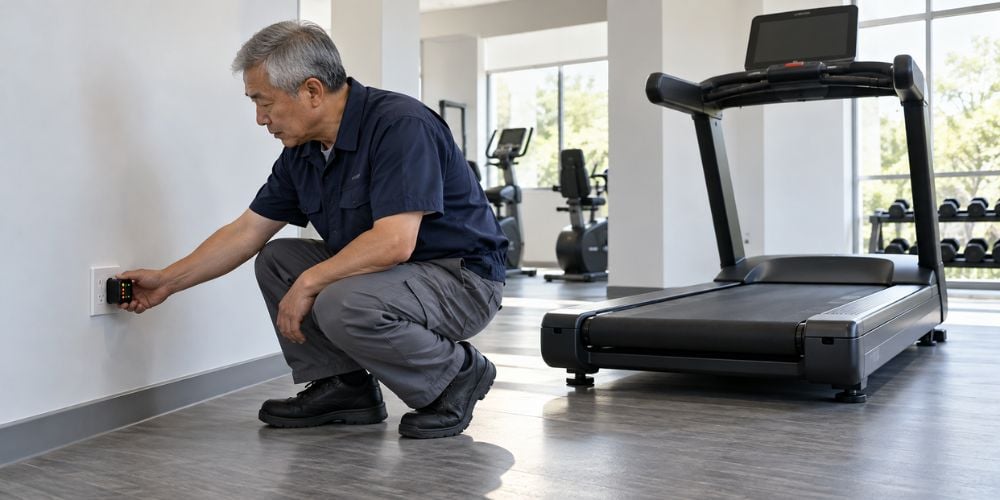
Confirm the required voltage, outlet type, and outlet location for each machine.
Avoid placing powered equipment far from the nearest outlet and then depending on a long extension cable unless the equipment manufacturer allows it.
OSHA notes that improper use of extension and flexible cords can create electrical hazards, and its electrical safety guidance for flexible cords explains why damaged or incorrectly used cords need particular attention.
If your equipment uses connected displays, you may also need:
- Wi-Fi
- Ethernet
- TV connections
- USB access
- Network setup
Get these ready before the machine is positioned.
I have seen treadmills move again simply because the outlet was on the wrong side. It sounds minor, but fixing it later wastes time.
One last check: Test the outlet before delivery day.
Quick Gym Delivery Checklist
Before the equipment arrives, make sure you can answer yes to these six questions:
- Is the delivery date confirmed?
- Will every machine fit through the access route?
- Is the delivery path completely clear?
- Is the gym flooring finished?
- Is every machine position marked?
- Are the required electrical outlets ready?
If the answer is yes to all six, your site is in good shape for delivery.
Conclusion
Preparing for gym equipment delivery does not need to be complicated. Focus on access, flooring, positioning, power, and clear communication before the truck arrives.
A few measurements now can save a lot of unnecessary moving later.
If you are planning commercial equipment, browse the YR Fitness website and check machine options and specifications before you finalize your layout and delivery route.
Related articles:



