


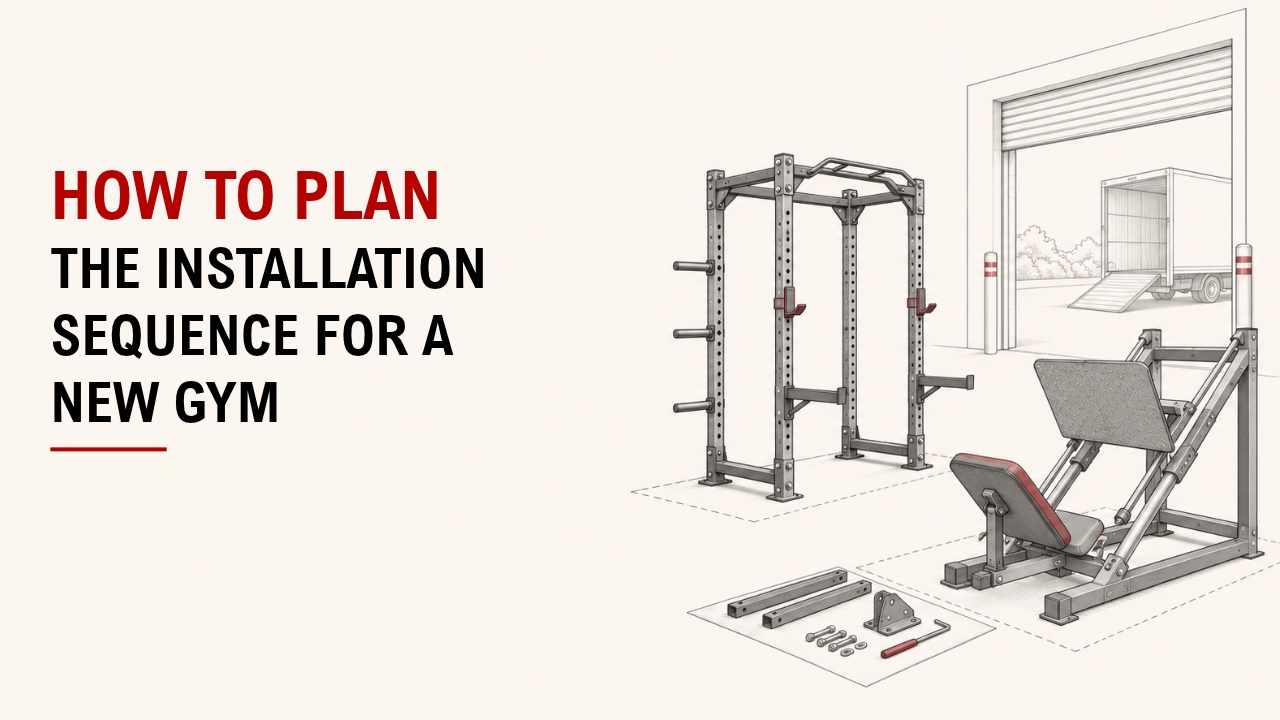

Are you setting up a new gym and unsure which machines should go in first? The right order can save you from blocked paths and unnecessary moving.
The simple answer is: finish the floor plan, check the delivery route, install from the back forward, and bring in the largest machines early. This keeps the setup much easier to manage.
As a Machinery & Structural Engineer at YR Fitness, I work with equipment frames, dimensions, assembly points, and installation needs. I often see smooth installations come down to one thing: planning the sequence before the equipment arrives.
Below, I’ll show you six simple steps to plan the installation order. Follow them in sequence to make the setup faster and more organized.
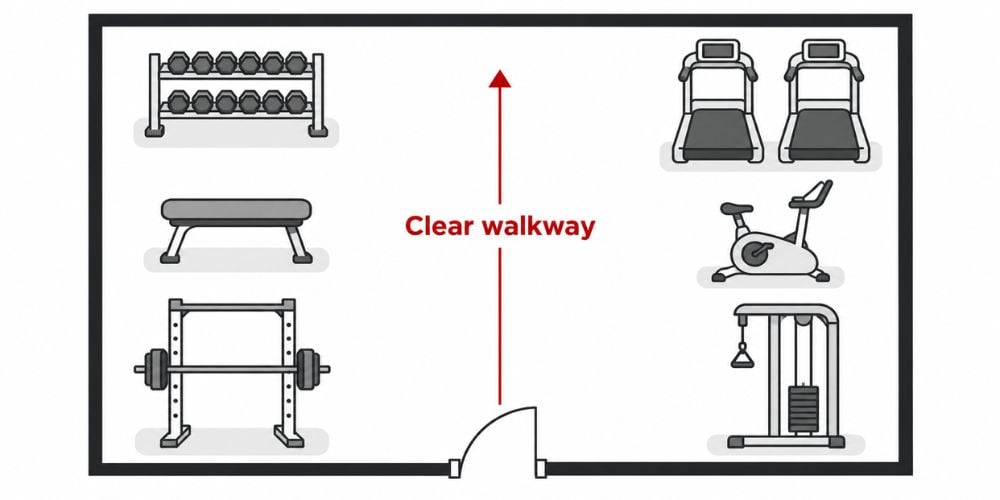
1. Finalize the Gym Floor Plan First
Do not start installing machines while you are still deciding where they belong.
Mark the final location of:
- Strength machines
- Cardio machines
- Racks
- Benches
- Dumbbell areas
- Functional training zones
Also leave enough space for people to walk around and use each machine comfortably.
How much walking space do you need?
For U.S. facilities, the ADA Standards for Accessible Design specify a minimum clear width of 36 inches (915 mm) for most accessible walking surfaces. Door openings on accessible routes generally need at least 32 inches (815 mm) of clear width, although your local requirements may be different.
I treat the floor plan as the map for the entire installation. Once every machine has a clear position, the next steps become much simpler.
Floor Plan Check | What to Confirm |
Machine position | Final location is marked |
Walking space | Users can move comfortably |
Exercise space | Machine can be used through its full movement |
Door access | Equipment does not block entrances |
Training zones | Strength, cardio, and free weights are clearly placed |
Quick rule: Finish the layout before the first large machine enters the room.
2. Check the Delivery and Access Route
Now look at how every machine will actually reach its position.
Check:
- Entrance doors
- Hallways
- Elevators
- Stairways
- Tight corners
- Ceiling height
- Floor protection
Measure narrow areas before delivery day.
A machine may fit perfectly in its final position but still be too large to pass through a doorway. I would rather find that problem on a floor plan than while a 300 kg machine is sitting outside the room.
Heavy equipment also needs to be moved safely. OSHA’s material-handling guidance recommends keeping aisles and passageways clear and using help or suitable handling equipment when loads are too bulky to handle safely.
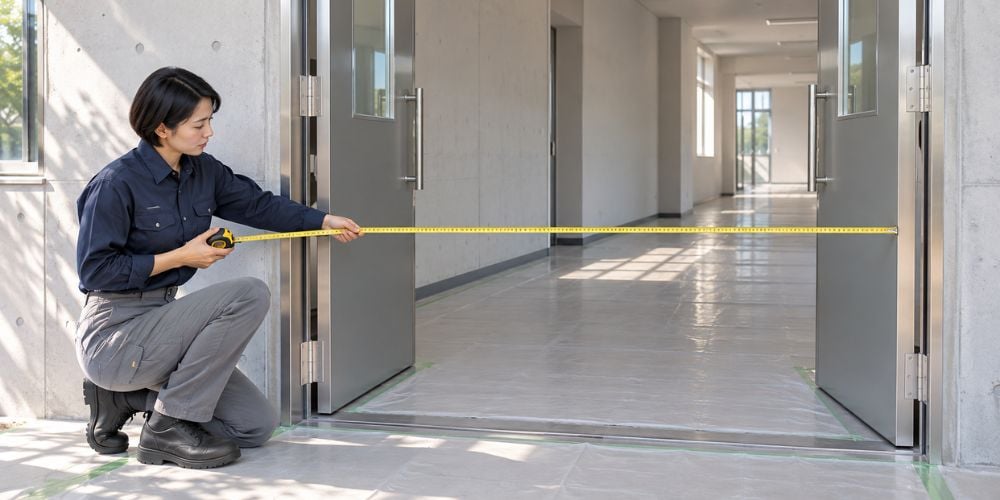
Here is a quick check before delivery:
Access Point | Check Before Installation |
Main entrance | Door width and height |
Hallway | Width and turning space |
Elevator | Door size and load capacity |
Stairs | Width, turns, and landing space |
Ceiling | Clearance for tall equipment |
Floor | Protection for heavy equipment movement |
3. Install the Farthest Equipment First
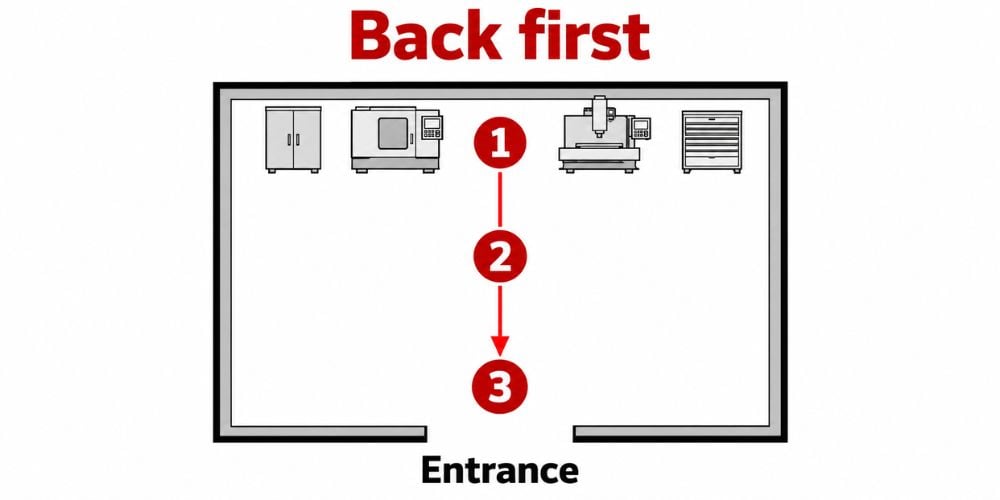
Start with the machines that belong farthest from the main entrance.
Then work gradually toward the door:
Back wall → middle area → front area → entrance
Why?
If you install equipment near the entrance first, it can block the route for everything that still needs to come inside.
This is one of the simplest installation habits I recommend. Whenever the layout allows it, work back to front.
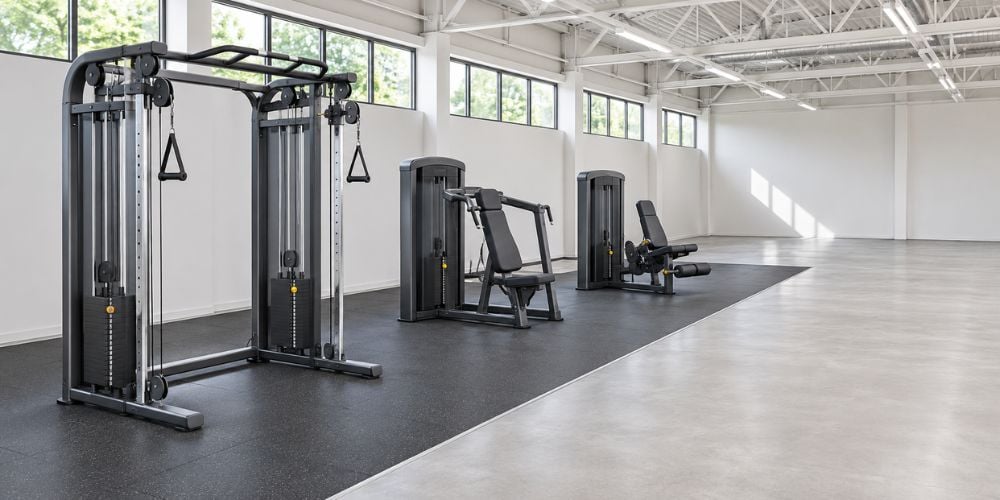
4. Bring in the Largest Machines Early
Large machines should usually enter before smaller equipment.
Examples include:
- Smith machines
- Power racks
- Leg presses
- Functional trainers
- Multi-station machines
- Large plate-loaded machines
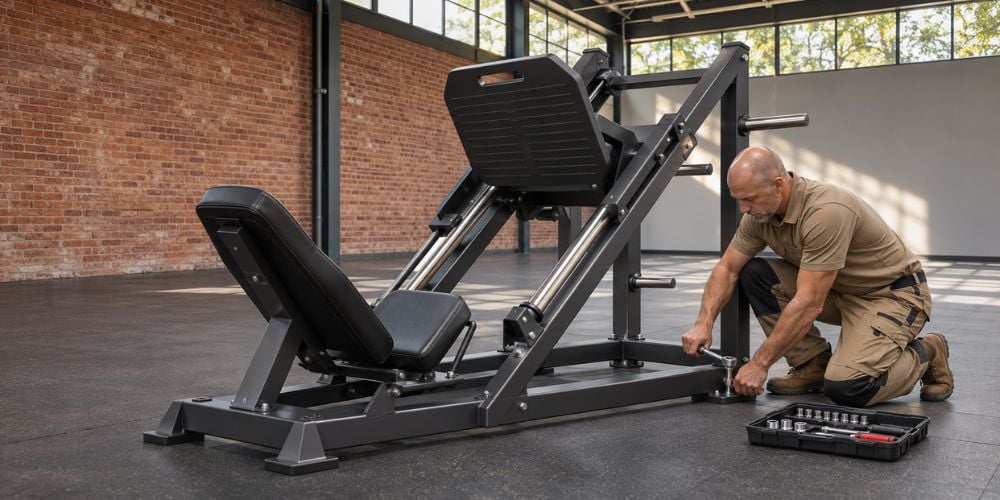
These pieces need more room for transport and assembly.
A bench can usually be moved later without much trouble. A large multi-station machine is a completely different job once the room starts filling up.
Ask yourself:
Which machine would be hardest to move later?
That machine should probably be near the front of your installation sequence.
At YR Fitness, we offer commercial strength, cardio, and fitness equipment for complete gym setups. Reviewing our equipment dimensions and machine choices together can help you decide which large stations need to enter and be assembled first.
5. Install Equipment by Training Zone
Once the largest machines are positioned, continue one training area at a time.
A simple sequence can look like this:
Stage | Install |
1 | Large strength machines |
2 | Racks and Smith machines |
3 | Selectorized equipment |
4 | Cardio machines |
5 | Benches and storage |
6 | Dumbbells and accessories |
Working by zone keeps the floor organized.
It also makes spacing problems easier to notice before the entire gym becomes crowded.
I prefer finishing one area properly instead of placing random machines across the room. It gives you a clear view of what fits and what may still need adjusting.
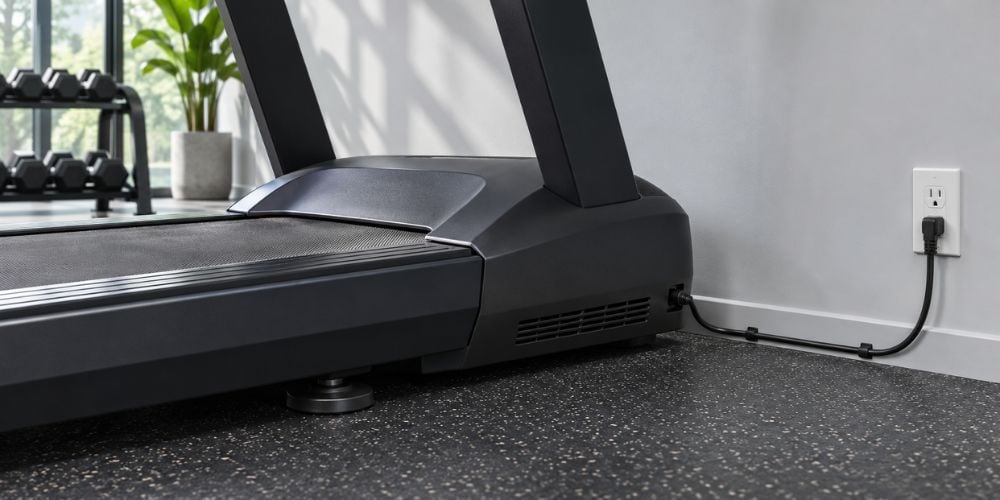
6. Handle Powered Equipment Carefully
Treadmills, ellipticals, exercise bikes, and other powered machines need extra planning.
Before positioning them, check:
- Electrical outlet locations
- Power supply requirements
- Cable routes
- Walking areas
- Clearance around the machine
Install first and check the outlet later?
That is exactly what you want to avoid.
Place powered equipment where its cable can reach the correct power source without creating a trip hazard.
Power requirements can also differ by machine. For example, Life Fitness treadmill owner manuals provide model-specific installation, electrical, and operating information, which is why you should always check the manual for the exact machine before powering it on.
Quick Installation Sequence
Want the short version?
Floor plan → access route → farthest machines → largest equipment → training zones → powered equipment
For many new gym setups, this simple order keeps installation organized and reduces unnecessary equipment movement.
Conclusion
A good installation sequence is mostly about avoiding extra work. Finalize the layout, keep the delivery path open, work from the back toward the entrance, and install the hardest-to-move machines early.
From my experience, a little planning before delivery can save a lot of lifting and rearranging afterward.
If you are choosing machines for a new setup, explore YR Fitness commercial gym equipment and review your equipment choices before locking in the installation order.
Related articles:



