









Is your gym equipment arriving soon? A little planning can help you avoid delays, blocked access, and setup mistakes.
The quick answer is simple: confirm the delivery, clear the space, check the route, mark machine positions, and prepare power before installation day. At YR Fitness, we consider these details when preparing commercial equipment for delivery and setup.
As a Machinery & Structural Engineer, I work closely with equipment dimensions, frames, assembly points, and installation requirements. I have seen how a few simple checks before delivery can prevent much bigger problems on installation day.
Below, I’ll show you six simple steps to prepare everything before the equipment arrives. Follow them to keep the installation smooth and organized.
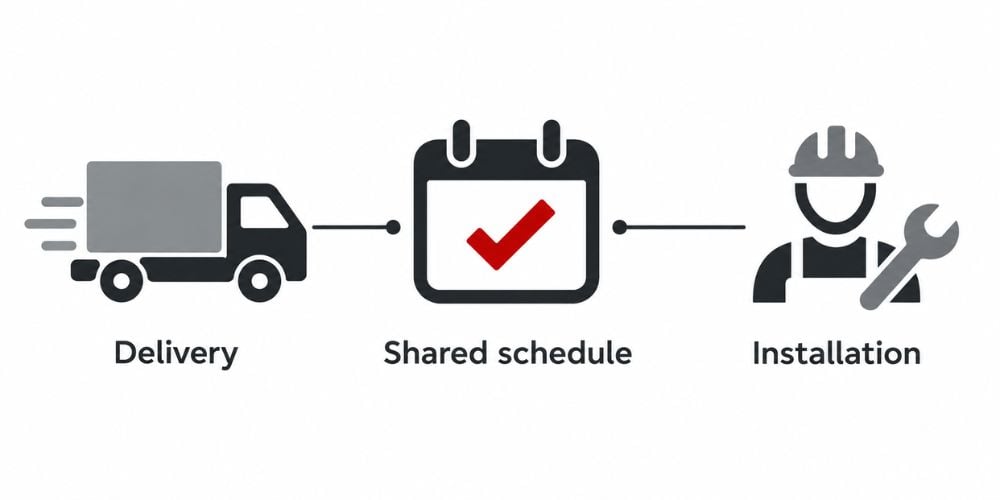
1. Confirm the Delivery and Installation Schedule
Start with the basics: when is the equipment arriving, and who is doing what?
Confirm the delivery date and expected arrival time. If several machines are coming, check whether they will arrive together or in separate shipments.
Here is a quick checklist:
Check Before Installation | What to Confirm |
Delivery | Date and expected arrival time |
Shipment | One delivery or several shipments |
Unloading | Who removes equipment from the truck |
Moving | Who brings machines into the gym |
Assembly | Who puts each machine together |
Placement | Who decides final machine positions |
Testing | Who checks that equipment works correctly |
Keep the delivery company and installer details easy to find. If the truck is delayed or something is missing, you can deal with it quickly.
Quick check: Is everyone working from the same schedule?
If not, sort that out before installation day.
2. Prepare the Gym Before Equipment Arrives
Clear the room before the equipment reaches the building.
Remove boxes, tools, construction materials, and anything else that could block the installers. If the gym is still being renovated, try to finish major work such as flooring, painting, and electrical installation first.
Here is why this matters.
Heavy machines need room to move. OSHA’s materials-handling standard also stresses keeping aisles and passageways clear and providing enough clearance around doorways and turns when mechanical handling equipment is used.
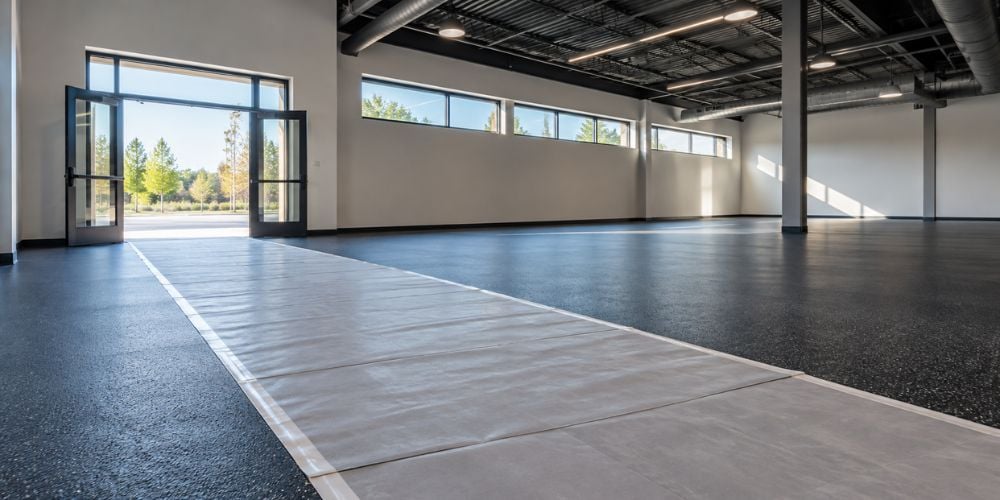
Protect finished flooring as well.
Use suitable floor coverings along the route from the entrance to the final equipment position. Heavy machines, moving dollies, and installation tools can otherwise scratch or damage the surface.
I often see installation become harder simply because people have to work around ladders, boxes, or unfinished flooring. An empty room is much easier to work with.
3. Check the Delivery Route
A machine can fit perfectly in your workout area and still fail to make it through the building.
Walk the complete route from the unloading point to the final position.
Measure:
- Main entrance
- Doorways
- Hallways
- Elevators
- Stairways
- Corners
- Landings
Then compare these measurements with the equipment dimensions.
Delivery Point | What to Measure | Common Problem |
Entrance | Width and height | Machine frame cannot pass |
Doorways | Clear opening | Handles or frame are too wide |
Hallways | Width | Not enough turning room |
Elevator | Door, cabin, and load limits | Machine is too large or heavy |
Stairs | Width and landing space | Difficult to turn safely |
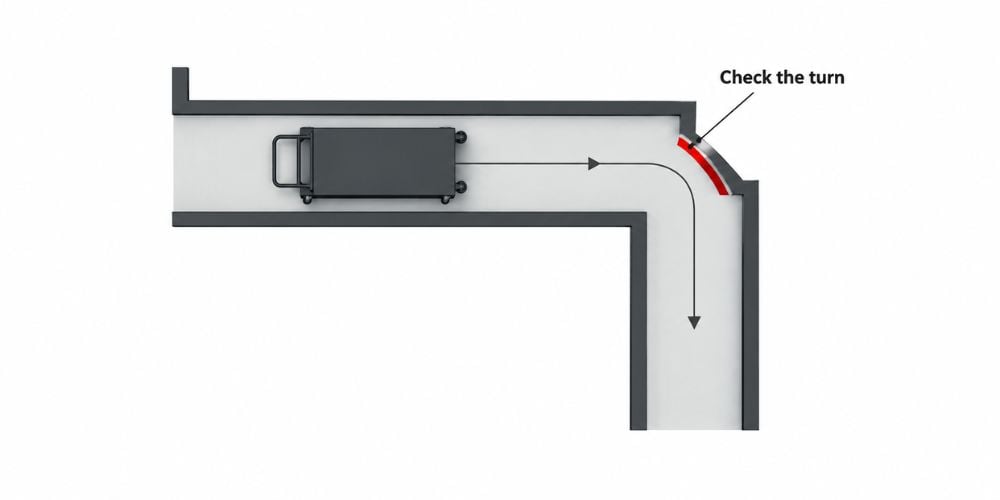
Corners | Turning clearance | Equipment fits straight but cannot turn |
Final position | Machine footprint and clearance | Too little room around equipment |
Pay particular attention to the narrowest point and the tightest turn.
For example, a machine may fit through a 100 cm doorway but still struggle to turn into a narrow corridor immediately afterward.
Accessible routes are another detail worth checking. The U.S. Access Board’s ADA accessible-route guidance notes that accessible routes generally need at least 36 inches (915 mm) of continuous clear width, with additional clearance required at some turns. Local requirements can differ, so check the rules that apply to your facility.
What if the machine is too large?
Some commercial machines can be partially disassembled before they are moved inside. Plan that before delivery instead of discovering the problem while the equipment is sitting outside.
4. Mark Where Each Machine Will Go
Do not wait until someone is carrying a heavy machine to decide where it belongs.
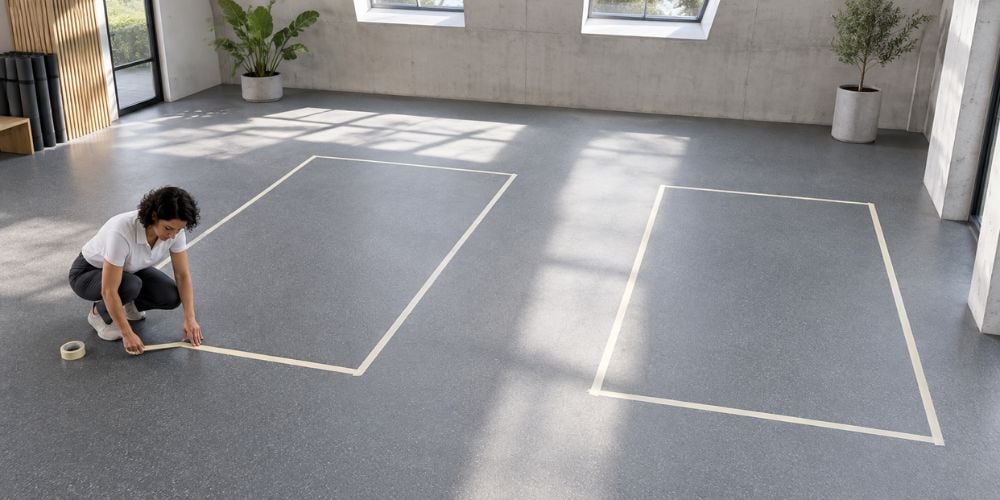
Prepare a simple layout first.
Use masking tape or removable floor markers to show the approximate footprint of larger equipment. This gives you a quick visual check before anything heavy enters the room.
Leave enough space for:
- Getting on and off the machine
- Moving arms or handles
- Adjusting seats and pads
- Loading weight plates
- Walking between machines
- Cleaning around equipment
I like to walk through a planned layout before installation starts. A machine can look perfectly positioned on paper but create an awkward walkway once you stand in the room.
If you are still deciding which machines will fit your space, we recommend checking equipment dimensions before installation day. You can explore our YR Fitness commercial gym equipment and compare strength, cardio, and training options before finalizing your layout.
Simple rule: Decide the layout before installers arrive.
5. Prepare Power and Network Connections
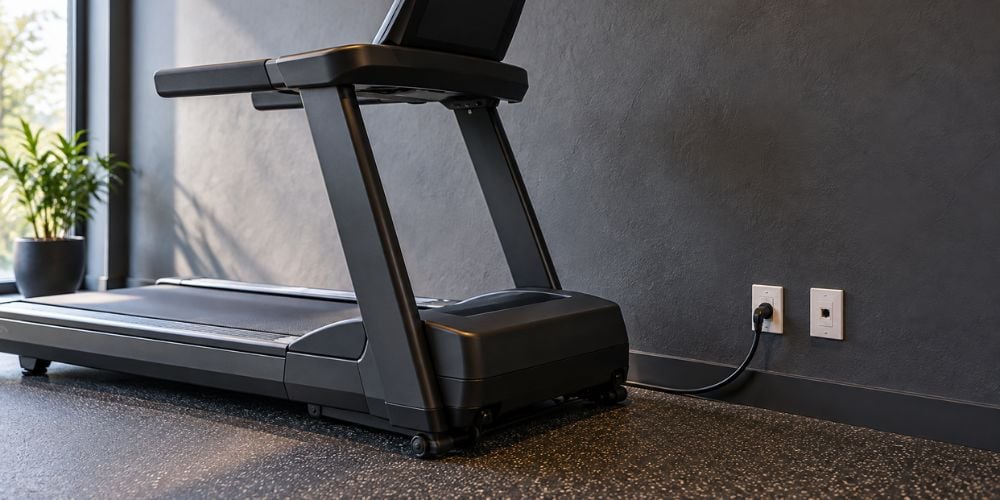
Not every gym machine needs electricity, but many cardio machines do.
Check whether your:
- Treadmill
- Elliptical
- Exercise bike
- Stair climber
- Console-equipped machine
needs a nearby electrical outlet.
Try to avoid running cables across walkways. They can create a trip hazard and make the space harder to use.
Some machines may also use:
- Internet connections
- Bluetooth
- Entertainment systems
- Connected training consoles
If your equipment includes these features, prepare the connection before the machine is placed.
Can you just use an extension cord?
Do not assume that is the best permanent solution. OSHA guidance on flexible cords and permanent wiring explains that flexible cords generally should not be used as a substitute for a building’s fixed wiring.
Plan the electrical supply around the equipment manufacturer’s instructions and applicable local electrical requirements.
It is much easier to prepare the outlet first than move a heavy treadmill later because the power supply is on the wrong side.
6. Organize Tools, Installers, and Site Access
Finally, make sure the installation team has what it needs.
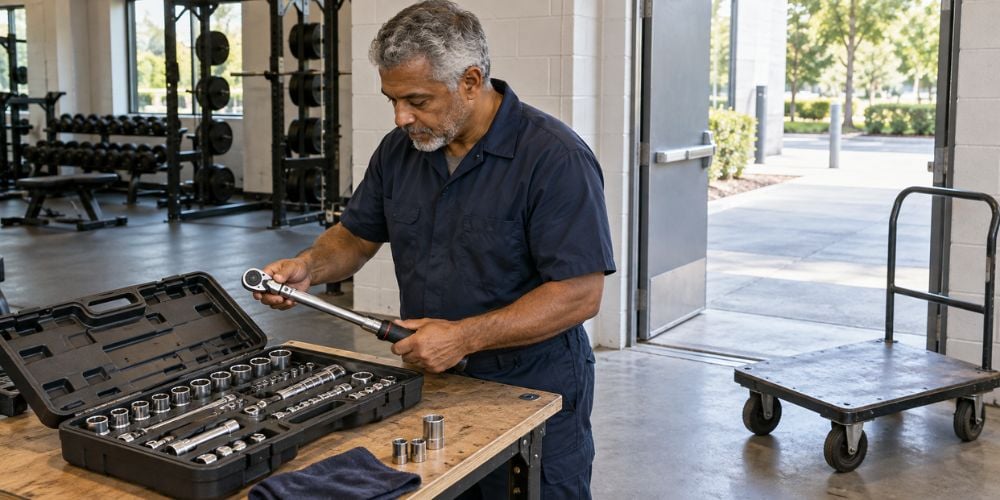
Confirm whether professional installation is included with the equipment. If not, check which tools and moving equipment will be required.
Depending on the machines, installers may need:
- Wrenches
- Socket sets
- Screwdrivers
- Torque tools
- Moving dollies
- Lifting equipment
- Protective floor materials
Building access matters too.
Make sure installers know where to park, unload, and enter. If your building uses a service elevator or loading area, reserve it in advance when needed.
I also recommend assigning one person to make final placement decisions. Too many people giving different instructions can slow everything down.
That person can quickly answer questions such as:
“Does this machine face left or right?”
“Should it move another 20 cm?”
“Is this the correct position?”
Clear answers keep the installation moving.
Conclusion
A smooth gym equipment installation starts before the truck arrives. Confirm the schedule, clear the room, check the delivery route, mark machine locations, prepare power, and organize the installation team.
At YR Fitness, we build commercial strength equipment, cardio machines, and fitness accessories for regular daily use.
Explore our equipment before planning your installation so you can compare machine types, dimensions, and training options while there is still time to adjust your layout.
Related articles:



