








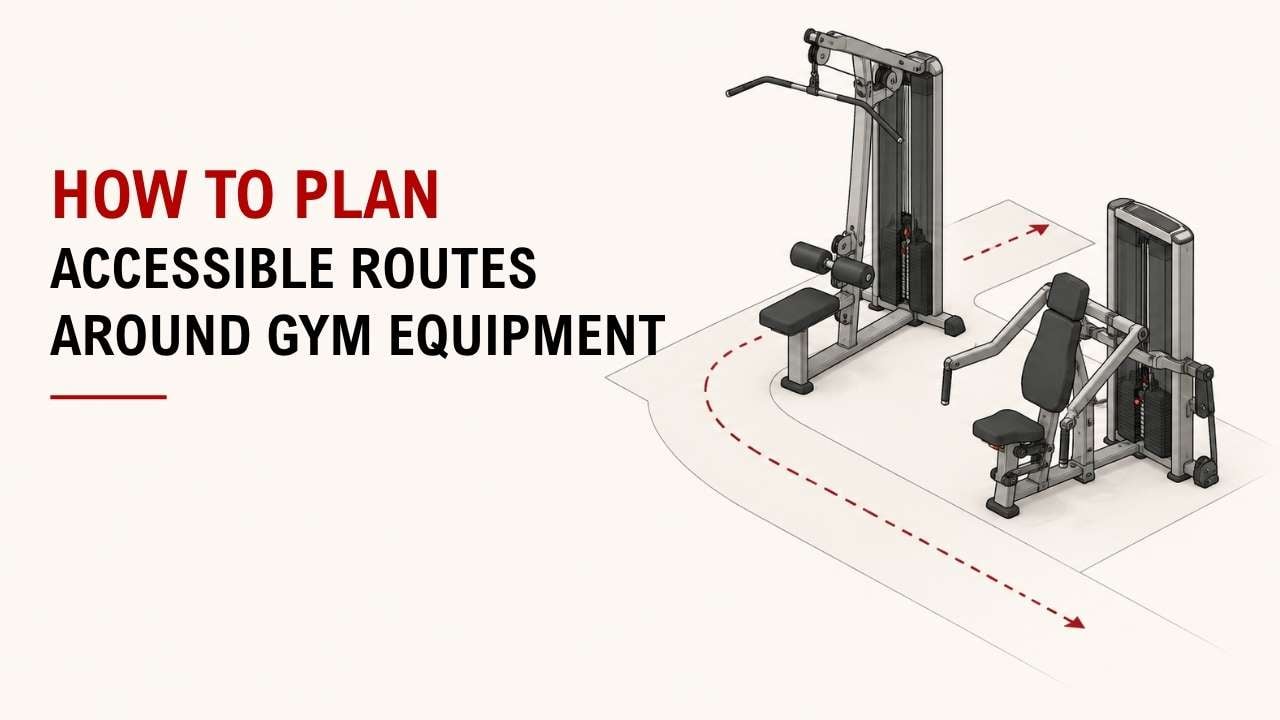

Have you ever had to squeeze between gym machines just to reach your next exercise? A crowded route can make even a good workout space frustrating to use.
The simple answer is: keep the main walking route clear, leave enough room around machines, remove obstacles, and avoid narrow dead ends. You should be able to move between training areas without stepping into someone else’s exercise space.
As an Ergonomics Engineer at YR Fitness, I study how people move around exercise equipment and how much clearance they need to train comfortably. I often see good equipment layouts become difficult to use simply because walking routes were treated as leftover space.
Below, I’ll show you six simple things to check around gym equipment. Start with the main path, then look at how each machine affects the people moving around it.
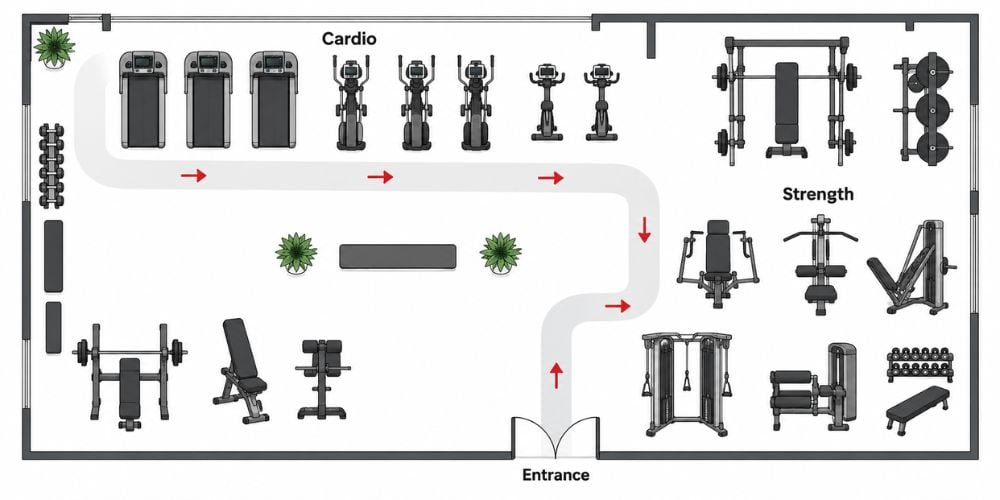
1. Mark the Main Walking Route First
Start with the path people use most.
It may connect:
- Entrance
- Cardio zone
- Strength area
- Free-weight area
- Stretching space
- Water station
- Exit
The route should be easy to see and follow. You should not need to weave between benches or walk through someone’s exercise area.
If you’re in the U.S., the U.S. Access Board’s accessible-route standards are a useful reference. They generally require accessible walking surfaces to provide at least 36 inches (915 mm) of clear width, with specific exceptions and additional space needed in some turning areas.
I usually look at the route before worrying about individual machines. Once the main path works, placing the equipment becomes much easier.
Quick Check: Can you walk between the major training areas without turning sideways or stepping around equipment?
If not, the route needs another look.
2. Leave Enough Space Between Machines
Do not judge spacing by the machine footprint alone.
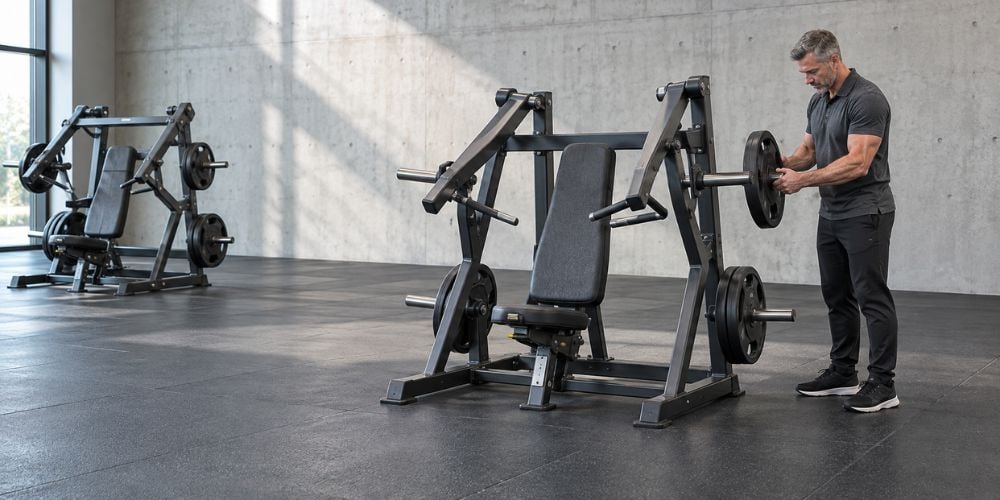
You also need room to:
- Get on and off
- Adjust the seat
- Move handles or arms
- Load or remove weight plates
- Stand beside the machine
- Walk past someone training
This matters even more around large frames, adjustable benches, and machines with moving arms.
For U.S. facilities, exercise-equipment accessibility guidance from the U.S. Access Board explains that accessible exercise equipment needs clear floor space positioned so a wheelchair user can transfer to the machine or use it from their wheelchair. The guidance uses 30 × 48 inches as the basic clear floor space.
Quick Spacing Reference
Area to Check | Useful Benchmark | What to Look For |
Accessible walking route | 36 in / 915 mm minimum* | Keep the route continuously clear |
Equipment clear floor space | 30 × 48 in minimum* | Allow approach, transfer, or use |
Machine operating area | Depends on machine | Check arms, pedals, plates, and attachments |
Entry and exit space | Depends on setup | User should get on and off without squeezing |
What should you check?
Imagine one person using the machine while another person walks past. If the second person has to step into the exercise area, the spacing is probably too tight.
3. Keep Routes Free From Obstacles
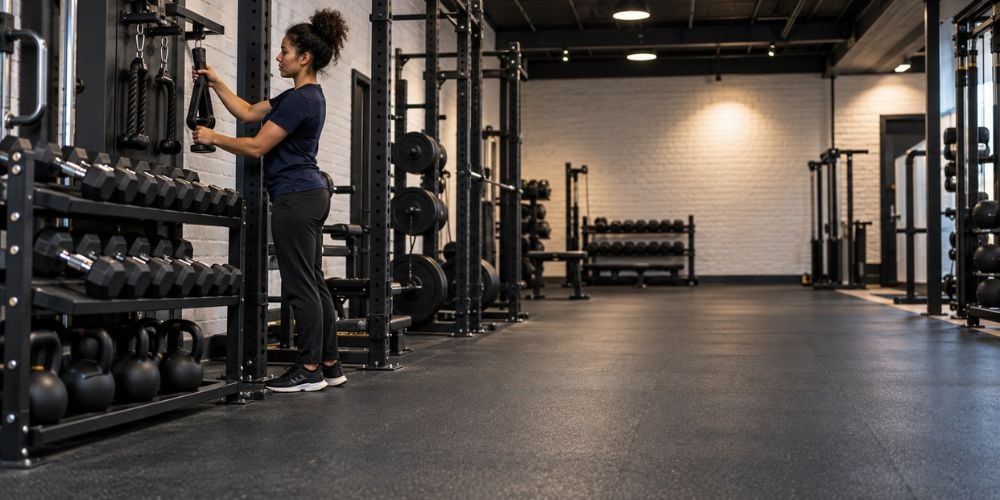
Even a wide walkway becomes useless when loose equipment blocks it.
Common problems include:
- Dumbbells
- Weight plates
- Benches
- Resistance bands
- Cable attachments
- Gym bags
- Cleaning tools
Put equipment back after use.
I often see temporary clutter causing more movement problems than the machines themselves. One bench left across a walkway can block an otherwise good route.
Simple rule: if people regularly walk through an area, do not use it as temporary storage.
Machine dimensions are only part of the picture. At YR Fitness, we recommend looking at the machine footprint together with the space needed to enter, train, adjust the equipment, and walk around it. Browse our commercial equipment range to compare different machine styles before deciding how they could fit into your training space.
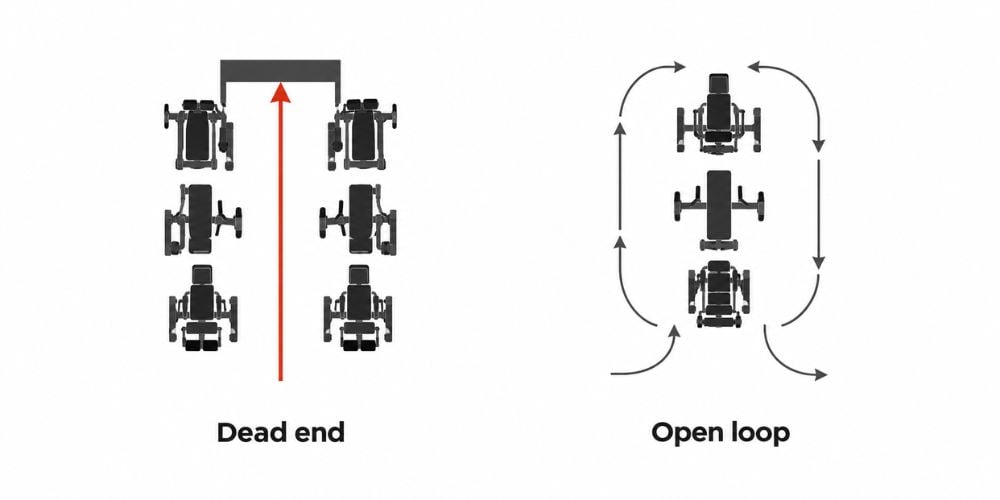
4. Avoid Narrow Dead Ends
Try to avoid tight equipment rows with only one way in or out.
Why does this matter?
Imagine one person training at the end of a row while someone else enters. One of them may have to stop, wait, or walk backward.
Pay extra attention to:
- Corners
- Areas beside walls
- Spaces behind large machines
- Narrow equipment rows
- Small gaps between strength stations
Turns need room too. Under U.S. standards, some 180-degree turns around narrow obstructions require more clearance than a straight 36-inch route, so simply measuring the aisle width is not always enough.
You should be able to enter, use the machine, and leave without interrupting someone else’s workout.
5. Make Important Equipment Easy to Reach
Frequently used equipment should have a simple route.
Think about access to:
- Treadmills
- Exercise bikes
- Cable machines
- Strength machines
- Stretching areas
- Water stations
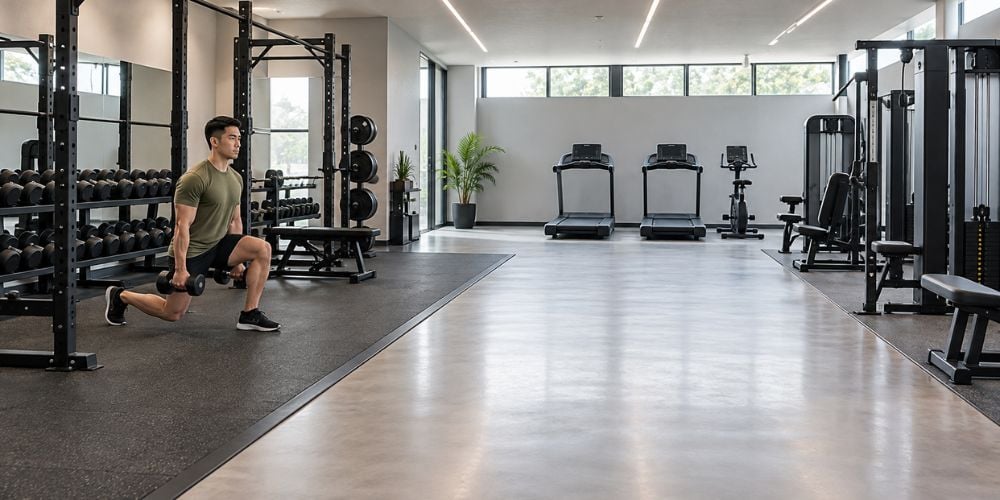
Avoid routes that force people directly through active free-weight areas.
For example, walking beside a dumbbell rack is very different from walking through the space where someone is performing lunges or lifting heavy weights.
Here is why this matters: a route can look clear when nobody is exercising but become blocked as soon as people start moving benches, using cables, or loading plates.
I prefer to check the route while imagining the gym at its busiest, not when every machine is empty.
6. Think About Different Users
Not everyone moves through a gym in the same way.
Some people may need extra room because they:
- Use mobility aids
- Have limited balance
- Move more slowly
- Need help getting onto equipment
- Require more turning space
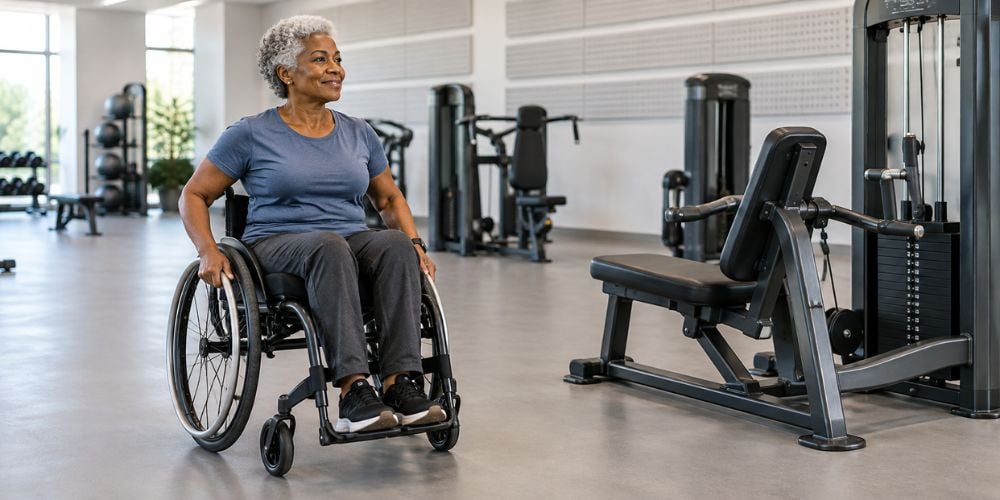
The 2010 ADA Standards for Accessible Design require accessible routes to serve exercise machines and equipment covered by the standards. They also require at least one of each type of exercise machine or equipment to meet the applicable clear-floor-space provision.
Check the Route From Different Users’ Viewpoints
User Situation | Route Check |
Someone using a wheelchair | Is there room to approach and position beside the machine? |
Someone using another mobility aid | Can they move through without squeezing past equipment? |
Someone with limited balance | Is the path clear of loose plates, bags, and benches? |
Someone moving slowly | Can others pass without forcing them aside? |
Busy gym user | Can they reach equipment without crossing an active lifting area? |
Ask one simple question:
Can different people move through this route comfortably without squeezing between machines?
Keep accessible paths open rather than using that extra space for a bench or spare equipment.
In my experience, this is where looking at a floor plan alone can be misleading. A gap that seems large enough on paper can feel very different once people and moving equipment are using it.
Conclusion
Planning accessible gym routes can stay simple. Start with the main walking path, avoid narrow dead ends, and make commonly used equipment easy to reach.
Good spacing means less time navigating around machines and more time focusing on your workout. It also makes the training space easier to use for people with different mobility needs.
If you are comparing machines for a training space, explore YR Fitness commercial gym equipment and look at equipment dimensions together with the space people need around each machine.
Related articles:



