


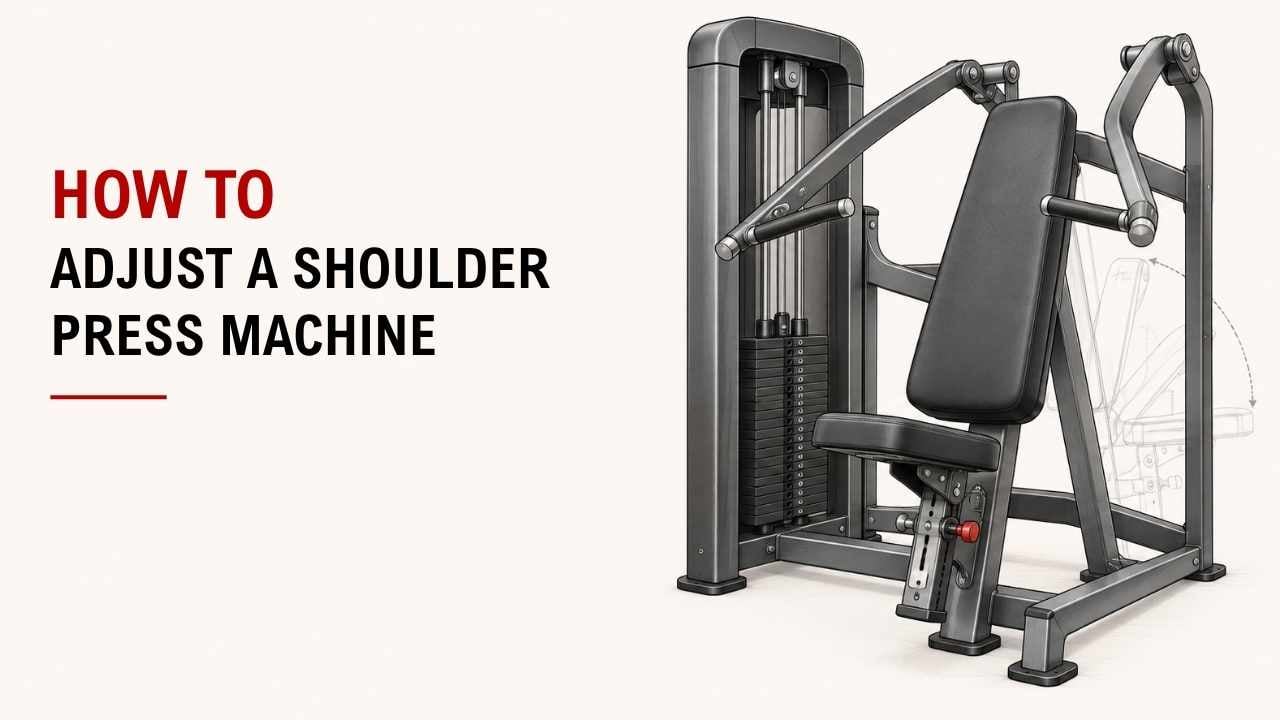

Not sure how to adjust a shoulder press machine? The wrong setup can make pressing uncomfortable and harder to control.
The fix is simple: adjust the seat height, backrest, handles, and weight before pressing. These small changes help you train your shoulders comfortably.
As an Exercise Physiology & Biomechanics Expert at YR Fitness, I focus on proper body positioning and exercise movement. I often see people improve their shoulder press simply by adjusting the machine correctly.
Below, I’ll walk you through six easy steps to adjust your shoulder press machine. Follow them before your next workout to get a comfortable setup.
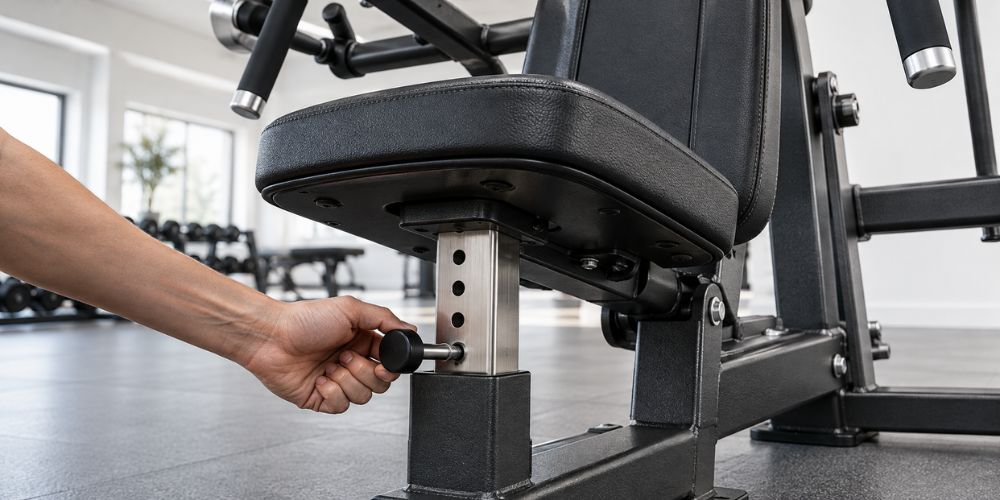
1. Adjust the Seat Height
Start by sitting on the machine with both feet flat on the floor. Adjust the seat until the handles are around shoulder level or slightly higher, depending on the machine.
Check these points:
- Feet: Keep them flat on the floor or on the footrests.
- Handles: Position them around shoulder height or slightly higher.
- Shoulders: Keep them relaxed, not raised.
- Seat: Make sure you can reach the handles comfortably.
According to the American Council on Exercise (ACE), proper seat height helps you start with your shoulders and arms in a comfortable position.
Quick Tip: If the handles feel too high or low, adjust the seat before adding weight.
2. Set the Backrest Position
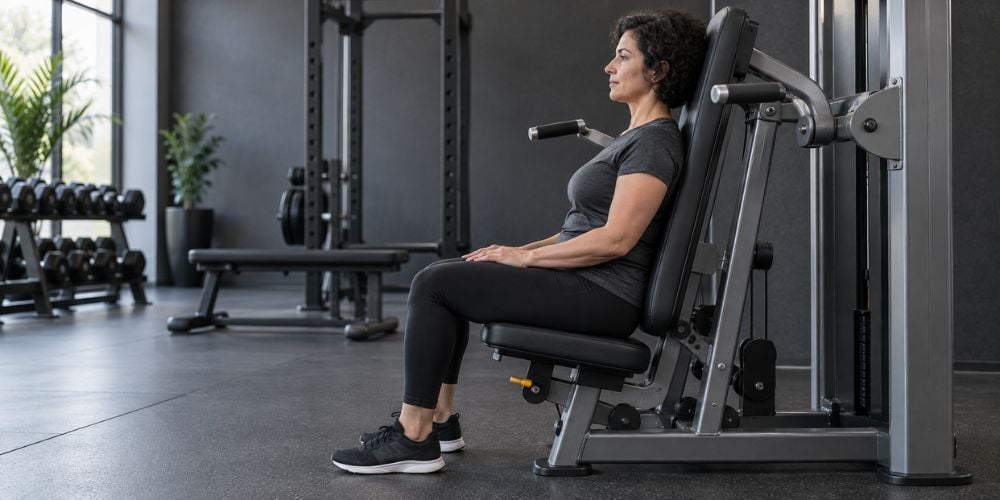
Your back should stay supported throughout the exercise. If the backrest is poorly positioned, you may arch your lower back too much.
Here’s what to do:
- Sit with your back against the pad.
- Adjust the backrest if the machine allows it.
- Keep your head and upper back supported.
- Maintain a natural curve in your lower back.
Why does this matter?
Good back support helps you stay stable while pressing. If you need to lean backward to lift the weight, your setup or resistance may need adjusting.
I always recommend checking your back position before lifting. A comfortable backrest makes it easier to focus on your shoulders instead of struggling to stay seated.
3. Adjust the Handle or Starting Position
Your handles should feel comfortable when you grip them. Some shoulder press machines offer different grips or adjustable starting positions.
Check the following:
- Grip: Choose a comfortable grip if multiple options are available.
- Starting position: Adjust the handles if the machine allows it.
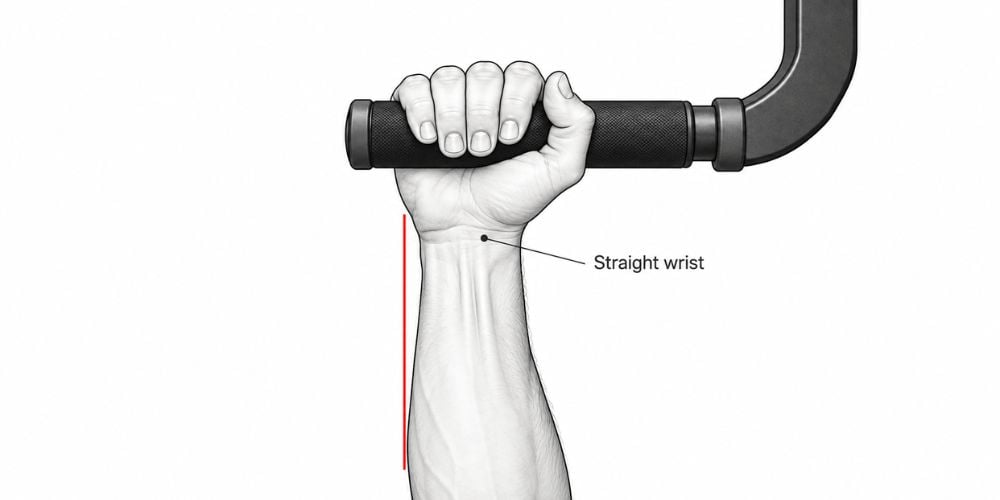
- Wrists: Keep them straight and aligned with your forearms.
- Elbows: Position them slightly in front of your shoulders.
What if the handles feel too far behind you?
Check whether the machine has a starting-position adjustment. Avoid forcing your shoulders into an uncomfortable position.
For a simple example of pressing technique, see this machine shoulder press exercise guide, which explains how to press upward and lower the handles with control.
At YR Fitness, we design commercial strength equipment with carefully developed movement angles and practical adjustments. Explore our shoulder training equipment to see how different machine designs can support comfortable, controlled workouts.
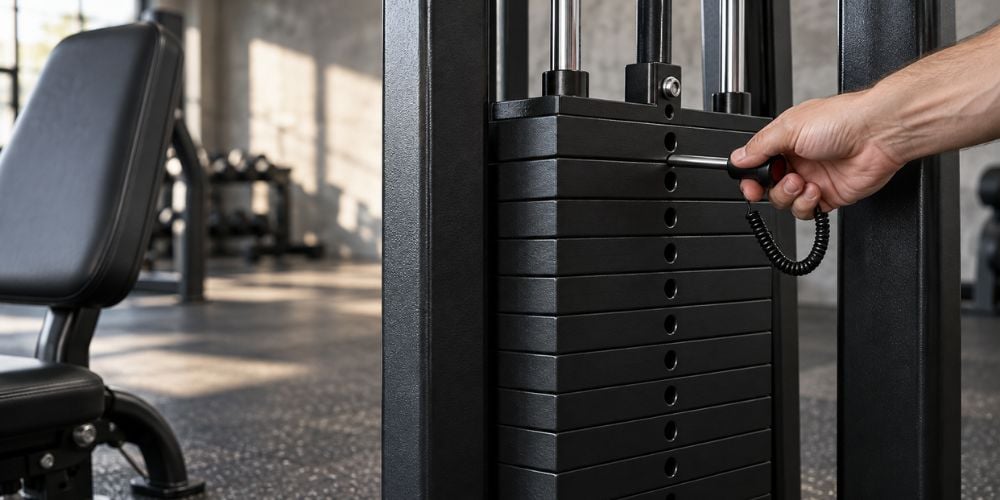
4. Select the Right Weight
Start with a weight, you can press smoothly without straining. Going too heavy makes it harder to control your movement.
Use this simple guide:
Experience Level | Weight Selection |
Beginner | Start light and learn the movement |
Intermediate | Choose a weight you can control for 8–12 reps |
Experienced | Select resistance based on your training goal while maintaining proper form |
Before your working set:
- Select a light weight.
- Press the handles upward slowly.
- Lower them with control.
- Increase weight only when your form feels stable.
The American College of Sports Medicine’s resistance training guidelines recommend choosing training loads based on your ability, goals, and experience.
In my experience, starting light makes it easier to notice whether your seat, handles, and backrest are positioned correctly.
5. Check Your Body Position
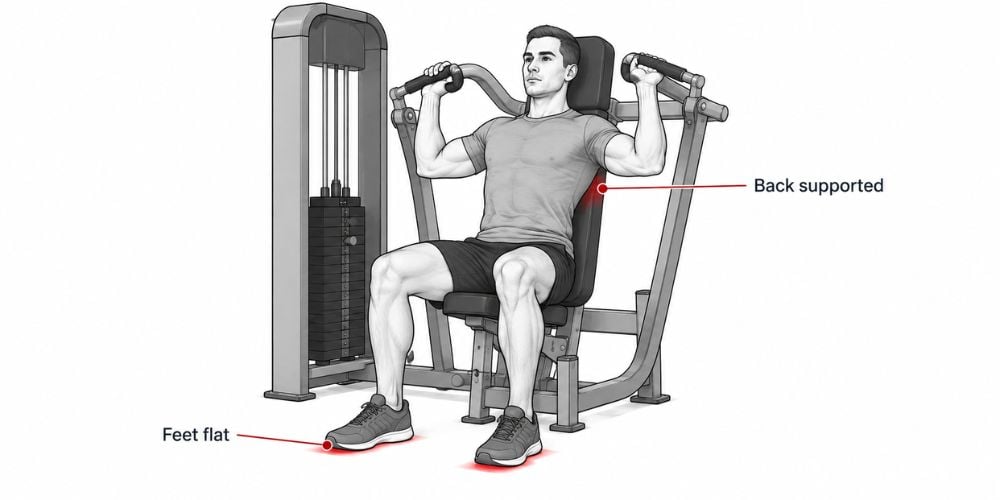
Once you’ve adjusted the machine, check your posture before pressing. Proper positioning helps you move comfortably and maintain control.
Use this checklist:
Body Part | Correct Position |
Feet | Flat on the floor or footrests |
Back | Supported against the backrest |
Chest | Upright without excessive arching |
Elbows | Slightly in front of your shoulders |
Wrists | Straight throughout the movement |
Head | Facing forward with your neck relaxed |
Common mistake: Lifting your back away from the pad while pressing.
If this happens, reduce the weight and check your seat and backrest positions again. You should not need to swing your body or lean backward to complete a repetition.
6. Test the Machine Before Your Working Set
Don’t start lifting heavy right away. Test your setup with a few light repetitions first.
Follow these steps:
- Select a light weight.
- Press upward slowly.
- Lower the handles with control.
- Repeat 2–3 times.
- Check for discomfort or awkward movement.
- Readjust the machine if needed.
How do you know the setup is correct?
You should feel supported and able to press smoothly without forcing your shoulders or excessively arching your back.
Stop if you feel sharp pain or notice the machine isn’t moving properly. Ask a gym trainer for help if you cannot find a comfortable starting position.
Quick Tip: If your shoulders feel uncomfortable during the test repetitions, check your seat height, grip, and starting position before increasing the weight.
Conclusion
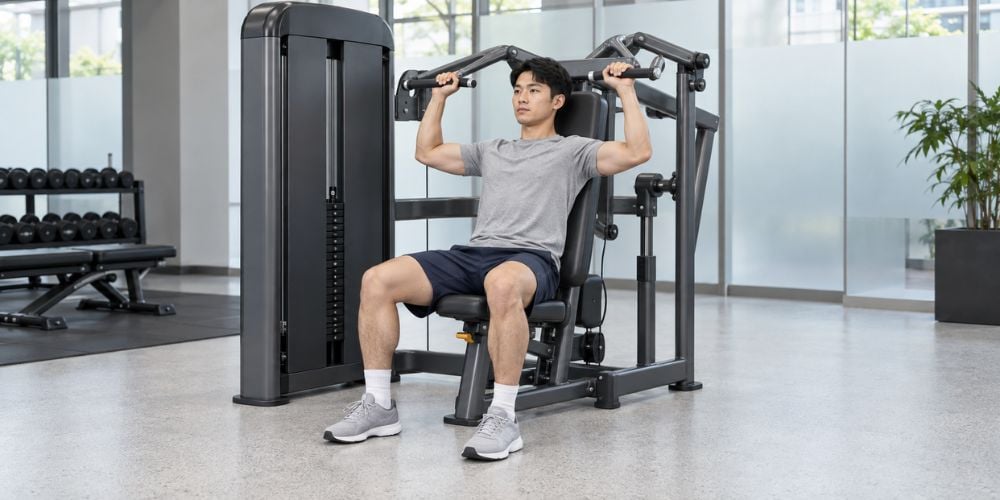
Adjusting a shoulder press machine is simple when you focus on seat height, back support, handle position, and weight. Always test your setup before starting your workout.
At YR Fitness, we build commercial strength equipment designed for comfortable, controlled exercise. Explore our strength equipment to discover machines suited for regular gym training.
Related articles:



