


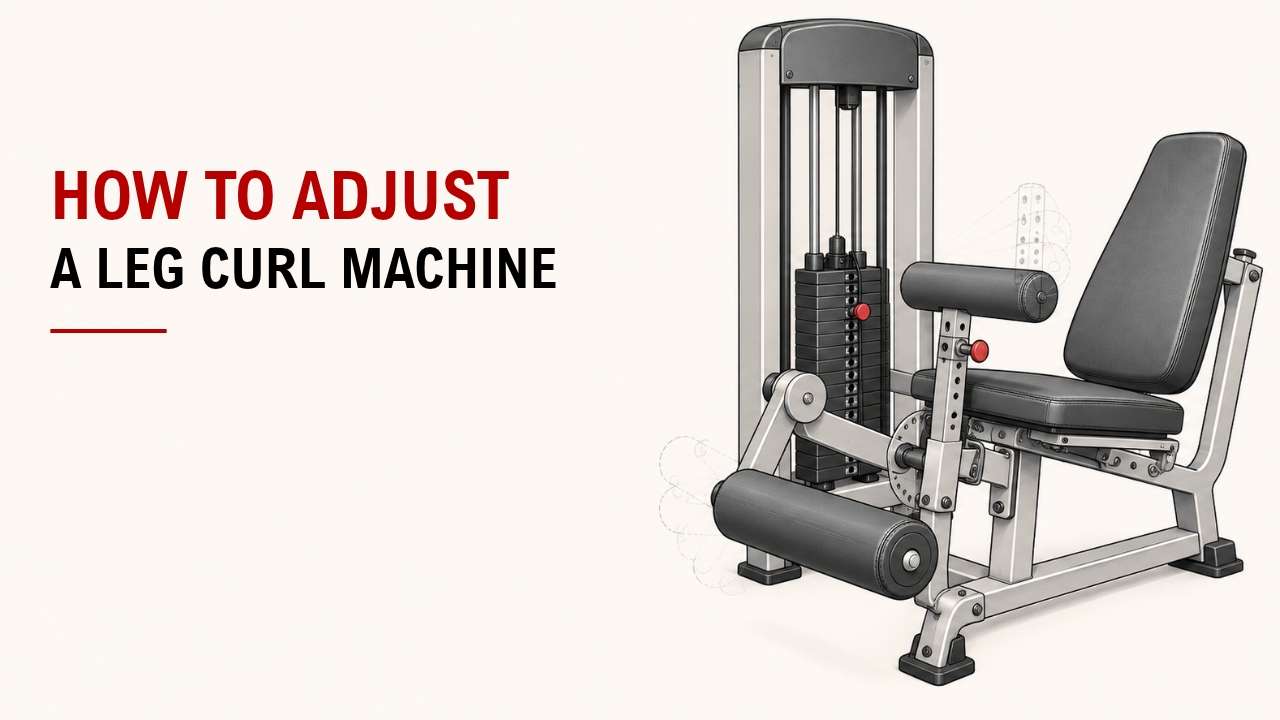

Not sure how to adjust a leg curl machine? The right setup helps you train your hamstrings comfortably.
Adjust the seat, align your knees with the pivot, position the ankle pad, and set a comfortable starting angle. Test the movement with a light weight before starting.
As an Ergonomics Engineer at YR Fitness, I focus on how gym machines fit different body sizes. I often see knee discomfort improve when users correct their seat and pad positions.
Below are six simple steps to adjust your leg curl machine. Follow them for a more comfortable workout.
1. Identify Your Leg Curl Machine Type
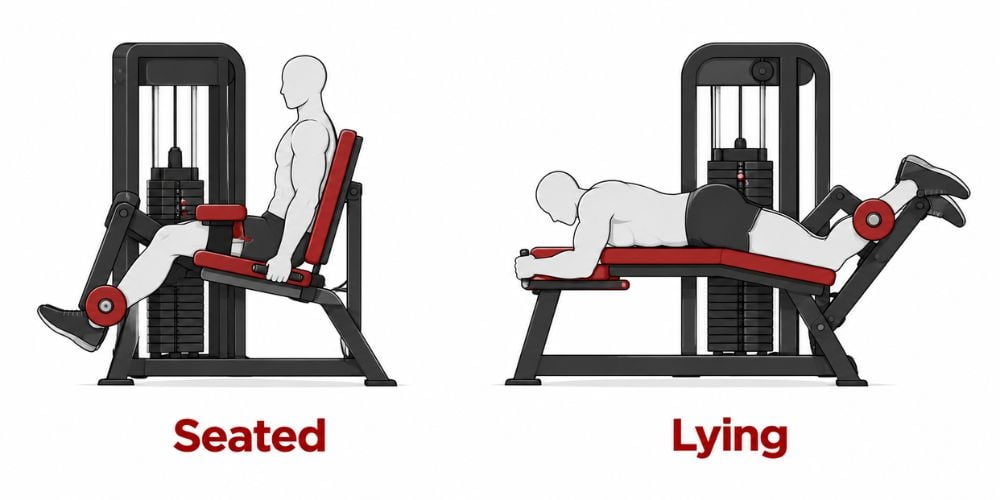
First, check whether you’re using a seated or lying leg curl machine. Both train your hamstrings, but the adjustments are slightly different.
Machine Type | Body Position | Main Adjustments |
Seated leg curl | Sitting upright | Backrest, thigh pad, ankle roller |
Lying leg curl | Lying face down | Body position, knee alignment, ankle roller |
On a seated machine, your back stays against the backrest while your legs curl downward.
On a lying machine, your body faces down while your heels move toward your glutes.
Not sure which one you’re using? Look at the machine’s exercise diagram before adjusting anything.
You can also check the NASM seated leg curl guide to see how the seated version works.
Quick tip: Find the adjustment handles or pins before getting into position.
2. Adjust the Seat or Body Position
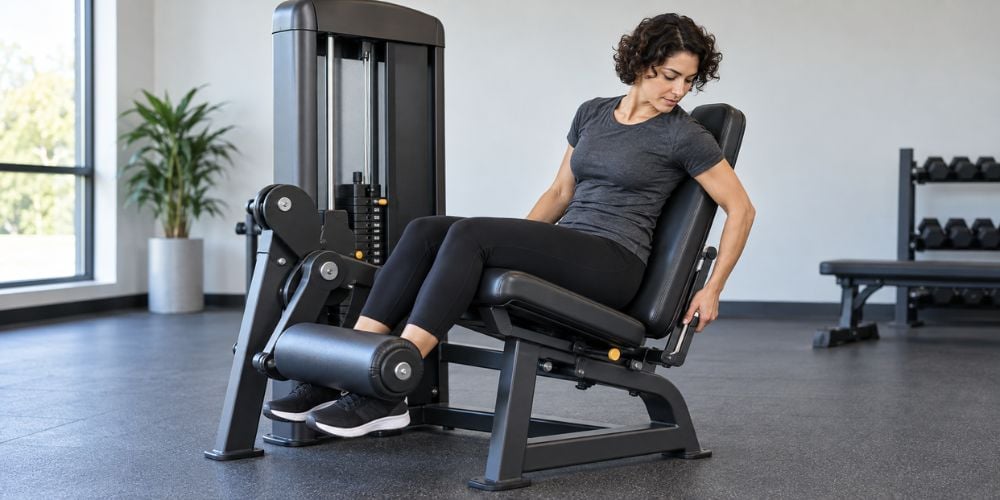
Next, position your body so your knees can bend comfortably. This gives you a stable starting point.
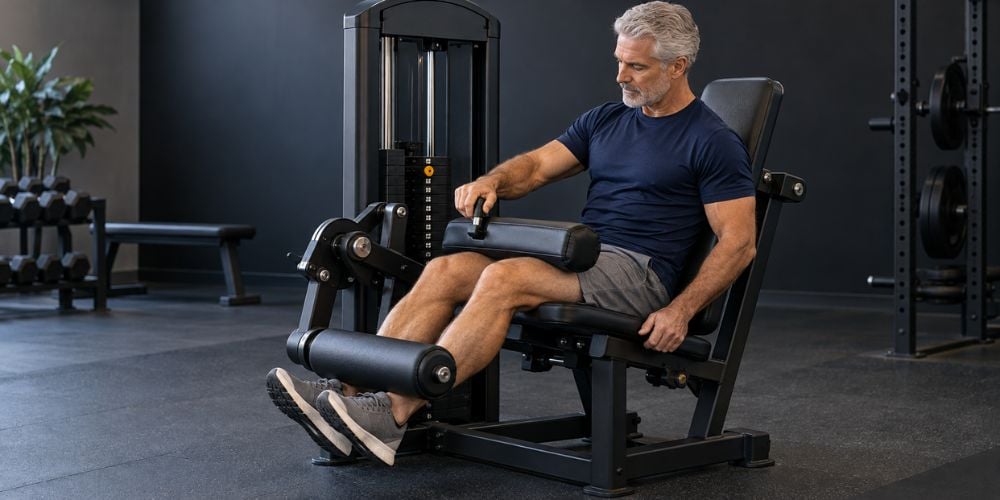
For a seated leg curl:
- Sit with your back against the backrest.
- Move the backrest forward or backward.
- Keep your hips against the seat.
- Check that your knees line up with the machine’s rotating joint.
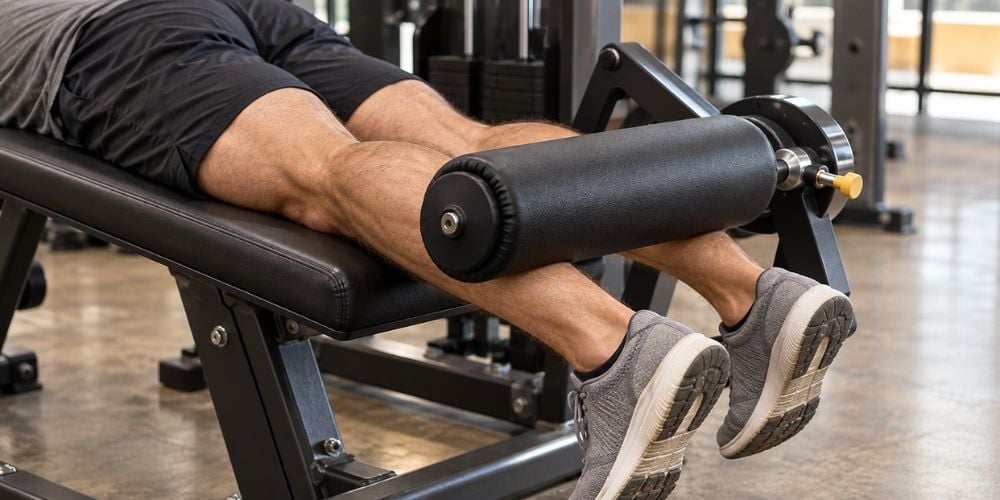
For a lying leg curl:
- Lie face down on the bench.
- Position your body so your knees align with the pivot.
- Keep your hips supported against the bench.
- Hold the handles for stability.
I recommend checking your position before adjusting the ankle roller. If your body is too far forward or backward, the other adjustments may feel wrong.
How do you know the position is right?
Your body should feel supported, and your knees should move without forcing your hips or back out of position.
3. Align Your Knees with the Pivot Point
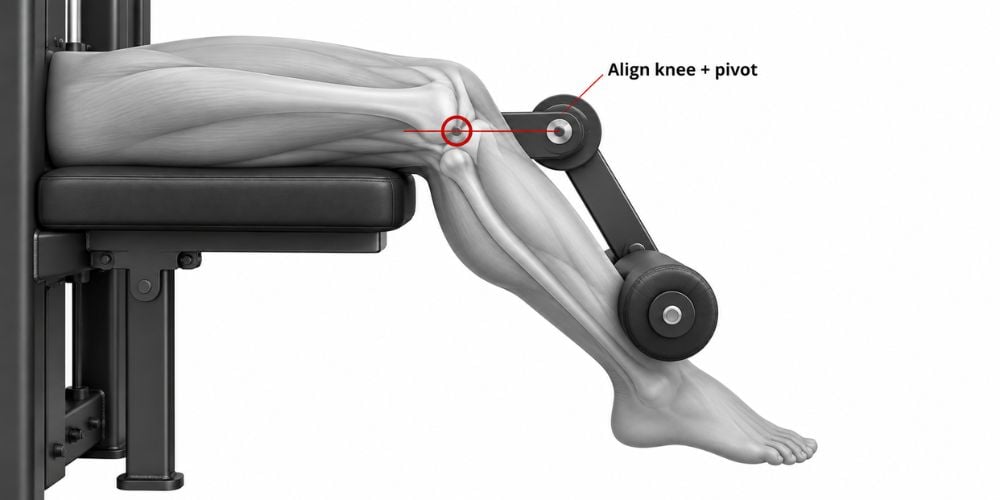
Your knees should line up with the machine’s pivot point. This is the rotating joint where the lever arm moves.
Here’s how to check:
- Find the pivot point beside your knees.
- Position your knee joints in line with it.
- Gently test the bending movement with little or no resistance.
- Readjust if the machine pulls your legs into an awkward position.
Why does this matter?
Correct alignment helps the roller follow your lower legs naturally. Poor alignment can make the movement feel uncomfortable or cause the pad to shift.
The NASM seated leg curl instructions also emphasize positioning the knees near the machine’s hinge.
Quick tip: If your knees feel uncomfortable before lifting, check the alignment first.
4. Set the Ankle Roller Pad
Position the ankle roller against your lower legs, just above your heels. It should feel secure without pressing painfully against your Achilles tendons.
Follow these steps:
- Find the ankle roller adjustment lever or pin.
- Move the roller toward your lower legs.
- Position it just above your heels.
- Make sure both legs rest evenly against the pad.
- Lock the adjustment before starting.
I often suggest testing the roller with a light movement before adding weight. It takes only a few seconds and helps you notice uncomfortable pressure.
Here’s a quick guide to common pad problems.
Problem | What to Adjust |
Roller presses against your heels | Move it slightly higher on your lower legs |
Roller sits too high on your calves | Lower it toward your ankles |
Roller shifts during movement | Check the position and locking pin |
One leg feels uncomfortable | Check that both legs are evenly positioned |
Knees feel awkward during curling | Recheck the seat and pivot alignment |
Quick tip: The pad should stay in contact with your lower legs throughout the movement without digging into them.
5. Adjust the Thigh Pad and Starting Position
Now secure your legs and set a comfortable starting angle. This helps prevent unwanted movement during each repetition.
For a seated leg curl:
- Lower the thigh pad onto your thighs, just above your knees.
- Make sure it feels snug but not painfully tight.
- Adjust the starting-angle setting if your machine has one.
- Start with your legs extended comfortably without forcing your knees straight.
For a lying leg curl:
- Keep your hips and thighs supported on the bench.
- Check that the ankle roller stays in position.
- Adjust the starting angle if available.
- Avoid positions that cause knee discomfort.
What should a good setup feel like?
Your thighs should stay supported while your knees move freely. You shouldn’t need to lift your hips or twist your body to complete the curl.
The ACE hamstring exercise research also describes keeping the thighs secured and the torso stable during seated leg curls.
At YR Fitness, we focus on adjustment ranges, comfortable pad placement, and smooth movement to help users find a better training position.
We design commercial strength machines for frequent daily use, with practical adjustments that accommodate different users.
Explore our commercial gym equipment to see how machine design and adjustability can improve your workout experience.
6. Choose Light Weight and Test the Movement
Finally, select a light weight and perform a few controlled repetitions. This confirms whether your adjustments are correct.
Here’s how:
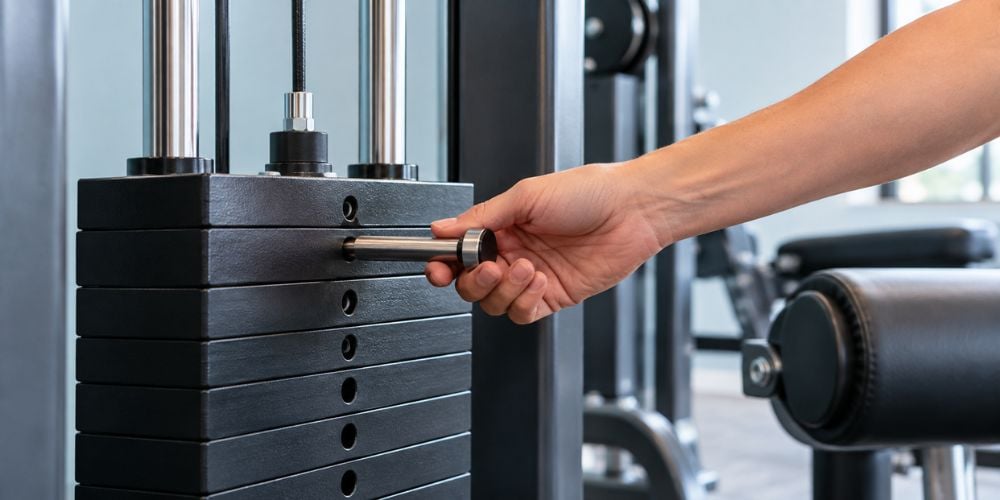
- Insert the selector pin into a light weight setting.
- Keep your hips and upper body stable.
- Slowly bend your knees to curl the roller toward you.
- Stop at a comfortable range of motion.
- Return slowly without letting the weight stack slam.
- Repeat a few times and check how your knees feel.
You should mainly feel your hamstrings working.
What if the machine still feels uncomfortable?
Stop and check these three things:
- Knee pressure: Recheck the pivot alignment.
- Hips lifting: Reduce the weight and check your body position.
- Roller sliding: Readjust the ankle pad.
I always recommend getting your position right before increasing the weight. A controlled repetition is more useful than lifting heavy with poor positioning.
If the machine has damaged or loose adjustment parts, stop using it and report the problem to gym staff.
Conclusion
Adjusting a leg curl machine is simple: set your body position, align your knees, adjust the roller, secure the pads, and test with a light weight.
At YR Fitness, we design strength equipment with practical adjustments and smooth movement to support comfortable training. Get the setup right first, and your hamstring workout will feel more natural and controlled.
Related articles:



