


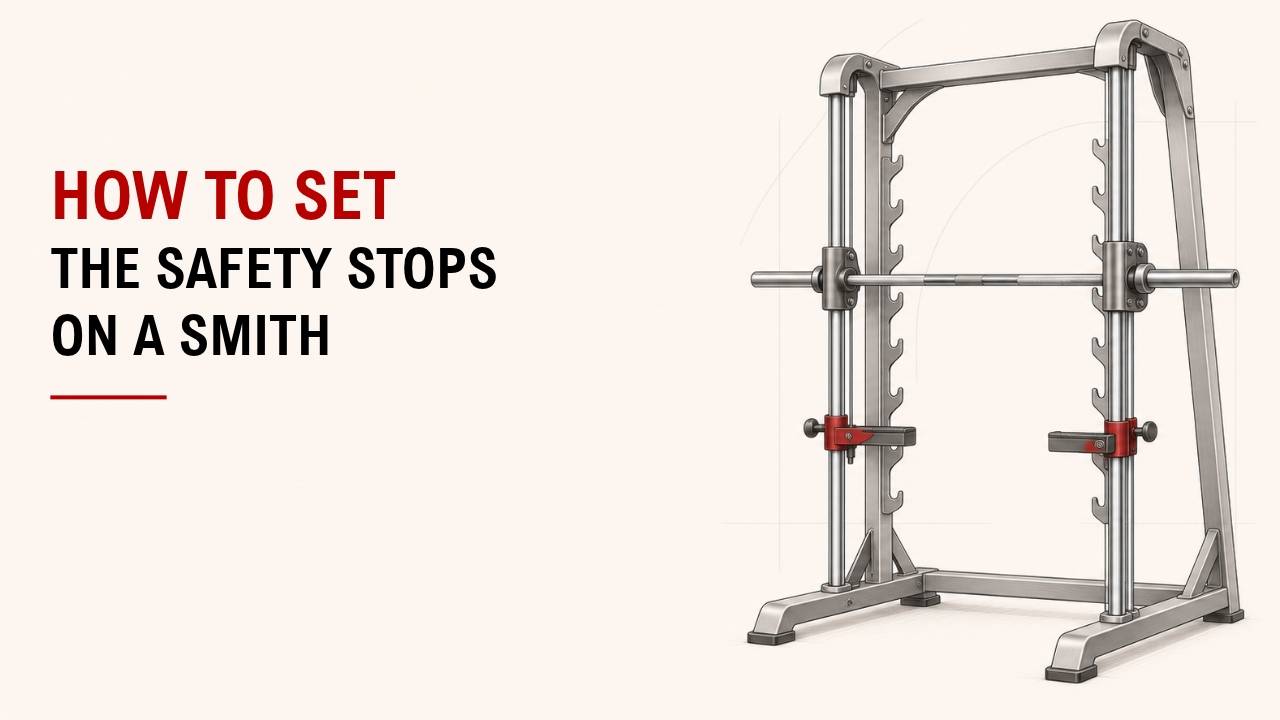

Not sure how to set the safety stops on a Smith machine? Proper setup helps prevent the bar from dropping too low during your workout.
Find the safety stops, adjust their height, lock both sides evenly, and test them before lifting. These simple steps help you train more safely.
As a Machinery & Structural Engineer at YR Fitness, I focus on strength machine safety and stability. I’ve seen how properly adjusted safety stops can help protect users during exercise.
Below, I’ll show you six simple steps to set your Smith machine safety stops. Follow them before your next workout.
1. Find the Safety Stops
Start by locating the safety stops on both sides of the Smith machine. They prevent the bar from traveling below a certain point.
Here’s what to check:
- Locate the stops: Look for adjustable safety catches near the guide rails.
- Check the mechanism: See whether they use pins, hooks, or locking systems.
- Inspect both sides: Make sure nothing is loose, bent, or damaged.
- Read the instructions: Check the machine’s labels if you’re unsure how the stops work.
Why does this matter? Not every Smith machine has the same safety system.
For example, the Precor Discovery Smith Machine allows users to adjust its safety stops directly from the workout position. Other models may use different adjustment methods.
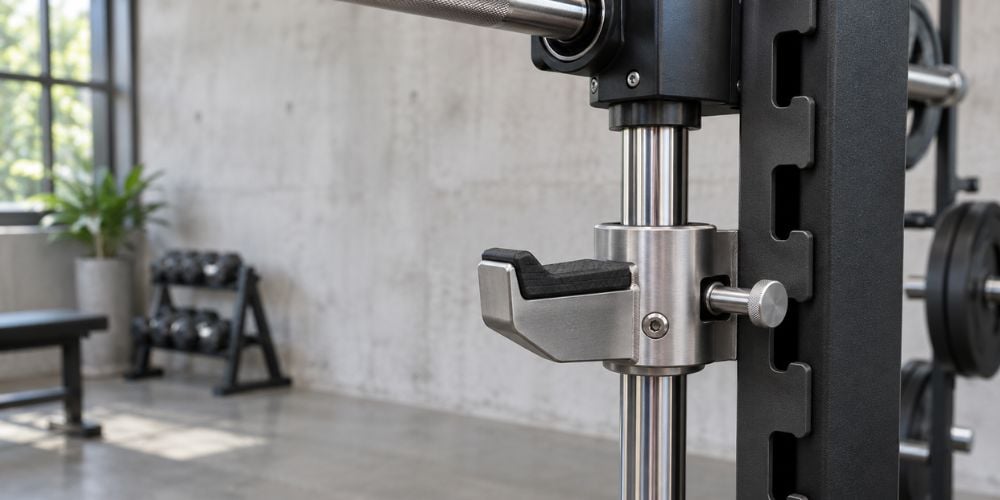
2. Move the Bar to a Safe Position
Before adjusting the stops, secure the bar so it cannot move unexpectedly.
Follow these steps:
- Remove the weight plates if necessary.
- Move the bar to a comfortable, secure height.
- Rotate the bar to engage its hooks if your machine uses this system.
- Check that both sides are properly locked.
How do you know the bar is secure? Both bar catches should be fully seated in their hooks before you release your grip.
I always recommend checking the locking mechanism first. It takes only a few seconds and helps prevent accidents.
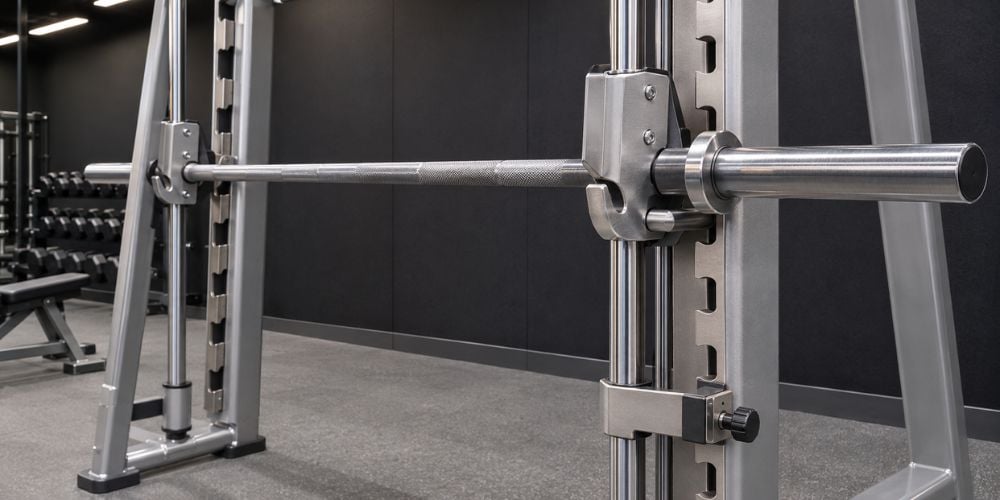
3. Adjust the Safety Stop Height
Set the stops based on the exercise you’re doing. They should allow your intended movement while preventing the bar from reaching a dangerous position.
Here’s a simple guide:
Exercise | Recommended Safety Stop Position |
Smith machine squat | At the lowest safe bar position, without allowing the weight to compress your spine |
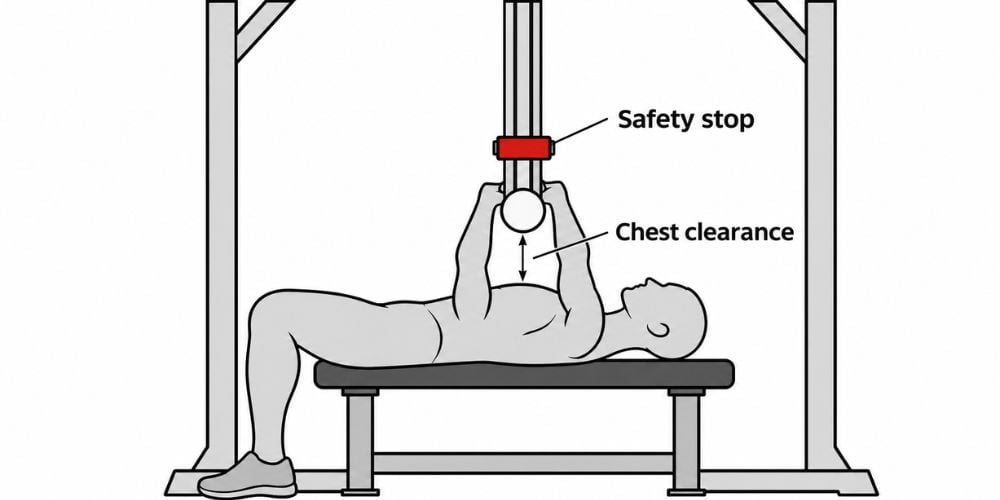
Smith machine bench press | High enough to prevent the bar from trapping your chest or neck |
Smith machine shoulder press | High enough to prevent the bar from trapping you if you cannot complete a rep |
How low should the stops go? Only as low as needed for your exercise without allowing the bar to trap or injure you.
For bench presses, check the height while lying on the bench. Make sure the stops protect your chest and neck if you cannot lift the bar.
The Matrix Smith Machine owner’s guide recommends determining a safe lower bar position before placing both safety catches.
Looking for strength equipment with practical safety features?
At YR Fitness, we design commercial strength machines with stability, durability, and everyday usability in mind. Explore our equipment to see how we approach strength machine construction and user-friendly adjustments.
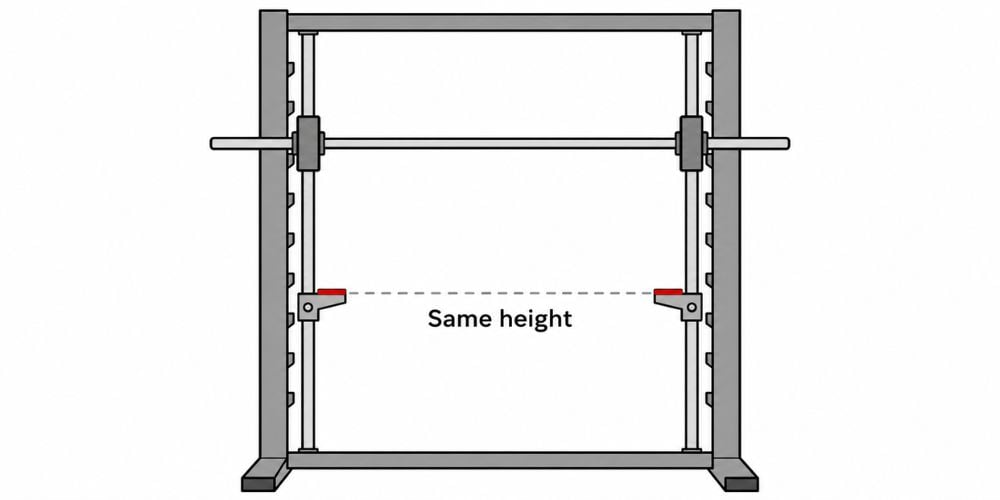
4. Set Both Stops at the Same Level
Once you’ve chosen the height, make sure both safety stops are even.
Here’s what to do:
- Set the left and right stops at matching heights.
- Use the same adjustment holes or markings.
- Secure both locking mechanisms completely.
- Check that neither stop moves out of position.
What happens if the stops are uneven? One side may catch the bar first, creating an uneven load.
In my experience, this is one of the easiest setup mistakes to avoid. Always check both sides before adding weight.
5. Test the Safety Stops
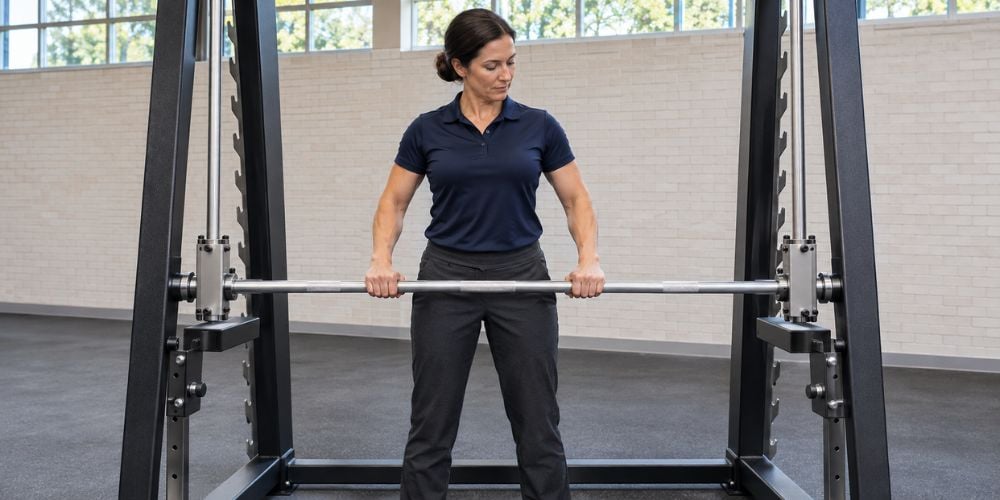
Never assume the stops are correctly positioned without testing them. A quick check helps confirm they can catch the bar at the right height.
Follow these steps:
- Keep the bar unloaded.
- Clear the area around the machine.
- Carefully unlock and lower the bar toward the stops.
- Check that both sides catch the bar securely.
- Confirm the bar cannot travel below your safety limit.
- Return the bar to its hooks before adding weight.
What if the bar goes too low? Raise the stops and test again.
If either stop feels loose, damaged, or unreliable, don’t use the machine. Ask gym staff to inspect it first.
For more information about Smith machine operation, check the Life Fitness Smith Machine owner’s manual.
6. Recheck Before Every Workout
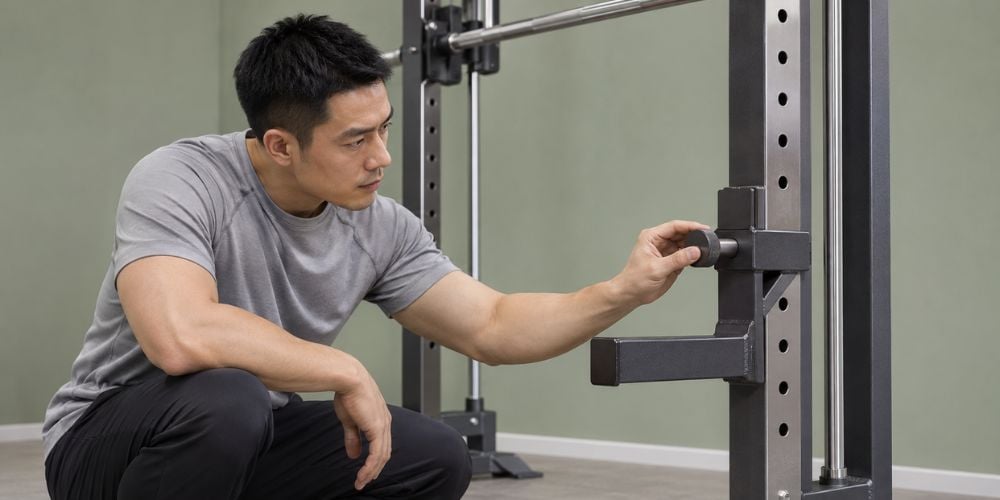
Someone may have changed the safety stop settings since your last workout. Always inspect them before starting a new exercise.
Use this quick checklist:
What to Check | What to Do |
Stop height | Match it to your exercise and safe range of motion |
Both sides | Keep the stops at equal heights |
Locking mechanisms | Make sure both are fully engaged |
Bar movement | Test the downward travel without added weight |
Exercise changes | Readjust when switching movements or bench positions |
Equipment condition | Stop using the machine if anything is damaged or loose |
I often remind gym users that even familiar equipment needs a quick safety check. It only takes a moment and helps you focus on your workout.
One more thing: Safety stops are not a replacement for proper lifting technique or a spotter when one is needed. Always follow your machine’s instructions and use a weight you can control.
Conclusion
Setting Smith machine safety stops is simple: adjust the height, lock both sides evenly, and test them before lifting. Always follow your machine’s instructions because safety systems vary by model.
At YR Fitness, we build commercial strength equipment with stability, durability, and everyday training needs in mind. Explore our strength equipment to learn more about machines designed for regular gym use.
Related articles:



