



Not sure how high or low to set the pulleys on a cable crossover machine? The wrong position can make your workout feel awkward and change which muscles you target.
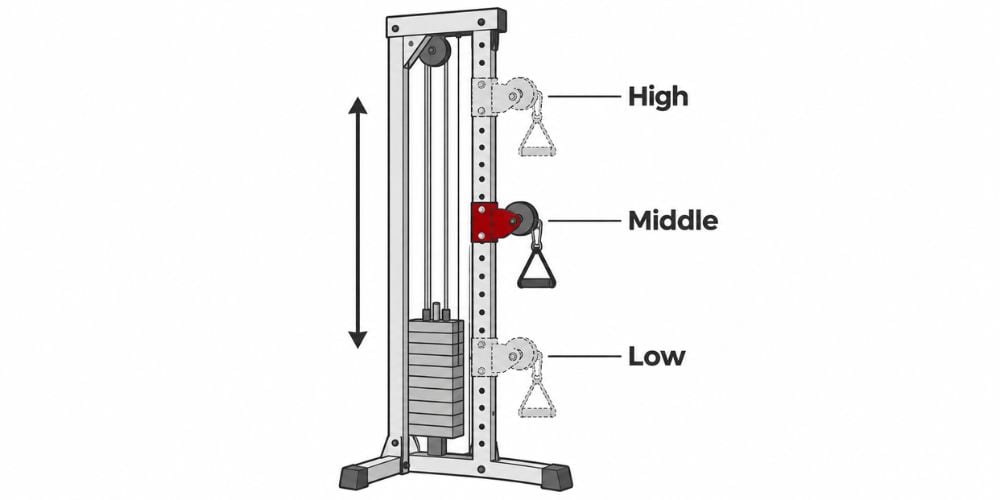
The simple rule is to set the pulleys high, middle, or low based on your exercise. Each position changes the pulling angle and how your muscles work.
As an Exercise Physiology & Biomechanics Expert at YR Fitness, I understand how pulley angles affect muscle movement and exercise technique. I’ve seen how small adjustments can make workouts smoother and more comfortable.
In this guide, I’ll show you how to adjust cable crossover pulleys, choose the right height, and avoid common mistakes. Follow these steps to get your setup right.
1. How to Adjust Cable Crossover Pulley Height
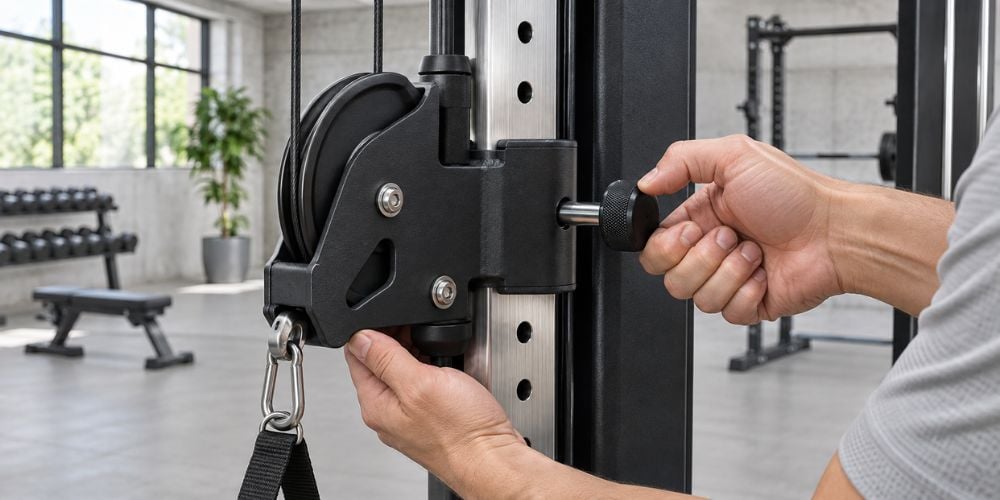
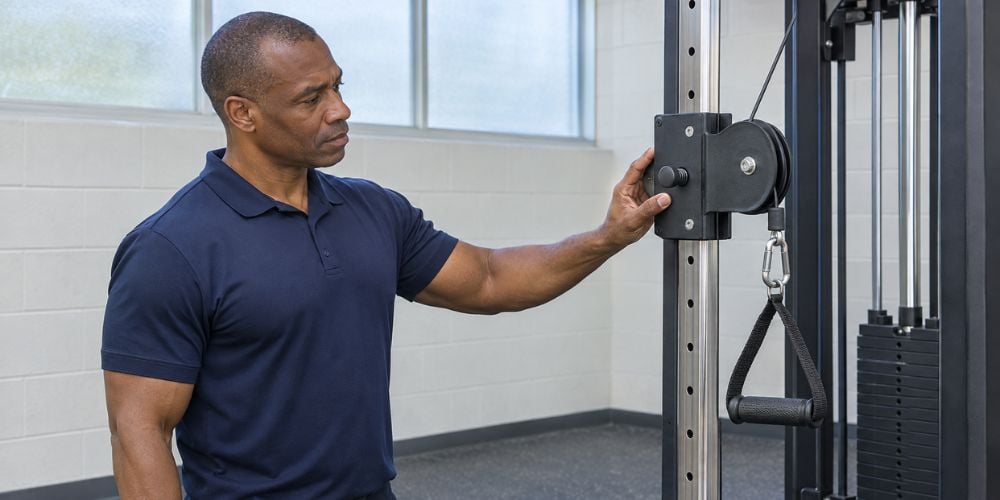
Most cable crossover machines have a sliding pulley carriage with a locking pin. You can move it up or down depending on your exercise.
Follow these steps:
- Start with light weight: Make sure the weight stack is fully resting before adjusting.
- Find the adjustment pin: Look for the pin or handle beside the pulley carriage.
- Release the lock: Pull the pin while holding the carriage securely.
- Move the pulley: Slide it up or down to your preferred height.
- Lock it in place: Release the pin and check that it fits securely into the adjustment hole.
- Match both sides: Set both pulleys to the same height for standard cable crossovers.
- Test the movement: Pull the handles slowly with light resistance before starting.
My Tip: I always recommend checking the locking pin before exercising. A loose pulley carriage can move unexpectedly during your workout.
Some machines, like the C432 Adjustable Crossover, use a sliding adjustment system that makes changing pulley heights easier.
2. Best Cable Crossover Pulley Positions for Each Exercise
The right pulley height depends on the exercise and pulling direction.
Not sure where to start? Use this table as a quick guide.
Pulley Position | Exercise | Main Muscle Focus |
High (above shoulders) | High-to-low cable crossover | Chest, with lower chest emphasis |
Middle (chest height) | Standing cable chest fly | Chest |
Low (near the bottom) | Low-to-high cable crossover | Chest, with upper chest emphasis |
Low | Cable lateral raise | Side shoulders |
High | Triceps pushdown | Triceps |
Middle (around waist height) | Standing cable row | Back |
These are starting positions. Adjust the height slightly based on your body size and comfort.
How Do You Know If the Height Is Right?
Check these three things:
- Smooth movement: You can complete the exercise without awkward pulling.
- Good muscle control: You feel the intended muscles working without excessive strain.
- Comfortable position: Your shoulders, elbows, and wrists move naturally.
I often see beginners focus on lifting heavier weights before checking their cable angle. Getting the height right first makes each repetition easier to control.
The American College of Sports Medicine’s resistance training guidelines also emphasize choosing exercises and resistance levels that fit your goals and abilities.
If you want more exercise options, a dual adjustable pulley functional trainer can support different pulling angles for chest, back, shoulder, and arm exercises.
At YR Fitness, we design our cable machines with smooth pulley adjustments, stable frames, and flexible exercise positions. Our goal is to help users switch between movements comfortably and maintain better control during training.
Explore our commercial functional trainers to see how adjustable cable systems support full-body workouts.
3. How to Set Pulley Positions for Chest Exercises
Chest exercises are among the most common movements on a cable crossover machine.
Here are three simple setups.
High Pulley Position: High-to-Low Cable Crossover
Best for: Chest training with more emphasis on the lower chest.
How to set it:
- Move both pulleys above shoulder height, usually near the top.
- Grab the handles and step forward.
- Keep your elbows slightly bent.
- Pull the handles downward and inward toward your lower chest.
- Slowly return to the starting position.
Quick Tip: Keep your chest lifted and avoid leaning too far forward.
For more guidance, the ACE standing decline cable fly instructions explain the proper pulling direction and body position.
Middle Pulley Position: Standing Cable Chest Fly
Best for: Overall chest development.
How to set it:
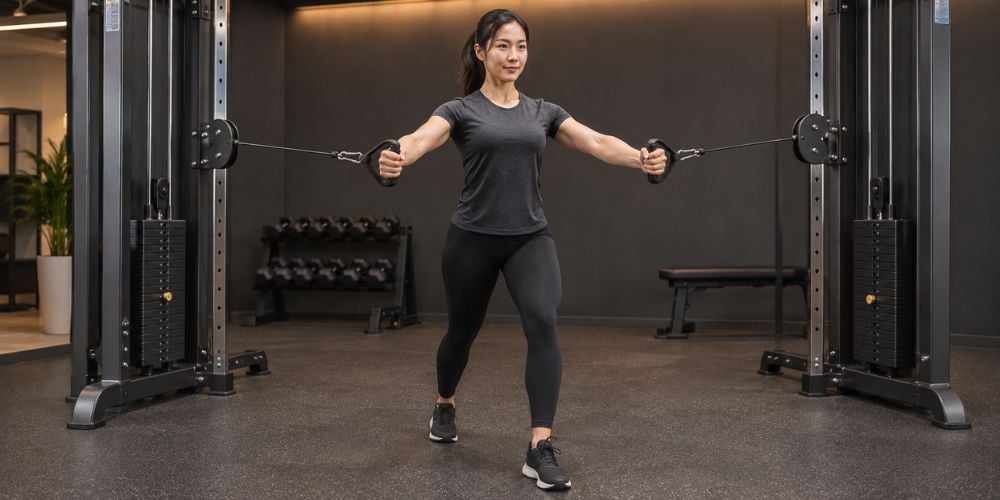
- Position both pulleys around chest height.
- Grab the handles and take a small step forward.
- Keep a slight bend in your elbows.
- Bring your hands together in front of your chest.
- Return slowly without letting the weights drop.
Quick Tip: Keep your elbows comfortable and avoid stretching your arms too far behind your body.
Low Pulley Position: Low-to-High Cable Crossover
Best for: Chest training with more emphasis on the upper chest.
How to set it:
- Move both pulleys near the bottom of the machine.
- Grab the handles with your palms facing forward or slightly inward.
- Step forward and keep your elbows slightly bent.
- Pull the handles upward and inward toward your upper chest.
- Lower the handles slowly.
Quick Tip: Use a lighter weight if your shoulders start taking over the movement.
Which Pulley Height Should You Choose?
Your Goal | Pulley Position | Pulling Direction |
Lower chest emphasis | High | Downward and inward |
Overall chest training | Middle | Forward and inward |
Upper chest emphasis | Low | Upward and inward |
My Recommendation: If you’re new to cable crossovers, start with the middle position. It’s an easy way to learn the movement before trying other cable angles.
You can also look at the 7332 Adjustable Crossover to see how sliding pulley systems allow different chest exercise positions.
4. Common Pulley Setup Mistakes
Small setup mistakes can affect your movement and comfort.
What should you watch out for? Here are five common mistakes.
Setting Both Pulleys at Different Heights
Uneven pulley heights can create an unbalanced pulling angle during standard chest crossovers.
Fix: Match both pulley heights before starting.
Choosing the Wrong Pulley Position
High and low pulleys create different pulling directions.
Fix: Set the pulley height based on your exercise and target muscles.
Using Too Much Weight
Heavy resistance can make you swing your arms or lose control.
Fix: Start light and focus on smooth, controlled repetitions.
Forgetting to Lock the Adjustment Pin
An unlocked pulley carriage can shift while you’re exercising.
Fix: Check that the pin is fully engaged before pulling the handles.
Standing Too Close or Too Far Away
Poor standing distance can limit your movement or make the exercise uncomfortable.
Fix: Step forward enough to create light cable tension while keeping your body stable.
One Final Tip: I recommend doing two or three slow practice repetitions after changing the pulley height. This helps you check the pulling angle before starting your working set.
If you’re learning more cable exercises, explore these functional trainer options to understand how different pulley systems support various movements.
Conclusion
Setting cable crossover pulley positions becomes easy once you know the three main heights.
Use high pulleys for high-to-low movements, middle pulleys for standard chest flys, and low pulleys for low-to-high exercises. Always check the locking pins and start with a manageable weight.
At YR Fitness, we believe simple adjustments make training more comfortable and practical. Explore our adjustable cable crossover equipment to see how different pulley positions support your workout goals.
Related articles:



