


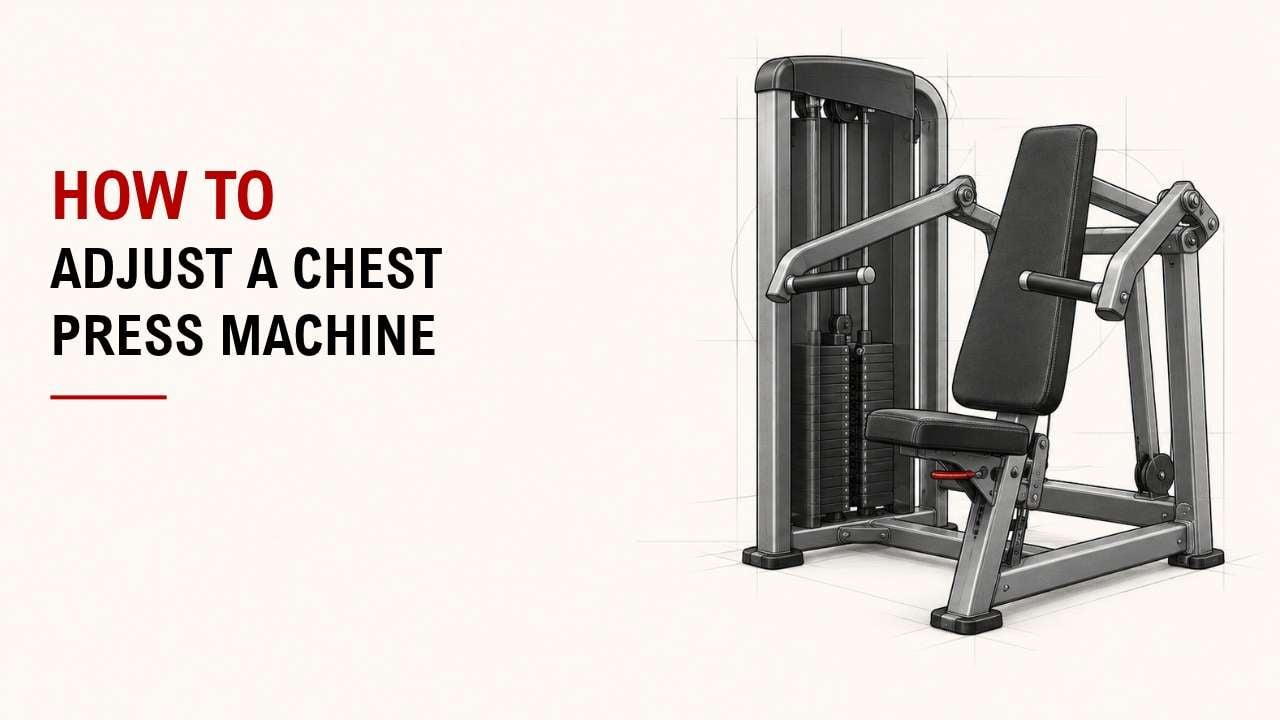

Not sure how to adjust a chest press machine? A poor setup can make pressing uncomfortable.
The fix is simple: adjust the seat, backrest, weight, and grip. These changes help you press comfortably and with better control.
As an Exercise Physiology & Biomechanics Expert at YR Fitness, I understand how machine adjustments affect movement and comfort. I’ve seen how small setup changes can improve pressing technique and reduce unnecessary shoulder strain.
Below are six simple steps to adjust your chest press machine. Follow them to get the right setup before your workout.
1. Adjust the Seat Height
Start with the seat height. It determines where the handles sit in relation to your chest and shoulders.
If the seat is too high or too low, pressing can feel awkward.
Here’s how to adjust it:
- Sit with your back against the backrest.
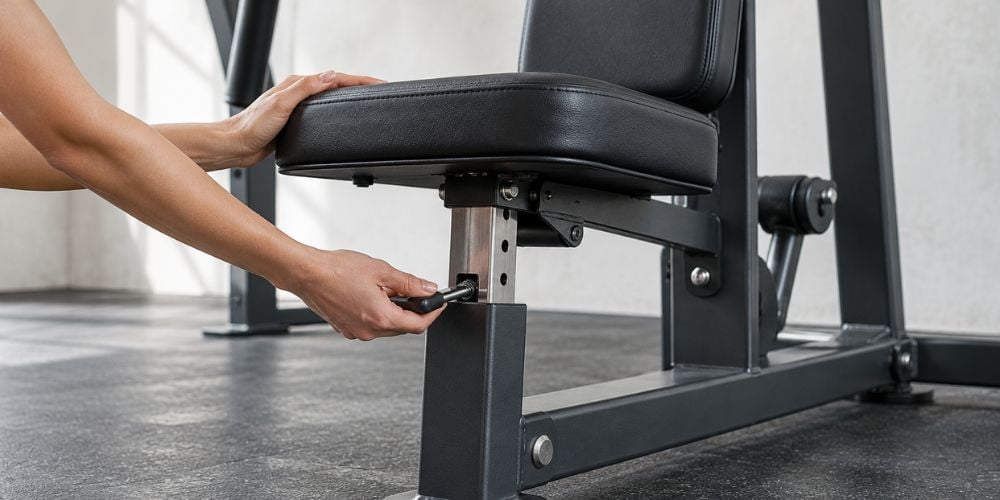
- Find the seat adjustment lever or pin.
- Raise or lower the seat until the handles align with your mid-chest.
- Keep both feet flat on the floor.
- Check that your shoulders feel comfortable.
How do you know it’s correct?
The handles should sit around the middle of your chest without forcing your shoulders into an uncomfortable position.
The American Council on Exercise (ACE) also recommends aligning the handles with your mid-chest and keeping your back supported.
I always suggest checking the seat before selecting your working weight. A small adjustment can make the entire movement feel better.
Quick Tip: If the handles are too high, raise the seat. If they’re too low, lower it.
2. Adjust the Backrest and Starting Position
Next, check the backrest. This determines how far your arms move backward before pressing.
Some machines have adjustable backrests or starting-position settings. Others are fixed, so you can skip this adjustment if your machine doesn’t offer it.
Follow these steps:
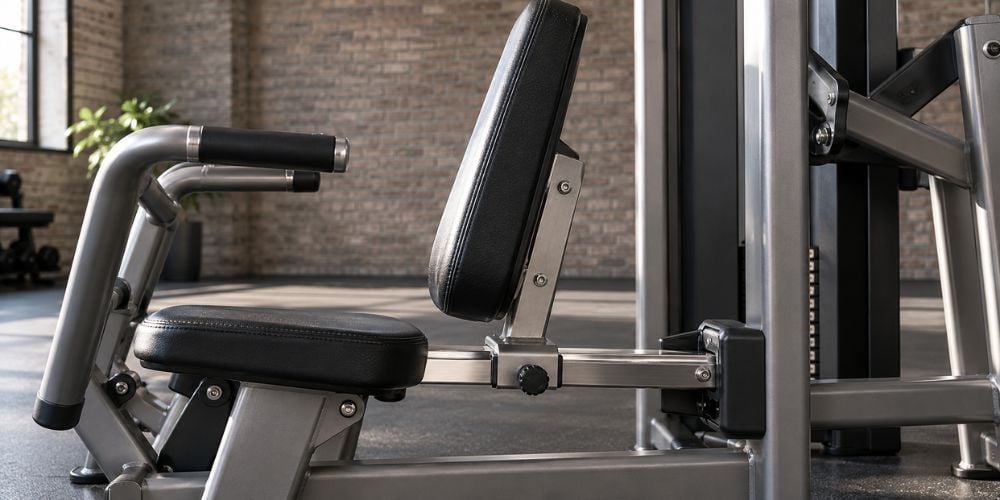
- Sit comfortably against the back pad.
- Find the backrest adjustment lever, if available.
- Move the backrest forward or backward to find a comfortable position.
- Grip the handles with your elbows bent.
- Check that your shoulders aren’t pulled too far backward.
Should your elbows go behind your body?
A little backward movement may feel fine, but avoid forcing your elbows far behind your torso.
If you feel excessive stretching or discomfort in the front of your shoulders, shorten the starting range.
Some machines have a separate range-of-motion setting. Use that adjustment rather than forcing yourself into an uncomfortable position.
Quick Tip: Start with a comfortable movement range and increase it gradually as your control improves.
3. Adjust the Weight
Now choose your weight. Start light enough to press smoothly without shifting your body.
Too much weight can cause your shoulders to rise, your back to arch, or your arms to move unevenly.
Here’s how to select your weight:
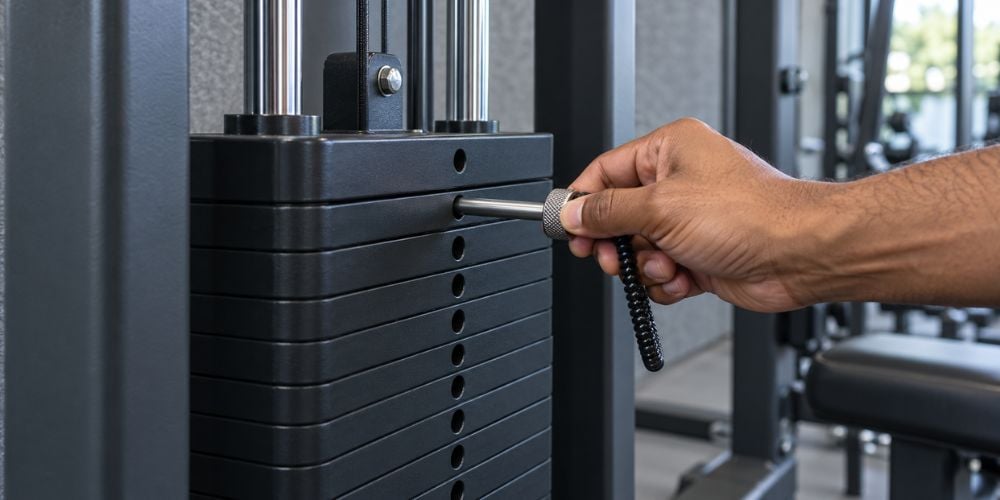
- Find the weight stack.
- Make sure all plates are resting before touching the selector pin.
- Remove the pin.
- Insert it fully into your chosen weight plate.
- Perform a few slow repetitions to test the resistance.
For beginners, choose a weight that allows 10–12 controlled repetitions.
The National Academy of Sports Medicine (NASM) also emphasizes controlled pressing and avoiding excessive weight that affects your technique.
How Do You Know if the Weight Is Right?
What You Notice | What to Do |
You can barely press the handles | Lower the weight |
Your shoulders lift during pressing | Reduce the weight and check your position |
You complete 10–12 controlled reps | Keep the weight if the effort suits your goal |
You easily complete 15+ reps | Consider increasing the weight |
You feel sharp shoulder pain | Stop and check your setup |
I often remind beginners that heavier doesn’t always mean better. Good control matters more than moving the biggest weight on the stack.
Quick Tip: Never adjust the selector pin while the weights are lifted or moving.
4. Adjust Your Grip and Elbow Position
Your grip affects how your wrists, elbows, and shoulders feel during pressing.
Some chest press machines offer different handle positions. Others have fixed grips.
Here’s how to position your hands and elbows:
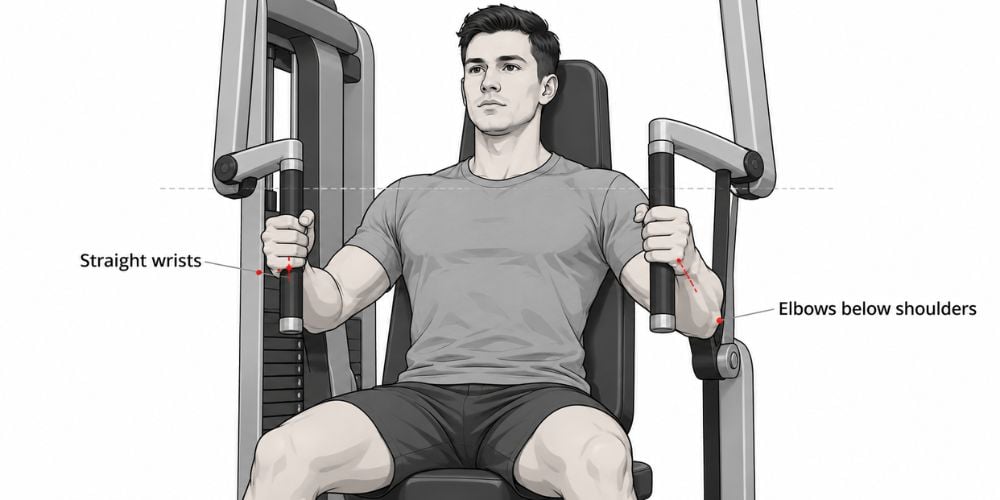
- Hold the handles firmly with your thumbs wrapped around them.
- Keep your wrists straight and aligned with your forearms.
- Position your elbows slightly below shoulder height.
- Avoid flaring your elbows too wide.
- Keep both arms moving evenly.
Which grip should you use?
A neutral grip, with your palms facing each other, may feel more comfortable for your shoulders.
A horizontal grip also works well when your wrists and elbows stay aligned.
Chest Press Grip Comparison
Grip Type | Hand Position | Main Benefit |
Neutral grip | Palms face each other | May feel more comfortable for shoulders |
Horizontal grip | Palms face forward | Traditional chest press position |
Fixed grip | Hands follow the machine handles | Simple, consistent positioning |
Not every machine offers multiple grips, and that’s fine. Choose the available position that feels comfortable and lets you press smoothly.
Quick Tip: If a grip causes discomfort, try another available option or reduce your movement range.
At YR Fitness, we design commercial strength equipment with attention to movement angles, durability, and everyday usability. Our goal is to make machine training practical for people with different body sizes and training needs.
Want to compare chest press machine designs? Explore our commercial gym equipment to see how different machine designs support comfortable, controlled workouts.
5. Check Your Body Position
Before pressing, make sure your body is properly supported.
Even with the correct seat height and weight, poor positioning can make the exercise harder.
Use this quick checklist:
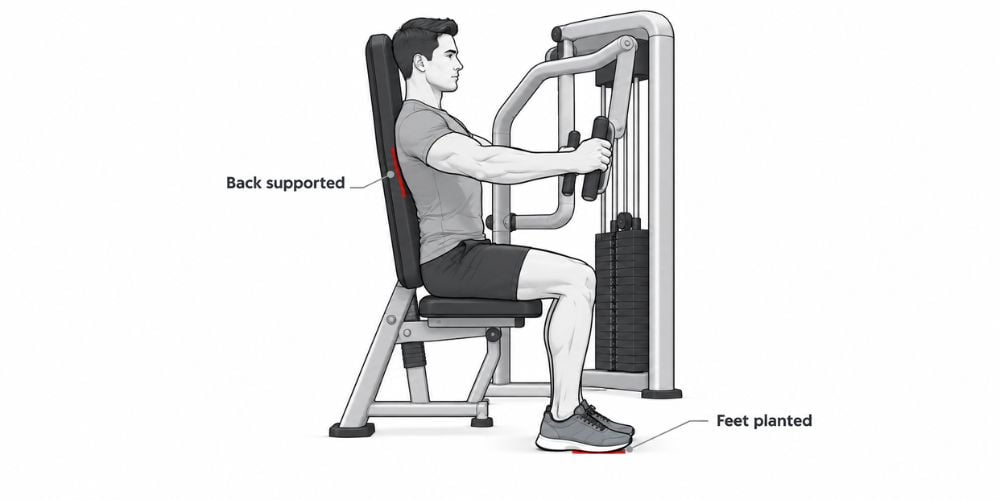
- Head: Keep it comfortably against the backrest.
- Upper back: Maintain contact with the pad.
- Shoulders: Keep them stable without shrugging.
- Hips: Keep them against the seat.
- Feet: Place them firmly on the floor or provided supports.
- Lower back: Maintain a comfortable, natural curve.
Why does body position matter?
A stable position helps you focus on pressing instead of using momentum.
I often see people improve their chest press simply by keeping their feet planted and their upper back supported.
Avoid lifting your hips or arching your lower back excessively when the weight feels heavy.
Quick Tip: If your feet cannot reach the floor comfortably, adjust your position where possible or use the machine’s built-in foot support.
6. Test the Machine Before Your Working Set
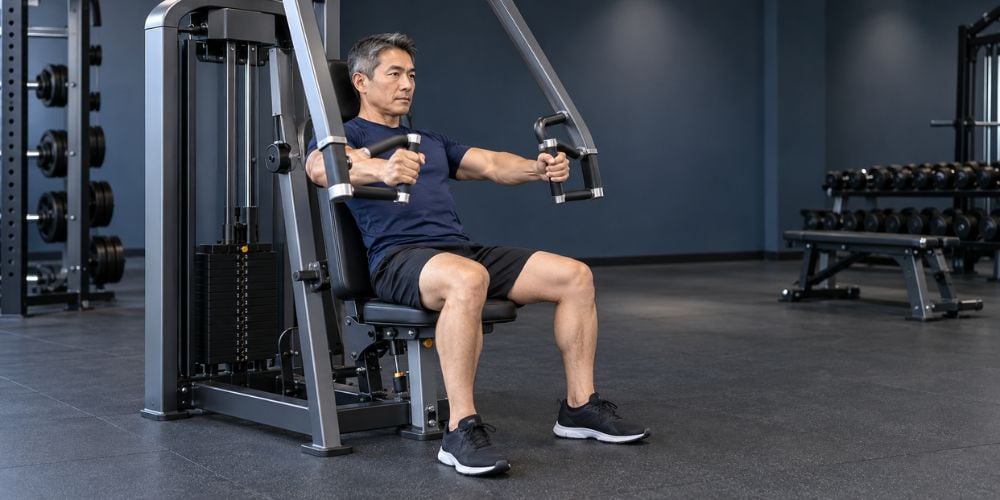
Once everything is adjusted, test the machine with a light weight.
This helps you check your seat, grip, and movement before starting your actual workout.
Follow these steps:
- Choose a light weight.
- Sit with your back against the pad.
- Hold the handles around chest level.
- Press forward slowly.
- Extend your arms without forcefully locking your elbows.
- Return the handles with control.
- Repeat for 3–5 repetitions.
Does the movement feel smooth?
If your shoulders feel comfortable and your body stays stable, you’re ready for your working set.
If something feels awkward, stop and readjust.
You can also use the University of Hong Kong’s chest press exercise guide as a visual reference for machine adjustments and pressing technique.
Conclusion
Adjusting a chest press machine is simple. Set the seat height, check the backrest, choose the right weight, position your grip, and test the movement.
Remember: Keep the handles around chest level, your body supported, and your pressing motion controlled.
Want to learn more about comfortable chest press machine designs? Explore YR Fitness to compare features and find machines that support a better training experience.
Related articles:



