








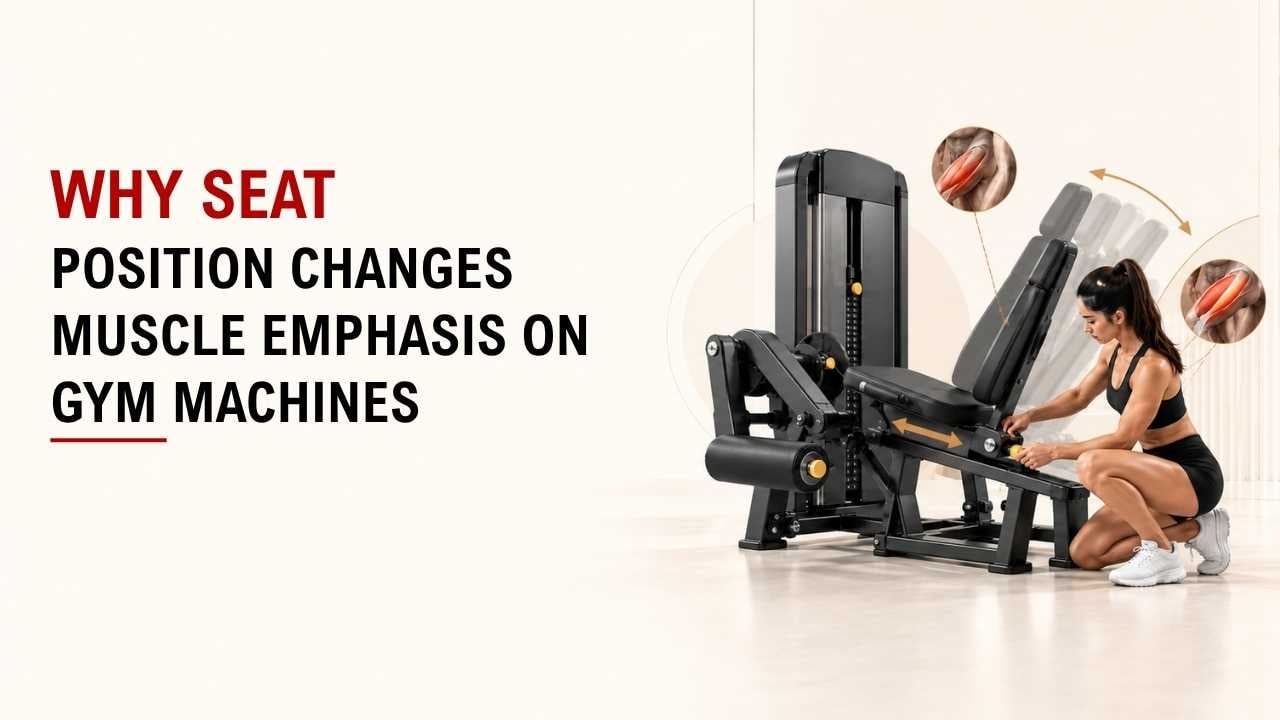

Have you ever changed a machine seat and felt the exercise in a different place? That small adjustment can change how the movement feels.
The simple answer is: seat position changes your joint angle, leverage, and range of motion. The main muscle stays the same, but the emphasis can shift.
As the founder and chief designer of YR Fitness, I have spent decades working with strength-machine design and user positioning. In my experience, the right seat setting can make an exercise feel much more natural.
Below are six simple reasons seat position matters. Keep scrolling to see how to find the right setting for your body.
1. Seat Position Changes Your Joint Angle
Your seat determines where your body sits relative to the machine’s handles, pads, and pivot points.
Move the seat, and you also change the position of your shoulders, elbows, hips, or knees. This changes the angle at which your muscles produce force.
Take a chest press as an example.
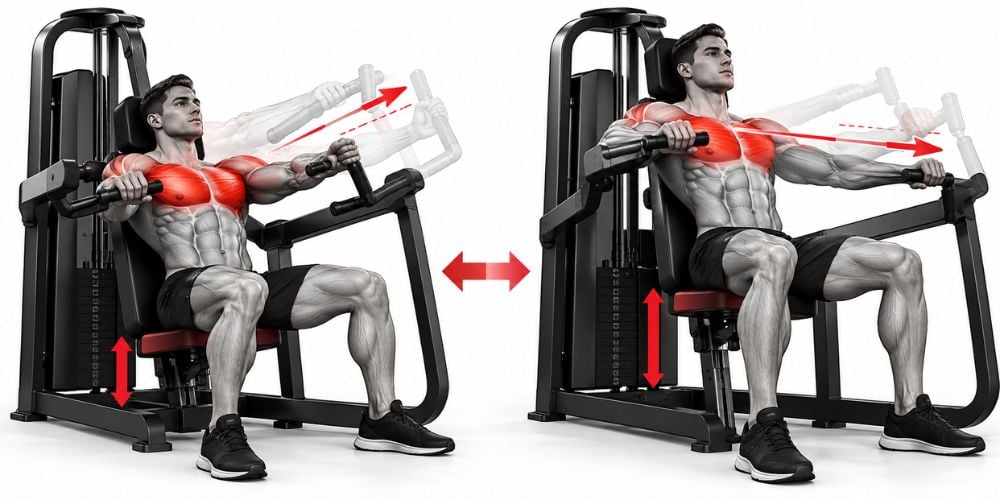
If you lower the seat, the handles sit higher relative to your chest. Raise the seat, and they sit lower relative to your body.
You are still doing a chest press, but your pressing angle has changed.
The American Council on Exercise recommends adjusting a seated chest press so the handles are around mid-chest level. That is a simple example of how seat height helps put your body in the intended pressing position.
The same idea applies to:
- Shoulder presses
- Seated rows
- Leg extensions
- Leg curls
- Pec fly machines
The key point: the seat is not only there for comfort. It helps set your working angle.
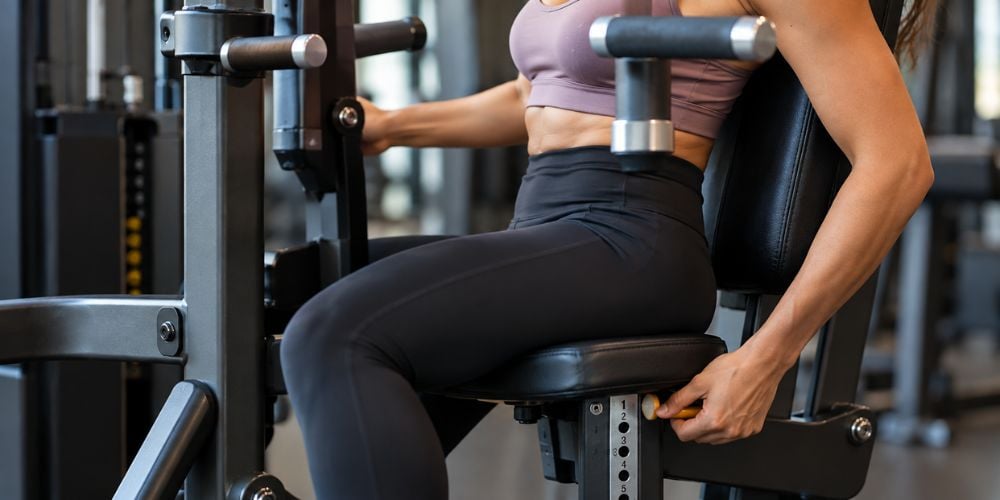
2. Seat Height Changes Where the Resistance Hits
So, does moving the seat actually change the muscles you train?
Usually, no. The main target muscle normally stays the same, but the new joint position and leverage can change where you feel the most effort.
On a chest press, for example, one seat setting may put the handles around the middle of your chest. Lowering the seat makes your arms press from a slightly higher position.
The same principle appears on other machines. ACE recommends placing shoulder-press handles around shoulder level or slightly above, while its seated-row guidance suggests setting the handles approximately level with the shoulders.
Here is a quick comparison:
Machine | Seat or Pad Change | What You May Notice |
Chest Press | Seat higher or lower | Pressing angle changes across the chest and shoulders |
Shoulder Press | Seat lower | Deeper starting position at the shoulders |
Seated Row | Seat or chest pad changes | Pulling angle shifts across the back |
Leg Extension | Seat or back pad changes | Knee and hip angles change |
Leg Curl | Backrest or seat changes | Hamstring starting length changes |
I often see people assume that feeling an exercise somewhere different means they have completely changed the target muscle. Most of the time, their body position and leverage have simply changed.
3. Seat Position Changes Your Range of Motion
Your seat setting affects how far you can move comfortably.
If the position is wrong, you may notice:
- Too close: the movement starts too deep.
- Too far away: the range becomes too short.
- Handles too far back: your shoulders may feel uncomfortable.
- Leg-machine seat too close or far: your hip and knee angles may feel awkward.
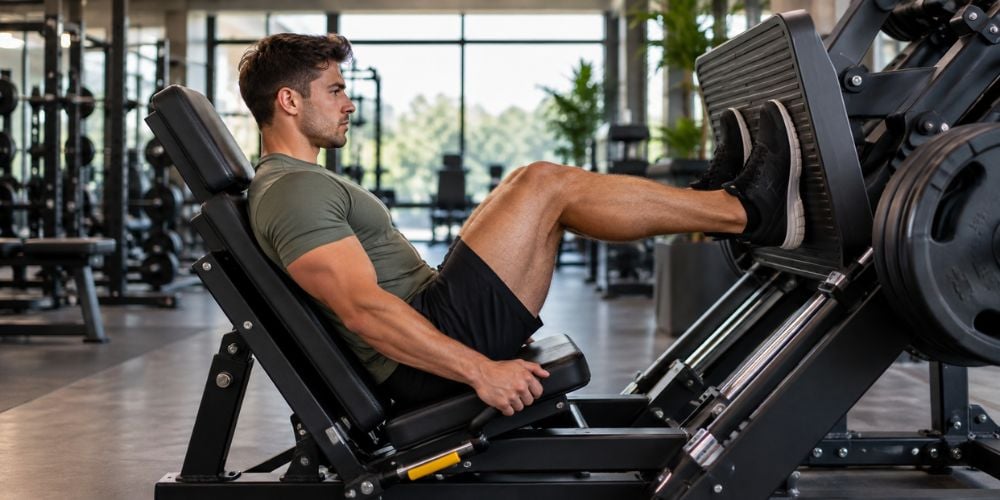
For example, ACE’s seated leg press guide recommends adjusting the seat so your knees start around a 90-degree bend with your heels flat.
On seated leg curls, body position can also change how stretched your hamstrings are. One study found greater hamstring growth in the seated position than the prone position, 14% versus 9%. See the study on PubMed.
The key point: do not chase the deepest possible range. Use the largest range you can control comfortably without pinching, twisting, or losing your position.
4. Machine Alignment Matters
Many strength machines rotate around a fixed pivot point or follow a defined movement path.
Your joints should sit reasonably close to the position the machine was designed around. If they do not, even a lightweight can feel awkward.
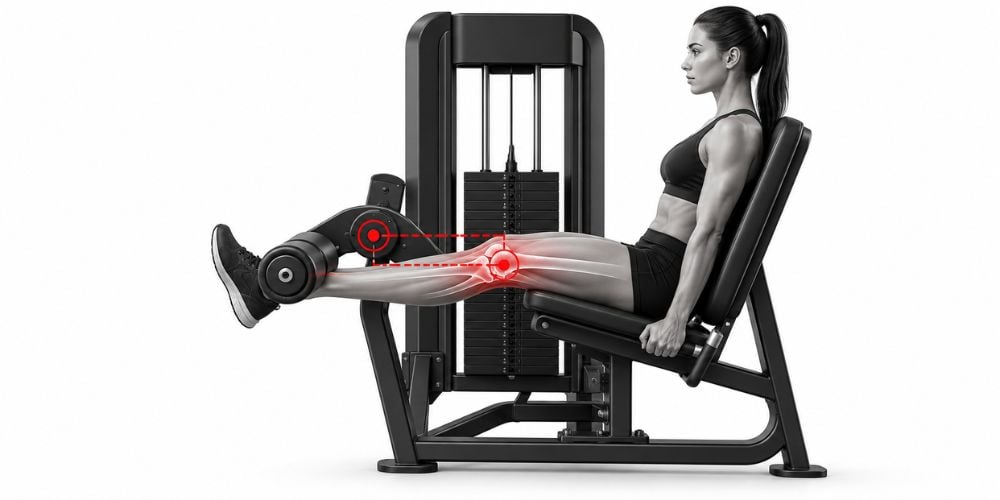
The leg extension is a good example.
The machine rotates near your knee. If your knee sits too far ahead of or behind the machine’s pivot, the movement may feel unnatural.
Precor specifically describes adjustable back pads that help users align the knee with the machine pivot on its leg-extension and seated-leg-curl designs. Its strength range also uses adjustable seat height to keep the shoulders aligned with machine pivot points on certain upper-body machines.
Before training, look for:
- Pivot-point markers
- Seat-height adjustments
- Backrest adjustments
- Thigh or shin pad adjustments
- Starting-position settings
These clues are much more useful than copying the seat number used by the person before you.
Want to see how these adjustment points are built into real strength machines? At YR Fitness, we design our strength equipment with practical seat, pad, and movement adjustments so different users can find a more natural setup. You can explore our strength equipment and compare the adjustment systems for yourself.
5. Your Body Size Changes the Best Seat Setting
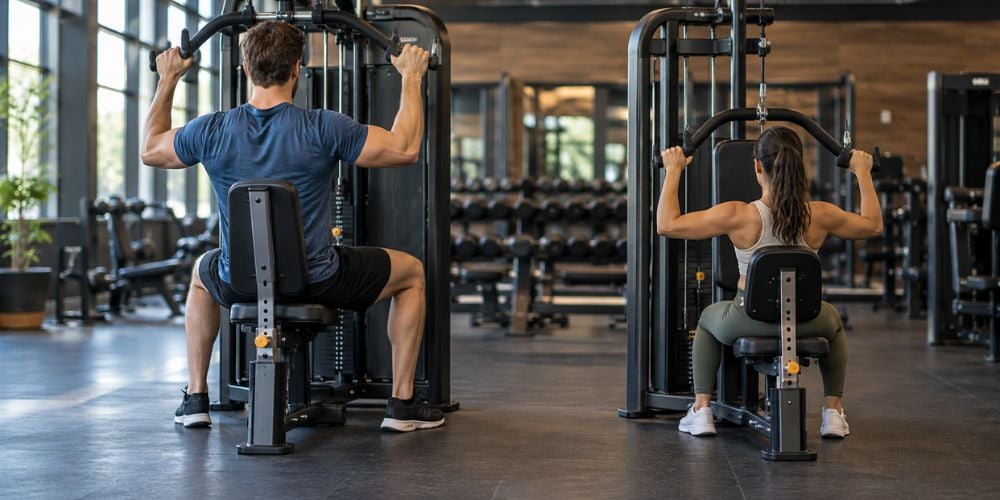
There is no perfect seat number for everyone.
Two people can be the same height and still need different settings because body proportions vary.
You may have:
- Longer arms
- Shorter legs
- A longer torso
- Different shoulder width
- Different hip mobility
For example, your friend may use setting 5 on a chest press. You may be about the same height but feel better on setting 4 or 6 because your arms or torso are different.
That is normal.
Equipment manufacturers build adjustable seats and pads partly for this reason. Precor, for example, describes adjustable pads and seats as a way to accommodate different body sizes and personalize machine fit.
Treat the numbers on the machine as reference points, not rules.
Once you find a comfortable setting, remember it for your next workout.
6. How to Find the Right Seat Position
You do not need to understand biomechanics every time you use a machine.
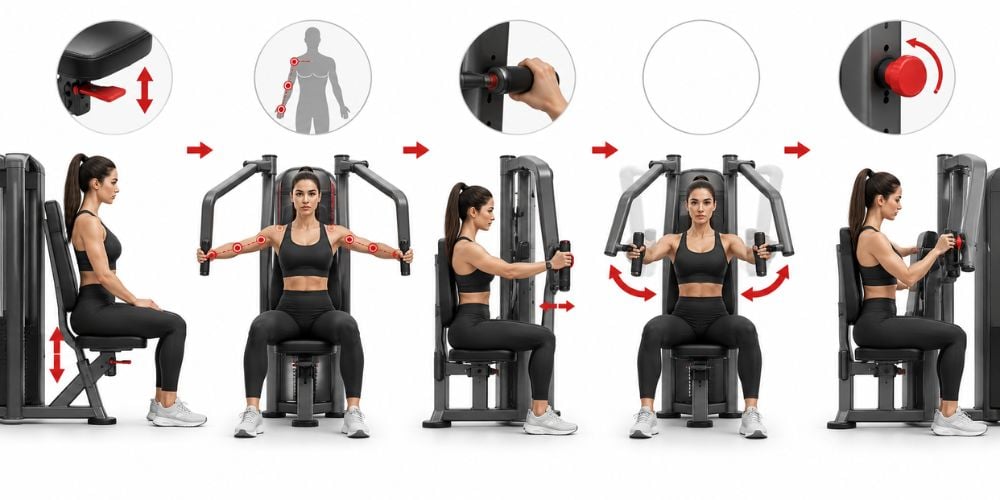
Use this simple process instead:
Set the seat before adding heavy weight.
- Start near the middle of the adjustment range if you are unsure.
Check your joint alignment.
- Look for pivot markers and make sure your knees, shoulders, or elbows sit naturally.
Check the handles and pads.
- They should meet your body in a position that makes sense for exercise.
Perform a few light reps.
- Make sure you can move without reaching, twisting, or shrugging.
Adjust one setting at a time.
- This makes it easier to tell which change helped.
Keep the setting that feels stable and controlled.
- Then gradually increase your working weight.
Not sure whether your setup is right? Use this quick check:
What You Feel | What to Check First |
Handles feel too high or low | Seat height |
You have to reach for the handles | Seat or backrest position |
Joint feels poorly lined up with pivot | Seat or back pad |
Starting position feels too deep | Seat, backrest, or start-position adjustment |
Range feels too short | Seat distance and pad position |
You twist or shrug during reps | Reduce weight and recheck your setup |
One final rule: make small changes.
Moving the seat one notch, testing a few light reps, and adjusting again is usually better than making a large change and guessing.
Conclusion
Seat position changes muscle emphasis because it changes your joint angle, leverage, range of motion, and alignment with the machine.
You usually do not need a big adjustment. Move the seat one setting at a time, test a few light reps, and choose the position that feels stable and natural.
If you want strength machines with practical adjustments that make it easier to find the right training position, at YR Fitness, we can help you explore commercial strength equipment designed around different body sizes and movement needs.
Related articles:



