








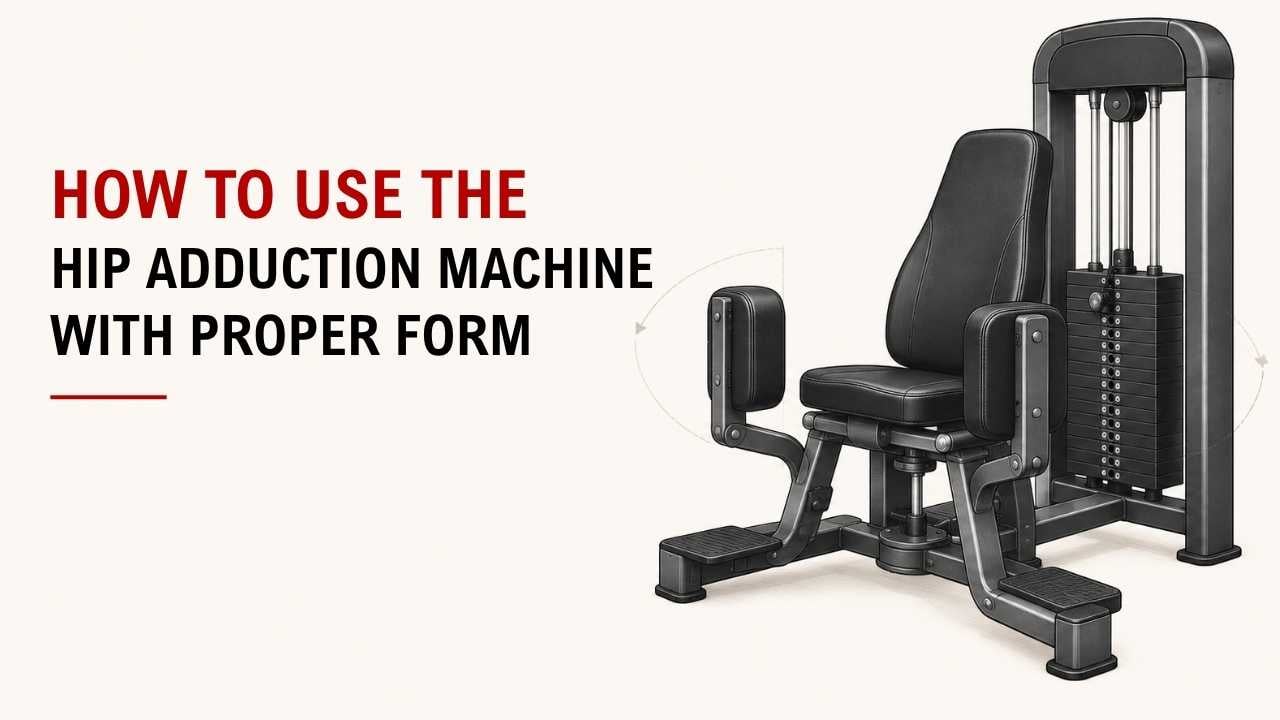

Not sure how to use the hip adduction machine correctly? A good setup makes the movement much easier to control.
The quick answer is: sit back, place your inner thighs against the pads, bring your legs together, and return slowly. Keep the range comfortable and avoid forcing your legs too wide.
As an Exercise Physiology & Biomechanics Expert at YR Fitness, I work closely with exercise movement, joint position, and strength-machine biomechanics. I often see small setup changes make a big difference in comfort and control.
Below, I’ll show you the setup, movement, and recommended sets and reps. Follow the steps in order and you’ll be ready to train.
1. Adjust the Seat and Starting Position
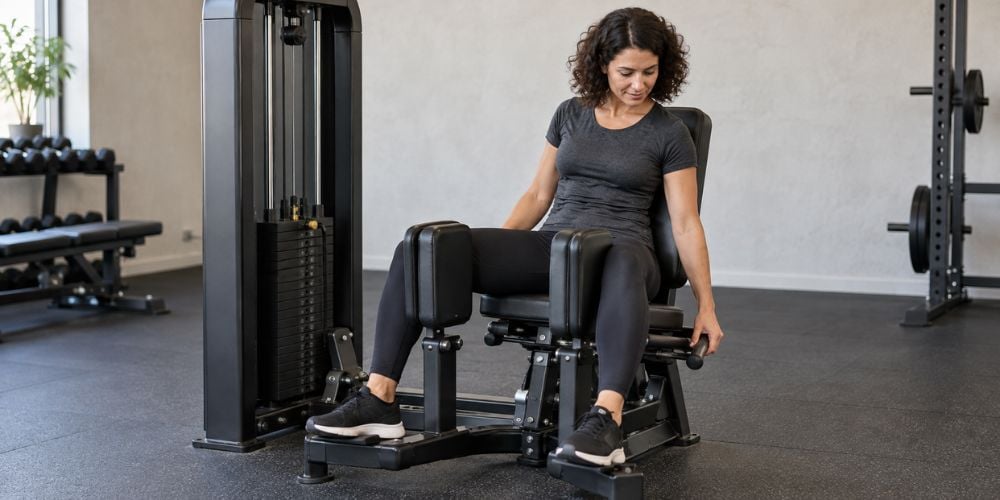
Sit fully back in the seat with your back against the support.
Adjust the thigh pads so your legs start comfortably apart. You should feel a light stretch in your inner thighs, but not pain or excessive pulling around your hips.
Keep both feet securely on the machine’s foot supports if they are provided.
Too wide at the start? Bring the pads inward.
I recommend starting with a narrower position when you first use the machine. You can gradually increase the starting width once you know what feels comfortable.
2. Position Your Inner Thighs Against the Pads
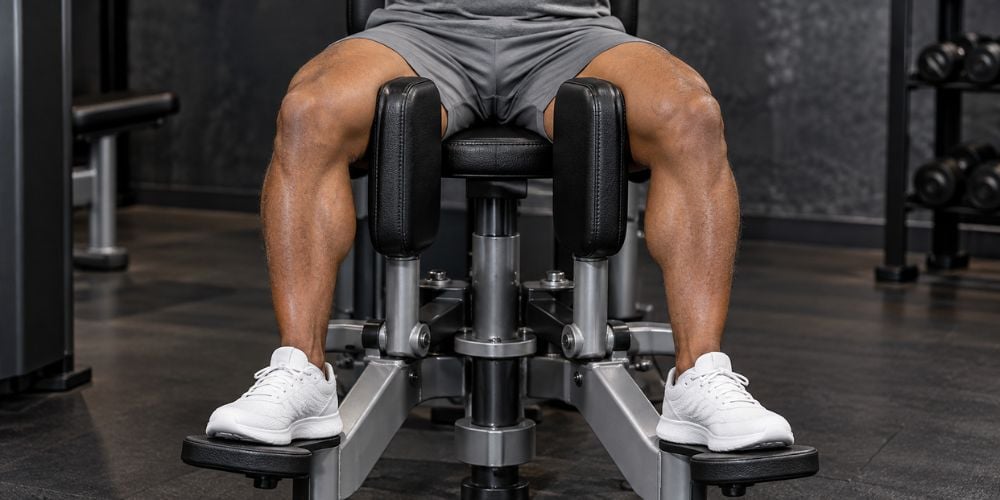
Place the pads securely against the inside of your thighs.
The movement mainly involves your hip adductors, the muscles that bring your thighs toward the center of your body. The Cleveland Clinic overview of the thigh muscles explains that the adductors also help with hip and leg alignment.
Keep your knees in a natural position without forcing them inward or outward. Make sure both legs are positioned evenly before you start.
If you feel discomfort around your knees or hips, stop and adjust the machine before continuing.
3. Sit Upright and Brace Your Core
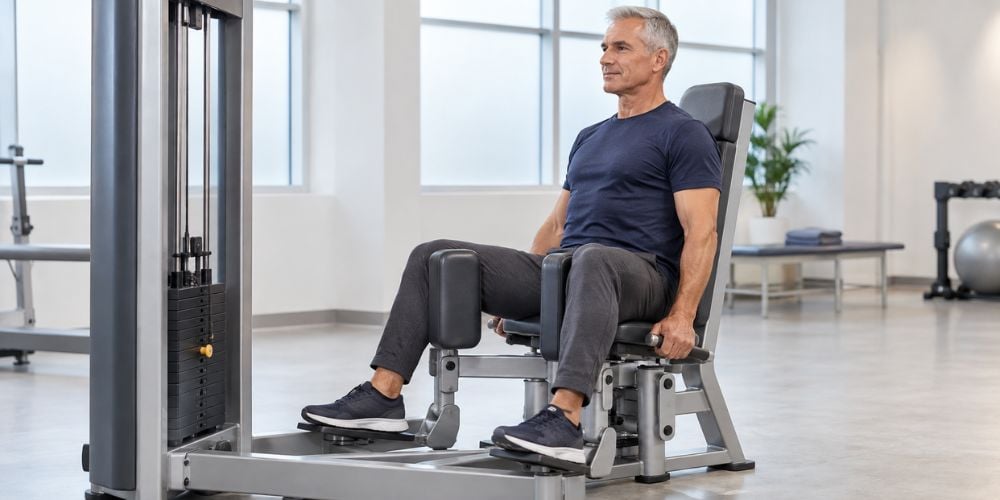
Keep your back against the backrest and sit tall.
Hold the handles beside the seat if the machine has them. Lightly tighten your abdominal muscles before each repetition.
Avoid leaning far forward or lifting your hips away from the seat.
I prefer keeping the torso quiet because it makes it easier to feel the inner thighs doing the work.
Quick Form Check
Body Area | What to Do | Avoid |
Back | Keep it supported | Leaning far forward |
Core | Lightly brace | Relaxing completely |
Hips | Keep them on the seat | Lifting or twisting |
Knees | Keep a natural position | Forcing them inward |
Feet | Keep them stable | Moving them during reps |
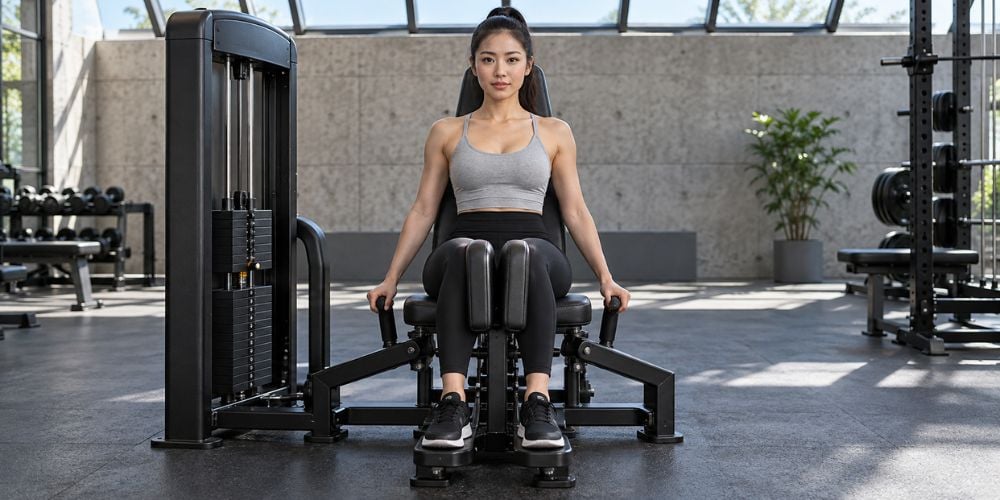
4. Bring Your Legs Together
Press your thighs inward against the pads.
Move both legs together until they meet or reach the machine’s comfortable stopping point.
Do not slam the pads together. Keep the movement smooth and controlled.
Focus on squeezing your inner thighs rather than moving the weight quickly.
What should stay still? Your back, shoulders, and hips.
At YR Fitness, we design our commercial strength machines around stable body positioning and controlled movement paths. If you want to see how we approach selectorized strength equipment, you can explore our commercial gym equipment.
5. Pause Briefly at the Closed Position
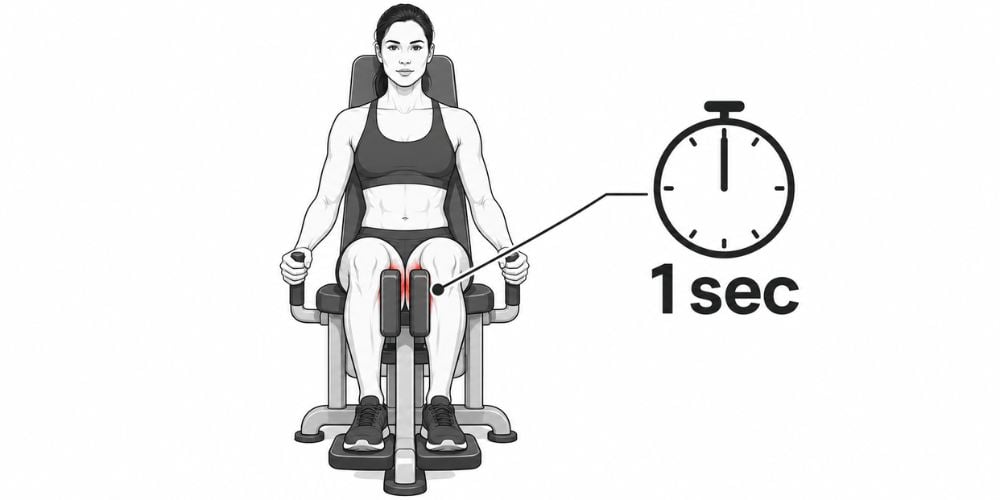
When your legs reach the closed position, pause for about one second.
Keep tension in your inner thighs instead of fully relaxing.
You do not need to squeeze as hard as possible. A controlled contraction is enough.
I often tell beginners to focus on control instead of maximum force. That simple cue usually helps stop the movement from becoming rushed.
6. Return Slowly to the Starting Position
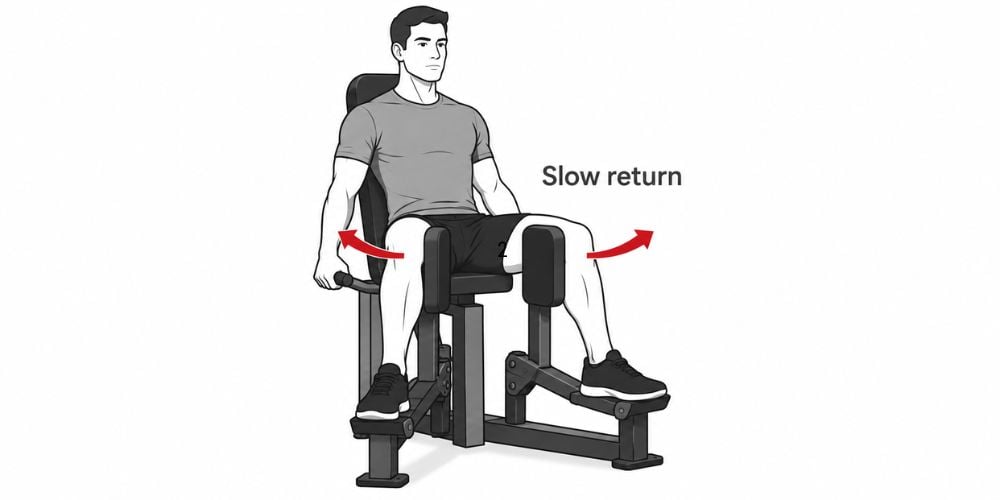
Allow your legs to open gradually.
Do not let the weight stack pull your legs apart suddenly. Control the resistance all the way back.
Stop when you reach your original comfortable starting position.
You should feel a stretch through your inner thighs, but the movement should never feel painful.
Use this simple rhythm:
Press inward → pause → return slowly.
The idea of controlling both the lifting and lowering phases also matches the American College of Sports Medicine resistance-training guidance, which recommends moving resistance through controlled repetitions.
Try to make every repetition look almost the same.
7. Choose the Right Weight, Sets, and Reps
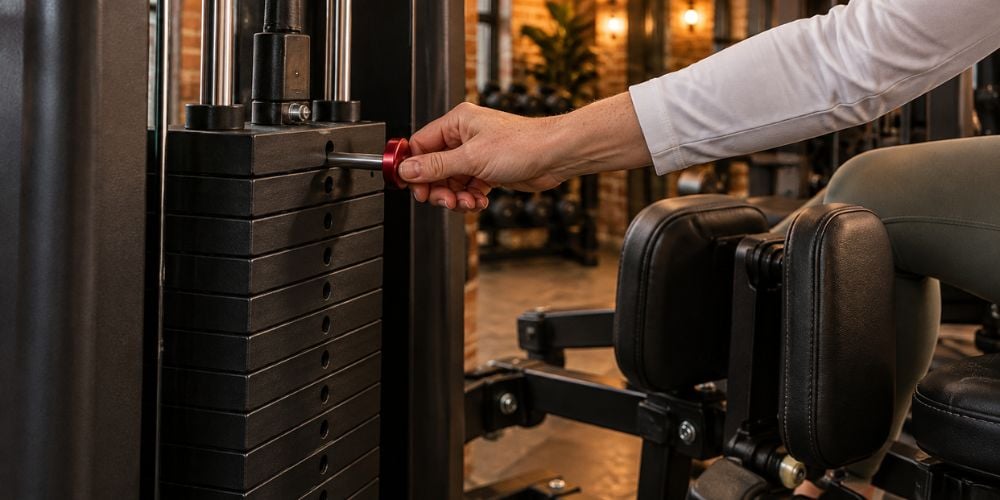
Start lighter than you think you need.
The weight should allow you to finish every repetition without bouncing, twisting, or losing your seated position.
For most fitness lovers, this is a simple starting point:
Training Detail | Starting Point |
Sets | 2–3 |
Repetitions | 10–15 |
Rest | 60–90 seconds |
Tempo | Controlled |
Weight | Light to moderate |
If you can easily complete all your reps with good form, increase the resistance slightly during your next workout.
If you need to swing your body or rush the movement to finish the set, the weight is probably too heavy.
I would rather see 12 controlled reps with moderate resistance than 8 rushed reps with a heavier load.
The hip adduction machine can be part of a wider strength routine rather than your only lower-body exercise. Current CDC muscle-strengthening guidance recommends training the major muscle groups on at least two days per week.
Conclusion
Using the hip adduction machine correctly is straightforward: set the pads comfortably, keep your back supported, press your thighs inward, pause briefly, and return slowly.
You do not need extremely heavy resistance to make the exercise useful. Focus first on a comfortable range of motion and consistent technique.
At YR Fitness, we pay close attention to movement paths and machine positioning because small design details can affect how natural an exercise feels. You can visit YR Fitness to explore more commercial strength equipment and lower-body training options.
Related articles:



