


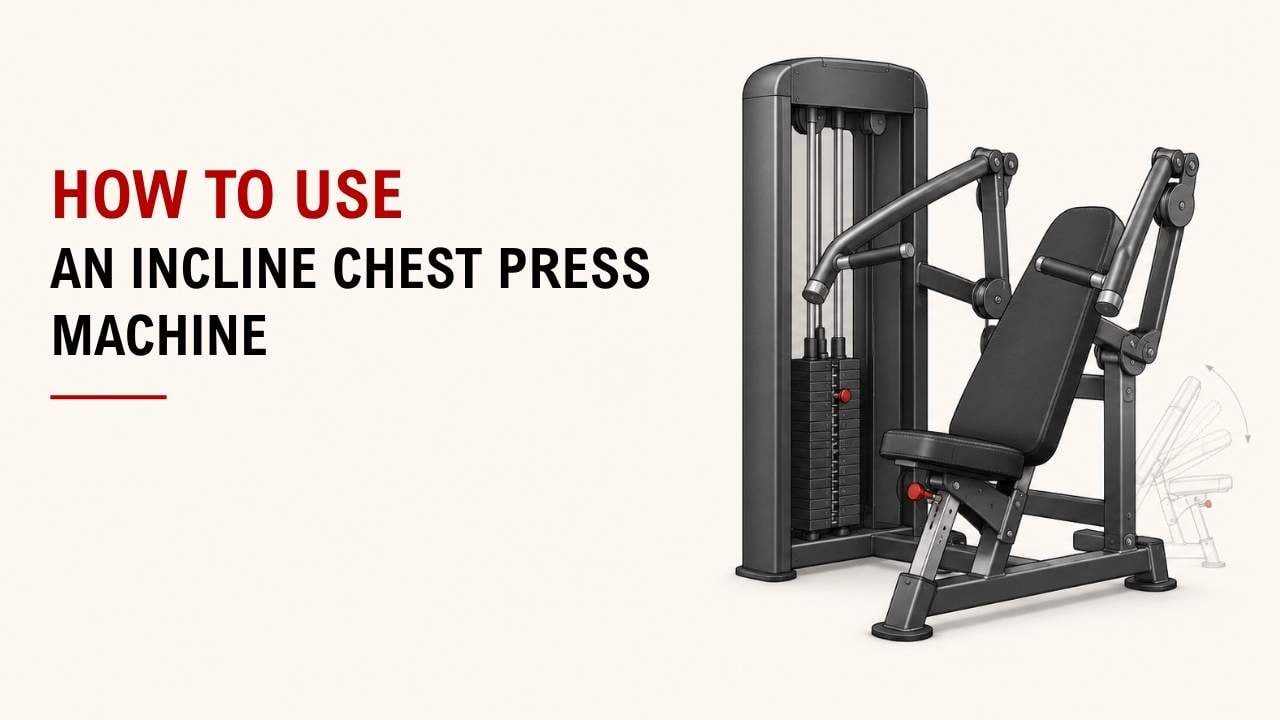

Not sure how to use an incline chest press machine correctly? The right setup makes the movement much easier to control.
The basics are simple: set the handles around upper-chest level, keep your back supported, press forward and up, then lower slowly. Use a weight you can control.
As an Exercise Physiology & Biomechanics Expert at YR Fitness, I work closely with strength-machine movement and joint positioning. I often see better chest press form come from fixing the seat height and starting position first.
Below, I’ll show you how to set up and use the machine step by step. Follow along, and you’ll be ready for your next set.
1. Adjust the Seat Height
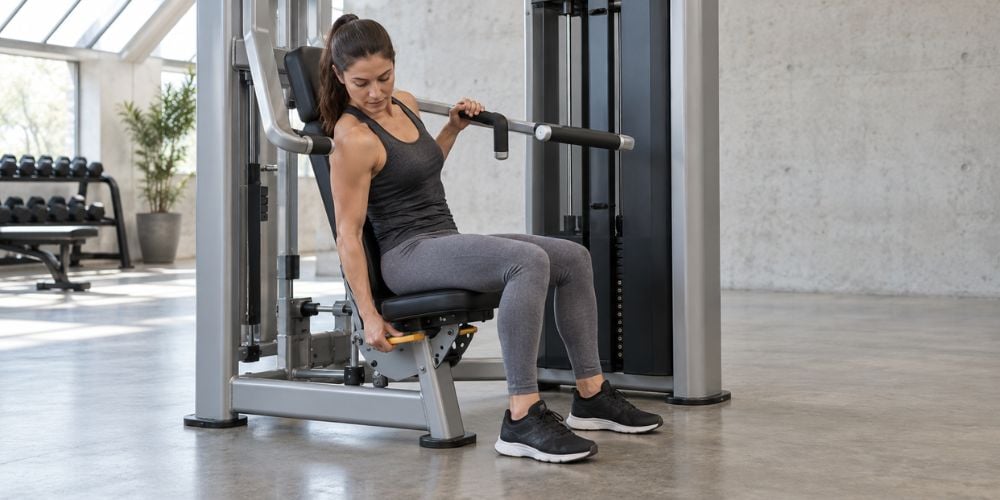
Sit down with your back firmly against the back pad.
Adjust the seat until the handles are roughly level with your upper chest. Keep both feet flat on the floor.
If the handles are too high, your shoulders may feel uncomfortable. If they are too low, the movement may feel more like a flat chest press.
Here is a quick setup check:
Check | What to Aim For |
Handles | Around upper-chest level |
Elbows | Slightly below shoulder level |
Back | Firmly against the pad |
Feet | Flat on the floor |
Wrists | Straight and comfortable |
Quick question: Do your shoulders feel awkward before you even press? Recheck the seat first.
2. Choose a Comfortable Weight
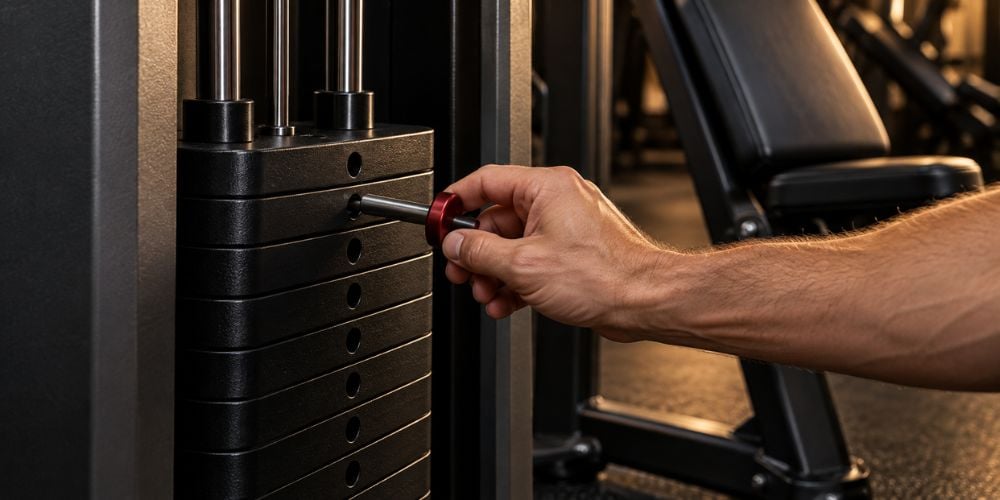
Start lighter if this is your first time using the machine.
Choose a weight that lets you press without bouncing, twisting, or lifting your back away from the pad.
I usually recommend learning the movement before adding more weight. A smooth set tells you more about your setup than a heavy first attempt.
For most beginners, a weight you can manage for around 8–12 controlled reps is a practical starting point. The American College of Sports Medicine’s resistance-training guidance also recommends controlled lifting and lowering, with 2–3 sets of 8–12 repetitions as a general resistance-training approach.
Can you finish the reps without changing your body position? If not, lower the weight.
3. Set Your Starting Position
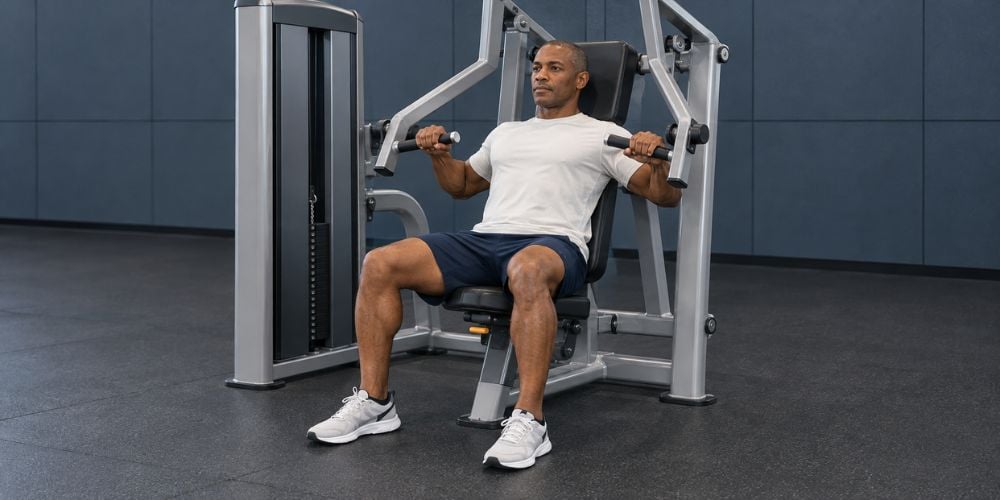
Before you press, quickly check your body position:
- Keep your head and back against the pad.
- Plant both feet firmly on the floor.
- Hold the handles comfortably.
- Keep your wrists straight.
- Keep your elbows slightly below shoulder height.
- Brace your core lightly.
Your shoulders should stay down instead of moving toward your ears.
The goal is not to force yourself into the machine. You want a stable position where the handles can move naturally without your shoulders or back shifting.
At YR Fitness, we design commercial strength equipment with self-developed movement angles, practical adjustability, and heavy daily use in mind. If you want to compare different chest press designs, our equipment range gives you a useful place to see how different machine setups are built.
4. Press the Handles Forward and Up
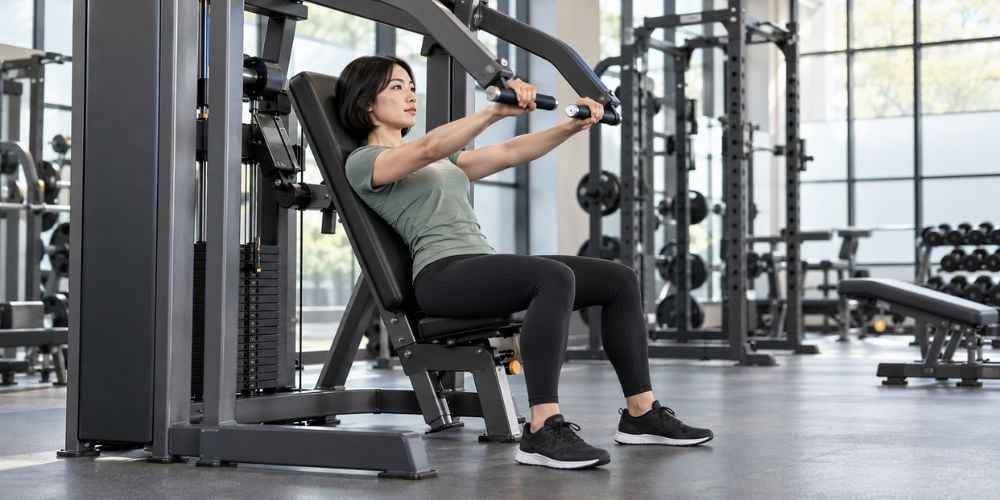
Push the handles forward and slightly upward by extending your elbows.
Follow the machine’s natural movement path. Do not try to force your arms in another direction.
Press smoothly rather than driving the weight forward suddenly.
At the top, straighten your arms without aggressively locking your elbows.
Where should you feel it?
You should mainly feel your upper chest working, with help from your front shoulders and triceps.
5. Lower Weight Slowly
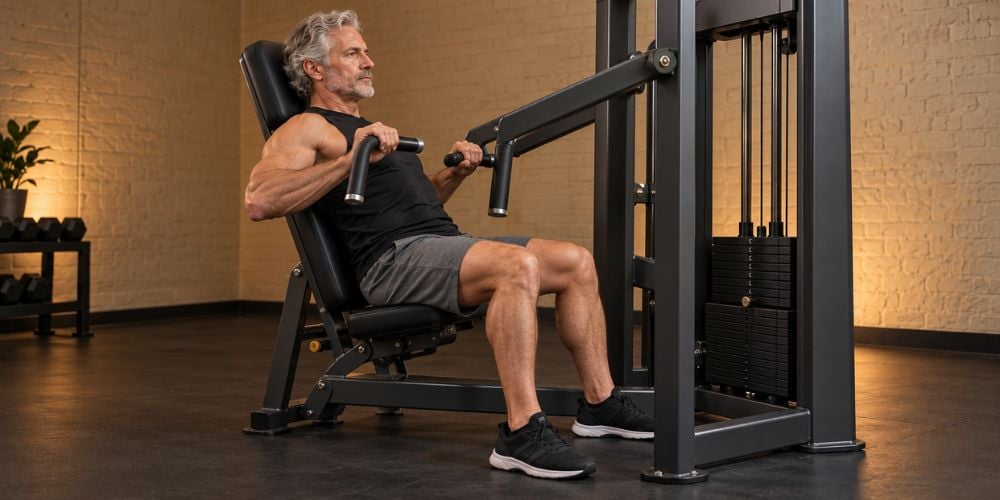
Bend your elbows and bring the handles back toward your upper chest.
Control the weight throughout the return. Do not let the machine pull your arms backward quickly.
Stop when you reach a comfortable depth. You do not need to force your elbows far behind your body for a bigger stretch.
I often see people rush this part of the rep. Slowing the return usually makes the whole exercise feel more controlled.
Avoid letting the weight stack slam before starting your next rep.
6. Use the Right Breathing
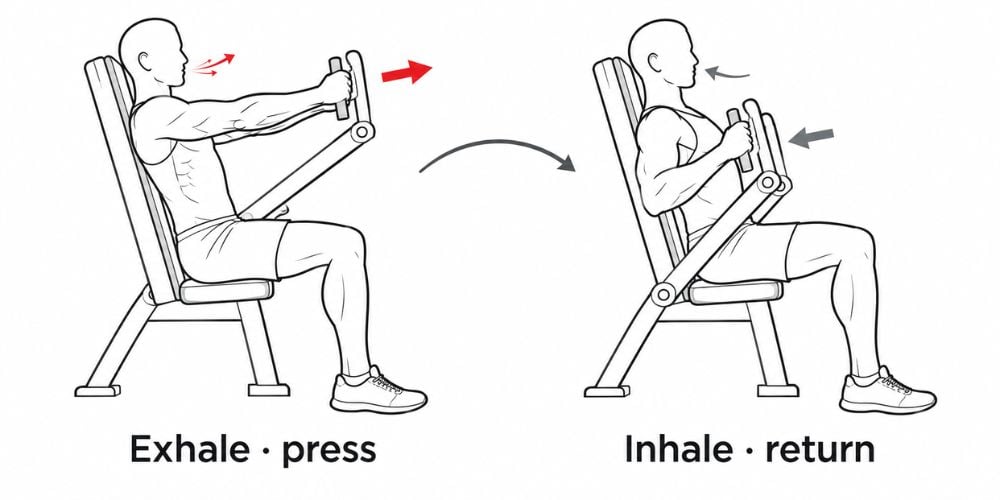
Keep your breathing simple:
- Exhale as you press the handles away.
- Inhale as you return to the starting position.
Try not to hold your breath for several repetitions.
This matters more than it may seem. The ACSM guidance on resistance exercise and breath-holding advises against holding your breath while lifting because it can cause a sharp rise in blood pressure.
A steady breathing rhythm also helps you keep your reps consistent.
7. Know What Muscles You Are Training
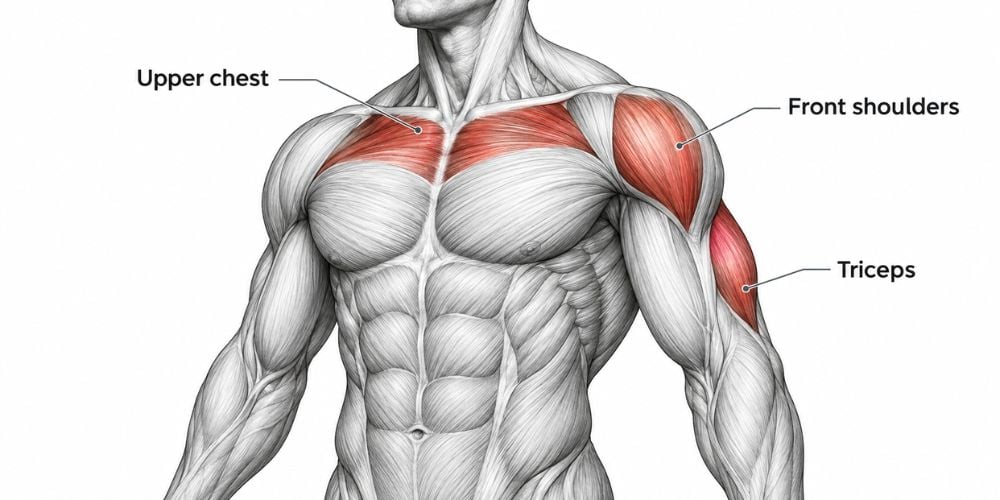
The incline chest press mainly works three areas:
Muscle | Role During the Press |
Upper chest | Main pressing muscle |
Front shoulders | Help move the arms forward and upward |
Triceps | Help straighten the elbows |
Because the back pad is angled upward, the exercise generally places more emphasis on the upper portion of the chest than a flatter chest press.
There is research behind that difference. A PubMed study comparing five bench inclinations found the greatest upper-pectoral muscle activity at a 30-degree incline, while steeper angles increased the contribution of the front deltoids.
Does that mean steeper is always better? No.
You do not need an extremely steep angle to make the exercise effective. A comfortable pressing path and stable body position matter more.
Conclusion
Using an incline chest press machine is simple: adjust the seat, choose a manageable weight, keep your back supported, press forward and up, and lower the handles slowly.
Good technique matters more than adding heavy weight. I would rather see controlled reps than extra weight that causes your body position to change.
If you want to compare incline presses and other strength machines, you can explore YR Fitness equipment and see which machine designs best match the way you train.
Related articles:



