








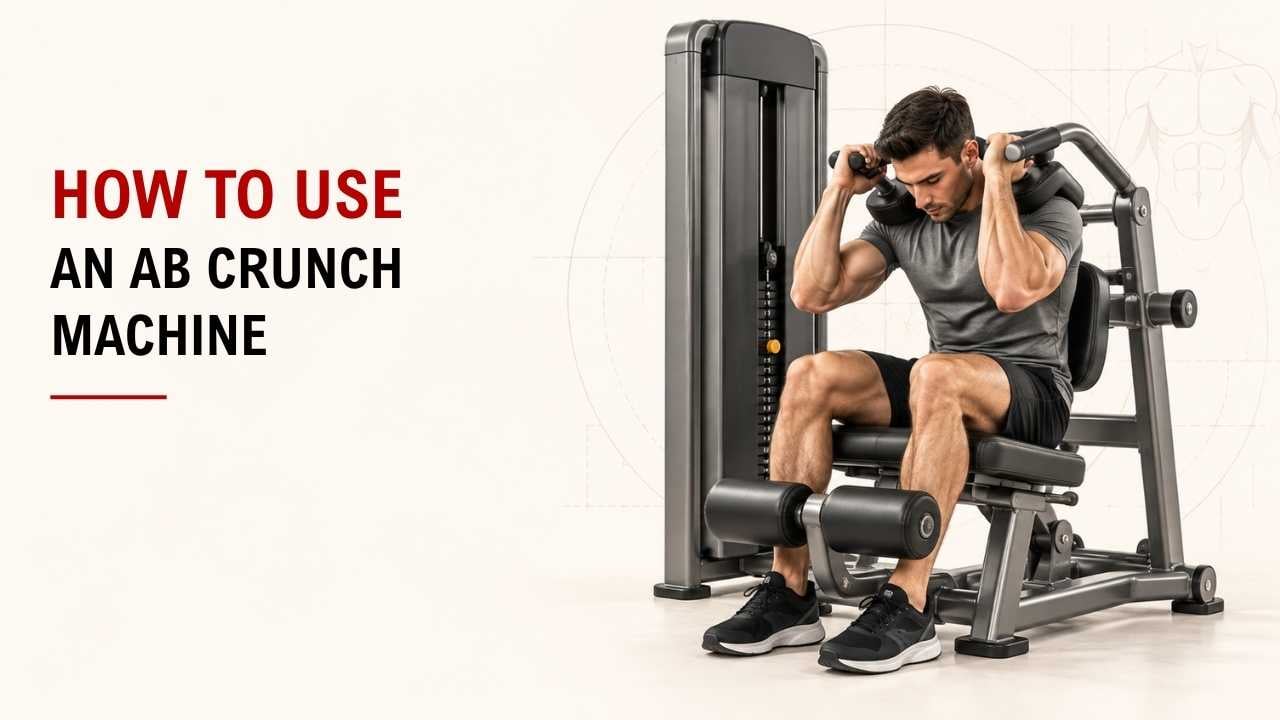

Not sure if you are using the ab crunch machine correctly? Many people feel the exercise more in their arms or hips because their setup or movement is slightly off.
The short answer is simple: adjust the machine, brace your core, crunch forward with your abs, squeeze briefly, and return slowly. Start with a light weight, so every rep stays controlled.
As an Exercise Physiology & Biomechanics Expert at YR Fitness, I look closely at how body position, resistance, and machine angles affect exercise technique. I often see people feel their abs much better after lowering the weight and slowing down.
Below, I’ll show you exactly how to use an ab crunch machine in six simple steps. Follow them in order, and your reps should feel cleaner and easier to control.
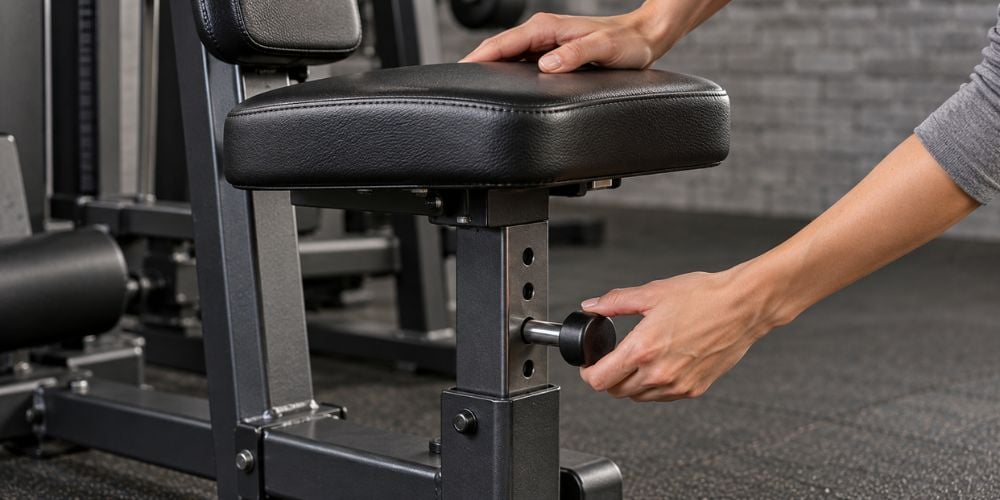
1. Adjust the Ab Crunch Machine
Start by setting the seat so the machine fits your body comfortably.
Your feet should sit firmly on the footrests or floor, depending on the machine. The handles, pads, or arm supports should be easy to reach without twisting or stretching.
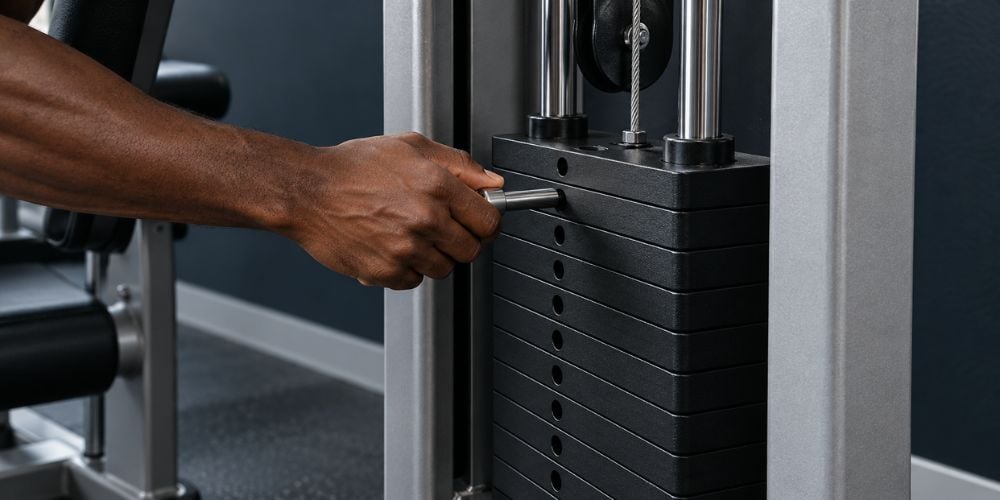
Choose a light weight for your first set. You can always add more resistance once the movement feels natural.
Quick Check: Can you sit comfortably and start the crunch without reaching awkwardly for the handles?
If yes, your setup is probably closed.
2. Get Into the Correct Starting Position
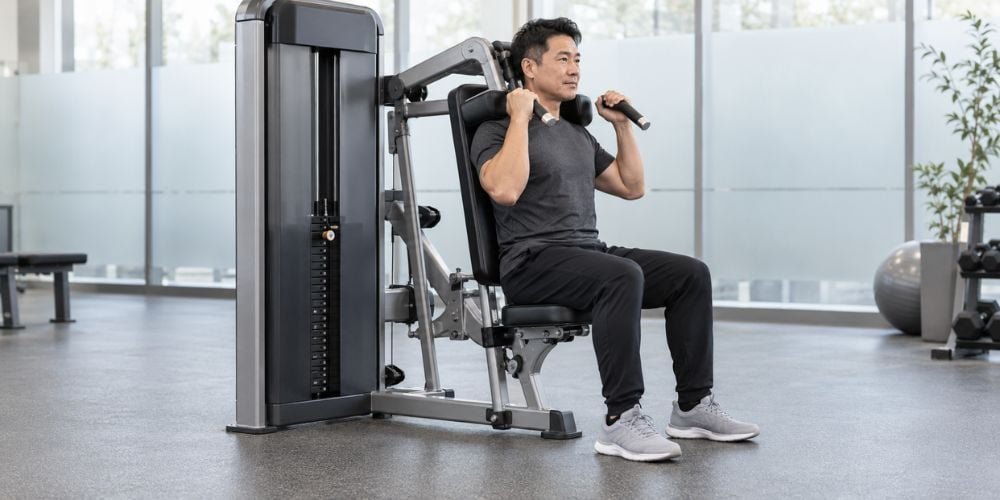
Sit firmly on the seat and place your back against the pad if the machine has one.
Keep your feet secure and hold the handles lightly. Relax your shoulders, then brace your stomach before you move.
I like to think of this as switching the abs on before the weight starts pulling against you. That small brace often makes the first part of the rep feel much smoother.
Body Part | What to Do | What to Avoid |
Feet | Keep them secure | Letting them shift |
Hips | Keep them stable | Sliding forward |
Chest | Start upright | Leaning far back |
Shoulders | Keep them relaxed | Shrugging |
Core | Brace lightly | Starting completely relaxed |
Avoid leaning far backward just to create momentum.
3. Crunch Forward With Your Abs
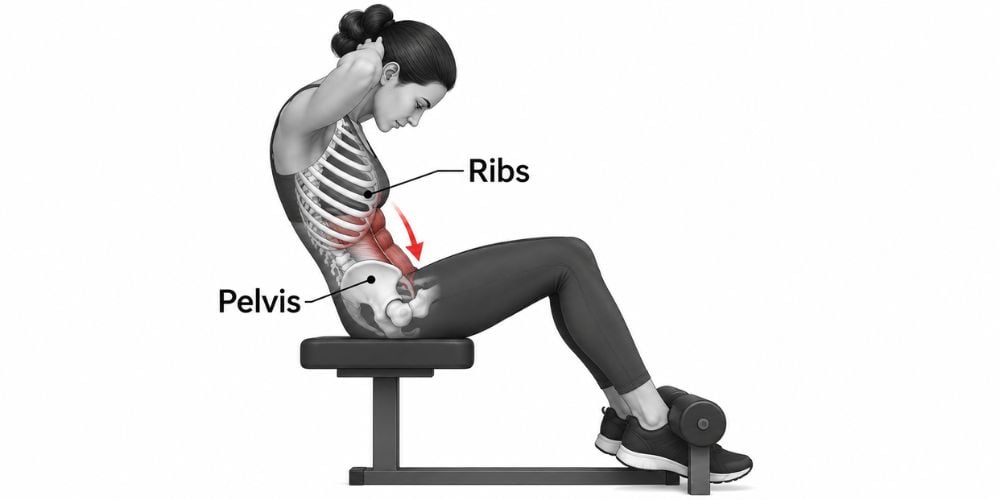
Now curl your upper body forward.
Think about bringing your ribs toward your pelvis instead of simply folding your whole body. ACE exercise guidance uses the same basic idea for crunch mechanics: contract the abdominal muscles and bring the rib cage and pelvis closer together.
Exhale as you crunch.
Keep your arms relaxed if you are holding handles. They help keep you positioned, but they should not do the pulling.
Where should you feel it?
Mainly across the front of your abdomen.
If you mostly feel your arms, shoulders, or hips, lower the weight. I often see this happen when someone chooses more resistance than they can control.
At YR Fitness, we design our strength machines around controlled movement paths and practical adjustment points. If you want to compare how different machine layouts affect your training position, you can explore our commercial gym equipment and look at the seat, pad, handle, and resistance layouts.
4. Pause and Squeeze Your Core
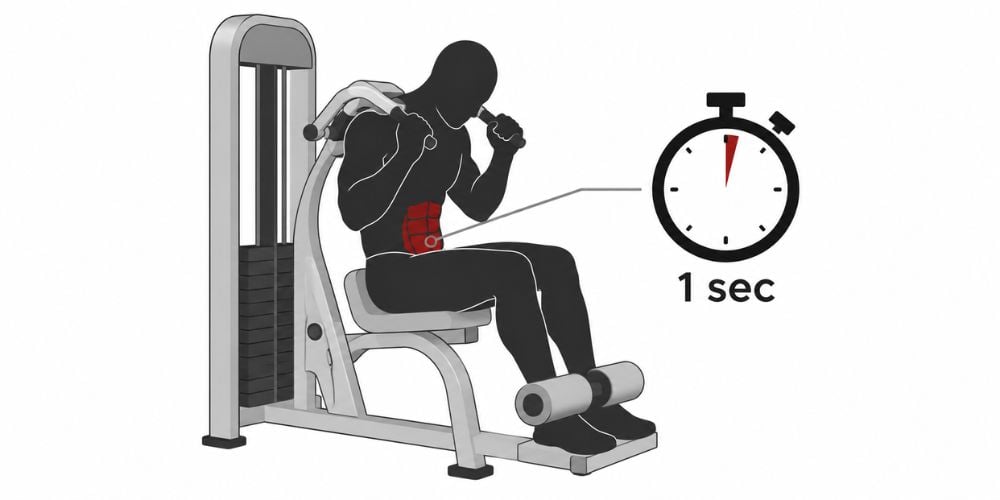
At the bottom of the crunch, pause for about one second.
Squeeze your abs, but do not force yourself as far forward as possible. The goal is a strong abdominal contraction, not maximum bending.
Avoid bouncing at the bottom.
A simple rhythm works well:
Crunch → squeeze → return.
That short pause also helps you check whether your abs are doing the work or whether momentum has taken over.
5. Return Slowly
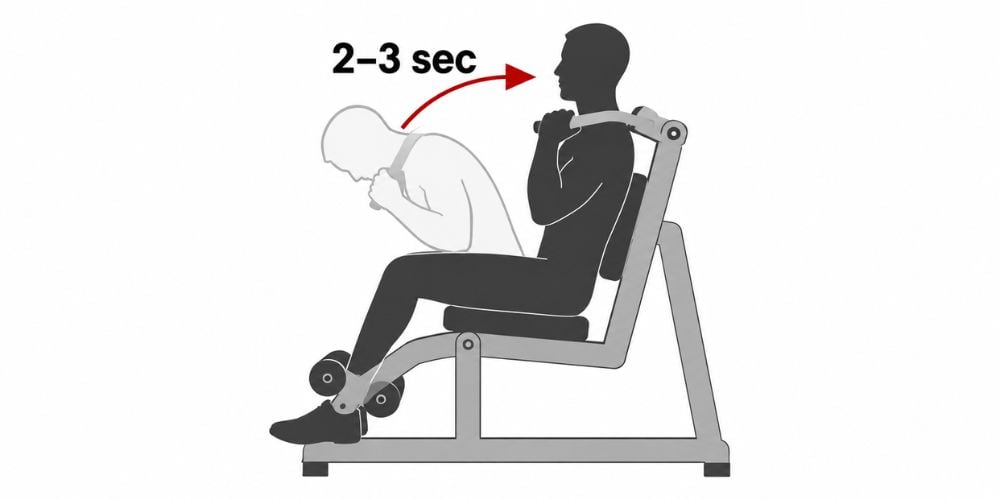
Slowly let your torso return to the starting position.
Inhale as you come back and keep some tension in your abs. Do not let the weight pull you backward suddenly.
Try to take about 2–3 seconds on the return.
Why slow down?
Because the return is still part of the exercise. Mayo Clinic’s weight-training guidance recommends controlled movement rather than rushing and relying on momentum.
I prefer controlled reps here because they make it easier to feel whether the abs are actually working.
Do not let the weight plates slam together between reps. Stop just before the stack fully rests, then begin your next crunch.
And if the movement causes pain rather than normal muscular effort, stop the exercise and check your setup or resistance. Mayo Clinic similarly advises stopping an exercise if it causes pain.
6. Choose the Right Weight and Reps
You do not need very heavy resistance to train your abs well.
Choose a weight that lets you complete every repetition without jerking, pulling with your arms, or changing your posture.
Training Level | Reps | Sets | Main Focus |
Beginner | 10–12 | 2–3 | Learn the movement |
Regular training | 10–15 | 2–4 | Controlled resistance |
Higher-rep ab work | 15–20 | 2–4 | Maintain form as fatigue builds |
Once you can reach the top of your rep range with clean form, increase the resistance slightly.
This fits the bigger principle in ACSM’s resistance-training guidance: training should be adjusted to the person’s goals and ability instead of following one rigid prescription.
How do you know the weight is too heavy?
Watch for these signs:
- You throw your body forward.
- You pull hard on the handles.
- Your hips start doing most of the movement.
- You cannot control the return.
- Your reps become faster as you get tired.
If that happens, lower the resistance.
Good ab training is not about moving the biggest number on the weight stack. It is about making your abdominal muscles control the movement.
Conclusion
Using an ab crunch machine is simple: adjust the seat, secure your body, brace your core, crunch forward, squeeze your abs, and return slowly.
Keep the resistance manageable and focus on control. I would rather see you perform 10 clean reps than 20 rushed ones.
Want to see how different machine designs change your training position and movement? Explore YR Fitness commercial gym equipment to compare movement paths, adjustment systems, and strength-machine layouts before your next workout.
Related articles:



