








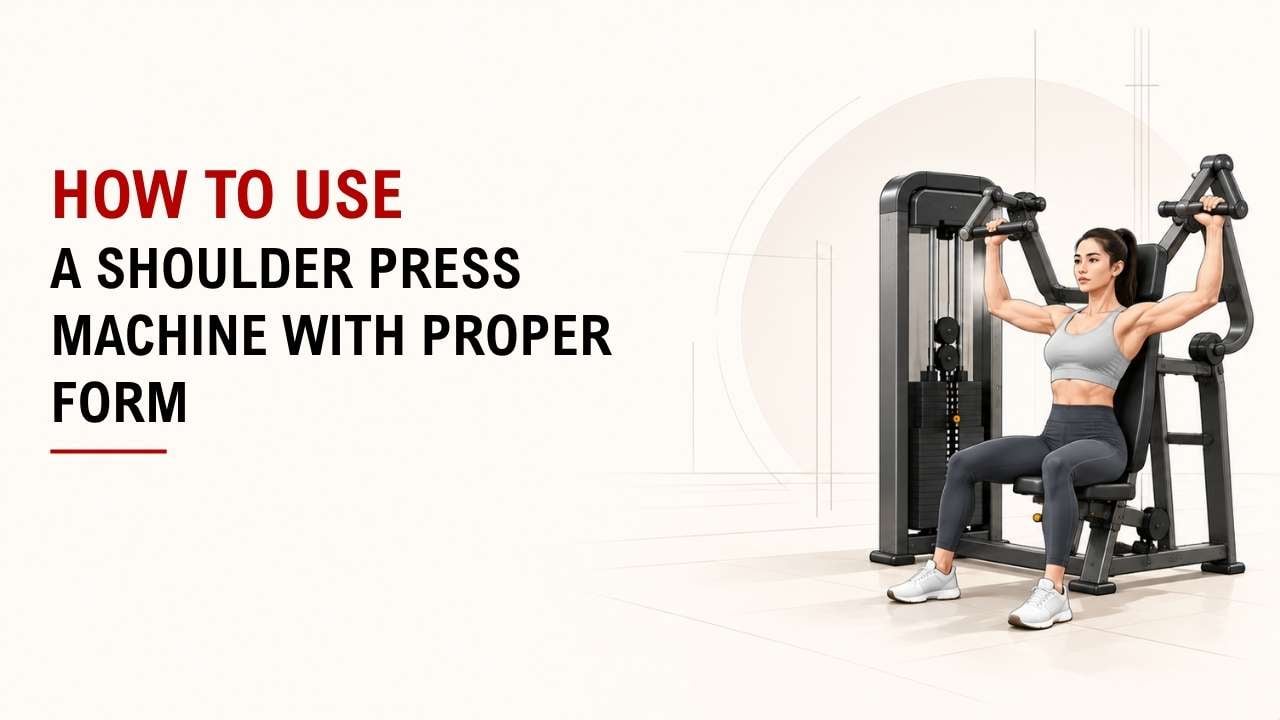

Not sure how to set up a shoulder press machine correctly? The right setup can make every rep feel smoother and more comfortable.
The quick answer is simple: set the handles around shoulder height, keep your back supported, press up smoothly, and lower slowly. Use a weight you can control.
As an Exercise Physiology & Biomechanics Expert at YR Fitness, I work closely with joint movement, resistance paths, and strength-machine biomechanics. I’ve seen how small changes in seat height and arm position can make a big difference in shoulder press form.
Below, I’ll show you seven simple steps to use the machine properly. Keep scrolling, and you’ll be ready for your next set.
1. Adjust the Seat Height
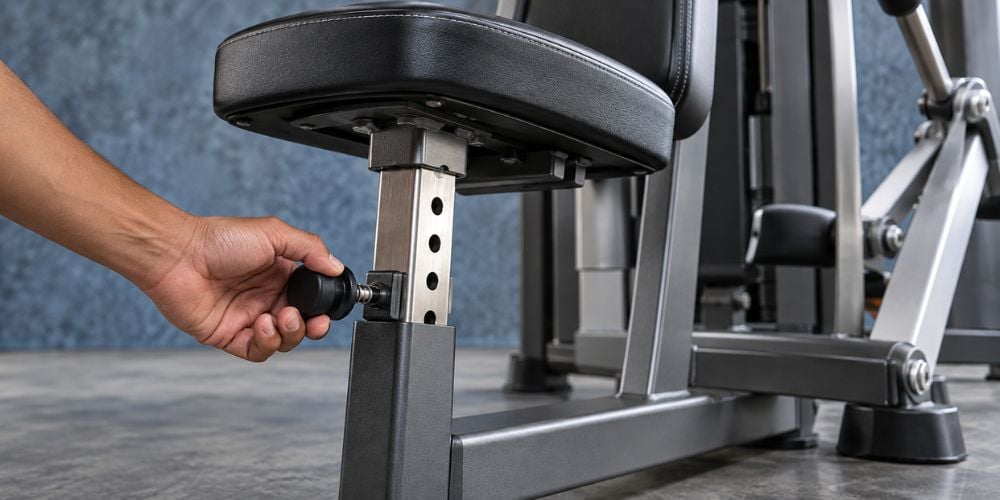
Sit down with your back fully supported by the pad.
Adjust the seat until the handles are around shoulder height. Your elbows should bend comfortably without being forced far behind your body.
Keep both feet flat on the floor.
I always check the seat first because a poor starting position can make the whole exercise feel awkward. The ACE seated shoulder press guide also recommends setting the handles around shoulder height while keeping the back supported and feet stable.
Quick check: Are the handles much higher or lower than your shoulders? Adjust the seat before you start pressing.
2. Choose a Comfortable Weight
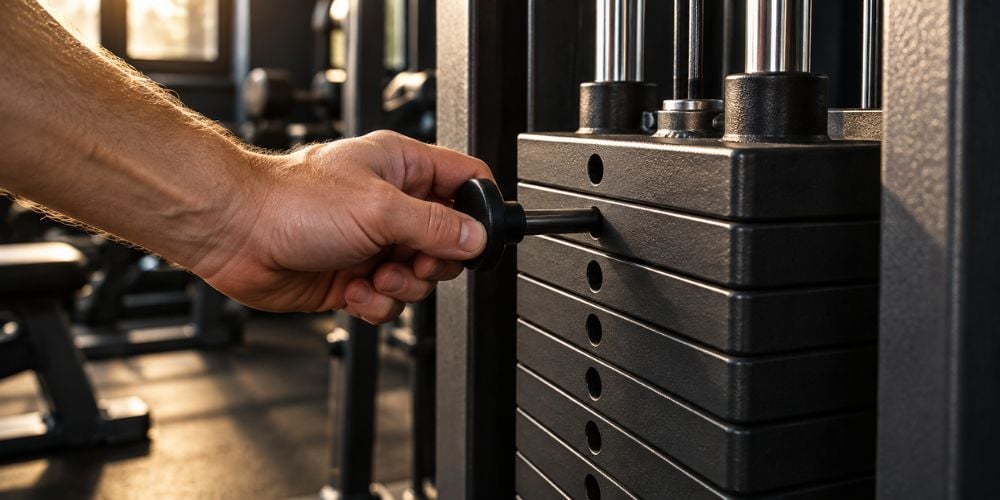
Start lighter than you think you need.
Choose a weight you can press without:
- Lifting your hips
- Excessively arching your lower back
- Jerking the handles
- Losing control on the way down
For beginners, I prefer learning movement first and adding resistance later.
A simple starting point is:
- 2–3 sets
- 8–12 reps
- 60–90 seconds of rest
The last few reps can feel challenging, but your technique should stay controlled.
Should strength training be part of your regular routine? The CDC physical activity guidelines recommend muscle-strengthening activity on at least two days each week for adults, including exercises for the shoulders and other major muscle groups.
3. Set Your Grip
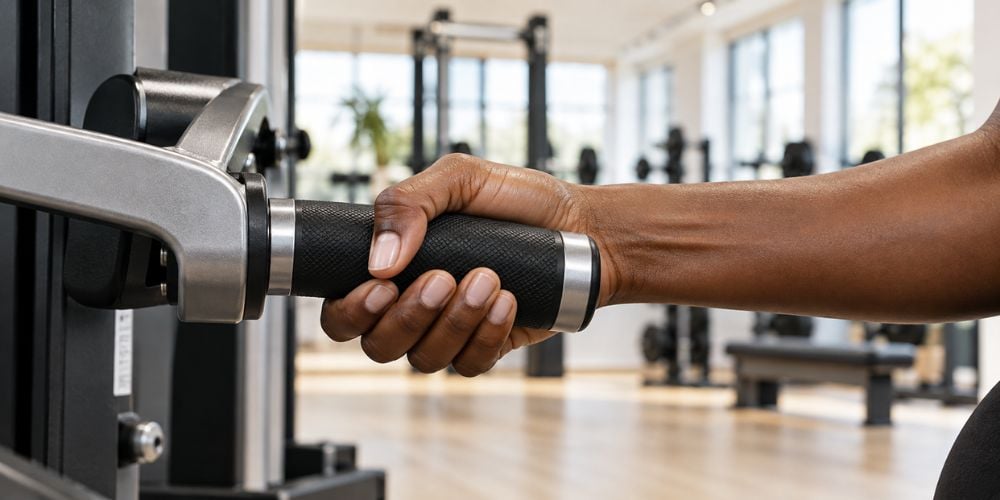
Grip the handles firmly without squeezing harder than necessary.
Keep your wrists neutral instead of bending them backward. Your hands, wrists, and forearms should stay reasonably aligned.
Some machines offer:
- A palm-forward grip
- A neutral grip
- Multiple handle positions
Choose the option that feels most comfortable for your shoulders.
Which grip is best? There is no need to force a grip that feels awkward just because someone else uses it.
Machine design can change how the handles, seats, and pressing paths feel. At YR Fitness, we design our strength equipment around controlled movement paths and practical user positioning, so you can compare different machine layouts and see which setup feels more natural for your training.
4. Brace Your Body
Before you press, get your body stable.
Keep your:
- Back against the pad
- Head relaxed against the support
- Feet flat on the floor
- Core gently braced
A small natural curve in your lower back is fine. Avoid creating a large back arch just to move more weight.
I often tell people to keep the torso quiet while the arms do the work.
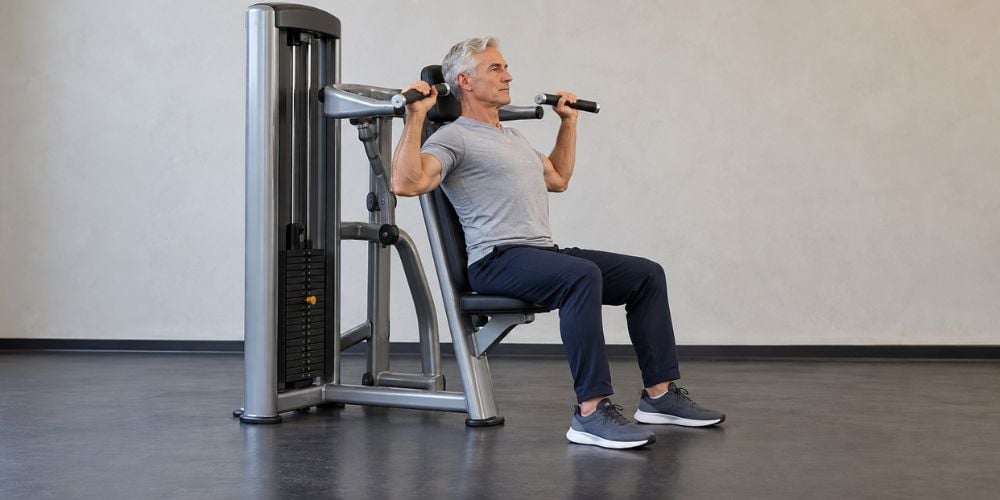
5. Press the Handles Up
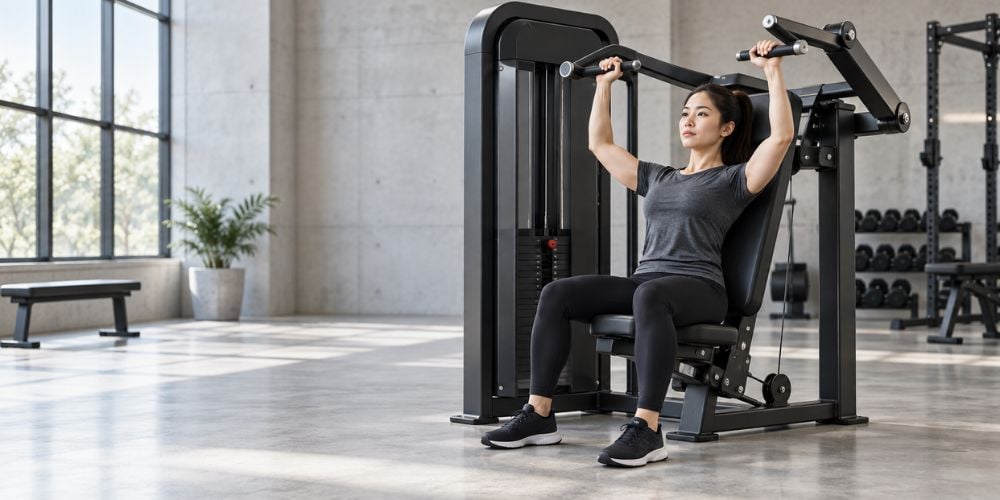
Brace your body and press the handles upward smoothly.
Continue until your arms are almost straight. You do not need to aggressively lock your elbows at the top.
Keep your shoulders controlled instead of shrugging them toward your ears.
What should you feel working?
The shoulder press mainly trains you:
- Deltoids
- Triceps
- Upper chest
The exact feeling can change slightly with the machine angle and grip.
Do not rush the press. Smooth movement makes it much easier to stay in control.
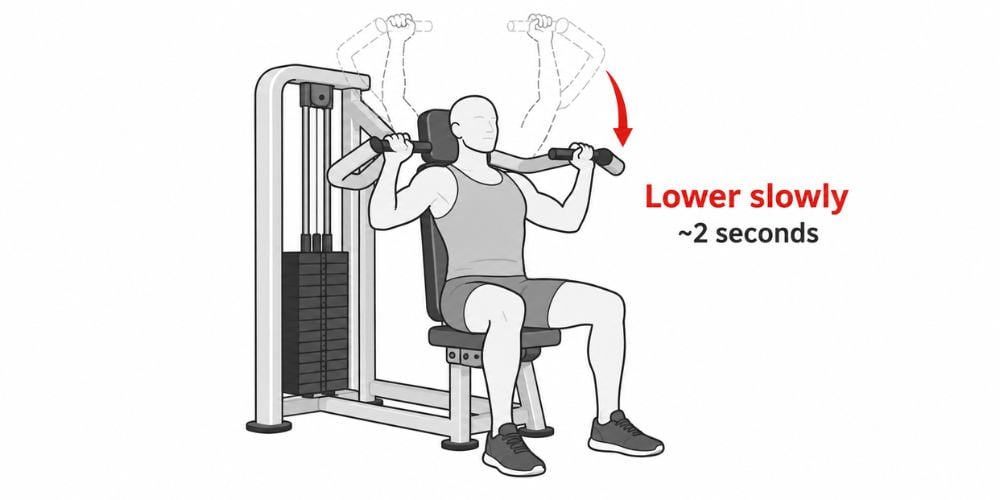
6. Lower Weight Slowly
Bring the handles back toward the starting position under control.
Do not let the weight stack pull your arms down or slam between repetitions.
I usually suggest taking around two seconds to lower the handles. You do not need to count perfectly, but the movement should feel steady.
Here is why this matters: the lowering phase is still part of the exercise. Treat it as part of the rep rather than simply resetting it for the next press.
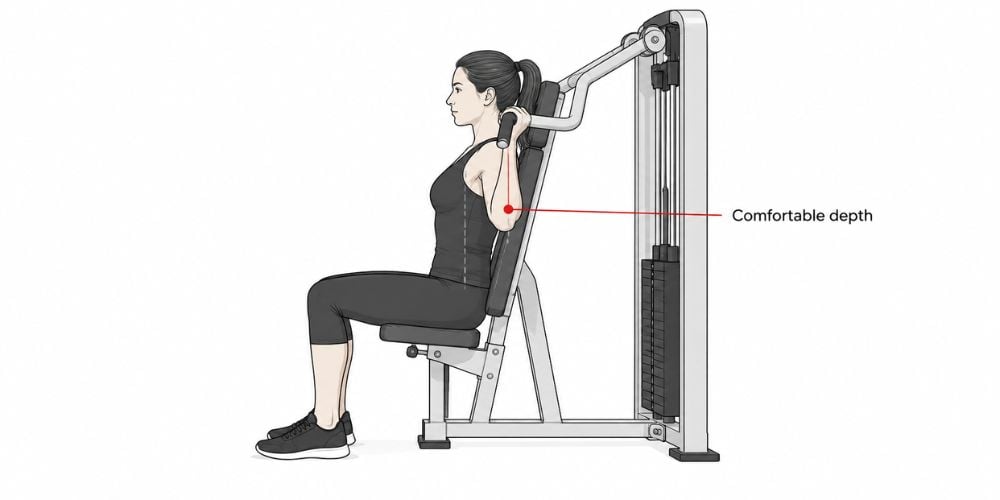
7. Use a Comfortable Range of Motion
Lower the handles until your elbows reach a comfortable position around shoulder level or slightly below.
Do not force your elbows far behind your torso just because the machine allows it.
Shoulder mobility differs from person to person. Use a range that feels natural and controlled.
What if you feel pain? Stop if you feel sharp pain, pinching, or unusual discomfort rather than trying to push through it.
The Mayo Clinic guidance on painful shoulder movements advises avoiding movements that aggravate shoulder pain, particularly when an injury may be involved.
Common Shoulder Press Mistakes
Mistake | Better Approach |
Seat too high or low | Set handles around shoulder height |
Using too much weight | Choose a load you can control |
Arching the lower back | Keep your back supported |
Wrists bending backward | Keep wrists neutral |
Locking elbows aggressively | Stop with arms almost straight |
Dropping the weight quickly | Lower slowly |
Shrugging the shoulders | Keep shoulders controlled |
Lowering too far | Use a comfortable range |
Conclusion
The proper shoulder press form is simple: adjust the seat, choose a manageable weight, keep your body supported, press smoothly, and lower under control. Good technique matters more than simply moving a heavier weight.
Want to compare different shoulder press and strength-machine designs?
Explore YR Fitness strength equipment to see how different handle positions and movement paths can fit the way you like to train.
Related articles:



