








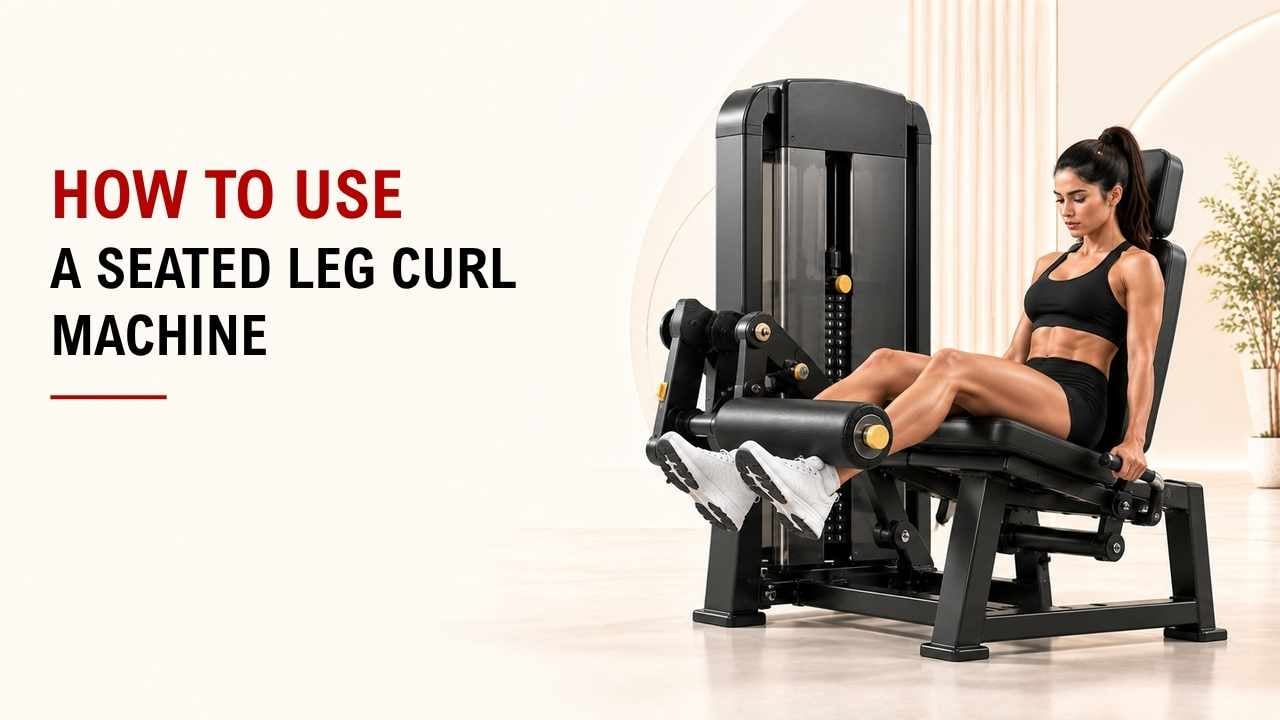

Have you ever used a seated leg curl machine and felt unsure about the setup? Small adjustments can make the exercise feel much better.
The basics are simple: line up your knees with the pivot, place the pad above your ankles, choose a manageable weight, and move with control. Keep your back and hips supported throughout the exercise.
As the founder of YR Fitness, I have spent decades designing commercial strength equipment and studying how people move on machines. That experience has shown me that good setup matters more than simply adding more weight.
In this guide, I’ll show you how to set up the machine, perform each rep, and choose the right rep range. Follow the six steps below to get started quickly.
1. Adjust the Seat and Back Pad
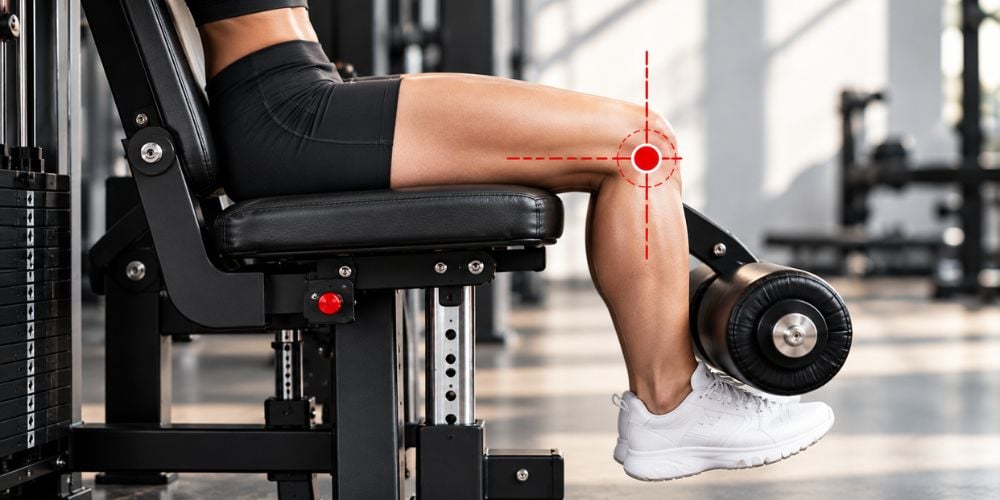
Sit on the machine and place your back firmly against the backrest.
Adjust the seat or back pad until your knees line up closely with the machine’s pivot point. This is usually around the side of your knee joint.
Keep these four points in mind:
- Back against the pad
- Hips down
- Body fully seated
- Knees bending comfortably
Does it feel like you are reaching for the lower pad? Move the seat again.
In my design experience, this is one of the first things I check. A better starting position usually makes the full movement feel smoother.
2. Position the Leg Pads Correctly
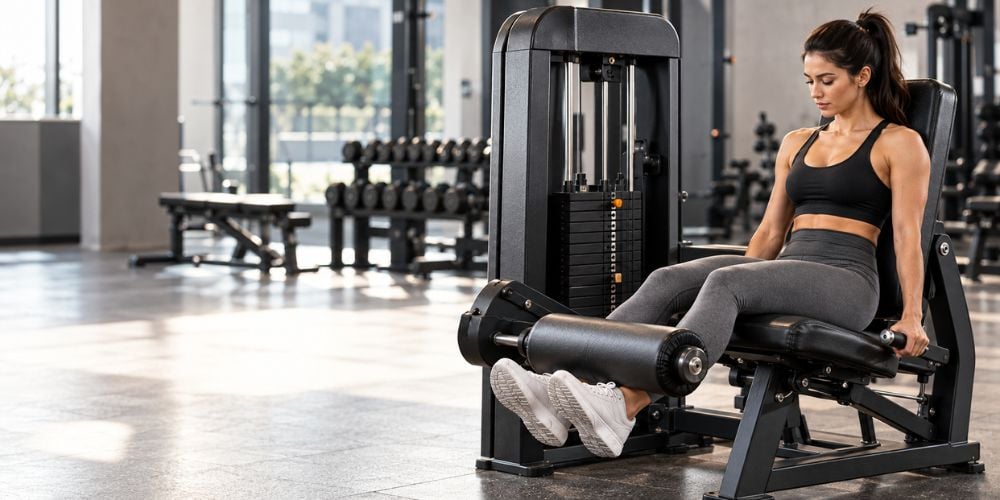
Place the lower roller against the back of your lower legs, just above your ankles.
Do not put it directly behind your knees or too low near your heels.
If the machine has a thigh pad, lower it until it rests comfortably over your thighs, just above your knees. It should hold your legs in place without pressing down too hard.
Quick Setup Check
Check | What You Want |
Knee position | Close to the machine pivot |
Lower roller | Just above the ankles |
Thigh pad | Securely above the knees |
Back | Against the backrest |
Hips | Down on the seat |
Here is why this matters: your setup gives you a stable base before you add resistance.
3. Choose the Right Weight
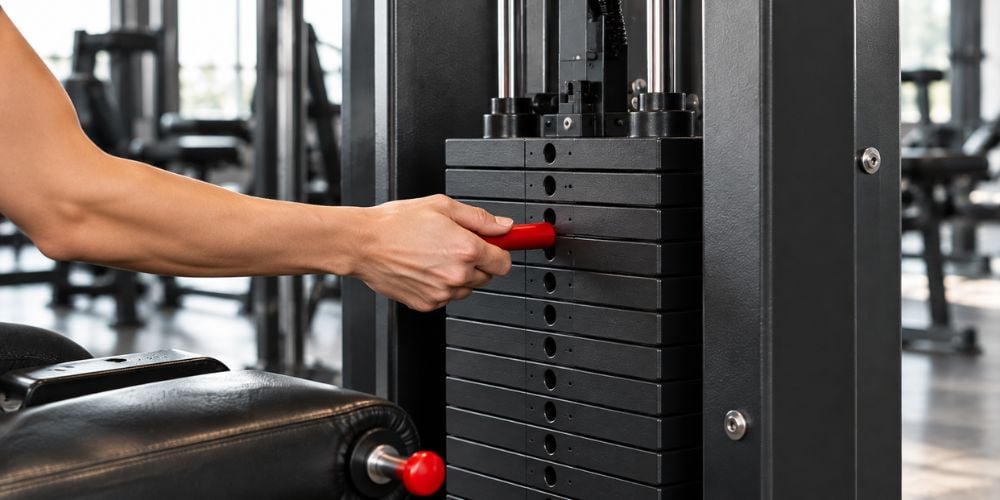
Start lighter than you think you need.
The right weight should let you complete every repetition smoothly. If you have to jerk your legs, lift your hips, or pull hard on the handles, reduce the weight.
Try a few controlled reps first. Add more weight only if the movement still feels stable.
You should be able to:
- Curl through a comfortable range of motion
- Keep your upper body still
- Control the weight on the way back
- Feel your hamstrings doing most of the work
This matches general Mayo Clinic weight-training guidance, which recommends choosing resistance you can control with proper form and reducing the weight when technique starts to break down.
Too easy? Add a little resistance next time.
Losing control? Go lighter.
I often see people add weight too quickly. Learn the movement first, then build resistance gradually.
4. Curl Your Legs Down
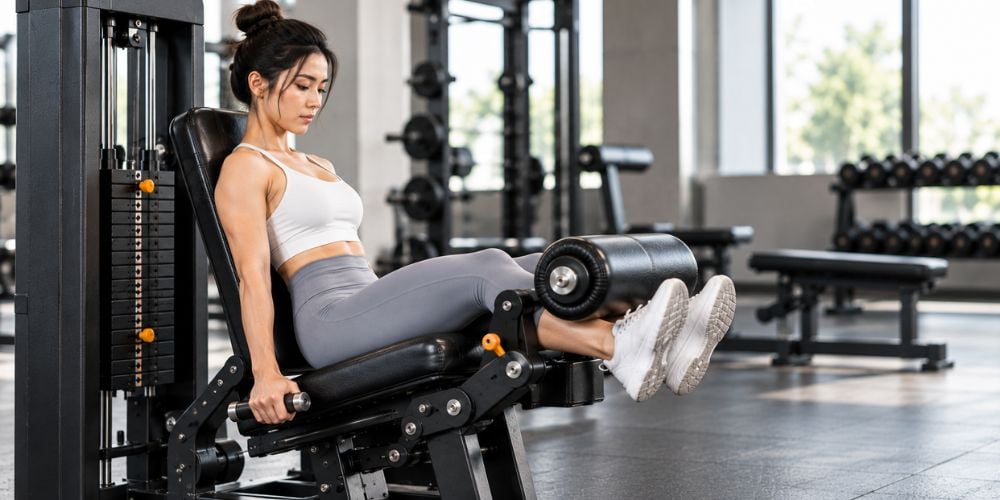
Once everything is set, hold the handles beside the seat if they are available.
Keep your back against the pad and your hips firmly on the seat.
Then:
- Bend your knees.
- Pull your lower legs down and back.
- Move until you reach a comfortable bottom position.
- Squeeze your hamstrings briefly.
Do not kick the weight down.
Keep the movement smooth and let your hamstrings do the work instead of relying on momentum. Mayo Clinic also recommends moving resistance in a controlled way rather than rushing the repetition.
Your upper body should stay mostly still.
At YR Fitness, we design our seated leg curl machines around adjustable positioning, supportive thigh pads, and controlled movement paths. If you want to see how those features come together, take a look at our seated leg curl machine.
5. Return to the Starting Position
The return matters just as much as the curl.
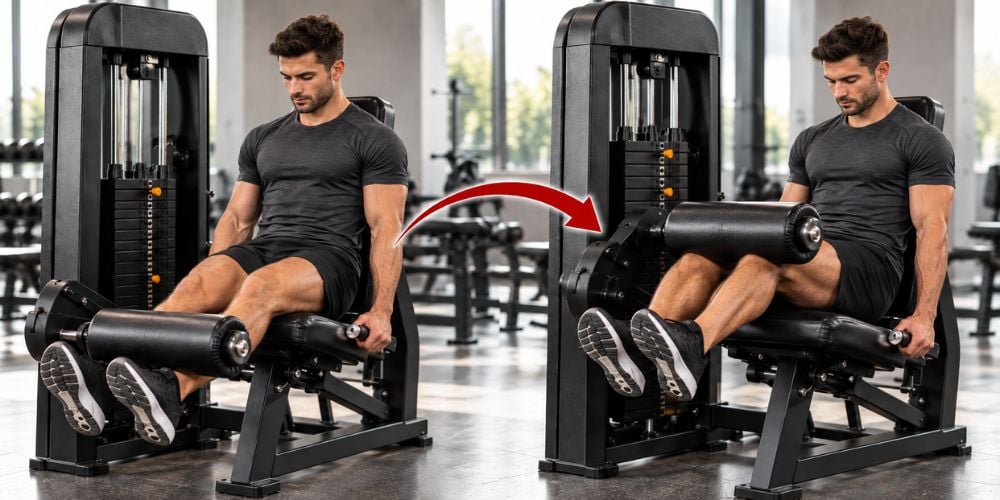
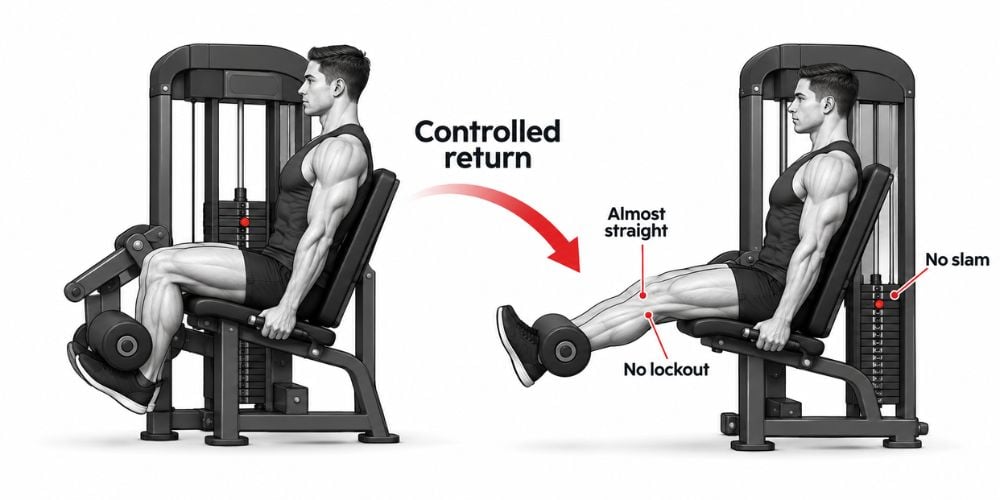
After reaching the bottom, slowly let your legs move back toward the starting position while controlling the resistance.
Stop when your legs are almost straight. You do not need to force your knees into a hard locked position.
A simple pace is:
- 1 to 2 seconds curling down
- 1 to 2 seconds returning
During the return:
- Keep your hips down.
- Keep your back against the pad.
- Do not let the weight stack slam.
- Stay in control before starting the next rep.
Can’t control the return? Reduce weight.
Slow, controlled lifting also lines up with established strength-training guidance from the American College of Sports Medicine, whose updated 2026 position stand draws on evidence from more than 137 studies and over 30,000 participants.
6. How Many Reps Should You Do?
For general fitness, keep your approach simple.
Training Level | Sets | Reps |
Beginner | 2 to 3 | 10 to 15 |
More experienced | 3 to 4 | 8 to 15 |
Rest around 60 to 90 seconds between sets for normal hamstring training. You can rest longer if you are using heavier resistance.
Do not force extra reps once your form starts breaking down.
For example, say you planned to do 12 reps but your technique gets sloppy after rep 9. Stop at 9 instead of forcing three bad repetitions.
Mayo Clinic similarly advises lowering the weight or number of repetitions when you can no longer maintain proper form.
As you get stronger, gradually increase the resistance. Keep the movement controlled as the weight goes up.
Final Thoughts
Using a seated leg curl machine does not need to be complicated. Set yourself up correctly, use a manageable weight, and control both parts of every repetition.
Remember the sequence.
The main thing I want you to remember is simple: do not let the weight decide your form. Your position and control should come first.
If you want to explore a well-designed seated leg curl machine, YR Fitness can help you compare practical features, movement design, and commercial-grade options.
Related articles:



