








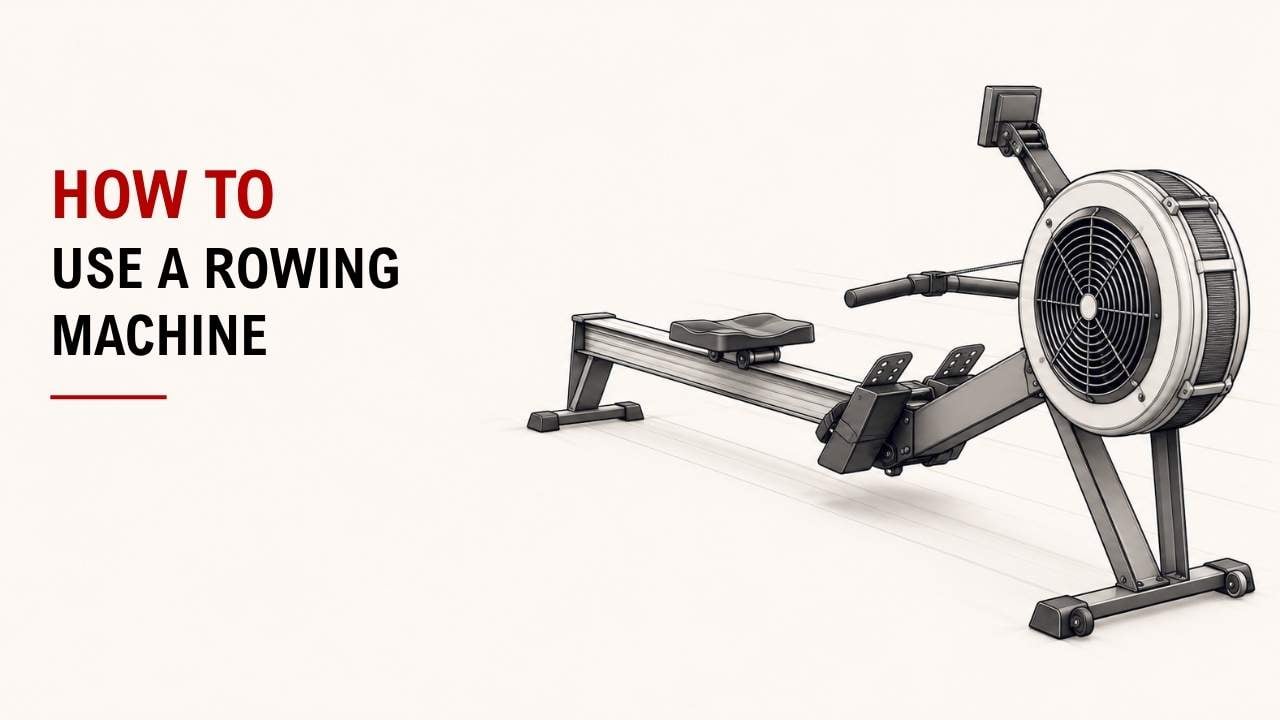

Not sure if you are using the rowing machine correctly? Many beginners pull too much with their arms and miss the proper movement order.
The short answer is simple: push with your legs, lean back slightly, pull the handle in, then reverse the movement to return. Once you learn that sequence, rowing feels much smoother.
As an Exercise Physiology & Biomechanics Expert at YR Fitness, I focus on movement order, posture, and how the body handles resistance. I often see beginners improve quickly once they let their legs start the stroke instead of their arms.
Below, I’ll show you six simple steps for using a rowing machine correctly. Follow them in order and focus on smooth, controlled movement.
Rowing Technique at a Glance
Before we go step by step, here is the full movement.
Phase | What You Do | Main Focus |
Setup | Secure your feet and hold the handle | Comfortable position |
Catch | Bend knees and lean slightly forward | Prepare to push |
Drive | Push through your legs | Legs start the stroke |
Body swing | Lean slightly back | Stay controlled |
Finish | Pull handle to lower ribs | Relax the shoulders |
Recovery | Arms, body, then legs | Return smoothly |
The most important part? Get the order right before worrying about speed.
1. Adjust the Rowing Machine
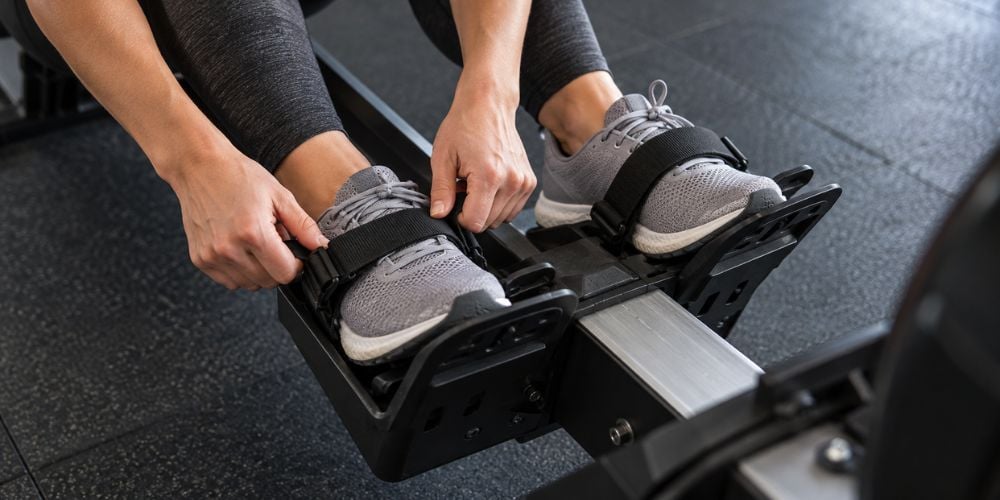
Sit on the seat and place both feet on the footplates.
Adjust the straps so they sit securely across the widest part of your feet. Your feet should feel stable without being squeezed too tightly.
Next, check the resistance setting.
If you are new to rowing, start with moderate resistance. Higher resistance does not automatically give you a better workout. The British Rowing technique guidance also recommends keeping resistance manageable so you can maintain good technique.
Hold the handle with an overhand grip. Keep your hands about shoulder-width apart and avoid squeezing too hard.
Quick Check: Can your feet stay secure while your knees and ankles move comfortably? If yes, your setup is probably right.
2. Start in the Catch Position
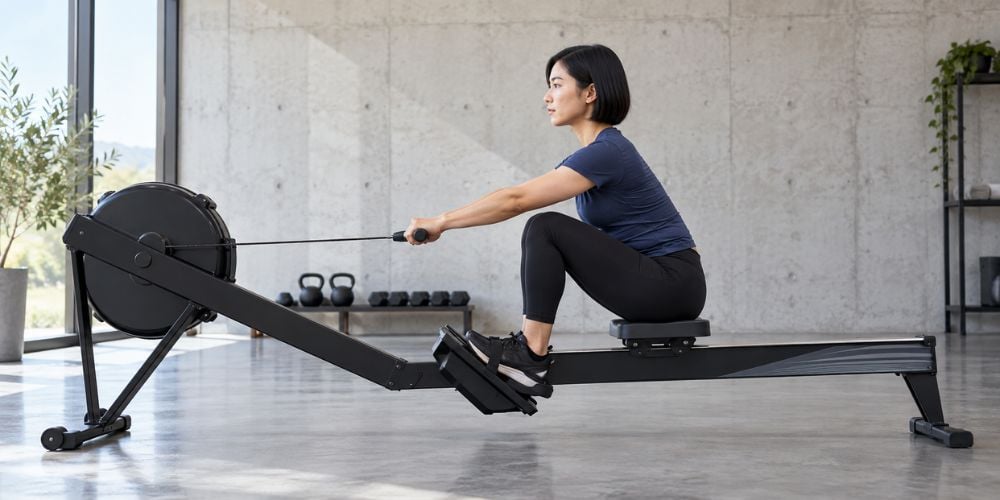
The catch is your starting position.
Slide forward until your knees are bent and your shins are close to vertical. Keep your arms straight and lean slightly forward from your hips.
Your back should stay neutral rather than rounded.
Keep these points in mind:
- Knees bent
- Arms straight
- Shoulders relaxed
- Chest up
- Back neutral
- Slight forward lean
This matches the basic starting position recommended in the British Rowing indoor rowing technique guide, which emphasizes relaxed shoulders, straight arms, a long spine, and a forward hip hinge.
I think of this position as being ready to push. You should feel prepared for the next stroke, not cramped or folded forward.
3. Push With Your Legs First
This is one of the most important parts of rowing.
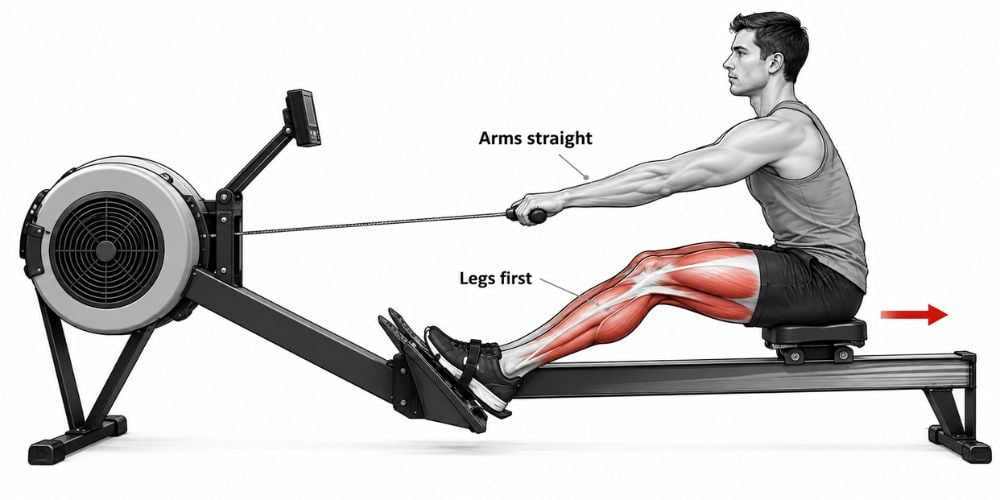
Do not start by pulling the handle with your arms. Push firmly through your feet and begin straightening your legs while keeping your arms straight.
Remember:
Legs first. Arms later.
Why does this matter?
Your legs provide most of the early drive. British Rowing describes the sequence as legs → body → arms, with roughly 60% of the power coming from the legs.
I often tell beginners to imagine pushing the machine away from them. That simple cue usually makes the movement easier to understand.
4. Lean Back Slightly
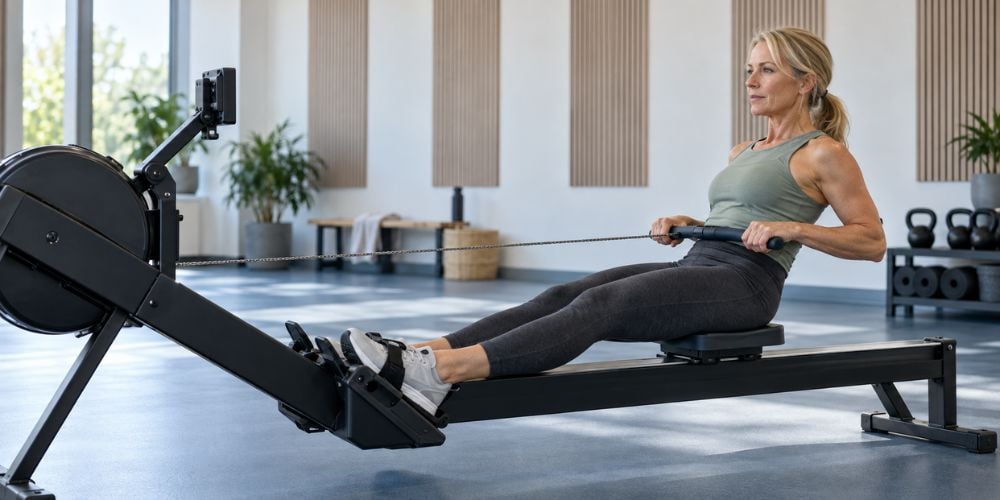
As your legs become almost straight, start opening your hips.
Lean your upper body slightly backward while keeping your chest up and core controlled. You only need a small lean.
Do not throw your shoulders far backward just to make the stroke longer.
The order should feel like this:
Leg drive → slight body lean
Here is why this matters: leaning too early takes power away from the legs and can make the stroke feel awkward.
The Concept2 rowing technique guide also warns against excessive layback and recommends using the core to maintain a strong, comfortable finish.
If the machine itself feels unstable or rough during the stroke, technique becomes harder to control. At YR Fitness, we design commercial cardio equipment with stable frames and smooth resistance so users can focus more on movement and less on fighting the machine.
5. Pull the Handle Toward Your Body
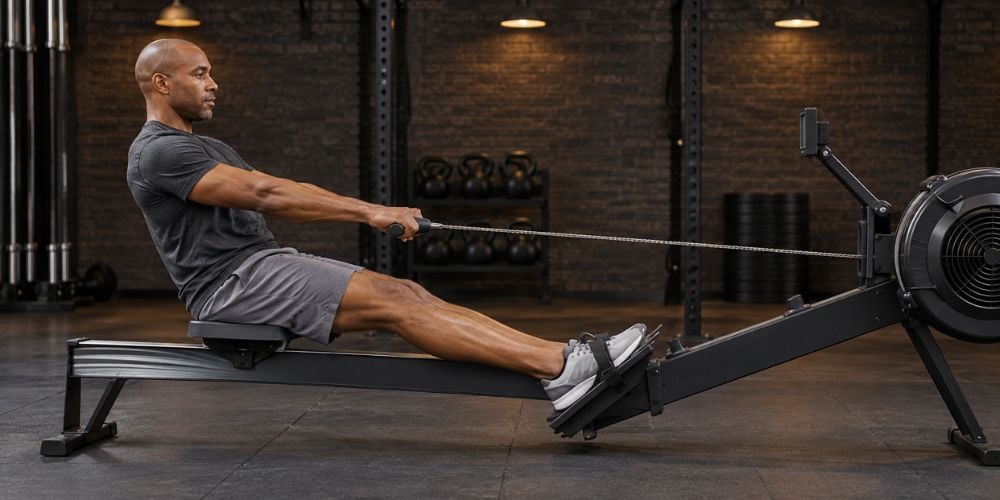
Once your legs are nearly straight, finish the stroke with your arms.
Bend your elbows and pull the handle toward your lower ribs or upper abdomen. Keep your elbows moving backward instead of lifting them upward.
Your shoulders should stay relaxed.
At the finish position:
- Legs are almost straight
- Body is leaning slightly back
- Elbows are bent
- Handle is near the lower ribs
- Shoulders stay down
Should you pull as hard as possible? No.
Use a firm but controlled pull. Jerking the handle usually means you are rushing the stroke or using too much effort.
6. Return in the Correct Order
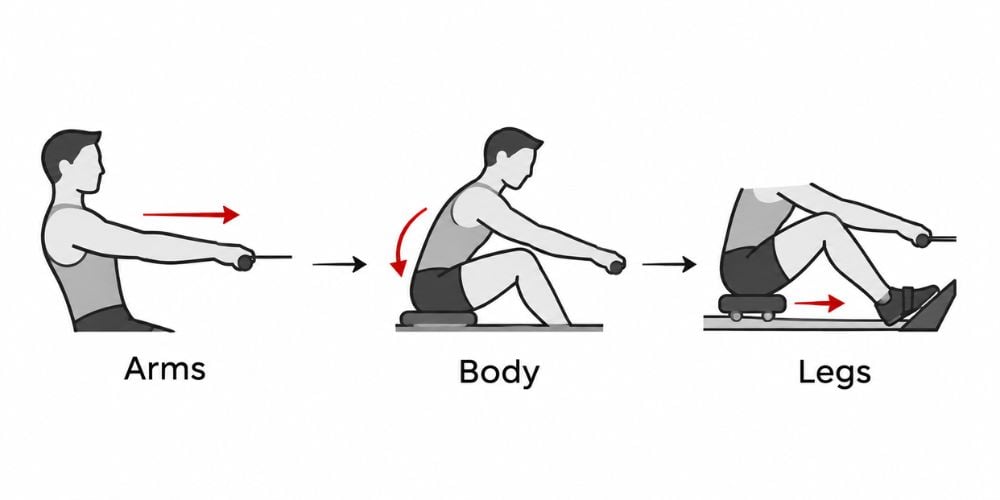
Now reverse the movement.
Start by straightening your arms. Then lean your upper body slightly forward from your hips.
Once your hands have passed your knees, bend your knees and slide the seat forward.
Use this order:
Arms → Body → Legs
The complete sequence looks like this:
Stroke Phase | Correct Order | Common Mistake |
Drive | Legs → Body → Arms | Pulling with arms first |
Finish | Slight lean → Handle to ribs | Leaning too far back |
Recovery | Arms → Body → Legs | Bending knees too early |
Return to catch | Controlled slide forward | Rushing forward |
British Rowing recommends the same reverse sequence during recovery and notes that getting the hands past the knees before bending the legs helps keep the stroke smooth.
Do not rush back toward the front of the machine.
Concept2 also recommends spending more time on the recovery than on the drive. Their rowing drills use this slower recovery to help improve rhythm and control.
I usually tell beginners to focus on rhythm before speed. Once the movement feels natural, you can start increasing your pace.
Final Rowing Sequence
Keep this simple pattern in mind:
Drive: Legs → Body → Arms
Recovery: Arms → Body → Legs
Keep your back neutral, your shoulders relaxed, and every stroke controlled.
Conclusion
Using a rowing machine becomes much easier once you learn the correct movement order. Start with your legs, add the body lean, finish with your arms, then reverse everything on the way forward.
If you want equipment that supports smooth and repeatable cardio training, explore YR Fitness and compare machines designed for consistent daily use. Good equipment will not replace good technique, but it can make that technique easier to practice.
Related articles:



