








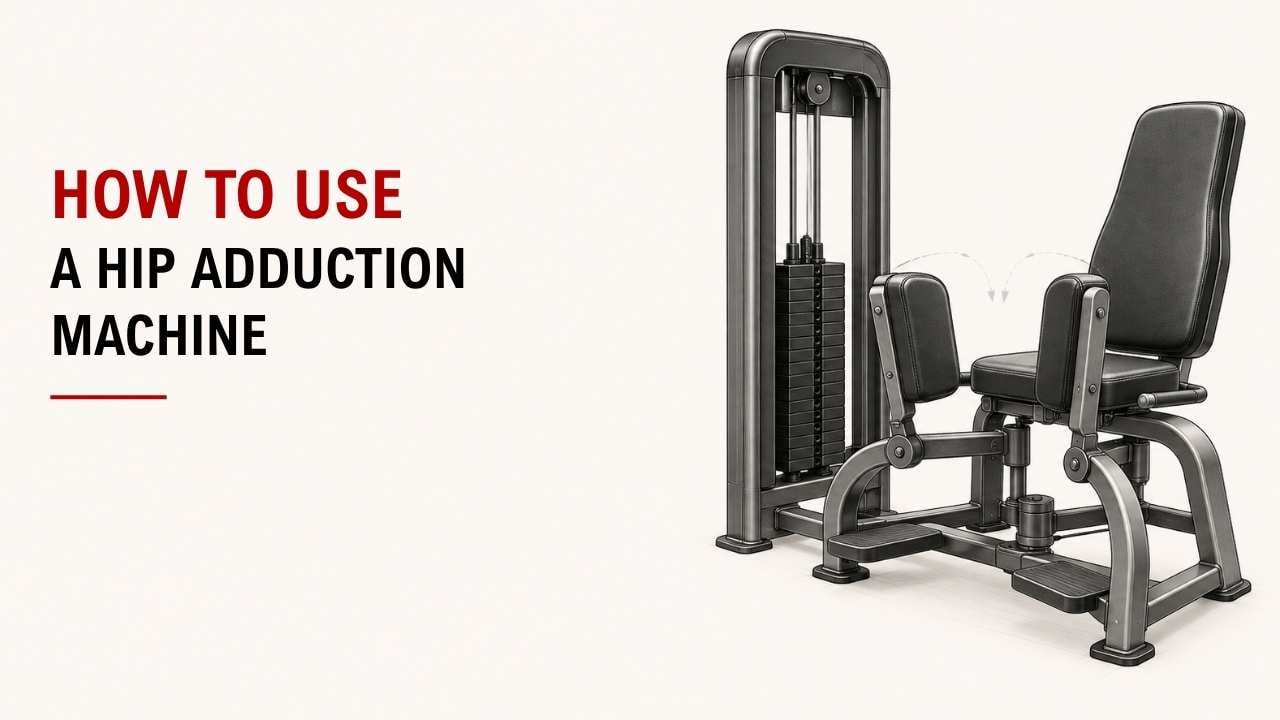

Not sure how wide to open your legs or where to place the pads on a hip adduction machine? A few small adjustments can make the exercise much easier to control.
The quick answer is simple: sit with your back supported, place your inner thighs against the pads, bring your legs together, and slowly return. Start light and keep every rep controlled.
As an Exercise Physiology & Biomechanics Expert at YR Fitness, I work closely with exercise movement and how people interact with strength machines. I often see that a comfortable starting position makes the biggest difference when learning this exercise.
Below, I’ll show you how to use the hip adduction machine in eight simple steps. Follow them in order, and you’ll be ready for your next set.
1. Adjust the Seat and Starting Position
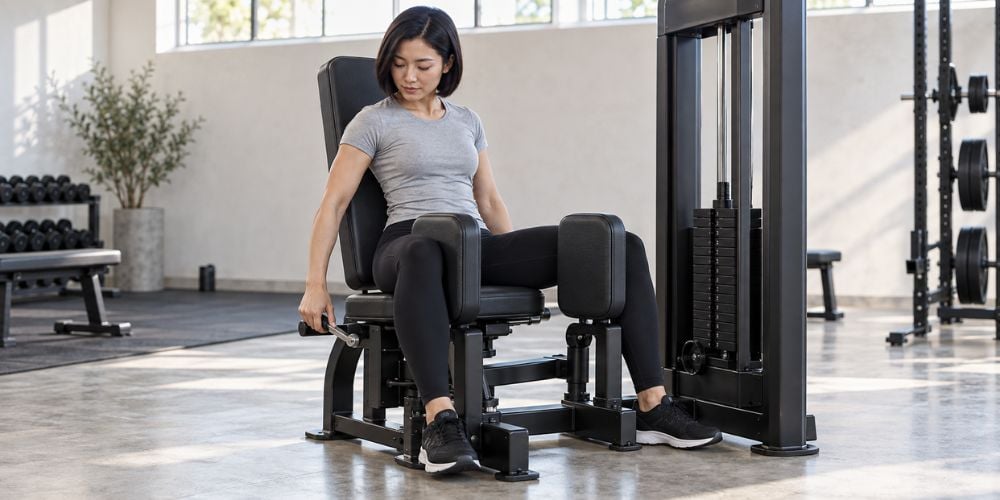
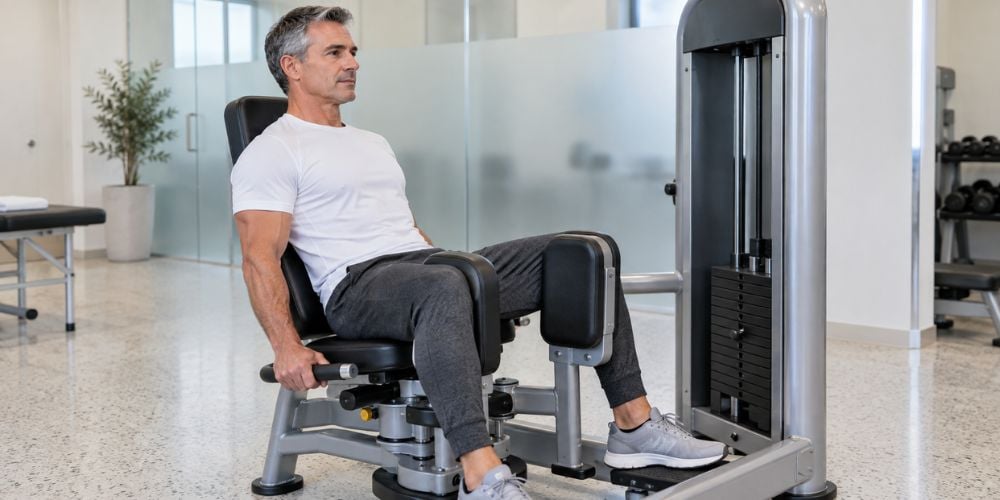
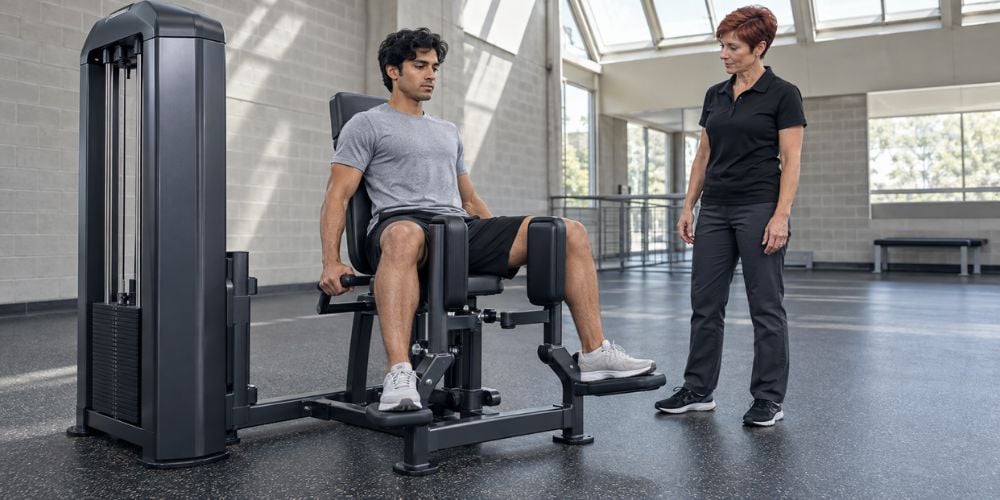
Sit down with your back firmly against the backrest.
Adjust the starting width until you feel a comfortable stretch through your inner thighs. You should not have to force your legs unusually far apart.
Why does this matter? Your inner-thigh muscles are responsible for bringing your thigh toward the center of your body, which is the movement called hip adduction. The NCBI overview of the medial thigh muscles explains that these muscles primarily perform leg adduction and also contribute to lower-body function.
If the starting position feels uncomfortable before you even move the weight, bring the pads slightly closer together.
2. Place Your Legs Against the Pads
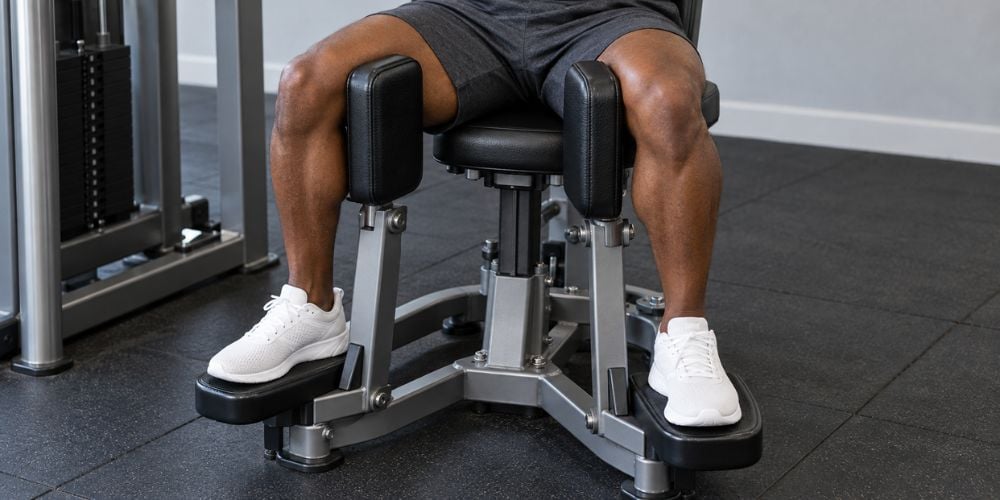
Position the pads against the inside of your thighs or knees, depending on the machine design.
Keep both legs even and let your feet rest naturally on the foot supports.
Quick question: Do your knees feel twisted or awkward?
If yes, stop and adjust your position. Your knees and feet should sit naturally rather than being forced inward or outward.
Quick Setup Check
Check | What You Want |
Back | Firmly against the backrest |
Inner thighs | Comfortable against the pads |
Starting width | A mild, comfortable stretch |
Feet | Resting naturally |
Knees | Even and comfortably positioned |
Once those points feel right, you can move on to weight.
3. Choose a Light Starting Weight
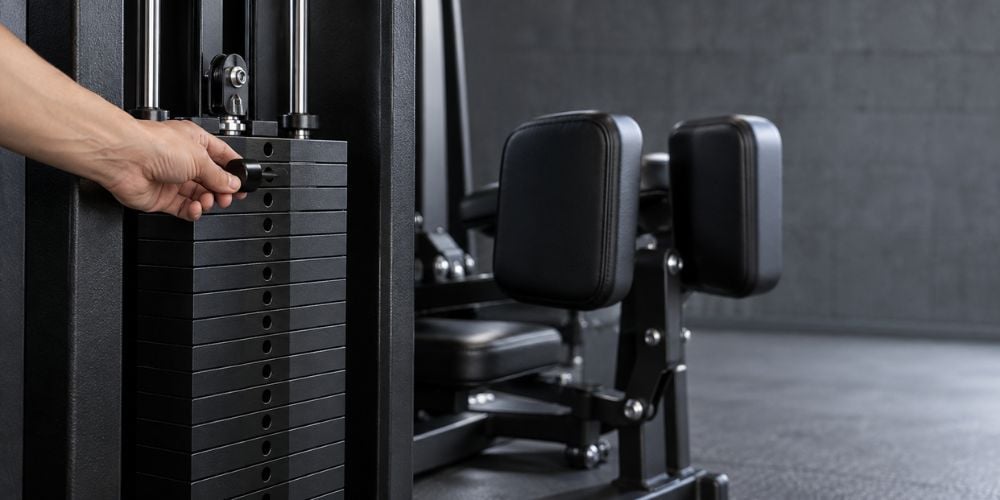
Start with a weight you can control smoothly.
You should be able to bring your legs together without jerking, bouncing, or shifting your body. I recommend starting lighter than you think you need, especially during your first few sets.
This follows the same basic principle used in general strength training: choose resistance that allows you to maintain good technique. Mayo Clinic’s weight-training guidance also recommends reducing the weight when you cannot maintain proper form.
Increase resistance later when the movement feels easy and controlled.
4. Keep Your Upper Body Stable
Once you are ready, settle into the seat.
Keep your:
- Back against the backrest
- Hips on the seat
- Chest relaxed
- Hands on the handles, if available
Avoid leaning forward or rocking your body.
I often see people start moving their upper body when the weight gets too heavy. If you have to swing yourself through the rep, lower the resistance.
Let your inner thighs do the work.
A comfortable movement starts with a machine that fits your body well. At YR Fitness, we design commercial strength equipment around stable positioning, practical adjustments, and controlled movement paths. You can explore our strength equipment if you want to compare how different machine designs handle lower-body training.
5. Bring Your Legs Together
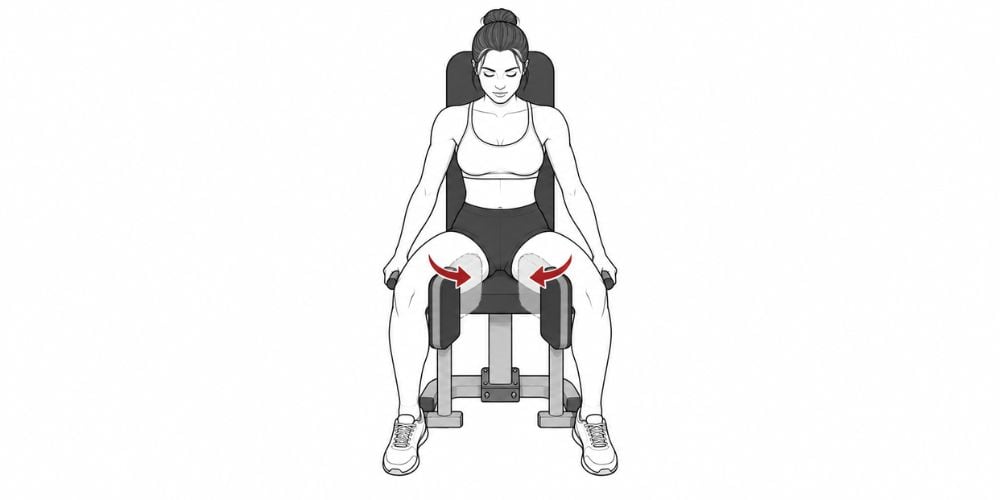
Now press your thighs inward and bring the pads toward the center.
Keep the movement smooth. Do not snap your legs together.
Think about pulling your thighs inward rather than simply moving the machine from point A to point B.
Your back should stay against the pad throughout the rep.
Going too fast? Slow down until you can feel yourself controlling the movement instead of letting momentum do it for you.
6. Squeeze Briefly at the Center
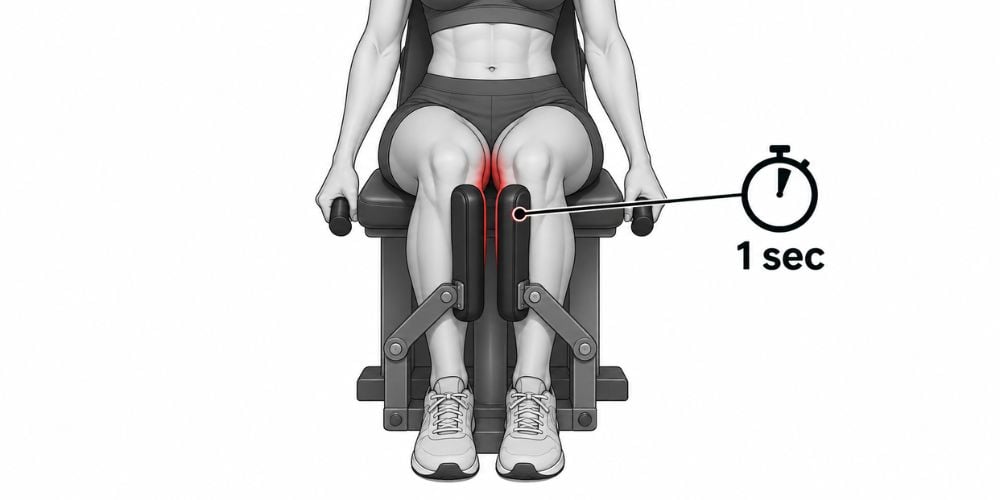
When your legs come together, pause for about one second.
Squeeze your inner thighs during that short pause.
You do not need to force your knees against each other. Once you reach the natural end of the machine’s movement, you have completed the inward part of the rep.
Keep it simple:
Bring together → squeeze → return.
7. Return Slowly to the Starting Position
Now let your legs open again.
This is where many people rush.
Do not let the resistance suddenly pull your legs apart. Keep control until you return to a comfortable stretch.
Then start your next rep.
If you feel sharp pain or unusual joint discomfort rather than normal muscular effort, stop the exercise and check your setup or resistance. Mayo Clinic similarly advises stopping a strength exercise if it causes pain rather than simply pushing through it.
8. Use Controlled Sets and Reps
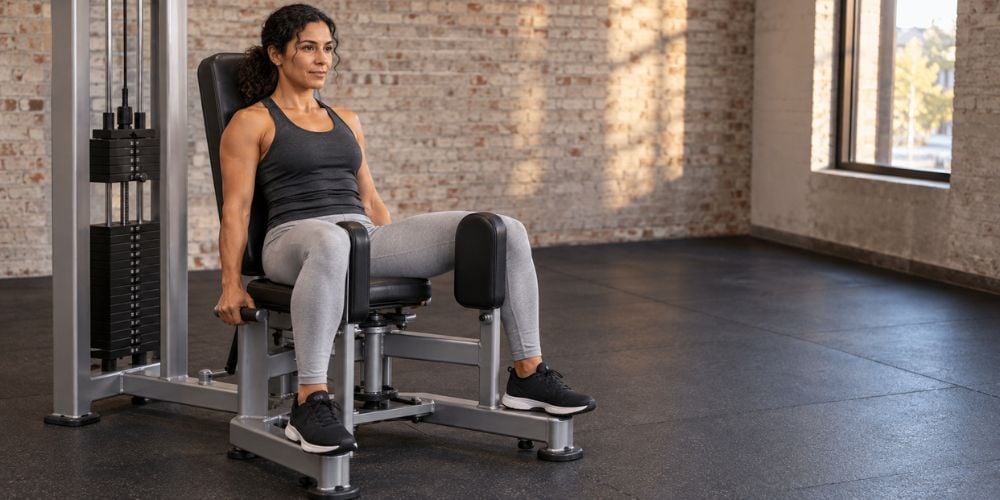
A simple starting point is:
Training Point | Starting Guide |
Sets | 2–3 |
Reps | 10–15 |
Rest | 45–90 seconds |
Tempo | Slow and controlled |
Weight | Manageable with consistent form |
Choose a resistance that lets your last repetition look similar to your first.
In my experience, adding weight makes more sense when 10–15 controlled reps start feeling easy. Mayo Clinic also suggests gradually increasing resistance once your current number of repetitions becomes easy.
You can include hip adduction in a lower-body workout alongside squats, leg presses, leg curls, or other hip exercises.
For overall training, the U.S. Physical Activity Guidelines for Americans recommend muscle-strengthening activity on at least two days each week for adults.
Conclusion
Using a hip adduction machine comes down to good setup and controlled movement. Sit comfortably, bring your legs together, pause briefly, and slowly return.
Start light and add resistance only when you can keep every rep smooth. You do not need to make the exercise more complicated than that.
If you want to see how YR Fitness approaches equipment for inner-thigh and lower-body training, you can explore our commercial gym equipment and compare the available strength-machine designs.
Related articles:



