


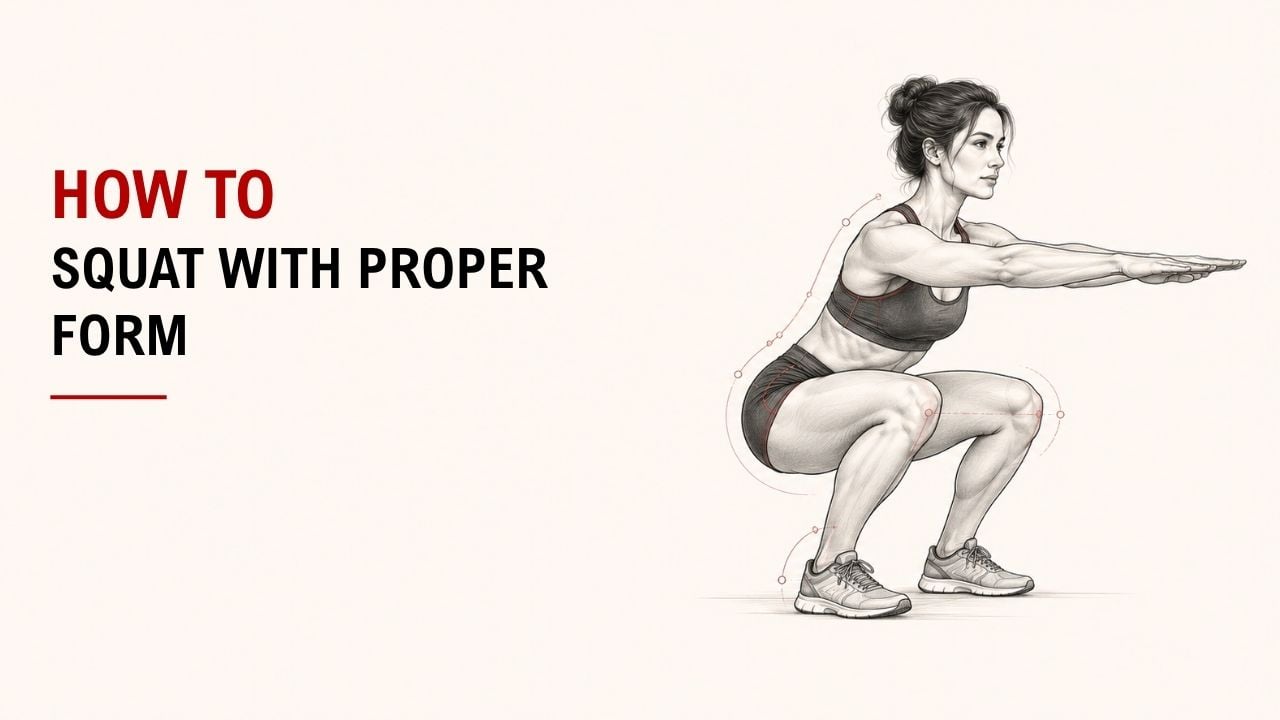

Not sure if your squat form is correct? Small changes in your setup can make the movement feel much more stable.
The simple answer is: set your feet, brace your core, squat down under control, keep your knees aligned, and drive back up. Start with bodyweight before adding resistance.
As an Exercise Physiology & Biomechanics Expert at YR Fitness, I study how the hips, knees, ankles, and spine work together during exercise. I often see squat form improve quickly when people focus on control instead of forcing extra depth.
Below, I’ll show you how to squat properly in seven simple steps. Follow them in order, and you can quickly check and improve your form.
1. Set Your Feet
Stand with your feet about shoulder-width apart.
Turn your toes slightly outward. Your exact stance can vary depending on your hip structure and mobility.
Keep three points of each foot firmly on the floor:
- Heel
- Base of the big toe
- Base of the little toe
This gives you a stable base.
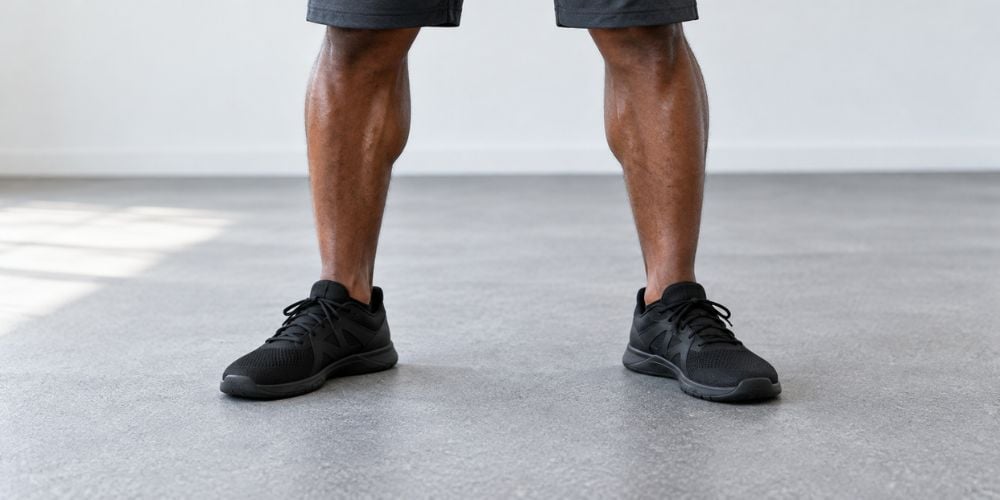
Quick question: Are your heels staying down? If not, adjust your stance before going deeper.
Foot Check | What You Want |
Stance | About shoulder-width |
Toes | Slightly turned outward |
Heels | Flat on the floor |
Pressure | Balanced across the whole foot |
2. Brace Your Core
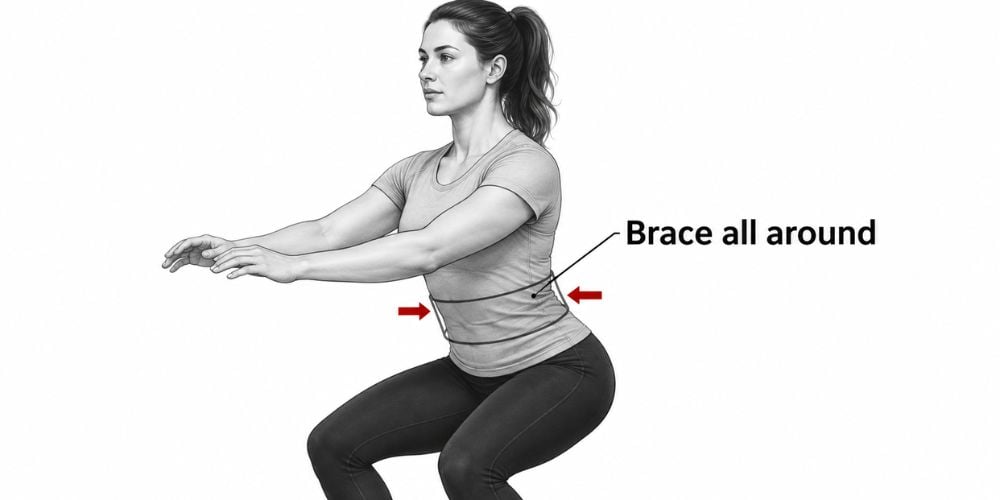
Take a breath before you lower yourself.
Tighten your abdominal muscles as if someone were about to gently push your stomach. Keep that tension during the squat.
I usually tell beginners not to suck their stomach inward. Think about making your whole midsection firm instead.
A stable core helps you control your torso and pelvis.
3. Start the Descent
Bend your hips and knees together.
Let your hips move down while your knees naturally move forward. You do not need to push your hips far backward.
Lower yourself under control rather than suddenly dropping into the bottom position. A slower descent also makes it easier to notice if your balance shifts forward, backward, or to one side.
Why does this matter? Good squat form is not just about reaching the bottom; it is about staying balanced from start to finish.
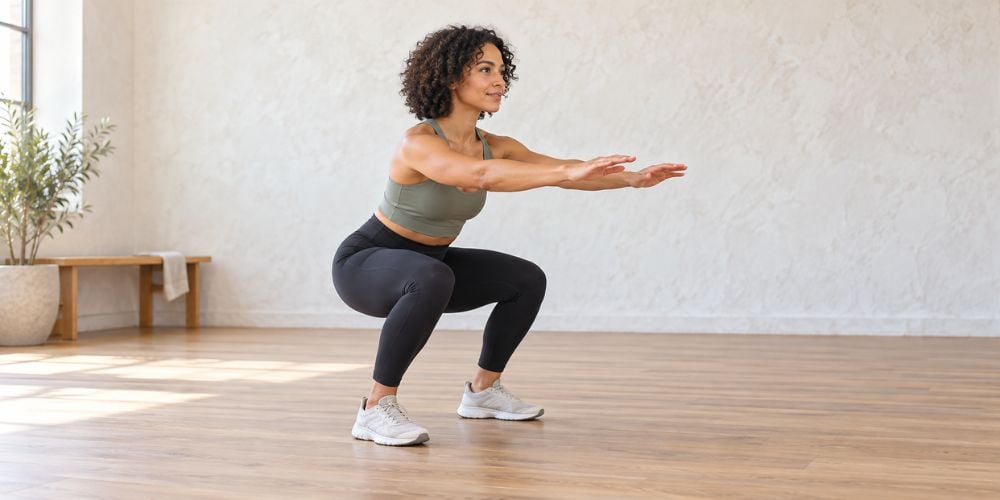
4. Keep Your Knees Tracking Properly
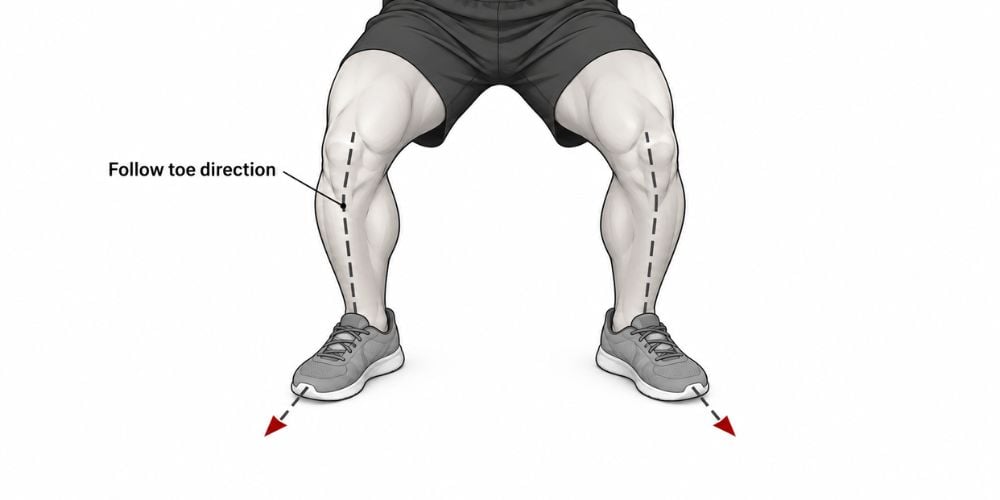
Let your knees move in roughly the same direction as your toes.
If your toes point slightly outward, your knees should follow a similar path. A published back squat technique assessment also describes proper technique as keeping the knees tracking over the toes rather than allowing excessive inward or outward displacement.
Avoid letting your knees suddenly collapse inward.
And what about your knees going past your toes? That is not automatically a form mistake. Research comparing restricted and unrestricted squats found that deliberately preventing forward knee travel changes movement at the trunk and lower body.
Quick Check: Your weight should stay balanced across your feet instead of shifting completely onto your toes.
Once your bodyweight squat feels stable, you may want to progress to rack or Smith machine variations. At YR Fitness, we design our commercial strength equipment around controlled movement and practical body positioning, so you can explore the available equipment when you are ready to take the next step.
5. Keep Your Chest and Back Stable
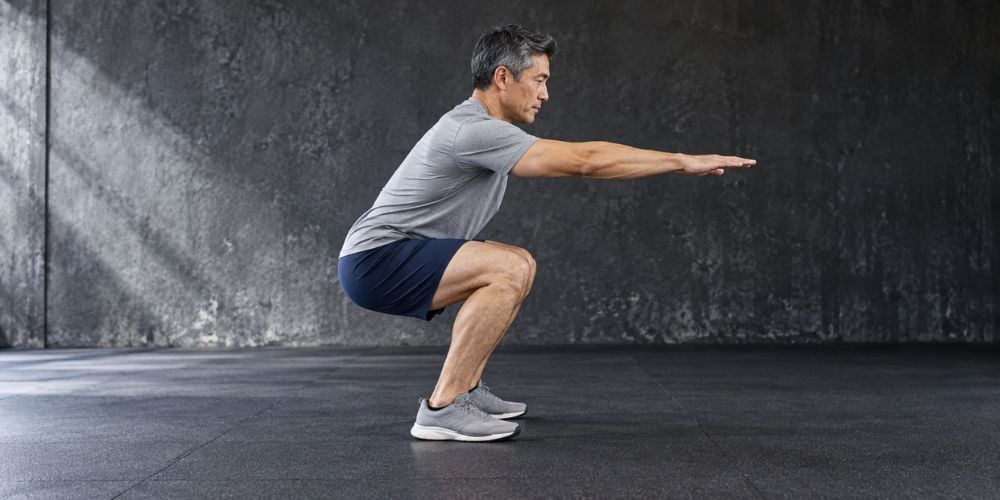
Keep your spine in a comfortable, neutral position.
Your torso will naturally lean forward somewhat as you squat. You do not need to force your chest completely upright.
A recent biomechanical review of the squat exercise explains that trunk angle changes how forces are shared between the hips and knees, while maintaining a neutral spine helps manage spinal loading.
Keep your head roughly in line with your spine. Look forward or slightly downward.
Avoid:
- Heavily rounding your lower back
- Overarching your back to keep your chest too high
- Letting your chest suddenly drop as you stand
The goal is a strong, controlled torso, not a perfectly vertical one.
6. Squat to a Comfortable Depth
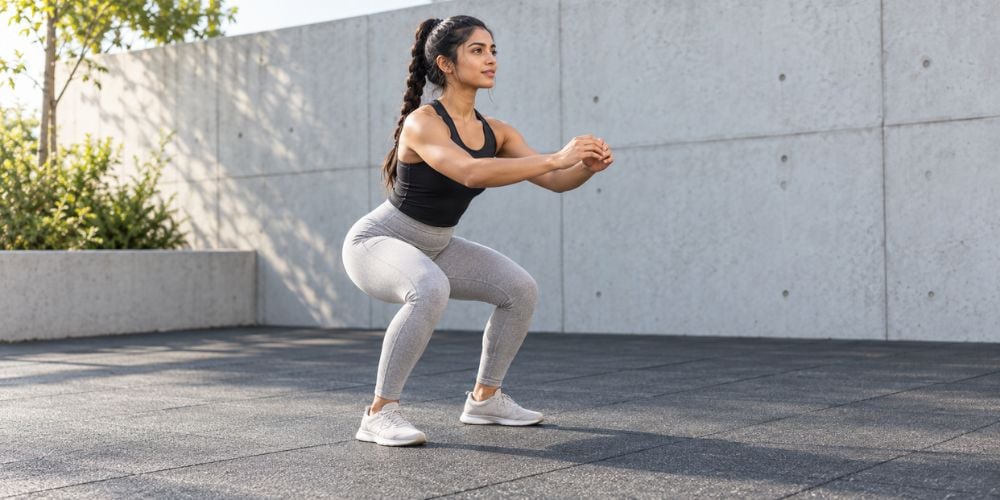
Lower yourself only as far as you can stay in control.
For many people, around thigh-parallel is a useful target. But do not force more depth if your heels lift, your back loses position, or you feel uncomfortable.
How deep you can squat depends partly on your:
- Hip mobility
- Ankle mobility
- Limb proportions
- Training experience
Research on joint mobility and deep squat performance found relationships between squat movement and ankle, knee, and hip range of motion.
I often see people worry too much about getting lower. A controlled squat at a comfortable depth is more useful than forcing a deeper squat with poor form.
If You Notice | Try This |
Heels lifting | Reduce depth and check ankle mobility |
Knees collapsing inward | Keep knees following your toes |
Back rounding | Stop slightly higher |
Falling forward | Slow down and rebalance your feet |
Good control | Gradually increase depth or resistance |
Once your bodyweight squat feels consistent, you can progress to goblet squats, barbell squats, Smith machine squats, or other resistance variations.
7. Drive Back Up
From the bottom position, push through your whole foot.
Straighten your knees and hips together as you stand. Keep your knees tracking in the same direction as your toes.
Do not let your hips shoot upward while your chest drops forward.
Finish by standing tall with your hips and knees extended. There is no need to lean backward or aggressively squeeze your lower back.
Need one simple cue? Squat down under control, then push the floor away as you stand.
Conclusion
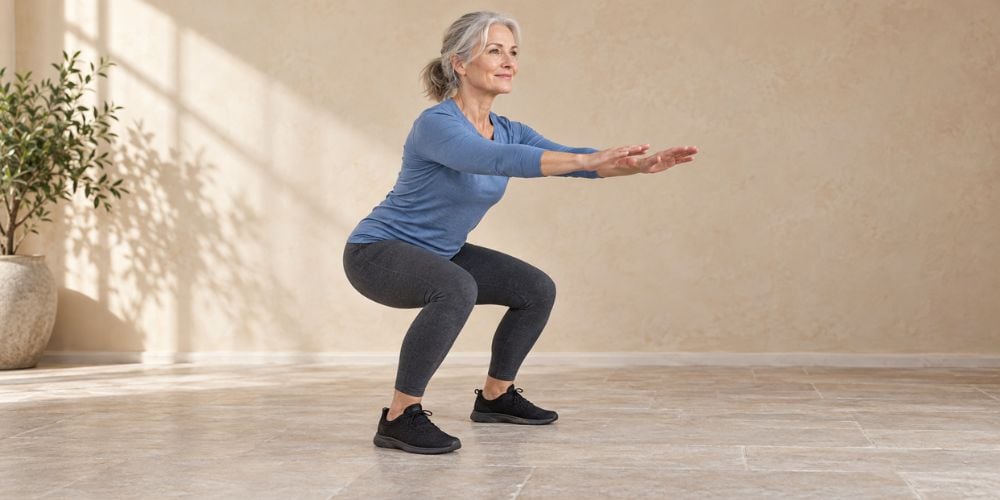
Proper squat form comes down to a few basics: set your feet, brace your core, keep your knees aligned, control your back position, squat to a comfortable depth, and drive back up through your whole foot.
Practice these steps with bodyweight first, then add resistance when your form stays consistent.
Ready to progress your squat training? Explore the commercial strength equipment from YR Fitness to see squat racks, Smith machines, and other strength-training options that can support your next stage of training.
Related articles:



