








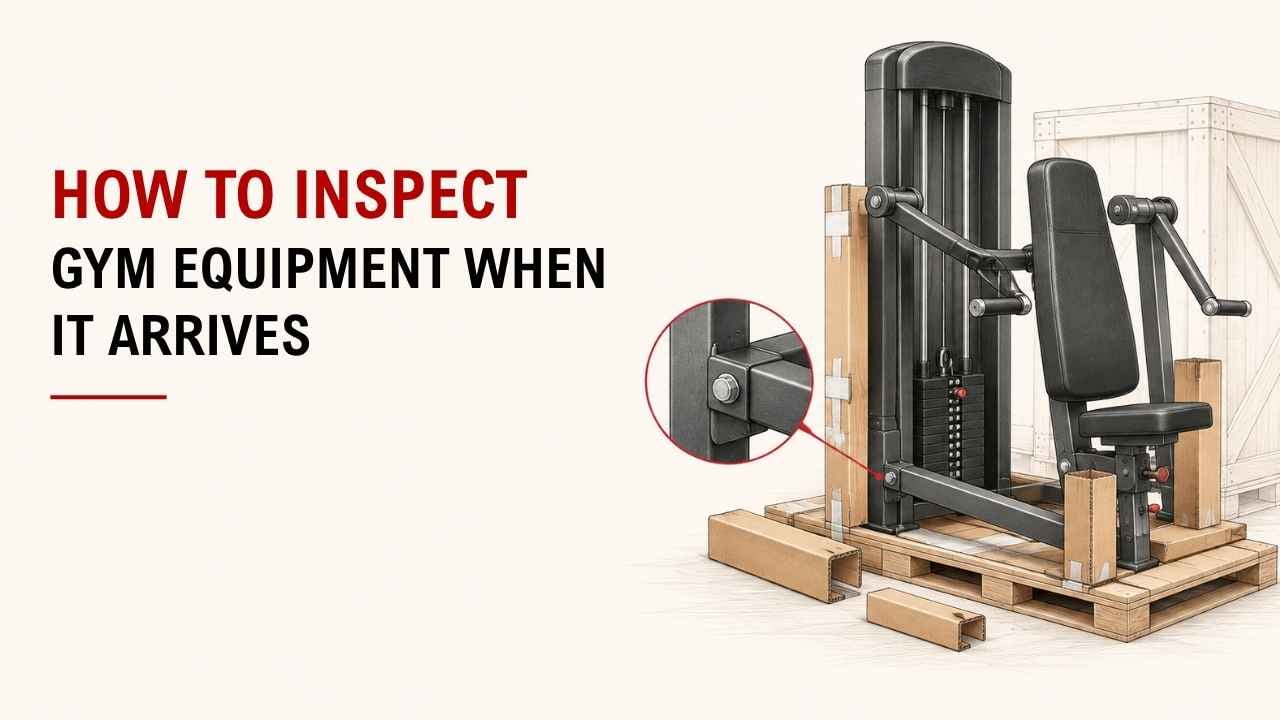
Did your new gym equipment just arrive? Check it carefully before your first workout.
The quick answer is simple: inspect the packaging, frame, adjustments, cables, and moving parts. At YR Fitness, these are also key areas we pay attention to when checking equipment quality.
As a Machinery & Structural Engineer, I work closely with frames, joints, cables, pulleys, and machine structures. I know where small delivery problems usually appear, and catching them early can prevent bigger issues later.
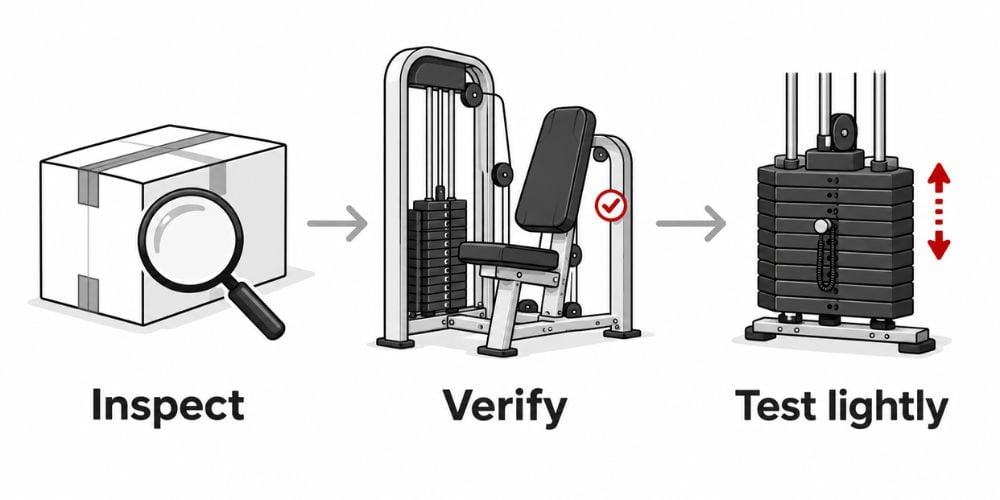
Below are six simple checks to help you see if your equipment is ready to use.
- Quick Arrival Inspection Checklist
- 1. Check the Packaging Before Opening
- 2. Confirm You Received the Correct Equipment
- 3. Inspect the Frame and Main Structure
- 4. Check Seats, Pads, and Upholstery
- 5. Test Every Adjustment
- 6. Inspect Cables, Pulleys, and Weight Stacks
- What Should You Do If Something Looks Wrong?
- Conclusion
Quick Arrival Inspection Checklist
Before we go deeper, here is the full inspection at a glance.
Area | What to Check |
Packaging | Tears, dents, water damage |
Order | Correct model, parts, attachments |
Frame | Cracks, bends, welds, coating |
Pads | Tears, loose stitching, stability |
Adjustments | Smooth movement, secure locking |
Cables | Fraying, twisting, routing |
Pulleys | Alignment and smooth movement |
Weight Stack | Plate alignment and smooth travel |
1. Check the Packaging Before Opening
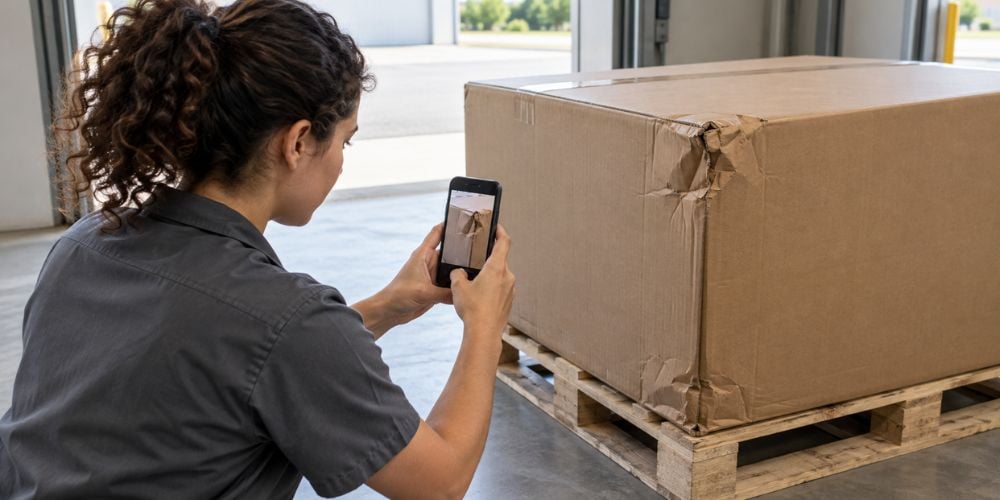
Start before you remove the box or protective wrapping.
Look for:
- Crushed corners
- Holes in the carton
- Torn wrapping
- Broken wooden pallets
- Water marks
- Deep dents
- Loose parts inside the packaging
See any damage?
Take photos before opening the package. Those photos can help show the condition of the equipment when it arrives.
I also recommend keeping the packaging until you know the machine is complete and working properly.
2. Confirm You Received the Correct Equipment
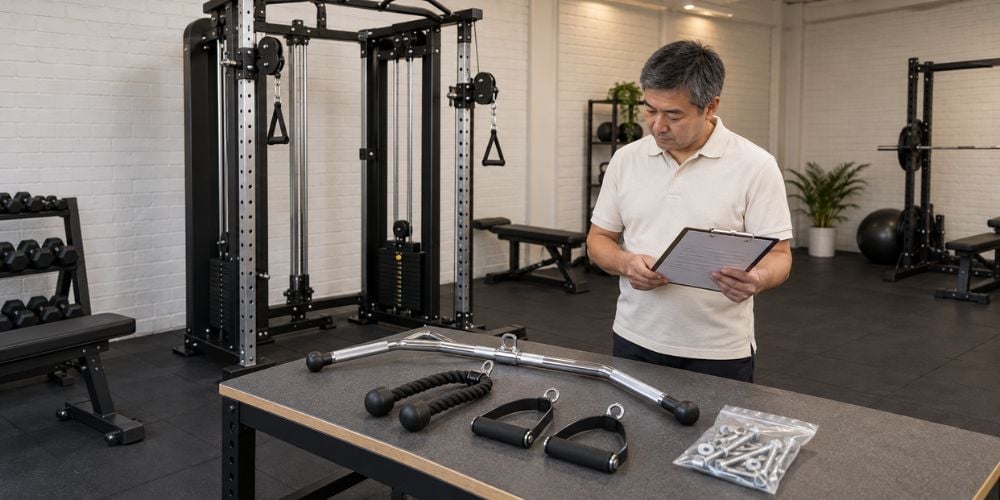
Before assembly, make sure the equipment matches what you ordered.
Check the:
- Product name
- Model number
- Color
- Accessories
- Weight plates
- Handles
- Attachments
- Instruction manual
Ordered several pieces?
Count everything before you start assembly. It is much easier to find a missing handle or attachment while all the parts are still organized.
You can also check the model number against any current exercise equipment recalls listed by the U.S. Consumer Product Safety Commission before using an unfamiliar machine. The CPSC database includes exercise-equipment recalls involving hazards such as falls and mechanical failures.
3. Inspect the Frame and Main Structure
Now walk around the machine and inspect the main frame.
Check for:
- Bent tubing
- Cracks
- Deep scratches
- Chipped coating
- Rust
- Damaged welds
- Loose frame connections
- Uneven feet
Pay extra attention to welded areas and connection points.
Does the machine rock when you push it gently?
It should normally sit firmly on the floor. If it moves, check whether the floor is uneven or whether one of the feet or frame sections is positioned incorrectly.
Here is why this matters: manufacturers also include frames and welds in routine inspection guidance. For example, Precor’s preventive maintenance guidance recommends inspecting visible welds, frames, cable connections, upholstery, and machine motion on strength equipment.
I often see machines that look fine from the front but have a damaged bracket or corner at the back. A quick walk around the whole machine can catch these problems early.
At YR Fitness, we build commercial strength and cardio equipment for regular daily use, with attention to frame construction, materials, movement, and adjustment design. Browse our equipment before your next purchase if you want to compare machines with these inspection points already in mind.
4. Check Seats, Pads, and Upholstery
Next, inspect every part your body will touch.
Look at:
- Seat pads
- Back pads
- Arm pads
- Roller pads
- Headrests
- Handles
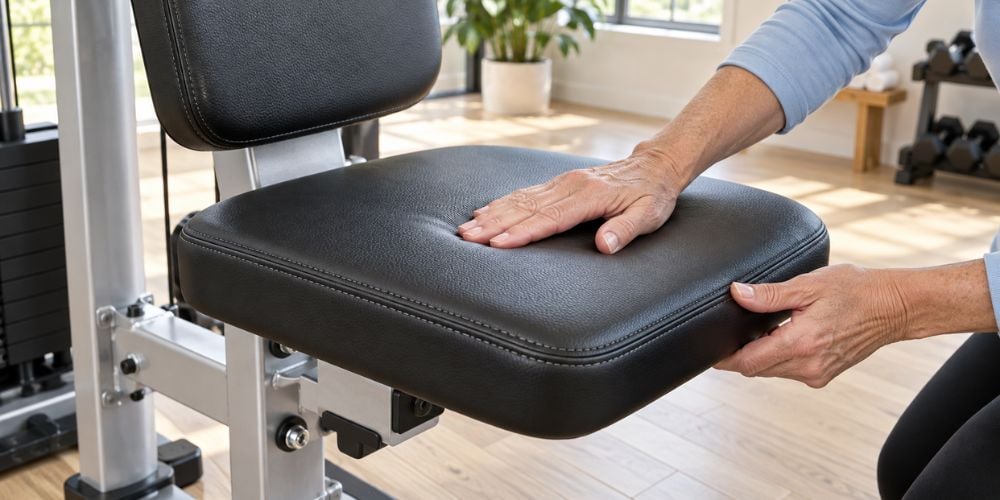
Check for tears, cuts, wrinkles, loose stitching, or damaged edges.
Press the pads lightly with your hands. They should feel even and stay firmly attached.
Then sit on the machine.
Does the seat feel stable? Does the back pad stay in position?
A small cosmetic mark may not affect your workout. A loose seat or backrest should be corrected before you use the machine.
5. Test Every Adjustment
Now test every adjustable part.
Move the:
- Seat adjustment
- Backrest adjustment
- Pop pins
- Roller pads
- Handles
- Safety stops
- Starting-position adjustments
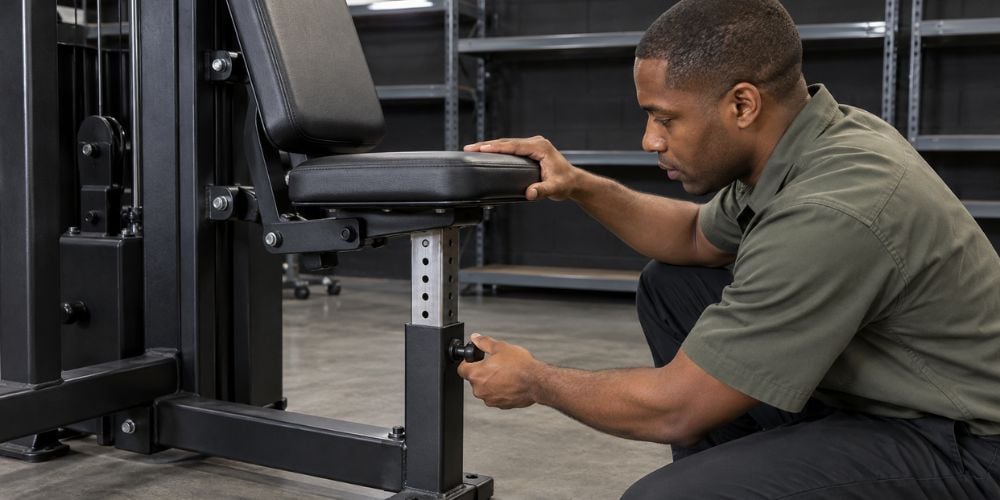
Each part should move smoothly and lock securely.
If an adjustment feels stuck, do not force it. Check whether a shipping tie, bolt, or protective piece is still attached.
I prefer testing each position slowly. This makes it easier to notice a pin that does not fully engage.
How do you know it is locked?
After setting the position, gently push or pull the adjustable part. It should stay firmly in place.
What Should Feel Normal?
Part | Good Sign | Warning Sign |
Seat | Moves easily and locks | Slides after locking |
Pop pin | Fully enters the hole | Does not engage fully |
Backrest | Stays firmly positioned | Wobbles or slips |
Roller pad | Adjusts smoothly | Sticks or feels loose |
Safety stop | Locks securely | Moves under light pressure |
Handle | Feels stable | Excessive movement |
6. Inspect Cables, Pulleys, and Weight Stacks
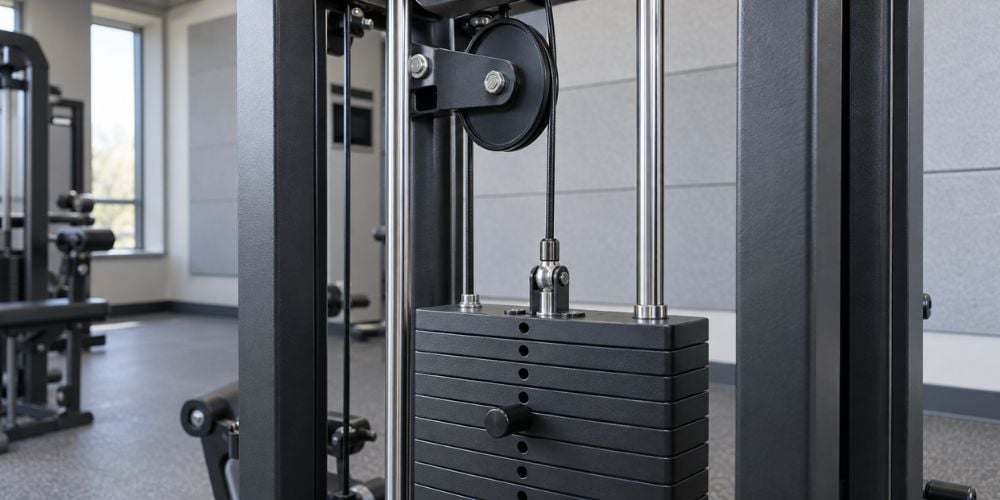
If your machine uses cables and a weight stack, inspect them before using heavy resistance.
Start with the cable.
Look for:
- Fraying
- Cuts
- Flattened areas
- Twisting
- Incorrect routing
Next, inspect the pulleys.
The cable should sit correctly inside the pulley groove. It should not rub against the frame or the side of the pulley.
Then check the weight stack.
Make sure:
- The plates are aligned
- The guide rods are straight
- The selector pin enters easily
- The plates separate correctly
- Nothing rubs against the frame
These are not just cosmetic checks. Life Fitness strength maintenance guidelines recommend inspecting cables for wear, checking hardware for looseness, inspecting frames, and making sure the weight-stack pin works correctly. Their guidance says cables should be replaced at the first sign of wear.
Now choose a light weight and slowly test the machine.
The weight stack should move up and down smoothly.
Hear clicking or grinding?
Stop and inspect the cable path, pulleys, and weight plates.
From my experience, testing slowly is one of the easiest ways to notice unusual resistance, sticking, or noise before it becomes a bigger problem.
What Should You Do If Something Looks Wrong?
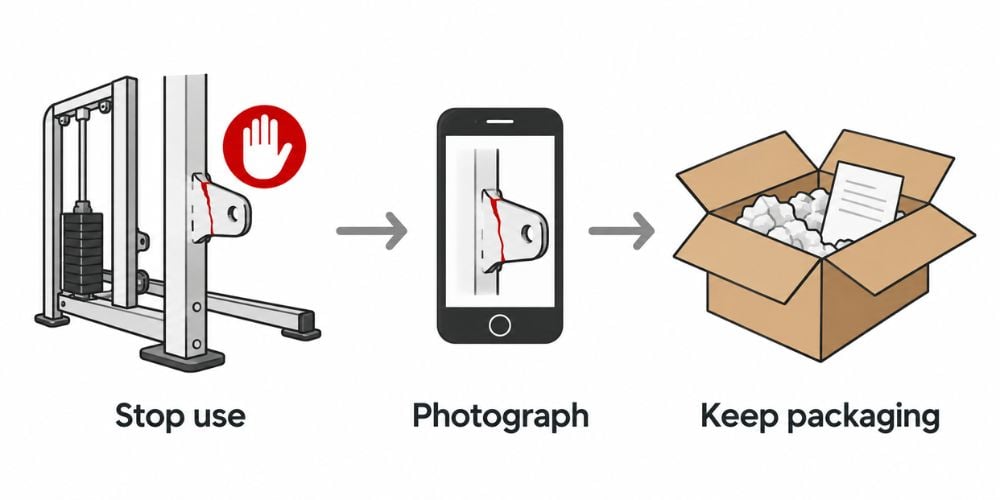
Do not start using the machine immediately.
Take clear photos of the problem. Keep the packaging, labels, and any documents connected to the equipment.
A loose external cover may be a simple fix. On the other hand, damaged frames, cables, welds, adjustment locks, or other important structural parts should be checked before you train.
Not sure whether it is safe? Do not guess when a load-bearing or moving part is involved.
Conclusion
Inspecting new gym equipment does not need to take long. Check the packaging, confirm the machine, inspect the frame and padding, test the adjustments, and slowly test the cable and weight stack.
At YR Fitness, we have produced commercial fitness equipment, including strength machines, cardio equipment, and accessories built for regular daily use. If you are planning another equipment purchase, browse our equipment and compare the designs that best fit the way you train.
Related articles:



