









Do your shoulders roll forward during the lat pulldown? A few small form changes can usually fix it.
The quick fix is simple: use less weight, sit securely, keep your chest slightly lifted, and pull your shoulders down before your elbows. This helps you stay more controlled through the movement.
As an Exercise Physiology & Biomechanics Expert at YR Fitness, I study how body position affects pulling mechanics. I often see rounded shoulders improve quickly once the setup and load are corrected.
Below, I’ll show you six simple fixes you can use right away. Start with the first one and work down the list.
1. Lower the Weight
Start by reducing the weight.
If the load is too heavy, your body will often find an easier way to move it. Your shoulders may roll forward, your torso may swing, or your arms may start doing most of the work.
Choose a weight that lets you:
- Keep your chest slightly lifted
- Control the bar from start to finish
- Keep your shoulders from collapsing forward
- Finish every rep without swinging
The National Academy of Sports Medicine‘s lat pulldown guidance explains that lighter loads can help you develop better postural control and pulling mechanics before progressing to heavier resistance.
I would fix the movement first and worry about adding weight later.
Quick check: Can you complete every rep without your shoulders rolling forward?
If not, reduce the weight again.
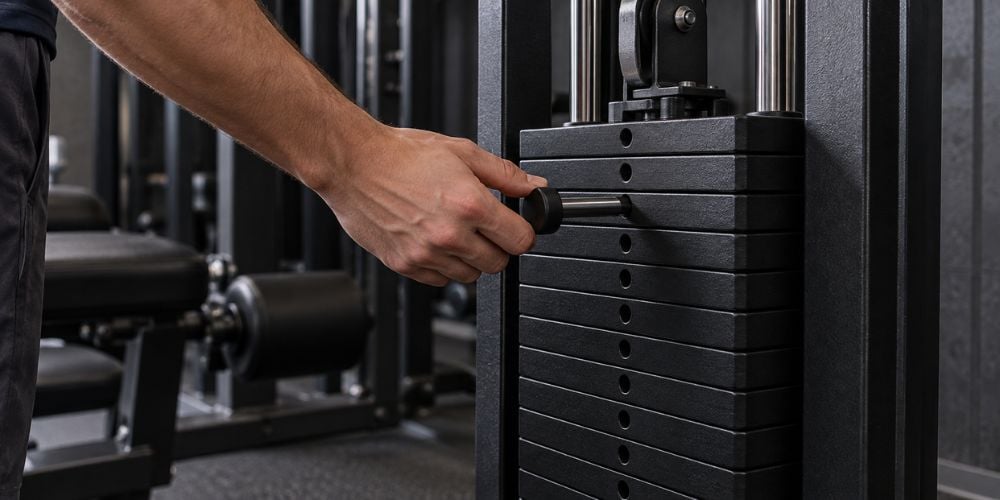
2. Adjust the Seat and Thigh Pad
Your setup matters before the first rep even starts.
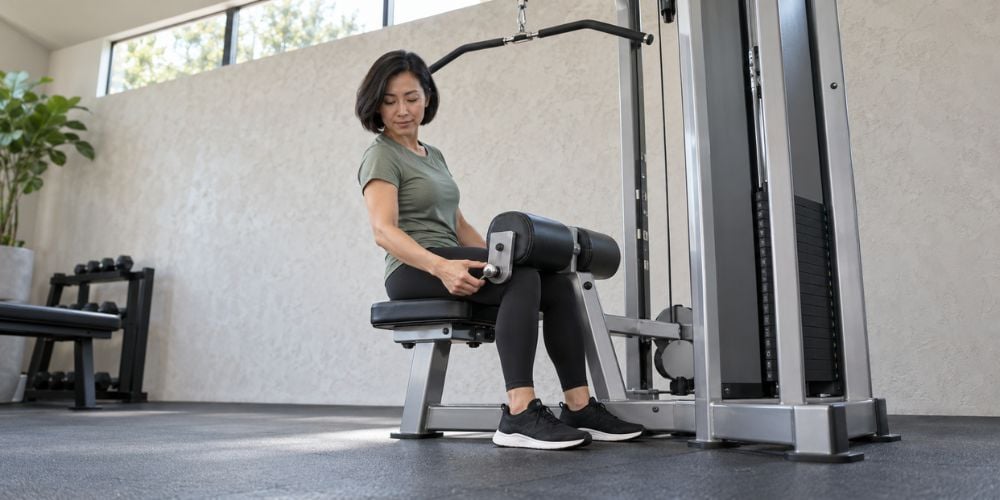
Sit directly under the pulldown bar and keep both feet firmly on the floor. Adjust the thigh pad so it holds your legs securely without pressing into them uncomfortably.
You should feel stable enough that the weight does not pull your body off the seat.
Setup Point | What to Do |
Feet | Keep them flat on the floor |
Thigh pad | Secure your legs comfortably |
Hips | Sit firmly on the seat |
Torso | Stay mostly upright |
Bar position | Start above your upper chest |
This setup also matches the American Council on Exercise‘s seated lat pulldown guidance, which recommends securing the thighs under the pad and keeping the spine controlled during the movement.
I often see people trying to correct their shoulders when the real problem starts with a poor seat setup.
3. Lift Your Chest Slightly
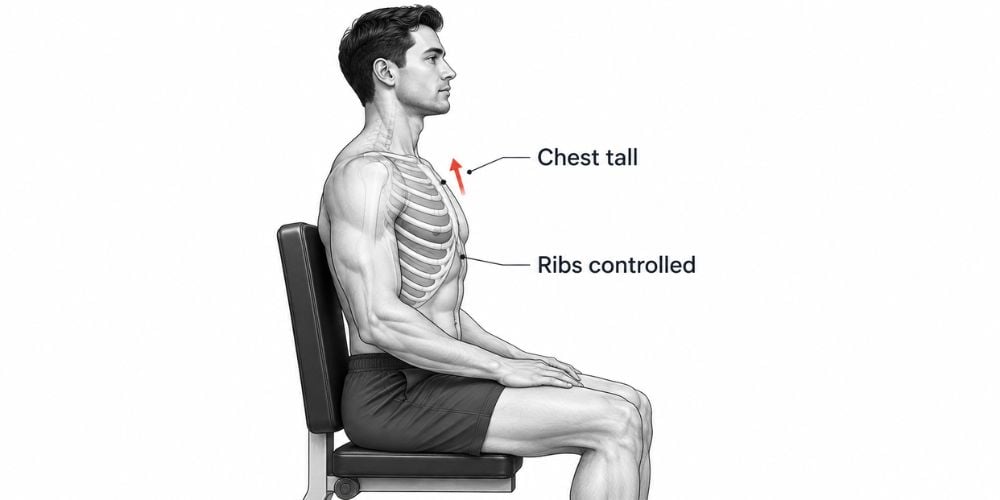
Before you pull, lift your chest slightly.
You do not need to create a big arch in your lower back. Think about sitting tall while keeping your ribs controlled.
A simple cue is:
“Chest tall, ribs controlled.”
Why does this matter?
When your chest collapses, your shoulders can more easily drift forward. Hospital for Special Surgery also notes that prolonged rounded-shoulder posture involves the shoulder blades sitting farther forward rather than in a more controlled position.
Good form is easier when the machine gives you a stable seat, useful adjustment points, and a natural pulling path. At YR Fitness, we design commercial strength equipment with movement paths and user positioning in mind, so you can explore our equipment if you want to compare different strength-machine designs.
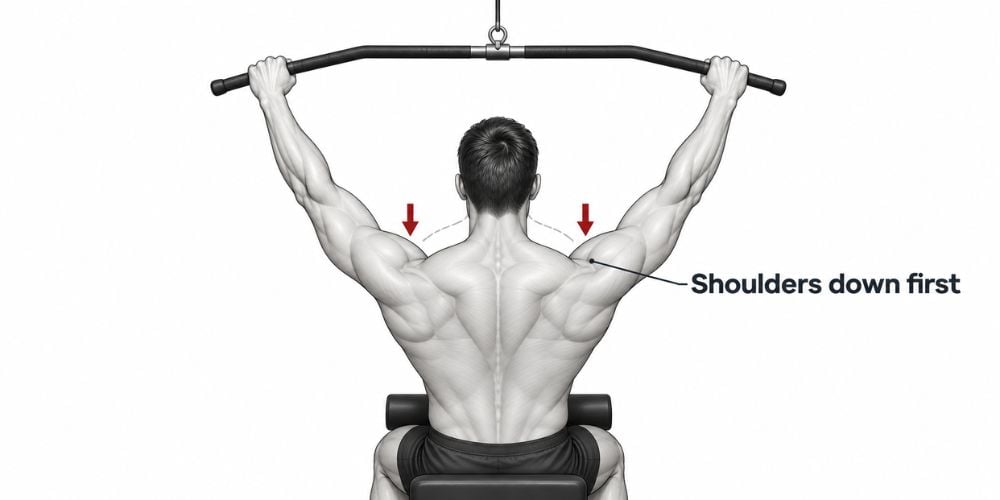
4. Pull Your Shoulders Down First
Do not start the rep by immediately bending your elbows.
First, think about moving your shoulders slightly away from your ears. Then start bringing your elbows downward.
Use this sequence:
Shoulders down → elbows down → bar toward your chest.
This helps stop the shoulders from shrugging as you pull. ACE similarly recommends initiating the pulldown by lowering the shoulder blades before pulling the bar toward the chest.
I like this cue because you can actually remember it during a workout. You do not need to think about complicated anatomy on every rep.
5. Pull Your Elbows Toward Your Sides
Do not think only about pulling the bar with your hands.
Instead, think about driving your elbows downward toward your sides. Your hands connect you to the bar, but your elbows help guide the movement.
Try to:
- Keep your wrists comfortable
- Pull your elbows downward
- Keep your chest slightly raised
- Avoid throwing your elbows far behind your body
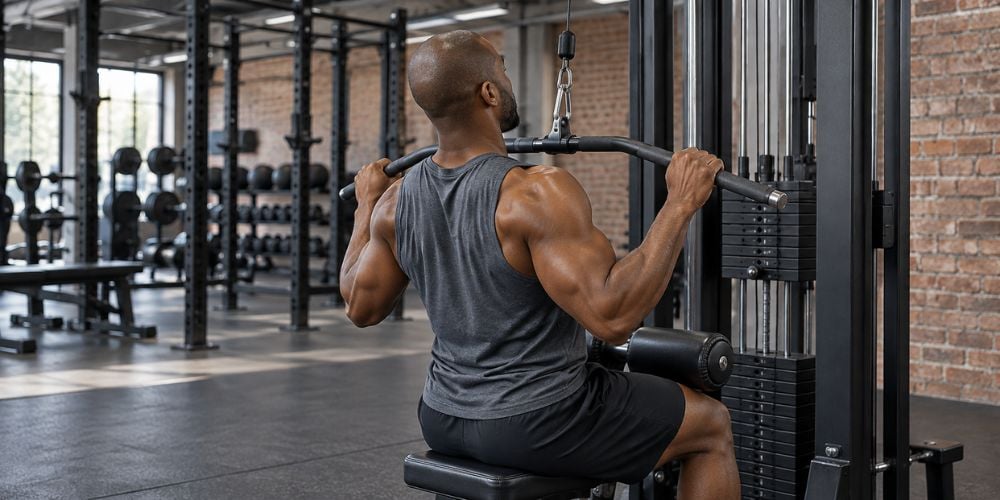
Should your elbows go behind you?
Not very far.
If you force them too far backward, your shoulders can start moving forward and your chest may collapse. NASM also uses the cue of driving the elbows downward to help keep the movement focused on the back rather than simply pulling with the arms.
Here is the simple difference:
Problem You Notice | Quick Fix |
Shoulders roll forward | Reduce the weight |
Body lifts from seat | Tighten the thigh pad |
Chest collapses | Sit taller |
Shoulders shrug | Pull shoulders down first |
Arms do most of the work | Think “elbows down” |
Elbows travel too far back | Stop the pull earlier |
6. Stop the Bar at the Right Point
You do not need to pull the bar as low as possible.
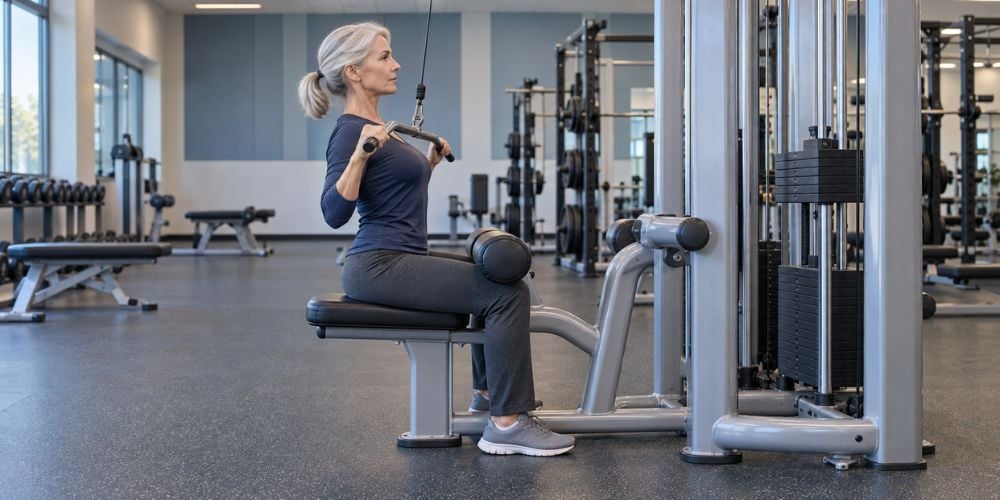
Bring it toward your upper chest and stop when you can no longer maintain good shoulder position. If your elbows start traveling backward instead of downward, you have probably reached the useful end of the pull.
ACE specifically advises stopping rather than continuing to pull once the elbows begin moving backward, because continuing can add unnecessary stress to the shoulder joint.
Your stopping position should look like this:
- Chest still slightly lifted
- Shoulders controlled
- Elbows pointing downward
- No aggressive backward lean
- No need to force the bar lower
I would rather see a slightly shorter, controlled rep than a deeper rep with poor shoulder position.
Conclusion
Rounded shoulders on the lat pulldown are often easier to correct than they look. Lower the weight, improve your seat position, keep your chest tall, pull your shoulders down first, and guide your elbows toward your sides.
If your shoulders still round forward even after these changes, stop forcing movement and consider getting your technique checked by a qualified fitness or healthcare professional.
At YR Fitness, we develop commercial strength equipment with stable positioning, practical adjustment points, and controlled movement paths in mind.
Related articles:



