








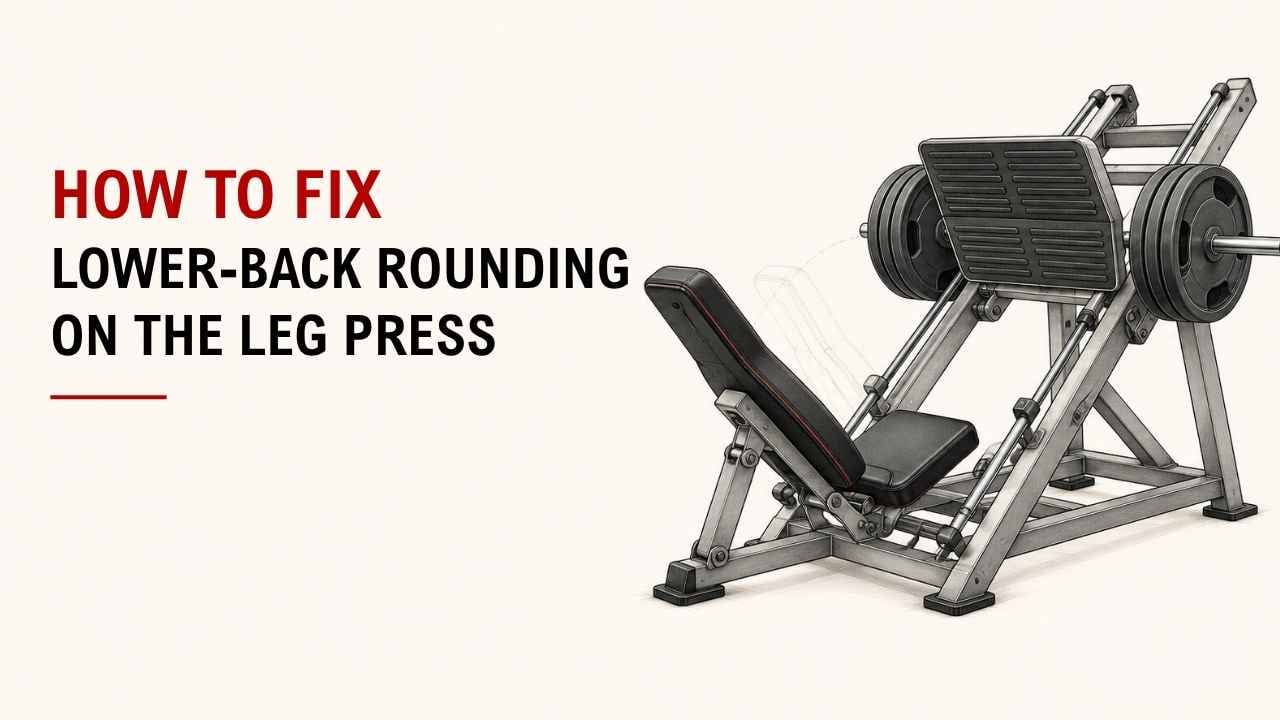

Does your lower back round during the leg press? Your setup or depth is usually the problem.
The quick fix is simple: reduce your depth, adjust the seat, brace your core, and keep your hips against the pad. Use a weight you can control.
As an Exercise Physiology & Biomechanics Expert at YR Fitness, I study how hip position and spinal control affect strength exercises. I often see this issue improve quickly once the setup and range of motion are corrected.
Below are six simple fixes you can try on your next set. Start with the first one and adjust only what you need.
1. Stop Lowering the Sled So Deep
The first thing I would check is your depth.
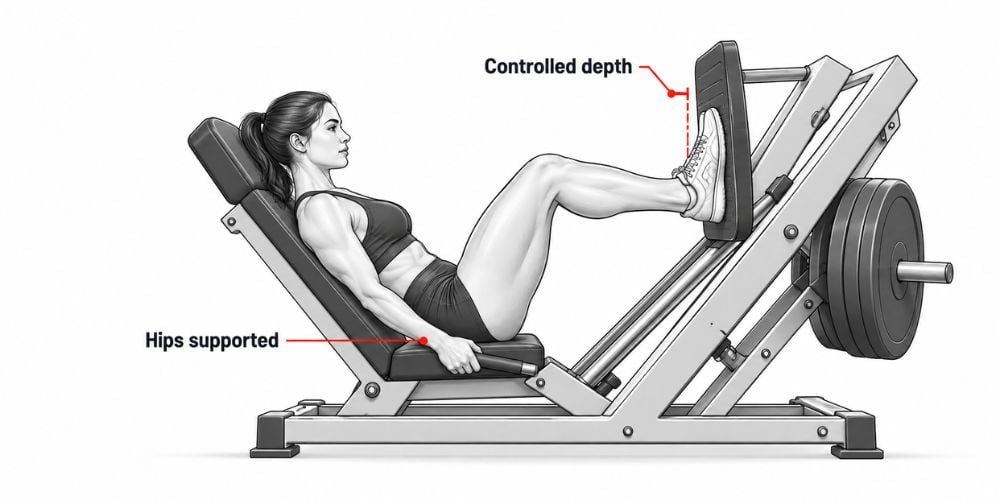
Lower the sled only as far as you can while keeping your hips and lower back supported. If your pelvis starts rolling backward, stop the rep there.
The ACE seated leg press guide also recommends keeping the back and tailbone against the backrest and avoiding rounding of the lower back.
Does your back round only at the very bottom? Then you probably do not need a complete technique change.
Simply shorten the range slightly.
What Happens | What to Do |
Back stays supported | Keep your current depth |
Tailbone starts lifting | Stop slightly earlier |
Knees push tightly into your torso | Reduce the depth |
You bounce at the bottom | Slow down and shorten the rep |
A controlled rep is better than forcing extra depth with poor positioning.
2. Adjust the Seat or Backrest
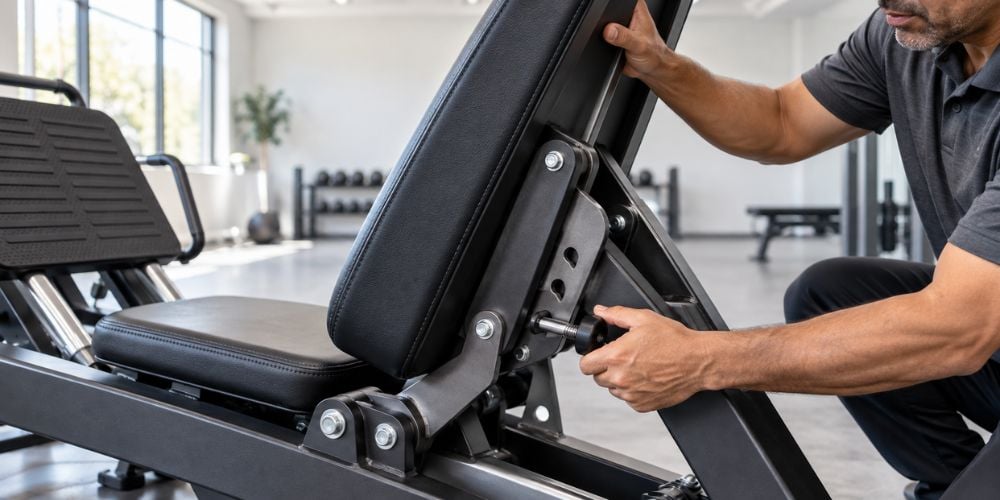
Your seat position changes how much your hips need to bend.
If the backrest puts you too close to the platform, your thighs may become compressed against your torso. That can encourage your pelvis to roll backward.
Try adjusting the seat or backrest so your hips have more room.
I recommend changing one setting at a time. Do a few light reps after each adjustment and see whether your back stays supported more easily.
NASM’s leg press exercise guide also recommends keeping your back firmly against the backrest and maintaining control during the lowering phase.
3. Keep Your Hips Against the Pad
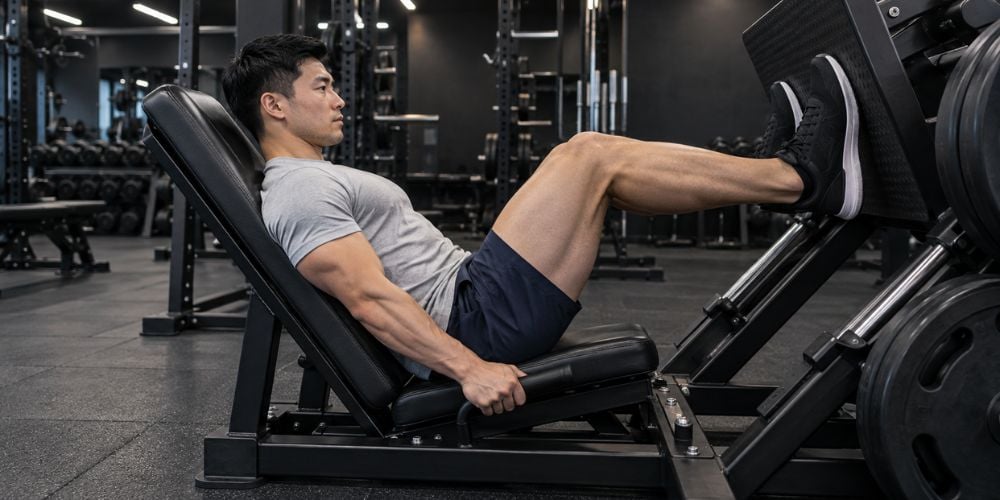
Keep your hips planted throughout the movement.
As the sled comes down, keep your glutes against the seat instead of allowing your tailbone to curl upward.
The cue I often use is simple:
“Hips down, back supported.”
Feel your hips starting to lift? Stop lowering and press the sled back up.
Your ideal depth may also be different from the person using the machine before you. Body proportions, mobility, and machine setup all affect how far you can comfortably lower the sled.
Machine setup can make good positioning much easier. If you want to compare strength machines built with user positioning, adjustability, and controlled movement in mind, explore the YR Fitness commercial strength equipment range.
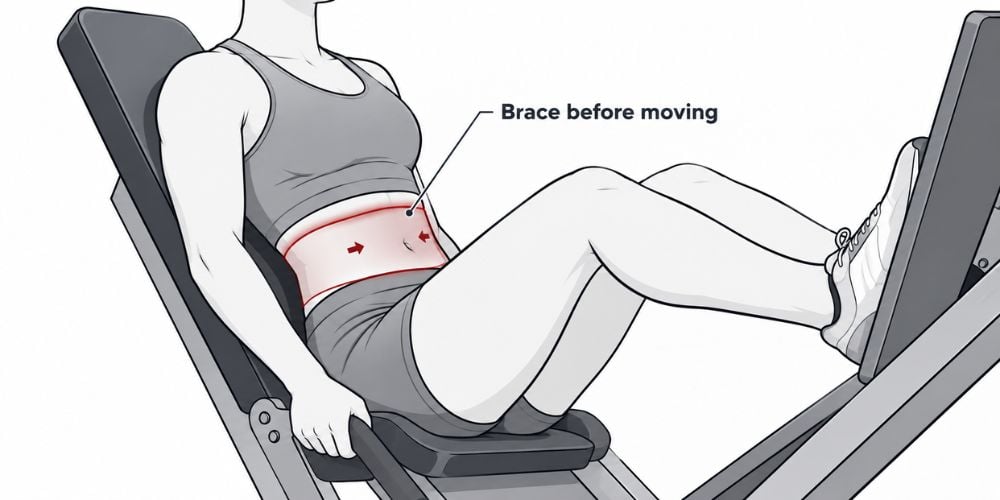
4. Brace Your Core Before Each Rep
Brace your core before the sled starts moving.
Tighten your abdominal muscles as if you were preparing for someone to push against your stomach. Maintain that tension as you lower and press.
You do not need to hold your breath through the entire set.
The goal is simply to keep your trunk stable.
I often see people stay tight during the press but completely relax at the bottom. That is exactly where better control can help keep your hips and lower back steady.
5. Adjust Your Foot Position
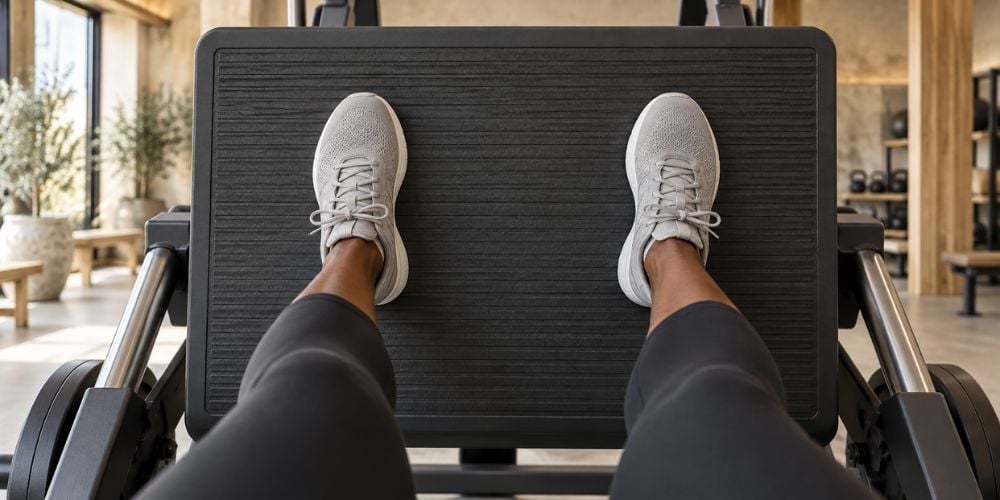
Your foot position can also change how much your hips need to bend.
Try moving your feet slightly higher on the platform if your thighs feel compressed against your torso. Keep your whole foot planted, including your heels.
Do not make a huge adjustment immediately.
Move your feet a little, perform a few controlled reps, and see whether your lower back stays more comfortable.
Quick Setup Check
Check | What You Want |
Lower back | Supported against the pad |
Hips | Firmly planted |
Core | Braced before moving |
Feet | Fully planted |
Foot position | Comfortable, not extreme |
Depth | Only as deep as you can control |
6. Use Less Weight
Sometimes the problem is simpler than it looks: the weight is too heavy.
When the load gets excessive, controlling the bottom position becomes harder. You may start bouncing, rushing the descent, or allowing your hips to roll backward.
Reduce the load and focus on:
- Lowering slowly
- Keeping your hips against the pad
- Maintaining core tension
- Pressing without bouncing
Should you keep the same weight if your back keeps rounding? No.
Use a lighter load until you can complete clean repetitions. Then gradually build the resistance back up.
Mayo Clinic’s guidance on proper weight-training technique makes the same basic point: if you cannot maintain good form, reduce weight or repetitions and keep movement controlled.
If the movement causes actual lower-back pain rather than just a form problem, stop the exercise and get guidance from a qualified fitness or healthcare professional.
Conclusion
Lower-back rounding on the leg press usually means you are going too deep, using a poor setup, or lifting more weight than you can control. Fix your depth, seat position, hip contact, core tension, and load before worrying about adding more plates.
I always recommend getting the movement right first and progressing from there.
If you also want to compare strength machines designed around controlled training and practical adjustment, explore YR Fitness to see the available equipment options.
Related articles:



