








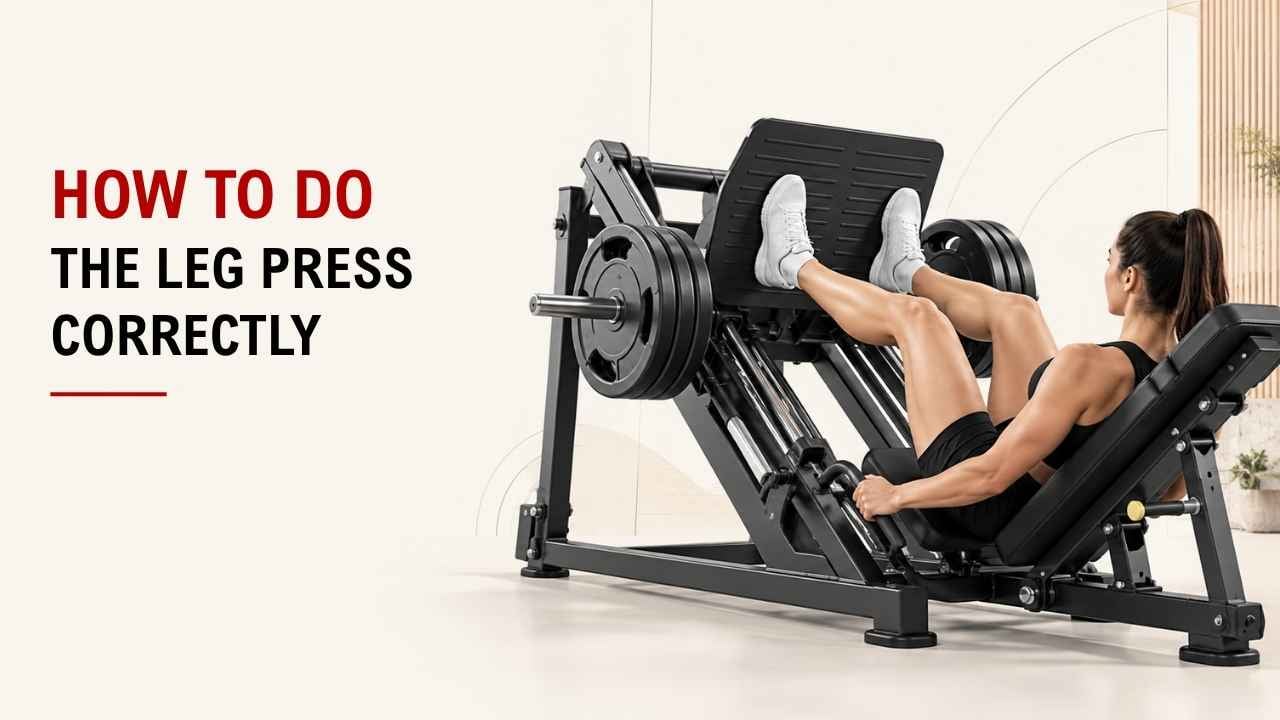

Have you ever used the leg press and wondered where to place your feet or how deep to go? Good form starts with a simple setup.
The basic rule is: keep your feet planted, your back against the pad, lower with control, and press up without locking your knees. Start light until the movement feels comfortable.
As the founder and chief designer of YR Fitness, I have spent decades working with strength equipment and movement design. I have seen how small changes in setup can make the leg press feel safer and more natural.
Below, I will show you seven simple steps to perform the leg press correctly. Follow them from setup to re-racking.
1. Set Up the Leg Press Machine
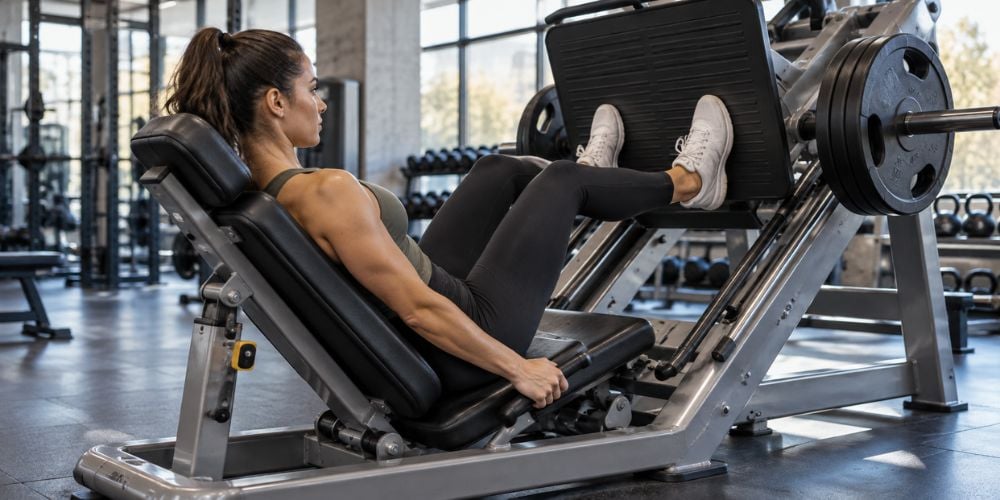
Sit back so your head, upper back, and hips stay supported by the pad. Adjust the seat or backrest if the machine allows it.
Your starting position should feel comfortable, not cramped. Your knees should bend naturally without being pushed tightly into your chest.
Before your first set:
- Start with a light weight.
- Keep your back flat against the pad.
- Hold the side handles if available.
- Make sure you can reach the safety handles.
- Check that both feet can sit firmly on the platform.
Using a new machine? Do a few light reps first.
Different leg press designs can feel surprisingly different. Starting light gives you a chance to understand the movement path before adding more resistance.
The NASM leg press exercise guide also recommends keeping your back and head against the backrest and setting your feet securely on the platform before pressing.
2. Place Your Feet on the Platform
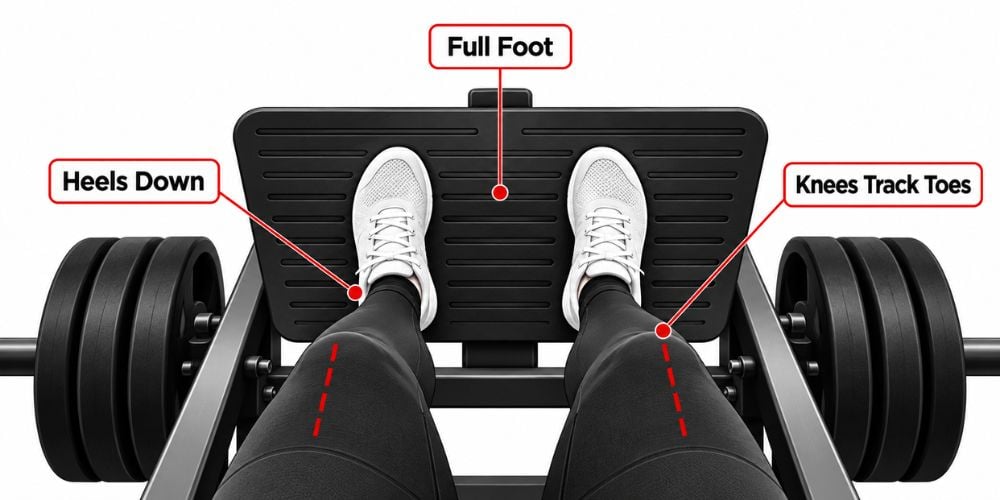
Place your feet about hip- to shoulder-width apart near the middle of the platform.
Keep your whole foot in contact with it:
- Heels down
- Toes down
- Knees pointing in roughly the same direction as your toes
Your toes can point slightly outward if that feels more natural. NASM also uses a hip-width stance with the toes slightly outward as its basic leg press position.
What if your heels keep lifting?
Your feet may be too low on the platform, or you may be lowering farther than you can comfortably control. Adjust your position instead of forcing the rep.
You also do not need an extremely wide stance. A simple, comfortable position is the best place to start.
3. Release the Safety Handles
Press the platform away just enough to take pressure off the safety stops.
Then release the safety handles according to the machine’s design. Keep both feet planted and stay in control before starting your first rep.
Do not aggressively lock your knees at the top.
On a plate-loaded machine, the resistance may feel different once the safety stops are released. I often recommend using less weight when trying an unfamiliar machine for the first time.
Not sure whether the weight is right?
If you are already struggling to control the starting position, reduce it before beginning the set.
4. Lower Weight Slowly
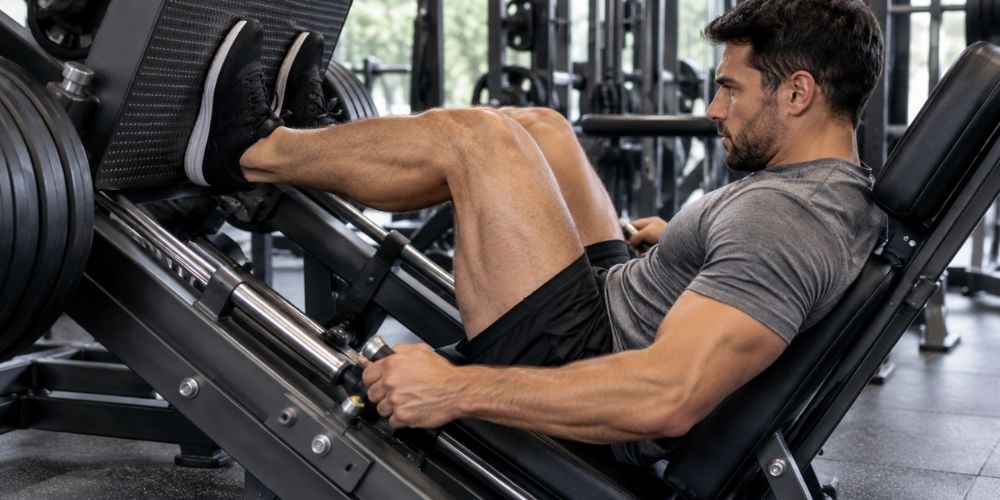
Bend your knees and let the platform move toward you slowly and under control.
As you lower:
- Keep your back against the pad.
- Keep your hips down.
- Keep your heels planted.
- Let your knees track with your toes.
- Do not let your knees collapse inward.
Lower only as far as you can while keeping a good position.
You do not need to bring your knees as close to your chest as possible. If your hips or lower back begin lifting from the pad, stop the descent earlier.
Control is more important than depth.
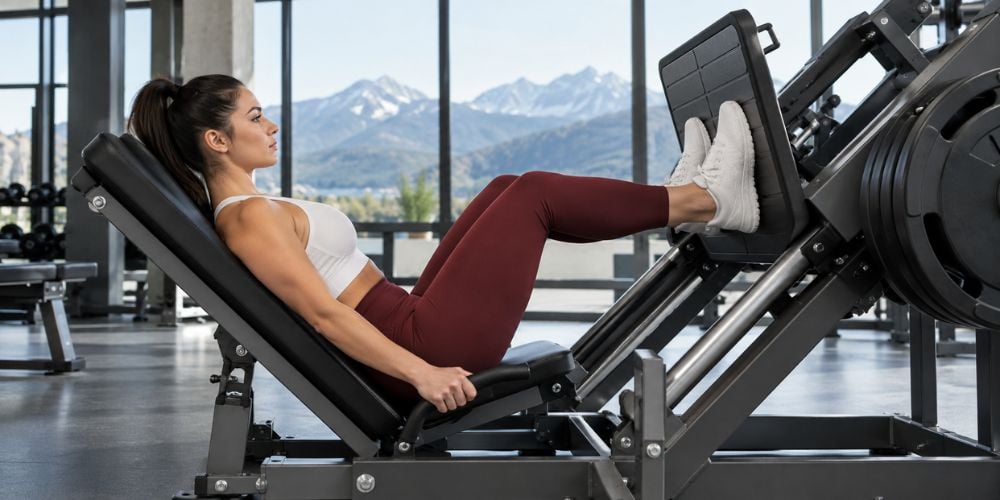
Smooth movement can make controlled reps much easier. At YR Fitness, we design our leg press machines around stable support and guided movement, so you can focus on your pressing technique rather than fighting the machine.
For example, the 45° model uses a 75 mm alloy-steel slide bar with a hard-chrome surface to support smooth, controlled movement.
5. Press the Platform Back Up
Once you reach a comfortable depth, push the platform away.
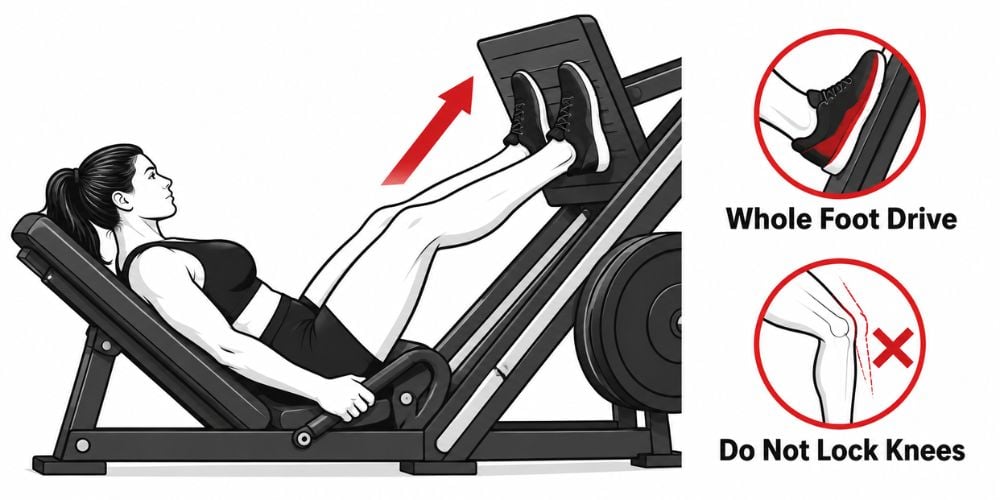
Press through your whole foot instead of lifting your heels and pushing only through your toes.
Extend your knees and hips smoothly until you return near the starting position.
At the top, do not snap or aggressively lock your knees. NASM also advises extending the legs without locking out the knees.
Your reps should look smooth in both directions.
If you have to bounce at the bottom, push unevenly, or slam into the top position, reduce the weight.
Here is an easy way to spot common problems:
What You Notice | Likely Problem | Simple Fix |
Heels lift | Foot position or depth | Move your feet slightly or shorten the range |
Lower back lifts | Going too deep | Stop the descent earlier |
Knees move inward | Poor knee tracking | Keep knees following your toes |
You bounce at the bottom | Too much weight or poor control | Reduce the load |
One side moves faster | Uneven pressing | Slow down and press evenly |
Knees slam straight | Hard lockout | Stop just before full lockout |
6. Repeat With Controlled Reps
Use the same movement pattern on every repetition.
A simple rhythm is:
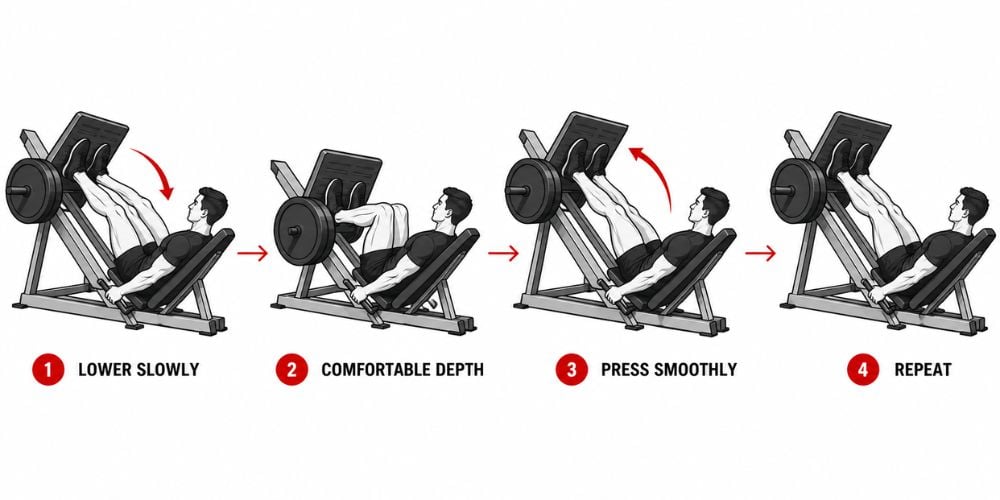
Lower slowly → reach a comfortable depth → press smoothly → repeat.
Do not turn the set into a race.
For general resistance training, 2–3 sets of 8–12 controlled reps can be a useful starting point for many recreational lifters. Your exact sets and reps will depend on your program and experience.
NASM gives 3 sets of 8–12 reps as one option for strength and muscle development, while Mayo Clinic notes that a resistance you can comfortably control for around 12–15 repetitions can also be a useful starting point.
The exact number matters less than keeping your technique clean.
In my experience, 10 controlled repetitions with a manageable load are far more useful than five rushed reps with too much weight.
Should you add more weight?
Only when your current load feels controlled from the first rep to the last. Mayo Clinic recommends increasing resistance gradually as you become stronger while continuing to maintain correct technique.
If the machine still feels jerky, unstable, or uncomfortable after you adjust your position, try another leg press instead of forcing the movement.
7. Re-Rack the Weight Safely
After your final rep, keep control of the platform.
Press it back toward the top position and then:
- Re-engage the safety handles.
- Make sure both safety stops are fully secured.
- Let the platform settle onto them.
- Check that the sled is stable.
- Remove your feet only after the machine is secure.
Do not assume the safety catches are engaged just because you moved the handles. Make sure the platform is actually resting securely before you get out.
It is a small step, but do not rush it.
Final Thoughts
Good leg press form is simple: set yourself up properly, keep your feet planted, control the descent, and press smoothly without locking your knees. Once your technique feels consistent, you can gradually increase the weight.
If you want to see how different YR Fitness leg press designs support smooth and controlled lower-body training, you can explore our leg press equipment here. Compare the different layouts and see which movement style fits the way you prefer to train.
Related articles:



