








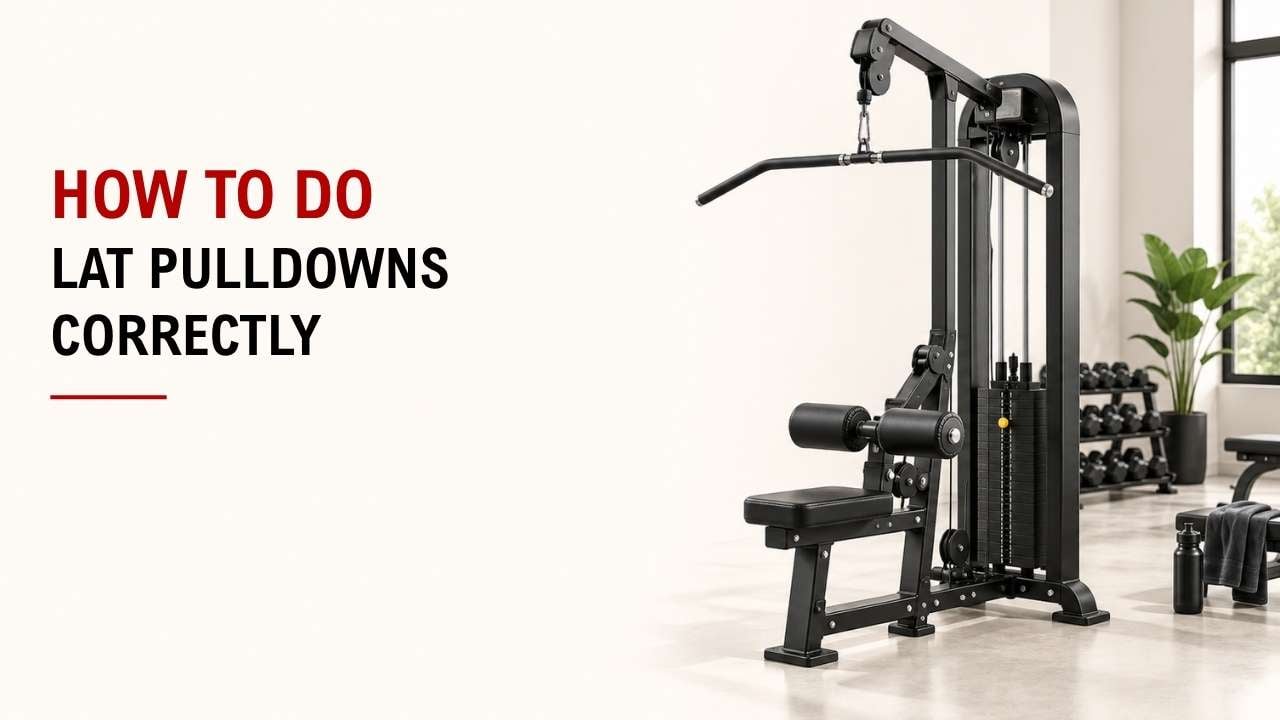
Have you ever felt lat pulldowns more in your arms than your back? Your setup, pulling path, or weight choice is usually the reason.
The fix is simple: sit tall, keep your chest up, drive your elbows down, and pull the bar toward your upper chest. Then return the weight slowly and stay in control.
As the founder of YR Fitness, I have spent decades studying strength equipment and how people move on it. Our team has developed commercial gym equipment with self-designed movement systems and more than 40 patents.
In this guide, I will show you how to do lat pulldowns correctly step by step. You will also learn the most common mistakes and which grip options to use.
1. Start With the Correct Body Position
A good lat pulldown starts before the bar moves.
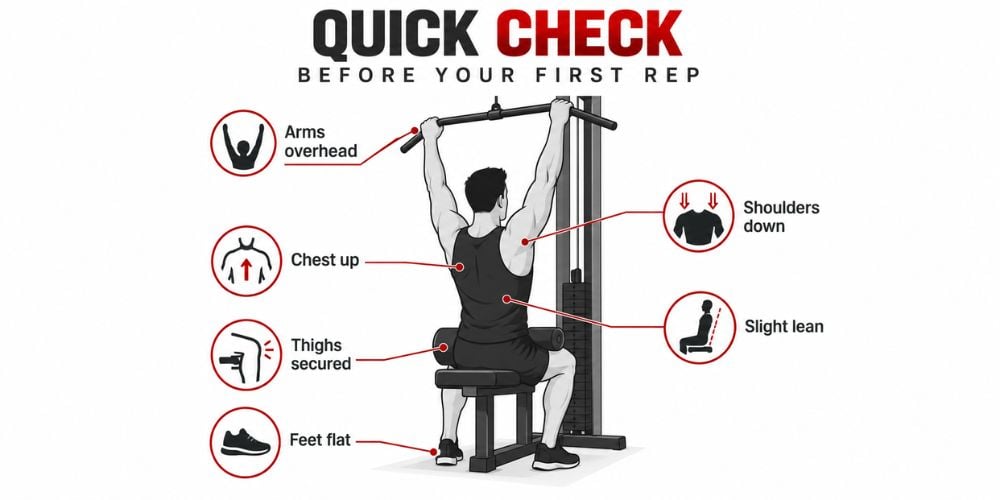
Sit facing the machine and place both feet flat on the floor. Adjust the thigh pads so they sit firmly on top of your thighs and stop your body from lifting off the seat.
Sit tall and keep your chest lifted. Your spine should stay in a comfortable neutral position.
A small backward lean is fine. The American Council on Exercise’s lat pulldown guide recommends only a slight lean, no more than about 30 degrees, while keeping the head aligned with the spine.
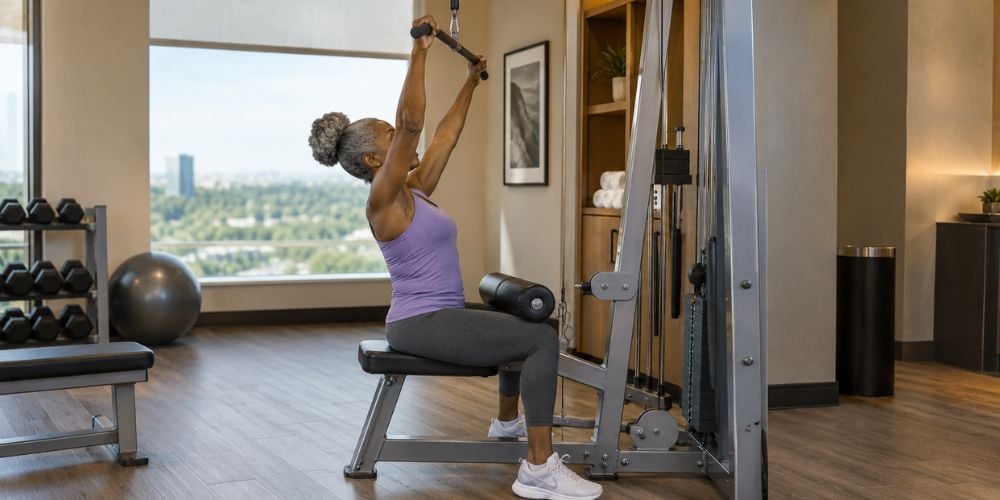
Start with your arms extended overhead. Bring your shoulders down and slightly back before beginning the pull.
Quick check before your first rep:
- Feet flat
- Thighs secured
- Chest up
- Shoulders down
- Arms overhead
- Slight backward lean
I often tell lifters to think about making themselves tall before the first rep. It is a simple cue, but it can stop the shoulders from creeping upward.
2. Pull the Bar Toward Your Upper Chest
Now start the pull.
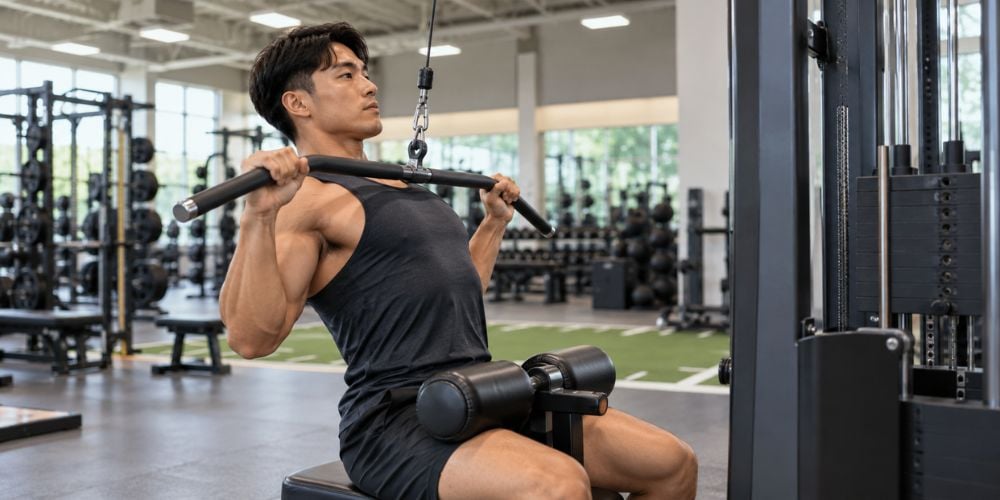
Think about driving your elbows down, rather than trying to drag the bar down with your hands.
Bring the bar toward the upper or middle part of your chest. Keep your torso mostly still as the elbows travel down beside your body.
This matches ACE’s recommended pulling path, which directs the bar toward the top or middle of the chest while the elbows move toward the floor.
What should you feel?
Mostly your back.
Your biceps will help because the elbow bends during the movement. But if the exercise feels almost like a biceps curl, try thinking less about your hands and more about moving your elbows.
There is some research behind that cue. A study on expert instruction during lat pulldowns examined whether technique coaching could help lifters increase latissimus dorsi involvement rather than relying heavily on the elbow flexors.
Are you leaning back too much?
Watch what happens when the weight gets heavy.
If your chest suddenly flies backward and you need momentum to finish every rep, lower the load. A slight lean is fine, but the movement should not turn into a cable row.
Simple cue:
Chest up. Elbows down.
That is enough for most people.
3. Pause and Squeeze the Back Muscles
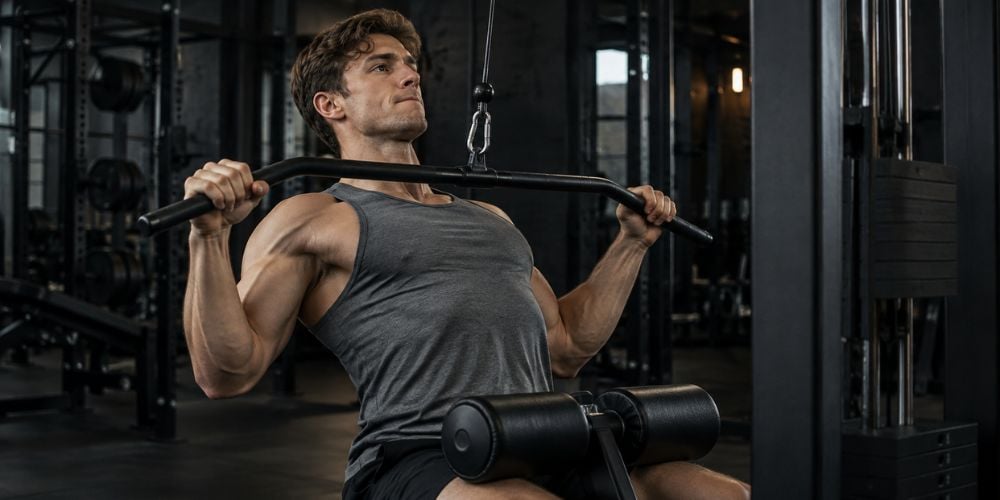
Once the bar reaches your upper chest, pause for a moment.
You do not need to hold it for several seconds. Just stop long enough to feel your back working before you begin the return.
The NSCA describes the same basic sequence: pull toward the chest, hold briefly at the bottom, then return to the top.
Keep your chest lifted during the pause. Think about your elbows being down and slightly back.
Do not keep dragging the bar lower toward your stomach.
How low should you pull?
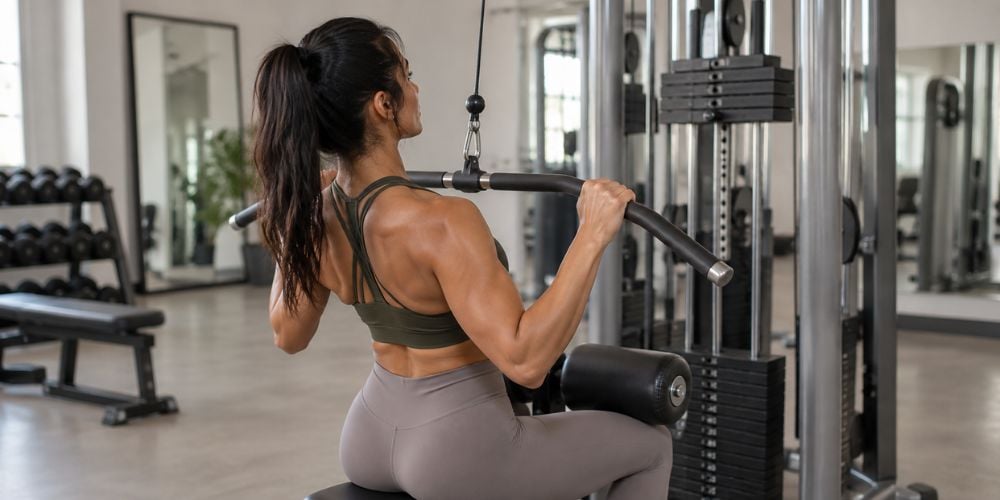
For most reps, the upper to middle chest is enough.
I would rather see someone control ten clean repetitions than use a much heavier weight and fight through every one. The number on the weight stack matters less if you cannot control the movement.
4. Return the Bar Slowly
The repetition is only half finished when the bar reaches your chest.
Let your elbows travel upward as the cable pulls the bar back toward the starting position. Do not suddenly release resistance.
Continue until your arms are extended overhead. Then reset your shoulder position and begin your next repetition.
A simple rhythm is enough:
Pull down → brief pause → controlled return → repeat
You do not need an overly complicated tempo.
The main point is control.
If the machine feels rough, unstable, or difficult to adjust, consistent form can become harder than it needs to be. At YR Fitness, we build our lat pulldown equipment around stable seating, adjustable thigh support, and controlled pulling paths, with selectorized, dual-function, and independent-arm options available.
Compare our lat pulldown machine designs if you want to see how different setups handle the same pulling movement.
5. Avoid the Most Common Lat Pulldown Mistakes
Most bad lat pulldown reps come back to two things: too much weight or too little control.
I see the same problems repeatedly, so here is the quick version.
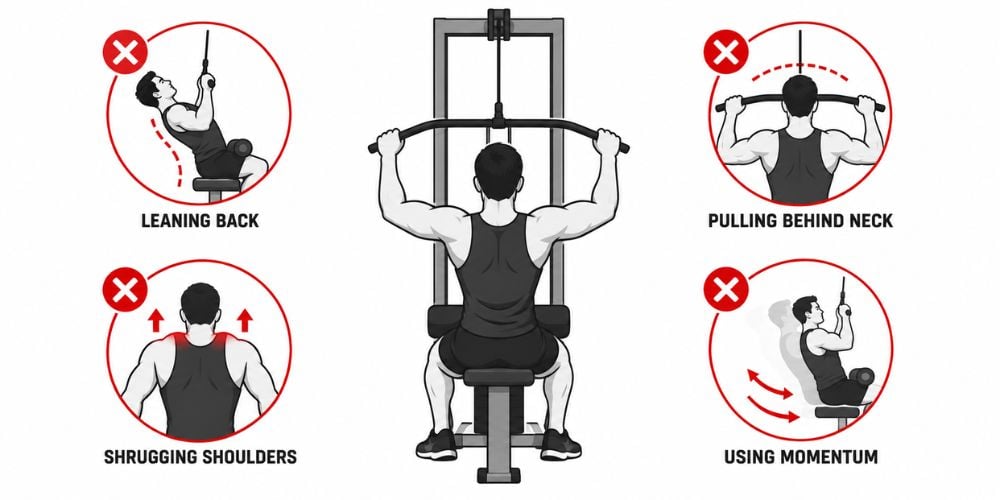
Common mistake | What happens | Simple fix |
Using too much weight | You swing to move the bar | Reduce the load |
Leaning too far back | The pulldown starts becoming a row | Keep only a slight lean |
Pulling behind the neck | Changes the pulling path without a clear advantage | Pull toward the chest |
Pulling mainly with the arms | Biceps dominate the rep | Think “elbows down” |
Releasing too quickly | You lose control of the return | Slow the bar down |
Cutting reps short | You miss part of the movement | Return to a comfortable overhead position |
6. Choose the Right Lat Pulldown Grip
Do you need the widest grip possible to build your lats?
No.
Research comparing grip widths found similar latissimus dorsi activation across narrow, medium, and wide pronated grips. The study did find some differences in loading and biceps activity, but a wider grip did not automatically mean greater lat activation.
A newer 2025 study comparing seven lat pulldown variations also found no significant overall differences in latissimus dorsi activation between the grip variations tested.
Here is the practical comparison:
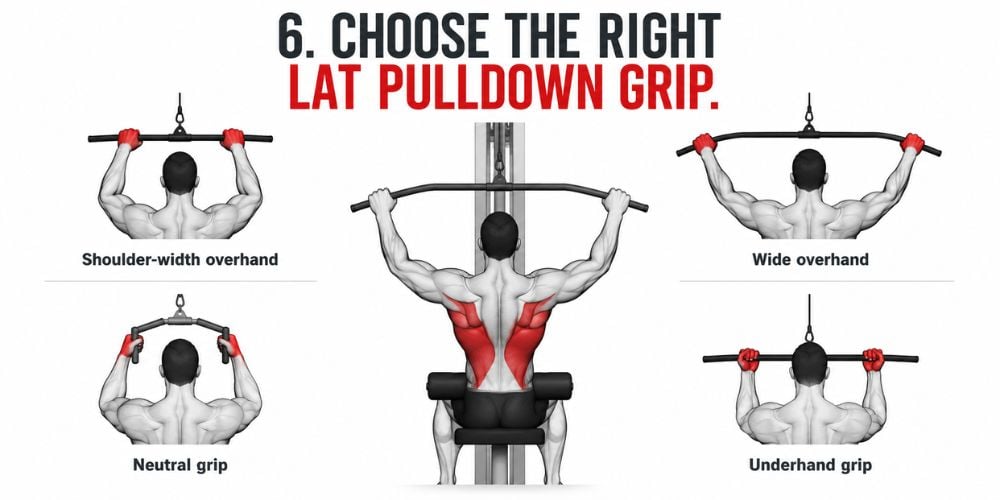
Grip | Hand position | What you may notice | Best use |
Shoulder-width overhand | Palms forward | Balanced range of motion | Good starting point |
Wide overhand | Palms forward, hands farther apart | Shorter pulling range for some lifters | Useful variation |
Neutral grip | Palms facing each other | Often comfortable for wrists and shoulders | Good alternative |
Underhand grip | Palms facing you | More noticeable elbow-flexor involvement | Strong pulling variation |
Shoulder-Width Overhand Grip
Start here if you are new to the exercise.
It gives you a comfortable pulling range and makes it easier to learn the basic movement before experimenting with other attachments.
Wide Overhand Grip
A wider grip can change how the movement feels, but wider does not automatically mean better.
In a study of three pronated grip widths, researchers found similar activation of the lats, trapezius, and infraspinatus across the widths tested.
Neutral Grip
With a neutral grip, your palms face each other.
Many people find this position comfortable because the elbows can travel naturally down beside the torso. Use it if a straight-bar overhand grip feels awkward.
Underhand Grip
Turn your palms toward you and the exercise will feel different again.
Research into grip width and forearm orientation shows that changing forearm position can alter muscle activity during the lat pulldown.
My advice is simple: do not change grips every few reps just because one variation looks more advanced.
Pick one, learn the movement, and give yourself time to feel what is actually working.
Final Thoughts
Correct lat pulldowns do not need to be complicated.
Sit securely. Keep your chest up. Drive your elbows down. Pull toward your upper chest. Pause briefly. Return under control.
Get those basics right before worrying about heavier weight or advanced grip variations.
If you are comparing machines for your training space, explore YR Fitness lat pulldown equipment to see traditional selectorized, dual-function, and independent-arm options built around different pulling setups.
Related articles:



