


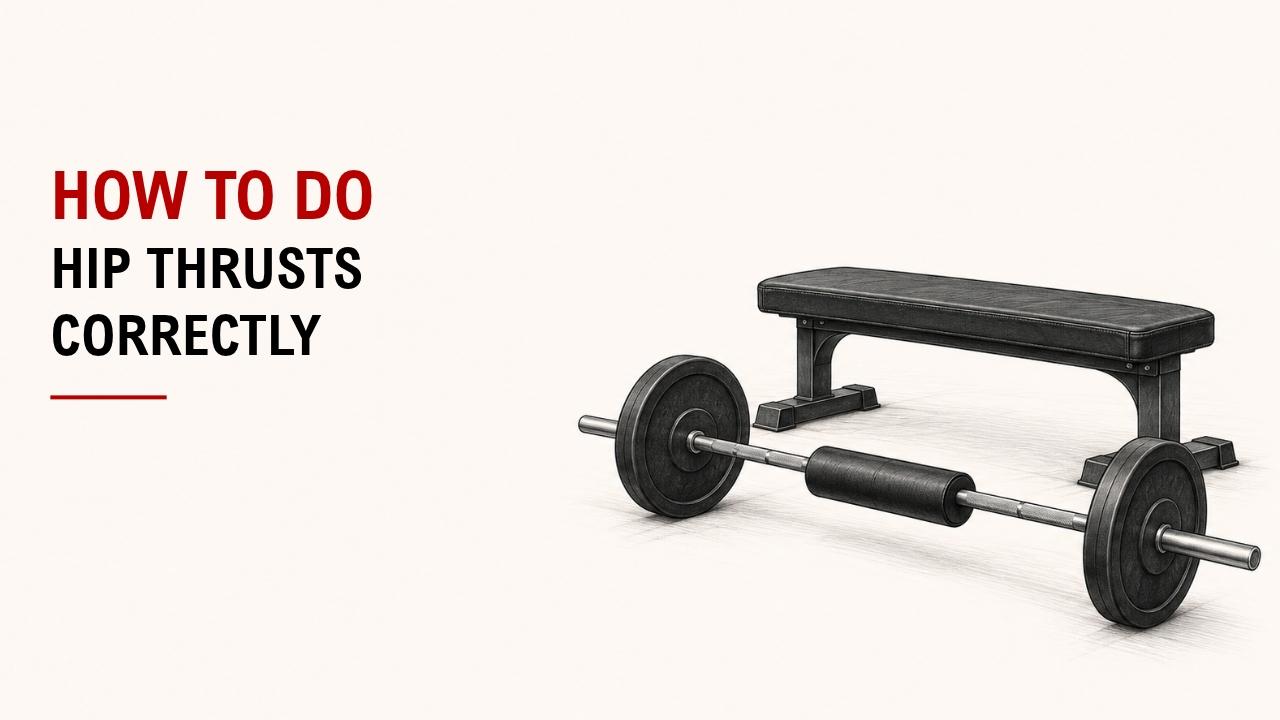

Are you doing hip thrusts but feeling them more in your lower back or hamstrings than your glutes? Small setup mistakes can change where the tension goes.
The simple answer is: set up securely, brace your core, drive through your feet, squeeze your glutes at the top, and lower slowly. You do not need to make the movement complicated.
As an Exercise Physiology & Biomechanics Expert at YR Fitness, I focus on how body position affects muscle loading during strength exercises. I often see that a small change in foot position or hip control can make the exercise feel much better.
Below, I’ll walk you through the movement step by step. Follow these seven points and you’ll have a much cleaner hip thrust.
1. Set Up the Bench
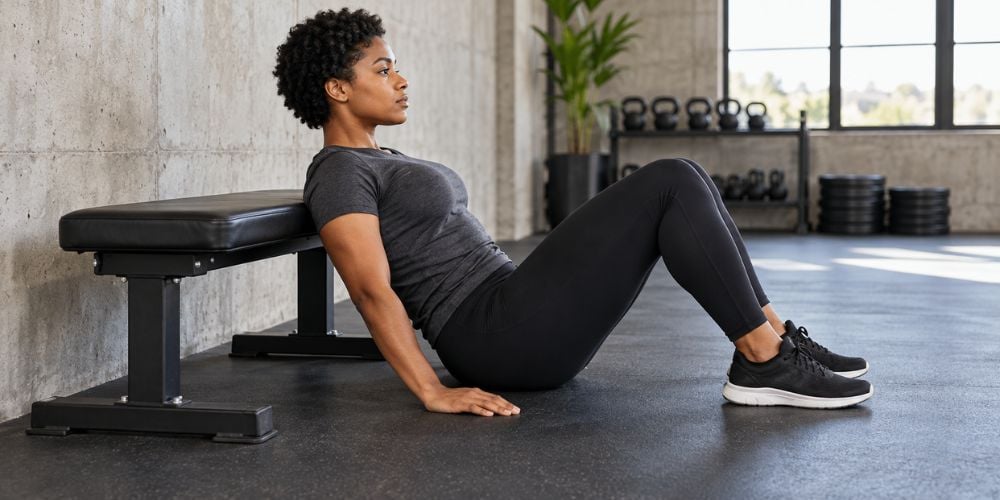
Sit on the floor with your back against a stable bench.
Place the lower part of your shoulder blades near the edge. Your upper back should act as the pivot point while your hips move up and down.
Make sure the bench cannot slide backward. I always recommend getting this right before adding weight.
Setup Check | What You Want |
Bench | Stable and unable to slide |
Upper back | Lower shoulder blades near the edge |
Hips | Free to move up and down |
Body position | Comfortable before adding weight |
Why does this matter? A shaky bench makes it much harder to keep every repetition consistent.
2. Position Your Feet
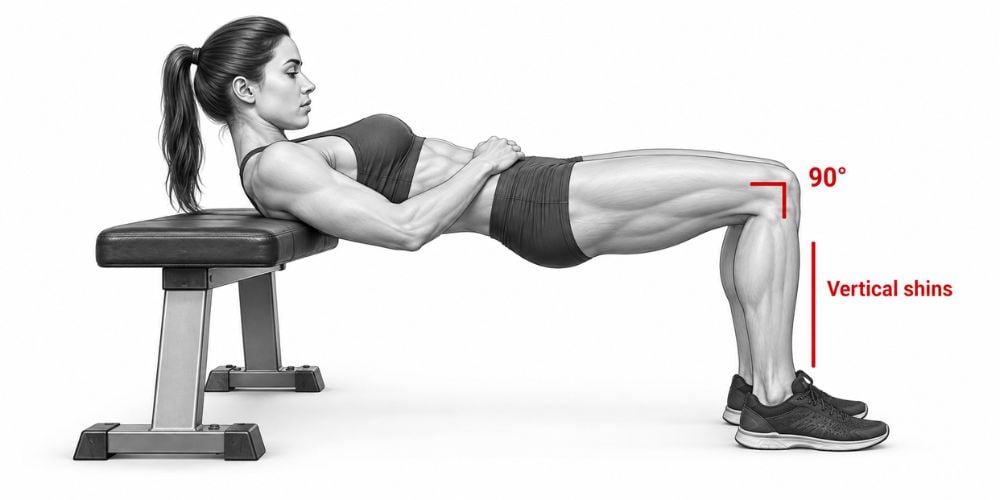
Place your feet about shoulder-width apart and keep them flat on the floor.
At the top of the movement, your knees should be close to a 90-degree angle. Your shins should be roughly vertical.
If your feet are too close, you may feel more tension around your knees and quadriceps. Move them too far away, and your hamstrings may start doing more of the work.
Not feeling your glutes? Move your feet slightly forward or backward until the position feels stronger and more natural.
3. Position the Weight
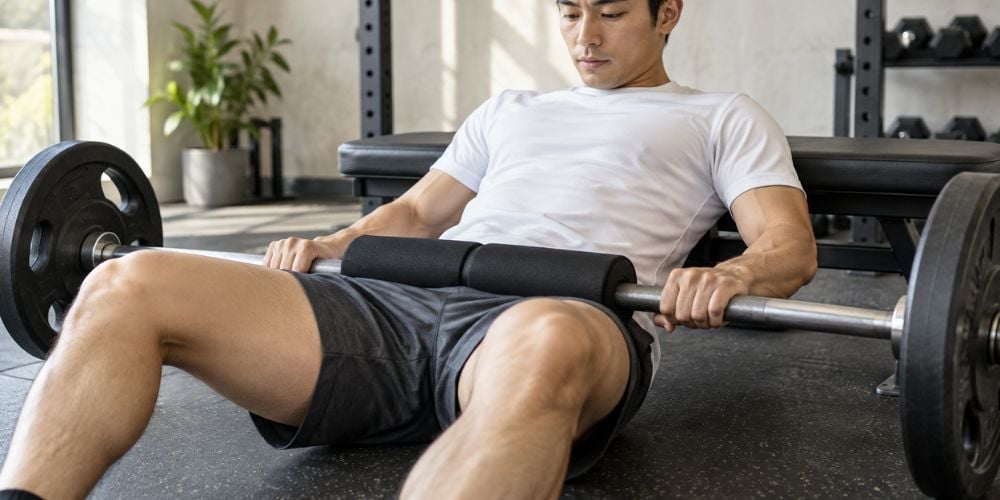
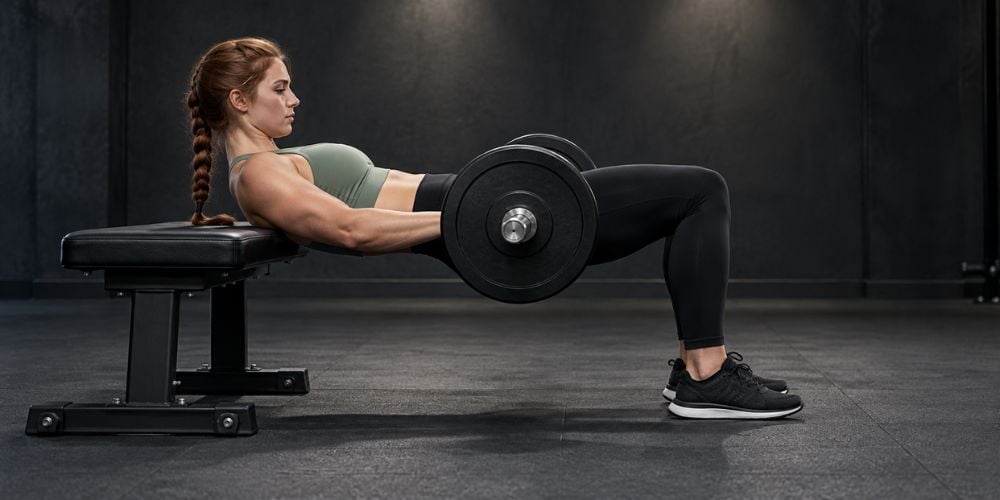
Place the barbell across the crease of your hips.
Use a bar pad or folded mat if the pressure feels uncomfortable. Keep the bar centered so the load stays even.
Start lighter than you think you need. I would rather see ten controlled reps than a heavier set where your form changes halfway through.
What You Notice | Simple Adjustment |
Bar hurts your hips | Add a bar pad or folded mat |
Weight shifts sideways | Re-center the bar |
Form breaks down | Reduce the load |
Movement feels unstable | Check the bench and foot position again |
Research comparing hip thrusts with other compound exercises has found particularly high gluteus maximus activation during the movement. You can see the findings in this hip thrust and deadlift EMG comparison.
Prefer a more guided setup than a bench and barbell? At YR Fitness, we design commercial strength equipment around stable positioning and controlled movement paths, which can make glute-focused training easier to set up and repeat. Explore our strength equipment at yanrefitness.com.
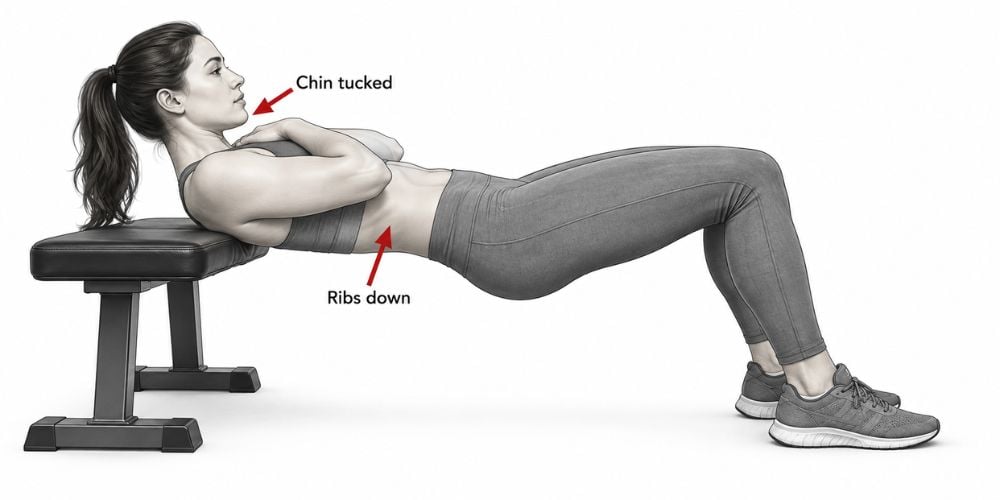
4. Brace Your Core
Tighten your abdominal muscles before you lift.
Keep your ribs down and your chin slightly tucked. Avoid throwing your head backward or arching your lower back.
A simple cue I often use is:
“Ribs down, core tight, then drive.”
Here is why this matters: you want your hips to create movement, not your lower back.
5. Drive Your Hips Up
Push through your whole foot and raise your hips toward the ceiling.
Keep your knees moving in the same direction as your toes. Do not let them collapse inward.
Your upper back should stay supported by the bench while your hips rise.
Should you lift as high as possible? No. Lift until your hips reach full extension without forcing extra movement through your lower back.
6. Squeeze Your Glutes at the Top
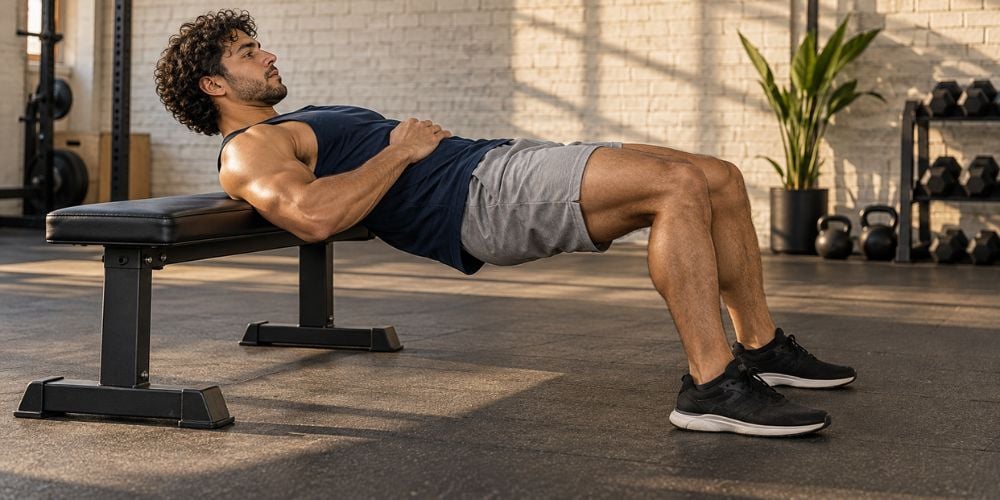
At the top, your shoulders, hips, and knees should form a relatively straight line.
Squeeze your glutes firmly for a moment. Research in trained females found that muscle activity during the hip thrust was highest around the top portion of the movement.
Do not keep pushing your hips higher once they are fully extended. Going too far usually causes your lower back to the arch.
Feeling it in your lower back? Reduce weight, keep your ribs down, and focus on the glute squeeze.
7. Lower Slowly
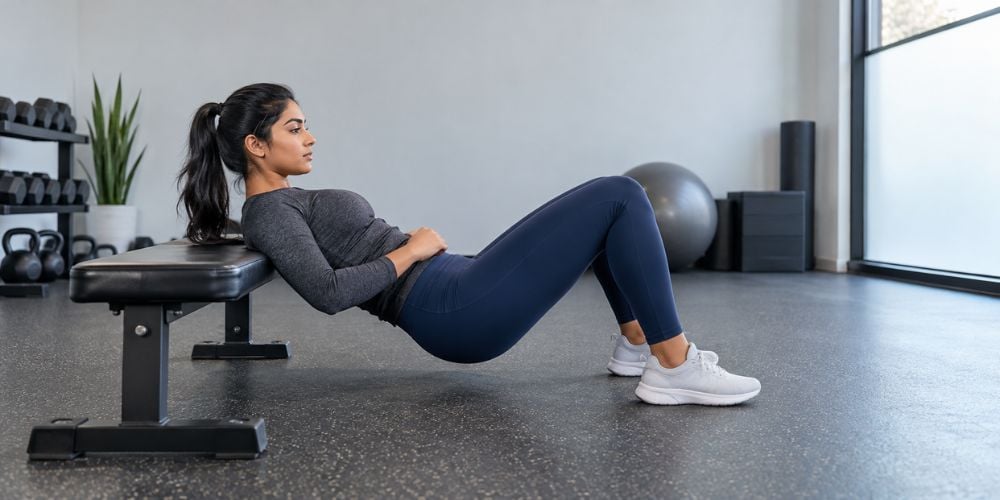
Lower your hips under control instead of dropping weight.
Keep your core engaged and maintain tension through your glutes. Once you reach the bottom, drive upward again.
Smooth repetitions are more useful than rushing through exercise. Use a manageable load and try to make each rep look the same.
Quick Hip Thrust Checklist
Before your next set, check these points:
- Bench: stable
- Feet: about shoulder-width apart
- Knees: close to 90 degrees at the top
- Core: tight
- Drive: through the whole foot
- Knees: stay in line with your toes
- Top position: squeeze your glutes
- Lower back: do not overarch
- Descent: slow and controlled
Conclusion
A good hip thrust is simple: set up well, brace your core, drive your hips up, squeeze your glutes, and lower with control. Focus on clean repetitions before adding more weight.
If you want a more stable, equipment-based way to train the same movement pattern, explore the glute and strength-training options from YR Fitness at yanrefitness.com. Choose equipment that lets you stay comfortable, controlled, and consistent with every rep.
Related articles:



