








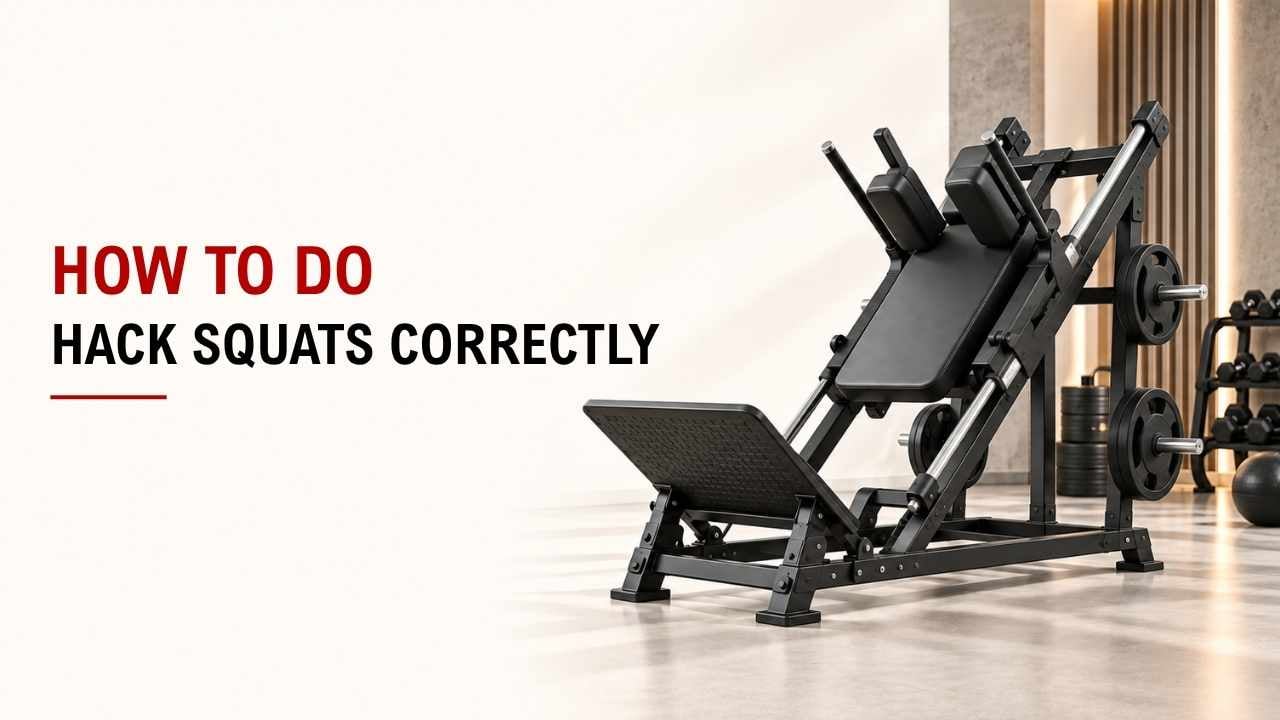
Have you ever stepped onto a hack squat machine and wondered where your feet should go? Or maybe you are not sure how deep you should squat.
The quick answer is simple: keep your back against the pad, plant your feet firmly, lower yourself under control, and push back up smoothly. Start light until you can repeat the movement with steady form.
As the founder and chief designer of YR Fitness, I have spent decades working with strength-machine movement and design. In my experience, good positioning matters much more than simply adding more plates.
Below, I will take you through the hack squat in six simple steps. Follow them in order, and you can use them during your next leg workout.
Hack Squat Form at a Glance
Before we go step by step, here is the whole movement in one table.
Step | What to Do | Quick Check |
Setup | Back and hips against the pad | Body feels supported |
Feet | About shoulder-width apart | Heels stay down |
Lower | Bend knees and hips slowly | Stay against the pad |
Bottom | Use a comfortable depth | Do not force extra depth |
Push | Drive through your feet | Knees follow toes |
Finish | Secure the safety stops | Sled is fully supported |
1. Set Up the Hack Squat Machine
Start with a weight you can control comfortably. If the machine is new to you, make your first set lighter.
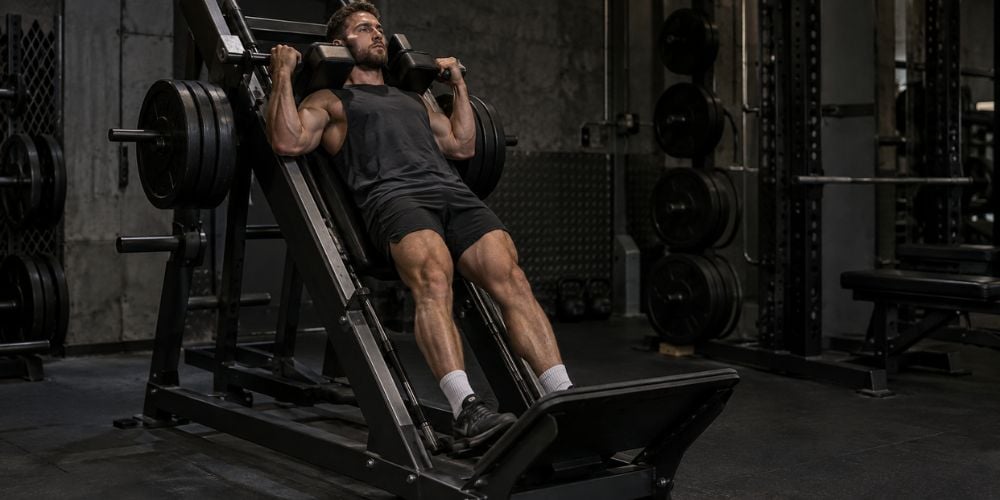
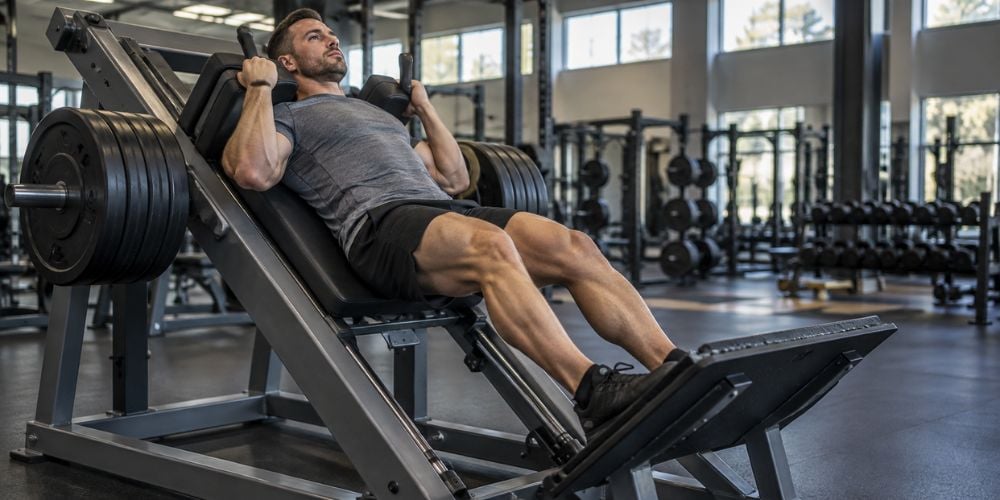
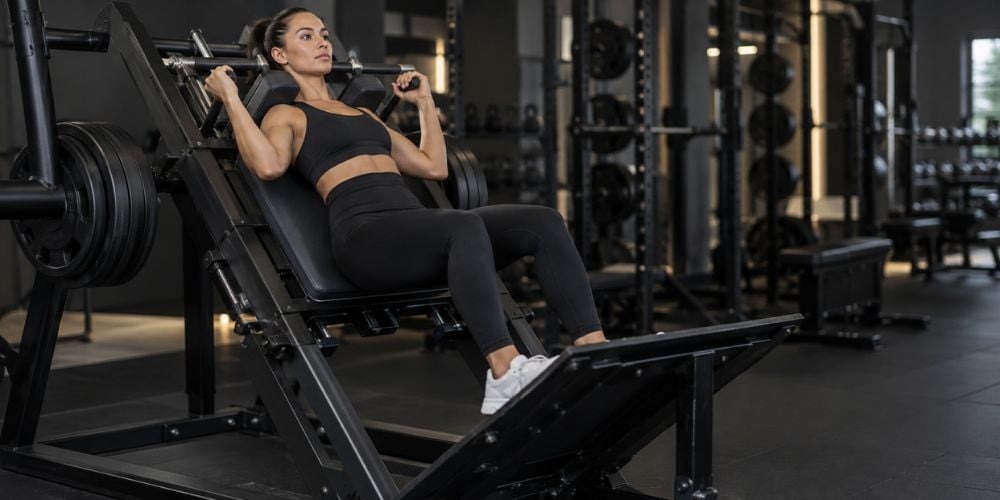
Step onto the platform and place your shoulders firmly under the pads. Keep your back and hips against the backrest.
Then:
- Grip the handles.
- Keep your head in a neutral position.
- Straighten your legs enough to support the sled.
- Release the safety handles or stops.
Different hack squat machines use different safety mechanisms. Check the instructions on the machine before releasing the sled.
Not sure how heavy it is to start? Go lighter.
That gives you room to learn the movement without fighting the weight. Mayo Clinic’s weight-training guidance also recommends starting with a manageable load and reducing the weight when you cannot maintain proper form.
I like to use the first light set as a test. It quickly tells you whether your feet, depth, and shoulder position feel right.
2. Place Your Feet on the Platform
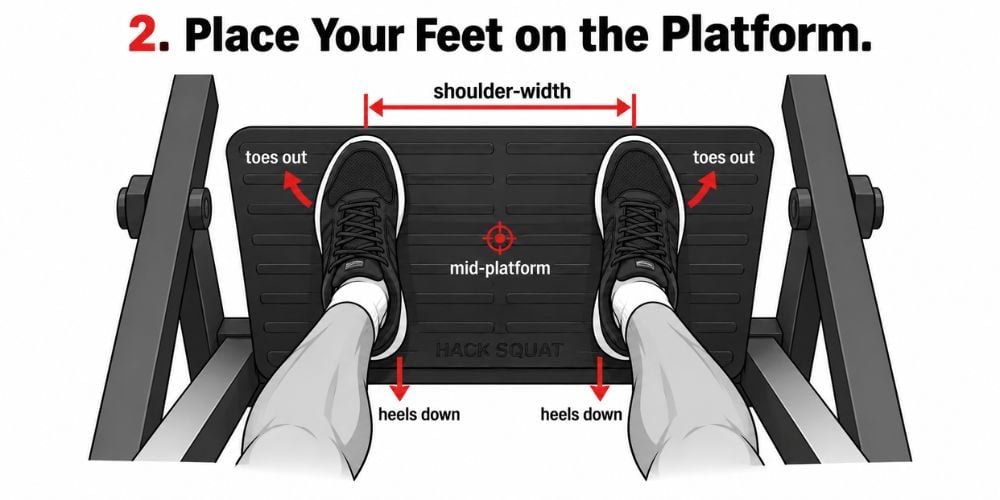
Start with a simple foot position:
- Feet about shoulder-width apart
- Feet around the middle of the platform
- Toes turned slightly outward
- Heels firmly against the platform
As you squat, your knees should move in roughly the same direction as your toes.
Do you need one exact foot position? No.
Your leg length, ankle mobility, and the design of the machine can change what feels comfortable. Move your feet slightly higher or lower if needed.
The important part is staying stable.
Quick check: If your heels lift or your knees collapse inward, adjust your feet before adding more weight.
For another example of machine-based lower-body positioning, the NASM leg press exercise guide also emphasizes keeping the back supported and placing the feet securely on the platform.
3. Lower Your Body Under Control
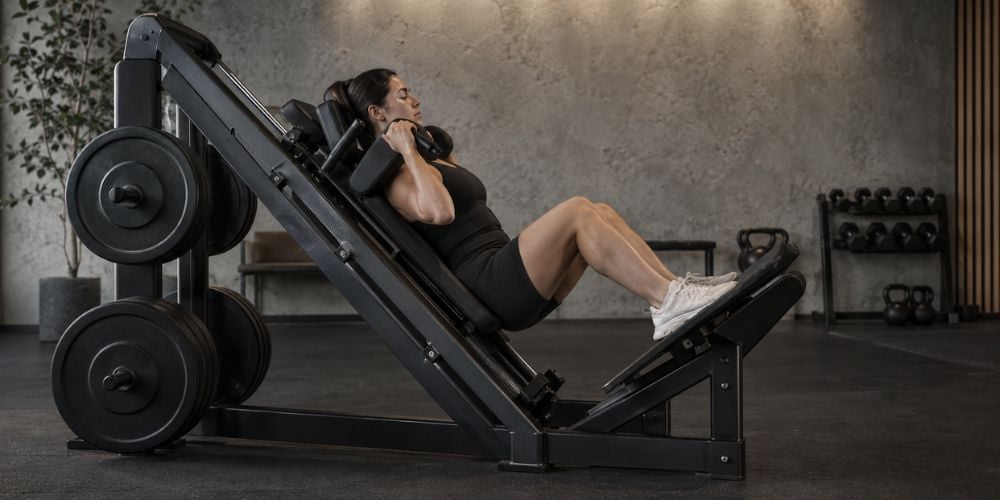
Now bend your knees and hips to lower the sled.
Keep your back and hips against the pad throughout the movement. Do not let the weight pull you quickly toward the bottom.
Focus on three things:
- Keep your whole foot planted.
- Let your knees track with your toes.
- Lower the weight slowly and smoothly.
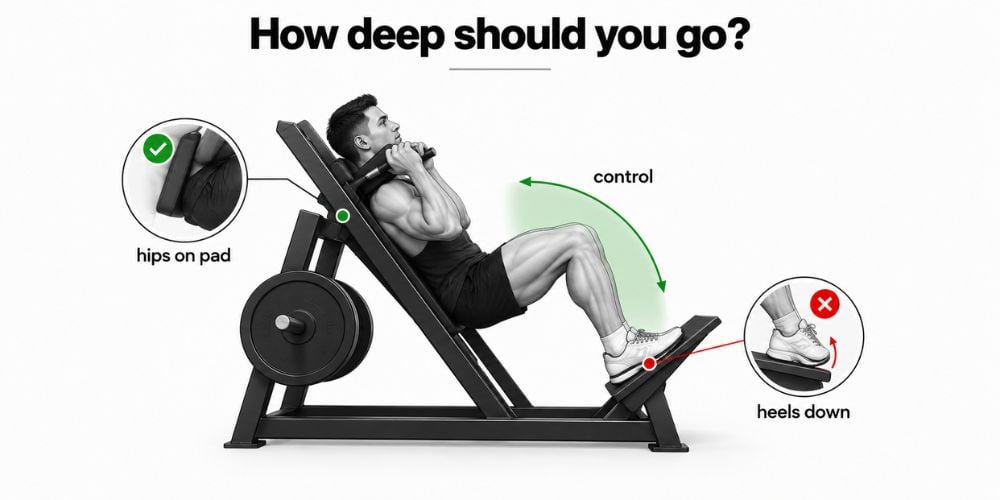
How deep should you go?
Go as deep as you comfortably can while keeping control. Stop if your heels lift, your hips come away from the pad, or your position starts to break down.
I often see people chase depth because they think deeper automatically means better. A controlled range of motion that fits your body is more useful than forcing yourself lower.
Want to see how the machine itself can affect the movement? At YR Fitness, we design 45-degree hack squat equipment with a guided lower-body movement path, so you can compare how machine angle, platform position, and resistance setup shape the exercise.
4. Push Back Up
Once you reach your comfortable bottom position, push through your feet.
Extend your knees and hips together while keeping your body against the back pad.
Keep your:
- Back against the pad
- Heels down
- Knees aligned with your toes
- Movement smooth and controlled
Return to the starting position without snapping your knees into a hard lockout.
A useful cue is:
“Down slowly, push smoothly.”
Why slow down? Moving the weight under control helps you avoid relying on momentum, which is also part of Mayo Clinic’s guidance on proper weight-training technique.
If the sled still feels unstable with a light load, stop. Check your feet, shoulder position, and safety setup before continuing.
5. Repeat With Controlled Reps
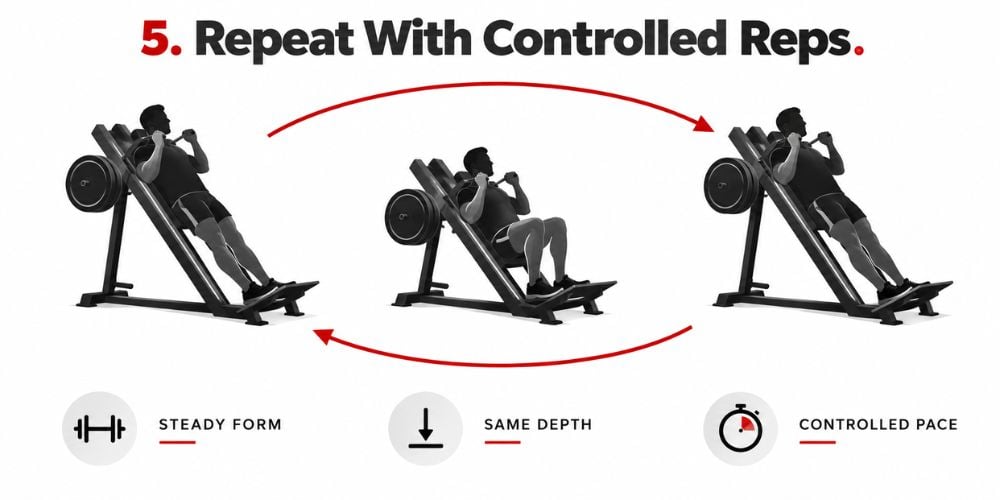
Once the movement feels comfortable, repeat it without changing your position.
Here are simple starting ranges:
Experience | Sets | Reps |
Beginner | 2–3 | 10–15 |
Intermediate | 3–4 | 8–12 |
Strength-focused | 3–5 | 5–8 |
These are starting points, not strict rules. Your training goal and experience should guide the final load and rep range.
The American College of Sports Medicine resistance-training guidance, for example, uses an 8–12 repetition-maximum range for novice lifters and wider loading ranges as training experience increases.
How do you know the weight is too heavy?
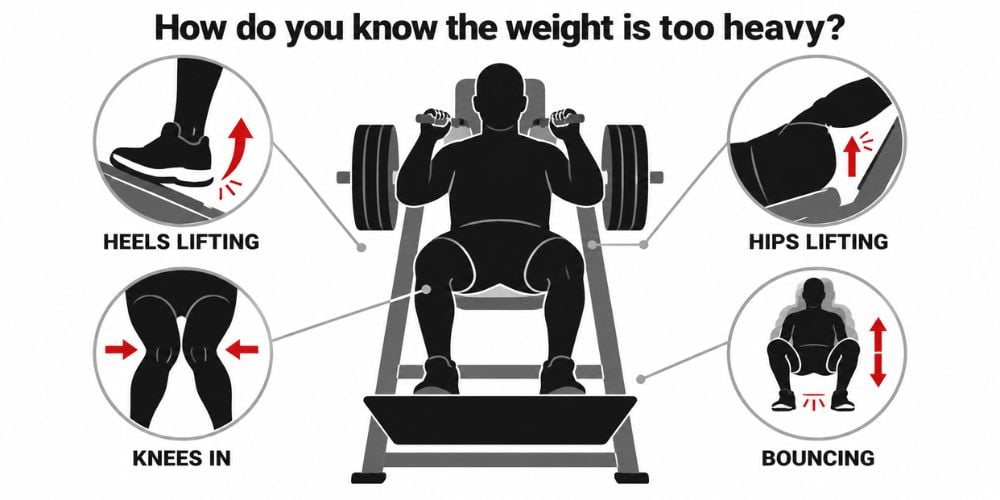
Watch your form. Reduce the load if you start:
- Bouncing out of the bottom
- Lifting your heels
- Shortening your range suddenly
- Letting your knees collapse inward
- Pulling your hips away from the pad
Your last few reps can feel difficult. They should not look completely different from your first few reps.
6. Re-Rack the Machine Safely
Your set is not finished until the sled is secure.
After your final rep, return to the top while keeping your feet planted. Engage the machine’s safety handles or locking mechanism.
Before stepping out:
- Confirm that the safety stops are engaged.
- Make sure the sled is fully supported.
- Keep your hands on the handles until it is secure.
- Step off only after the machine is locked.
Can you just turn the handles and step out? Not quite.
Give the sled a quick check first. Safety systems differ between machines, so make sure yours has actually engaged before relaxing.
Conclusion
Doing hack squats correctly is fairly simple once your setup is right. Keep your body against the pad, plant your feet, lower under control, push up smoothly, and secure the sled when you finish.
Start light and focus on making each rep look similar. Add resistance gradually once you can keep the same foot position, depth, and control.
If you want to explore a hack squat built around a stable, guided movement, at YR Fitness, we can help you compare lower-body equipment and find a setup that suits the way you want to train.
Related articles:



