


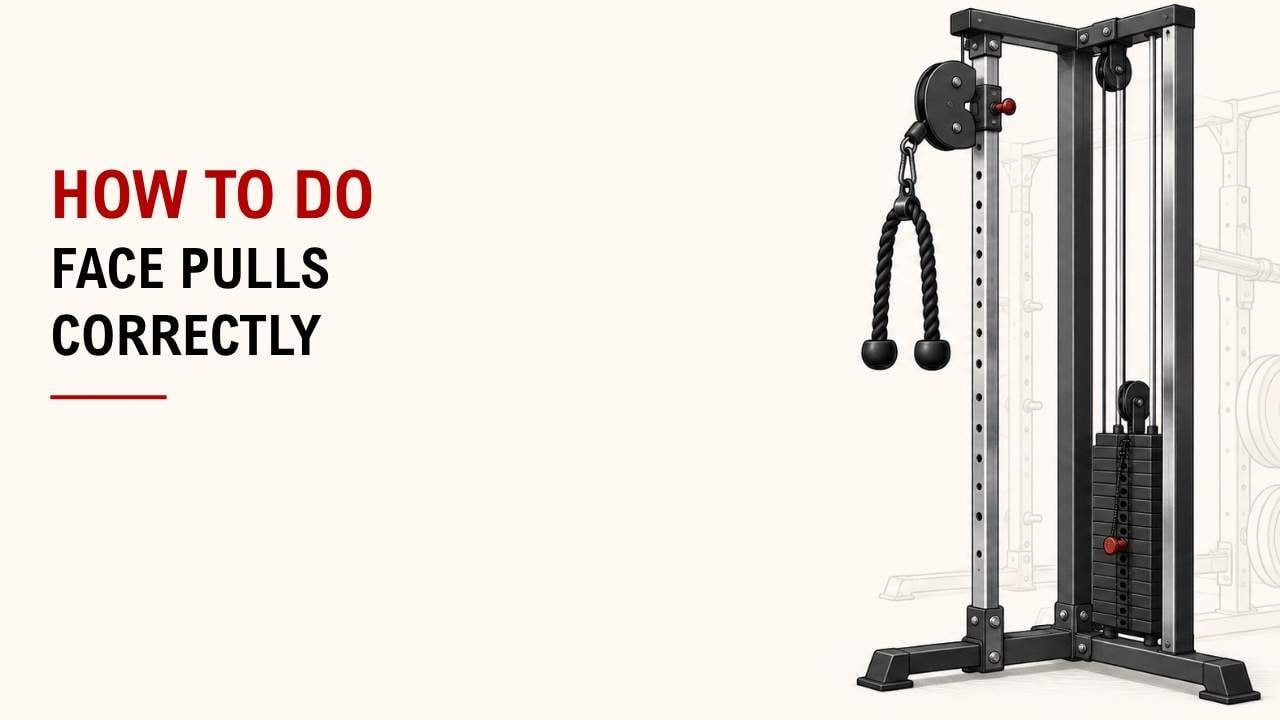

Are your face pulls turning into a heavy cable row instead of a shoulder-focused exercise? Small changes in cable height, elbow position, and pulling direction can make a big difference.
The quick answer is: set the cable around face height, pull the rope toward your face, separate the rope ends, and return slowly. Use a weight you can control without leaning backward or shrugging.
As an Exercise Physiology & Biomechanics Expert at YR Fitness, I pay close attention to how resistance direction and joint position affect each exercise. I often see face pulls improve immediately when people lower the weight and focus more on shoulder control.
Below, I’ll show you the correct setup and movement in six simple steps. Follow them in order, and you can make every rep cleaner and easier to control.
1. Set the Cable at Face Height
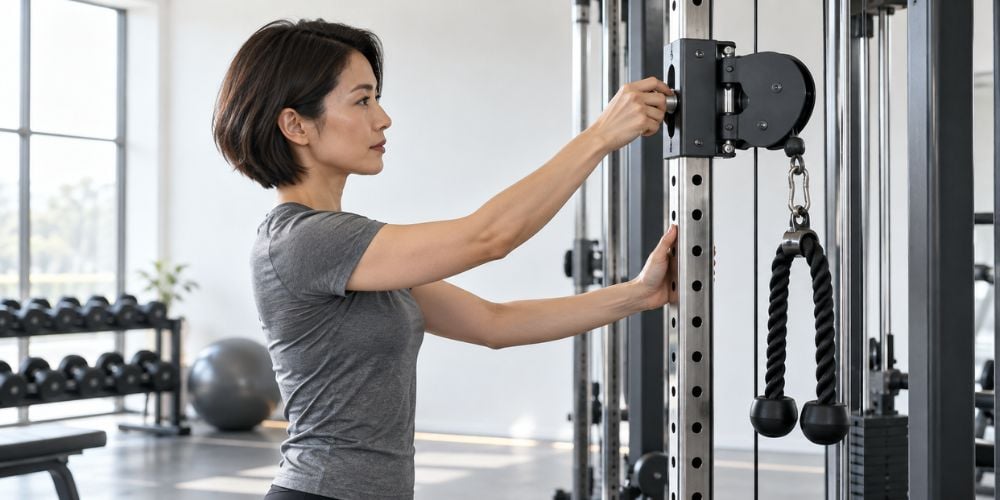
Attach a rope handle to an adjustable cable machine.
Set the pulley around eye or forehead height. This keeps the cable traveling toward your face instead of pulling your arms downward.
Choose a light to moderate weight. Face pulls work better when you can control the movement instead of fighting a heavy weight stack.
Not sure if your setup is right? The NASM face pull guide also recommends positioning the cable around eye height and creating tension before starting the pull.
I usually suggest starting lighter than you expect. You can always add resistance once the movement feels natural.
2. Grip the Rope Correctly
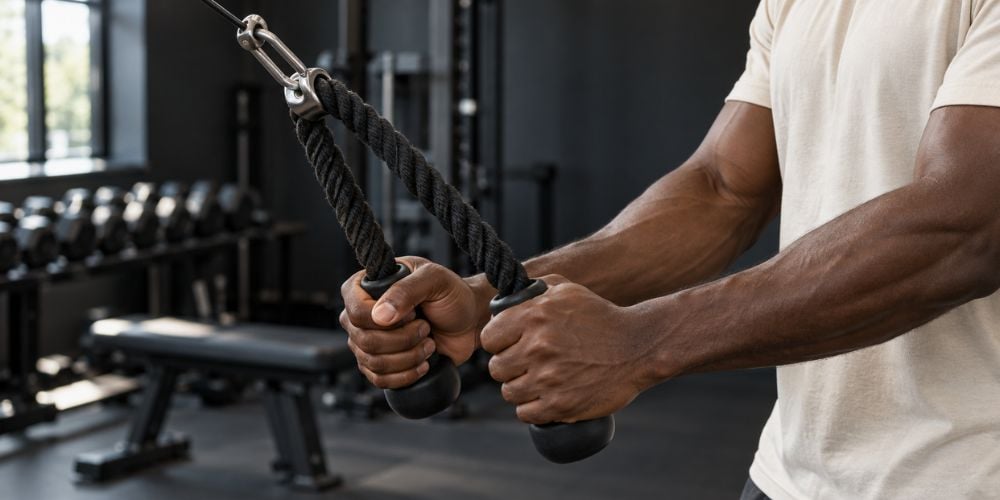
Hold one end of the rope in each hand.
Use a comfortable neutral grip, with your palms facing each other or slightly inward.
Step backward until:
- Your arms are extended
- The cable has tension
- The weight stack is slightly lifted
You do not need to crush the rope with your hands. Grip it firmly enough to stay in control.
Should you grip above or below the rope ends?
Either can work. Choose the position that keeps your wrists and shoulders comfortable throughout the movement.
3. Get Into the Starting Position
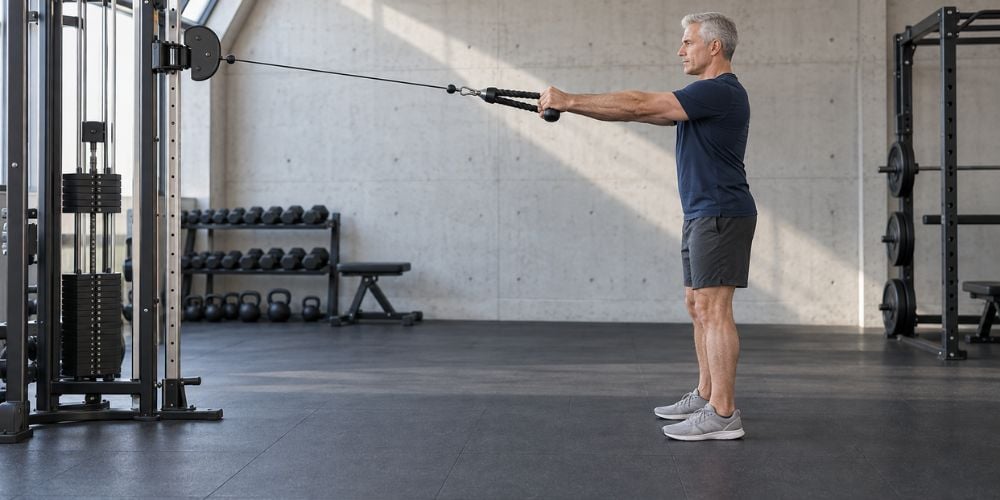
Stand with your feet about shoulder-width apart.
Keep your knees slightly bent, chest upright, core lightly braced, shoulders down, and arms extended forward.
Here is a quick setup check:
Check | What to Do |
Feet | About shoulder-width apart |
Knees | Slightly bent |
Chest | Upright |
Core | Lightly braced |
Shoulders | Down, not shrugged |
Arms | Extended with cable tension |
Avoid leaning far backward.
I often see people use too much weight and turn the exercise into a full-body pull. If you need a strong backward lean just to move the rope, reduce the resistance.
Smooth cable movement can make controlled exercises like face pulls easier to perform consistently. At YR Fitness, we design our commercial cable equipment with stable frames, adjustable setups, and smooth resistance paths for repeated strength training. If you want to see how different cable systems are built, browse our equipment range and compare the available setups.
4. Pull the Rope Toward Your Face
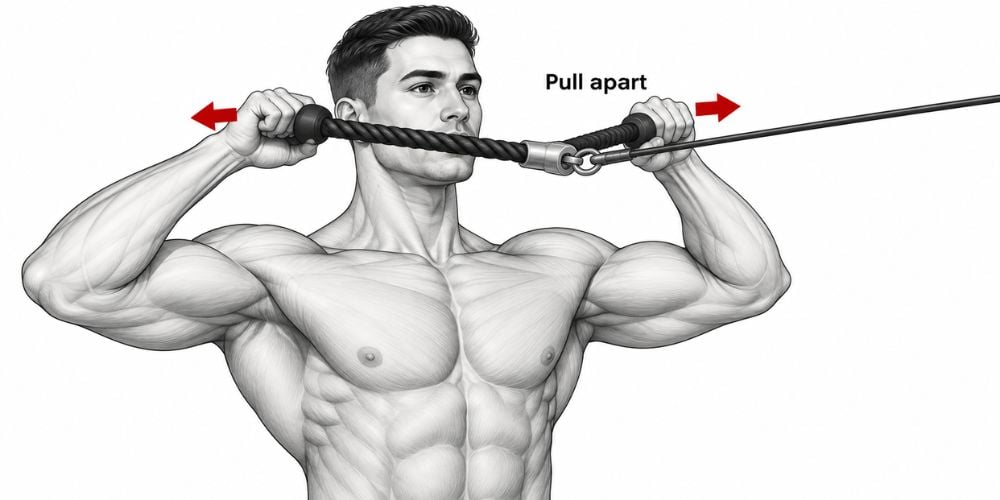
Now pull the rope toward your forehead or upper face.
As you pull:
- Move your elbows outward and backward.
- Separate the ends of the rope.
- Keep your shoulders away from your ears.
- Squeeze through your rear shoulders and upper back.
Your hands should finish on either side of your face, not together in front of it.
Need one simple cue?
Think about pulling the rope apart, not just pulling it backward. This can make it easier to keep the movement focused on your rear delts and upper back.
5. Finish With Good Shoulder Position
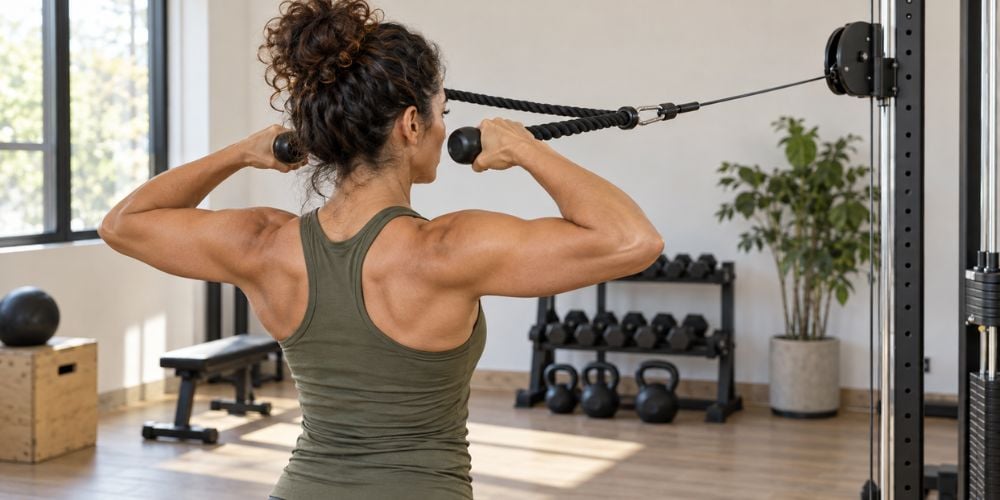
At the end of the pull, your hands should be beside your face and your elbows should point outward.
Pause briefly. You should feel tension around yourself:
- Rear delts
- Upper back
- Muscles around the shoulder blades
The AAOS shoulder conditioning program also highlights the posterior deltoid, infraspinatus, and other shoulder-supporting muscles in controlled shoulder-strengthening work.
Do not force your elbows as far backward as possible. Stop where your shoulders still feel comfortable and controlled.
Also, keep your head still. Do not push your face forward to meet the rope.
I think of the finish as a firm but comfortable squeeze. You do not need to exaggerate it.
Quick Form Check
If You Notice This | Try This Instead |
Shoulders shrugging | Keep them down and relaxed |
Body leaning backward | Reduce the weight |
Rope coming toward chest | Pull toward the face |
Hands staying together | Separate the rope ends |
Head moving forward | Keep your head still |
Jerky repetitions | Slow the movement down |
6. Return Slowly
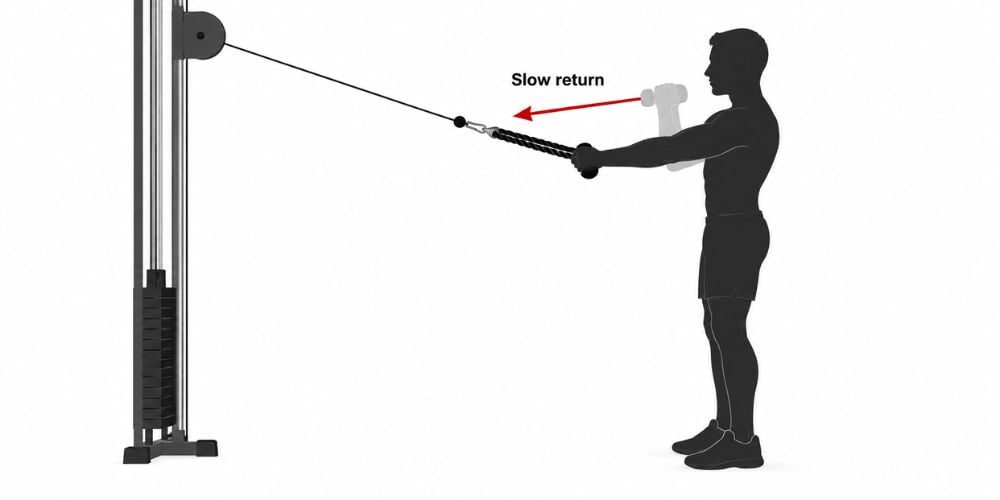
Extend your arms forward under control.
Do not let the weight stack suddenly pull your hands forward. Keep your torso still as your arms straighten.
Here is why this matters: a controlled return helps you maintain tension and keep your shoulder position steady throughout the rep.
For most fitness lovers, 2–3 sets of 10–15 controlled reps is a practical starting point. Increase the weight only when you can finish every rep without shrugging, leaning backward, or losing control.
Do you need to make face pulls complicated? No.
Current ACSM resistance-training guidance emphasizes consistent resistance training and adjusting the load and volume to the individual rather than chasing unnecessarily complicated methods.
Conclusion
Face pulls are simple once you get the setup right. Set the cable around face height, stay stable, pull toward your face, separate your hands, and return slowly.
Focus on control before adding weight. You should mainly feel the movement through your rear shoulders and upper back, not like a heavy rowing exercise.
If cable exercises are a regular part of your training, YR Fitness offers cable and strength equipment designed around stable resistance and practical movement paths.
Related articles:



