



Want to train your biceps with a cable machine, but not sure if your form is right? Small mistakes can quickly move tension away from your biceps.
The simple answer is: set the pulley low, keep your elbows beside your body, curl toward your shoulders, squeeze your biceps, and lower slowly. Use a weight you can control without swinging.
As an Exercise Physiology & Biomechanics Expert at YR Fitness, I pay close attention to how joint position and resistance affect muscle tension. I often see cable curls improve immediately when people use less weight and keep their upper arms still.
Below, I’ll show you the correct setup and movement in seven simple steps. Follow them in order, and you can make every rep cleaner and easier to control.
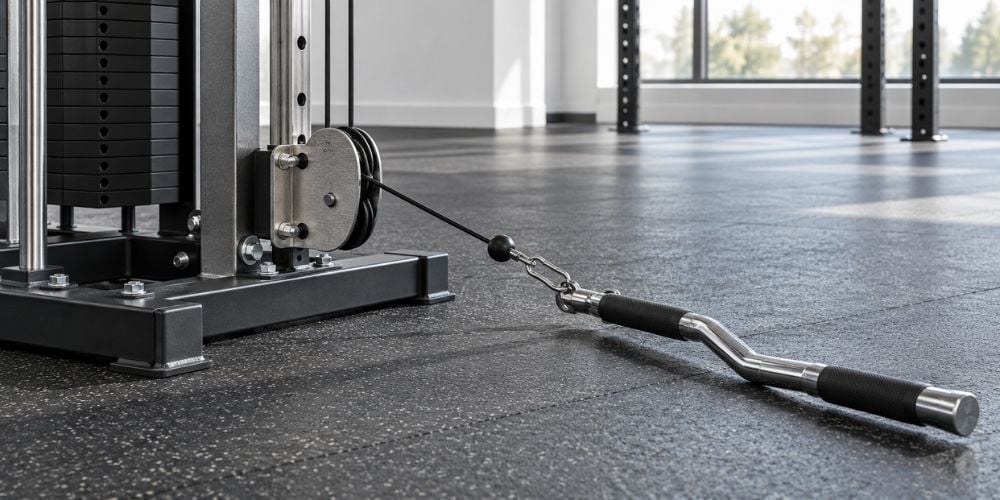
1. Set the Cable Pulley to the Lowest Position
Move the cable pulley to its lowest setting.
You can use a:
- Straight bar
- EZ-style bar
- Rope attachment
- Single handle
For a standard two-arm cable curl, a straight or EZ-style bar works well.
Choose a weight you can control through the full movement. It should challenge your biceps without forcing you to swing your body.
Which attachment should you use?
There is no single attachment you must use.
Attachment | Best For | Simple Tip |
Straight bar | Standard two-arm curls | Keep both wrists comfortable |
EZ-style bar | More angled hand position | Useful if a straight bar feels awkward |
Rope | Neutral or rotating grip | Keep both sides moving evenly |
Single handle | One-arm curls | Train each arm separately |
How heavy should you start?
Go lighter than you think you need. I would rather see 12 controlled reps than six reps where the hips and shoulders do half the work.
Check that the cable moves smoothly before you begin.
2. Stand in the Correct Position
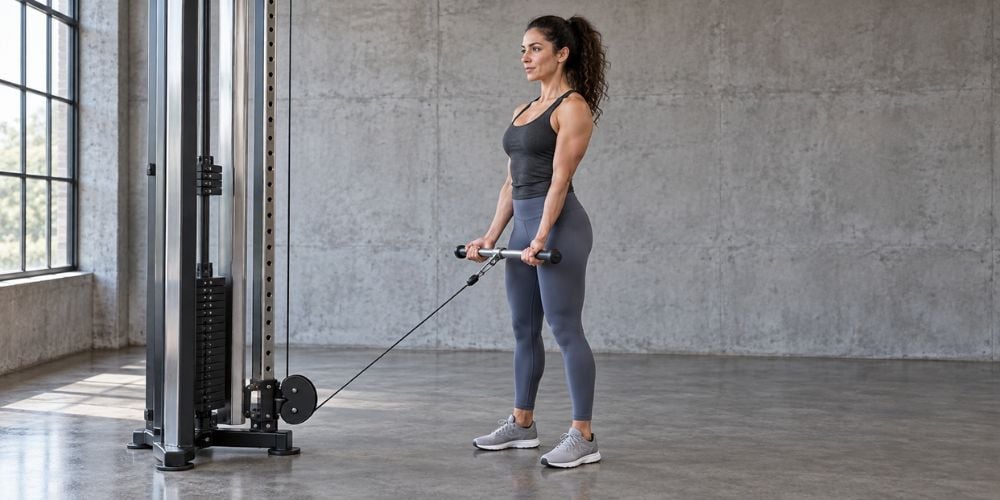
Face the cable machine and hold the attachment with both hands.
Set your body like this:
- Feet about shoulder-width apart
- Knees slightly bent
- Chest upright
- Back in a natural position
- Shoulders relaxed
Take a small step back if you need more cable tension at the starting position.
Let your arms hang naturally in front of your body. Avoid leaning far backward.
I normally check the torso first when watching someone curl. If the body rocks backward every time the bar comes up, the weight is usually too heavy.
3. Keep Your Elbows Close to Your Sides
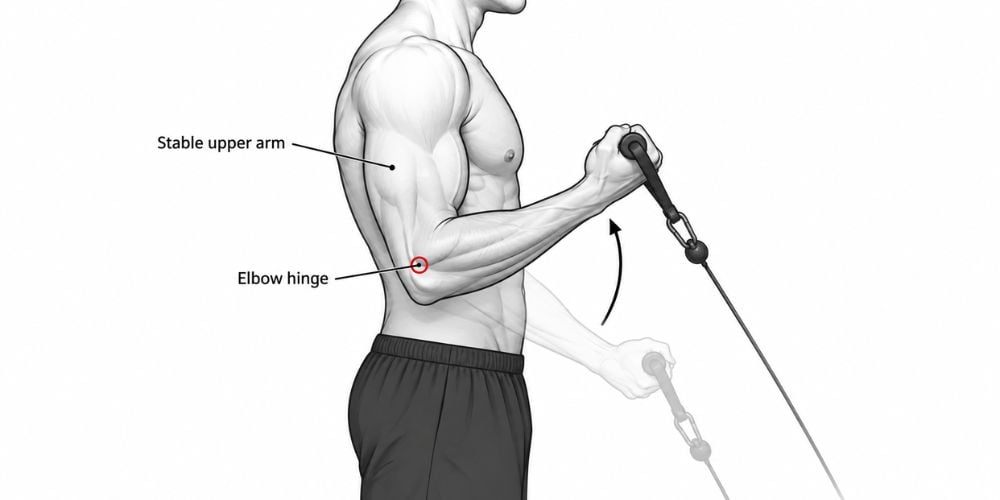
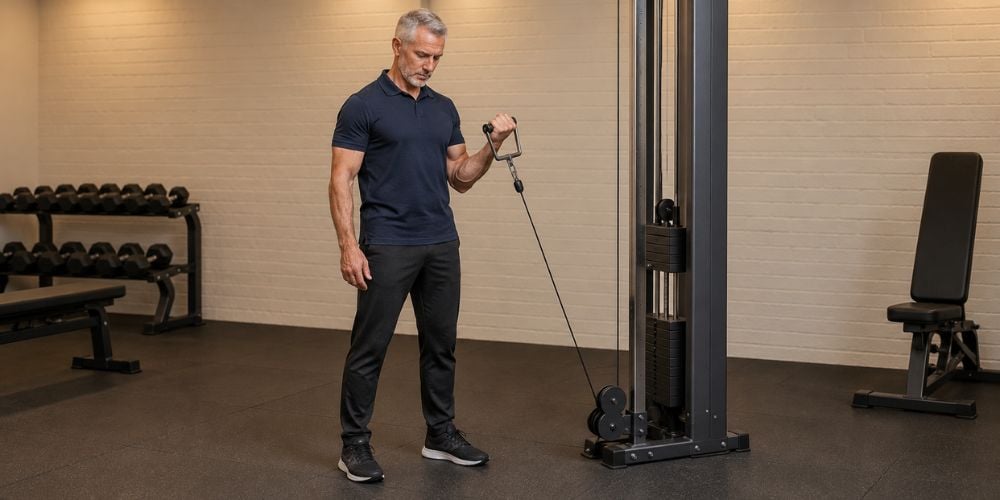
Keep your elbows close to your ribs.
Your forearms should do most of the movement while your upper arms stay relatively still. The American Council on Exercise also recommends keeping the elbow close to the side and avoiding unnecessary upper-arm movement during biceps curls.
Quick check: Are your elbows moving forward every rep?
If yes, reduce the weight and reset your position.
Little elbow movement is not automatically a problem. Large movements, however, can bring more shoulder movement into exercise.
Think of your elbows like hinges. Your forearms move while your upper arms stay stable.
4. Curl the Handle Toward Your Shoulders
Now bend your elbows and curl the attachment upward.
Bring the handle toward your shoulders while keeping your wrists comfortable and stable.
Avoid these common mistakes:
What You Notice | What to Do Instead |
Torso swinging backward | Reduce the weight |
Hips pushing forward | Keep your body stable |
Shoulders shrugging | Relax your shoulders |
Elbows moving far forward | Keep them closer to your sides |
Bar flying upward | Slow the curl down |
Should you curl as fast as possible?
No. Moving too fast often makes it easier to use momentum.
I often tell people to think about contracting the biceps, not simply getting the bar from the bottom to the top. That small change usually makes the movement much cleaner.
Smooth cable travel makes controlled curls easier to perform. If you want to compare commercial cable and strength equipment, we design our machines around stable structures, practical movement paths, and repeated daily use at YR Fitness.
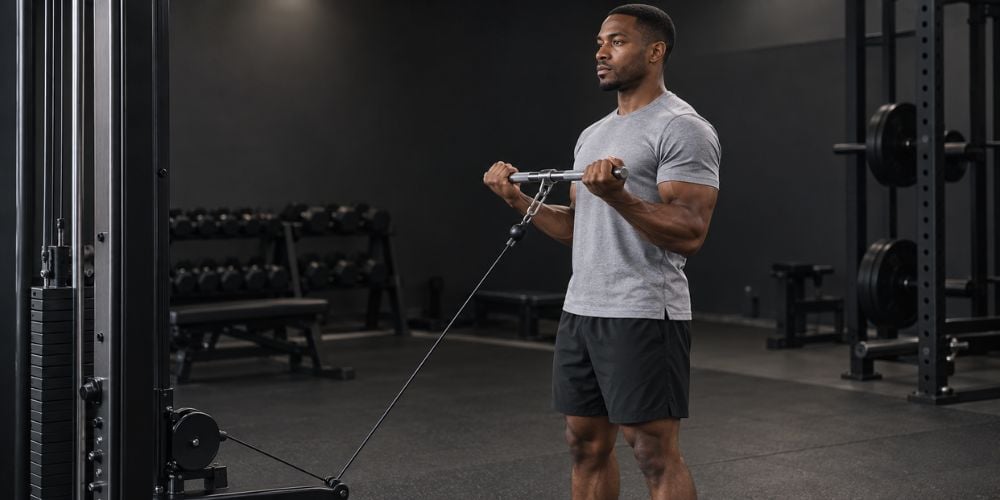
5. Squeeze Your Biceps at the Top
Pause briefly near the top.
Contract your biceps while keeping your elbows from moving far forward.
You do not need to bring the bar all the way to your chin. Aim for a strong elbow bend while keeping tension on the biceps.
Holding the top for around one second can also help you stay controlled.
If you mainly feel your shoulders or lower back, check your weight and body position.
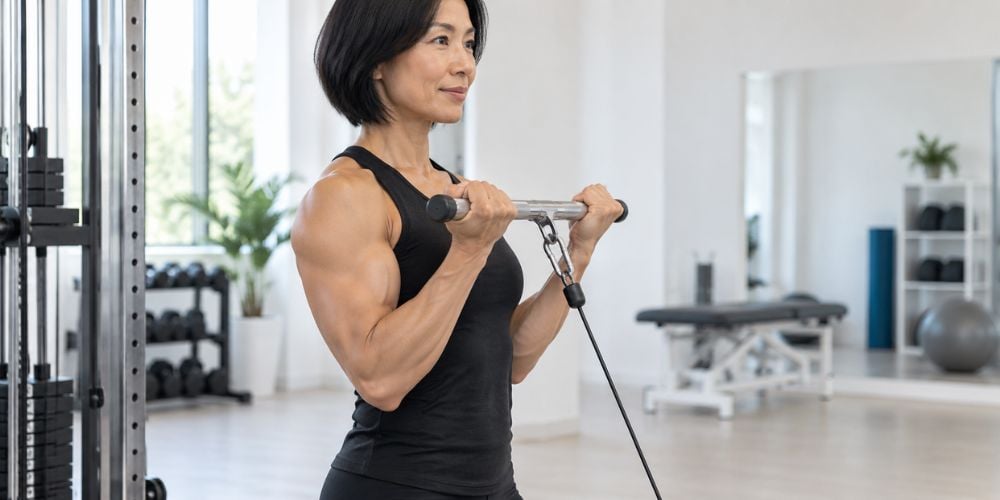
6. Lower Weight Slowly
Do not let the cable pull your arms straight down.
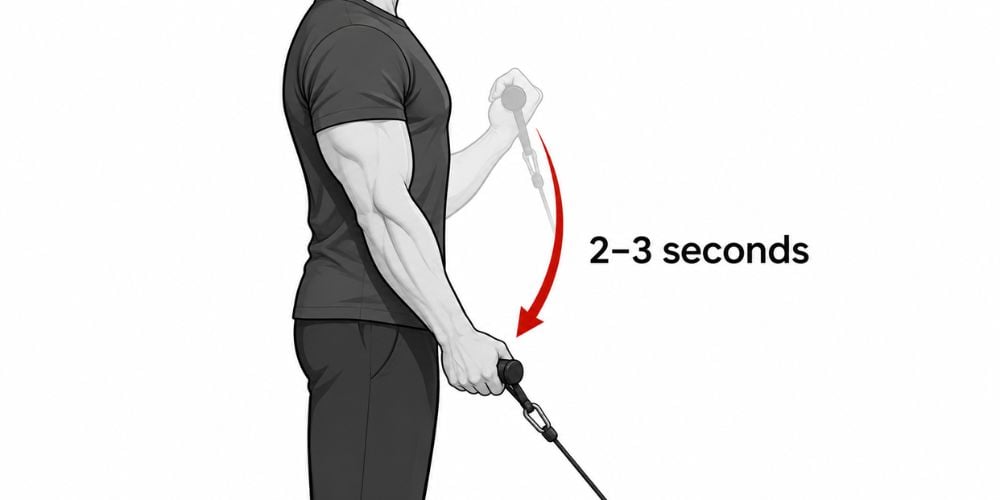
Lower the attachment under control until your elbows are almost fully extended.
Try taking about 2–3 seconds to lower the weight. This keeps the movement controlled and stops the weight stack from crashing.
Why does this matter?
The lower part is still part of the repetition. The American College of Sports Medicine recommends lifting and lowering resistance in a controlled manner, with its general resistance-training guidance giving roughly two seconds in each direction as a practical example.
This is one reason I like cable curls. You continue working against the cable as you return toward the starting position.
Then begin the next repetition without bouncing into it.
7. How Many Sets and Reps?
You do not need a complicated biceps program.
A simple starting range is:
Training Goal | Sets | Reps |
Beginner practice | 2–3 | 10–15 |
General muscle building | 3–4 | 8–15 |
Higher-rep biceps work | 2–4 | 12–20 |
Choose a resistance that lets you maintain good form through the final repetition.
The last few reps can feel difficult, but you should still control the cable. If your elbows start flying forward or your whole body starts swinging, stop the set or reduce the weight.
You can perform cable curls once or twice per week, depending on the rest of your training program. Remember that your biceps also work during rows, pulldowns, and pull-ups.
For general health, the CDC recommends muscle-strengthening activity on at least two days each week and suggests working all major muscle groups rather than focusing only on the arms.
Conclusion
Cable biceps curls are simple when you focus on clean movement. You do not need to chase heavier weight if it makes your form fall apart.
Master the movement first, then increase the resistance gradually.
If you also want to explore cable machines and other strength equipment, browse the commercial gym equipment from YR Fitness and compare the options that fit your training setup.
Related articles:



