








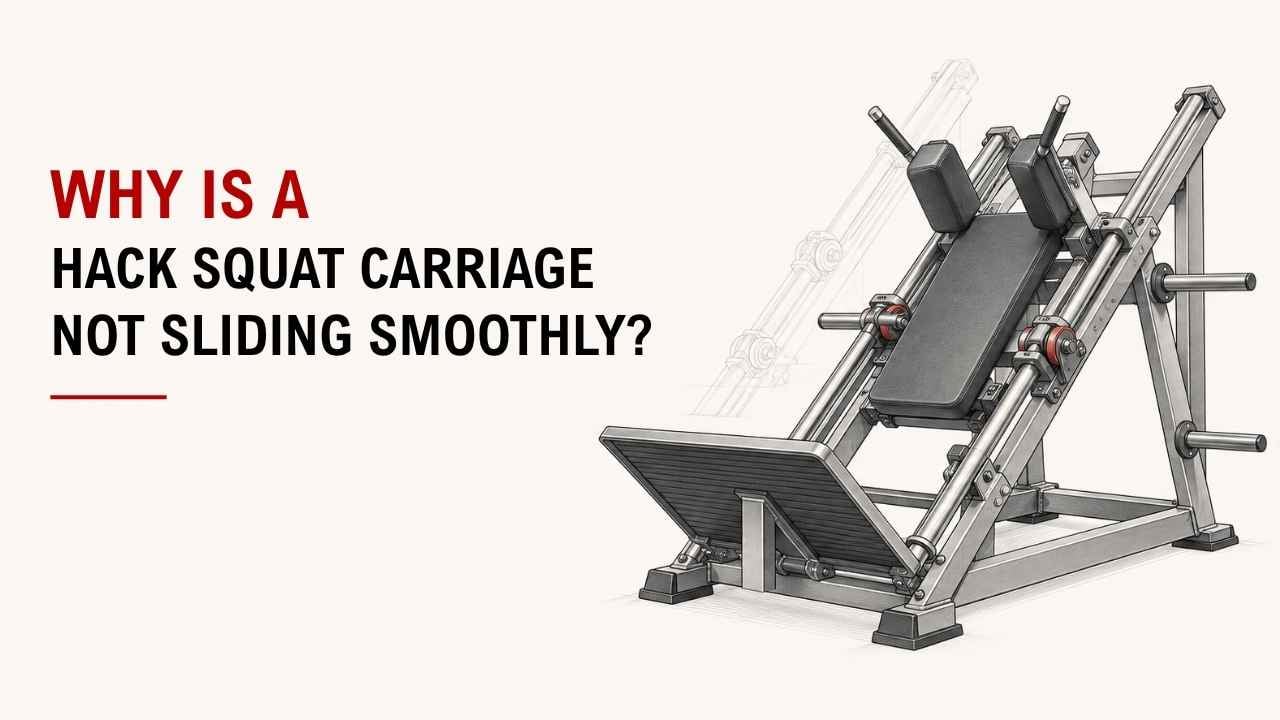

Not sure how to adjust a hack squat machine to your height? A poor setup can make your knees uncomfortable and your squats harder to control.
The fix is simple: adjust the shoulder pads, support your back, position your feet, set the safety stops, and check your squat depth. These small changes help you squat more comfortably and safely.
As an Ergonomics Engineer at YR Fitness, I focus on how gym machines fit different body sizes and support natural movement. I often see people struggle with hack squats simply because their starting position is wrong.
Below, I’ll walk you through six simple steps to adjust your hack squat machine. Follow them before adding weight so you can focus on your workout.
1. Adjust the Shoulder Pads
Start by checking how the shoulder pads fit your height. They should rest comfortably on your shoulders without forcing you to crouch or stretch.
Here’s what to do:
- Step onto the machine without adding weight.
- Place your shoulders beneath the pads.
- Adjust the starting carriage height if the machine allows it.
- Stand with your knees slightly bent and your back supported.
- Check that you can release the handles comfortably.
Quick Tip: Your shoulders should stay against the pads throughout the movement. If you need to stand on your toes to reach them, the starting position may be too high.
Not all hack squat machines have adjustable shoulder pads. Some use fixed pads with an adjustable starting carriage.
2. Position Your Back Against the Pad
Your back should stay supported throughout the squat. This helps keep your body stable while moving the weight.
Follow these steps:
- Place your upper back against the support.
- Keep your hips in contact with the back pad.
- Adjust the backrest if your machine has that feature.
- Keep your head and neck in a comfortable, neutral position.
Avoid lifting your hips off the pad when lowering the weight.
I often notice that beginners focus on their feet but forget about their back position. A small adjustment here can make the squat feel much more controlled.
According to the American Council on Exercise’s squat technique guide, maintaining a stable spine and controlled movement is important during squats. The same basic principles help when using a hack squat machine.
Quick Tip: You don’t need to force your lower back completely flat. Maintain a comfortable spinal position while keeping your body supported.
3. Adjust Your Foot Placement
Foot placement can change how comfortable the hack squat feels. Start with your feet about shoulder-width apart.
Here’s how to position them:
- Place both feet flat on the platform.
- Point your toes slightly outward.
- Move your feet higher or lower to find a comfortable position.
- Make sure your knees follow the same general direction as your toes.
Use this table as a quick guide:
Foot Position | What It Changes |
Higher on platform | May reduce forward knee travel and allow more hip movement |
Lower on platform | Usually increases knee bend and quadriceps emphasis |
Wider stance | Changes hip position and may feel more comfortable |
Shoulder-width stance | A good starting position for beginners |
Which foot position is best?
There isn’t one perfect position for everyone. Your height, leg length, and mobility all affect what feels comfortable.
The American Council on Exercise‘s squat stance guide explains why squat stance should be adjusted to individual body proportions and comfort.
I recommend starting near the middle of the platform and making small changes until your feet feel stable.
Quick Tip: If your heels lift during the squat, try moving your feet slightly higher or reducing your squat depth.
4. Set the Safety Stops
Before adding weight, check the machine’s safety stops. They help prevent the carriage from dropping beyond a safe position if you cannot complete a repetition.
Here’s what to do:
- Locate the safety stops or catch points.
- Check whether their height is adjustable.
- Set them to stop the carriage before you reach an unsafe depth.
- Make sure you can easily reach the release handles.
- Test the locking system with no added weight.
What if you can’t find safety stops?
Check the machine instructions or ask gym staff for help. Some machines have fixed safety positions, while others allow you to adjust them.
At YR Fitness, we design commercial strength equipment with a focus on stable frames, comfortable movement, and practical safety features. We know that a well-designed machine can make daily training easier, especially when different people use the same equipment.
Want to understand what makes a commercial strength machine comfortable and reliable? Explore our gym equipment collection to see how equipment design supports everyday workouts.
5. Check Your Squat Depth
You don’t need to squat as deeply as possible right away. Start with a range of motion you can control comfortably.
Follow these steps:
- Begin with no added weight.
- Slowly bend your knees to lower the carriage.
- Keep your heels flat on the platform.
- Maintain contact between your hips and the back pad.
- Stop before you lose control or feel pain.
- Push through your feet to return to the starting position.
How deep should you squat?
Aim to lower until your thighs are around parallel to the floor, if your mobility and machine design allow it. You can go deeper if you maintain control, comfortable joint positions, and contact with the pad.
I usually suggest finding a comfortable depth first instead of copying how low someone else squats.
Quick Tip: If your hips lift off the pad or your lower back rounds noticeably, reduce your depth and check your foot placement.
6. Test the Machine Before Adding Weight
Once you’ve adjusted everything, test the machine before loading it.
Perform 3–5 slow practice repetitions and check the following:
- Your shoulders fit comfortably beneath the pads.
- Your back stays supported throughout the movement.
- Your heels remain flat on the platform.
- Your knees track in the same general direction as your toes.
- The carriage moves smoothly without sticking.
- Safety catches work properly.
If everything feels comfortable, start with a light weight and gradually increase it.
Quick Tip: Never use a hack squat machine if the carriage sticks, the locking mechanism fails, or any part feels loose. Ask gym staff to inspect it first.
Quick Hack Squat Adjustment Checklist
Before your next set, use this table to check your setup.
Adjustment | What to Check |
Shoulder pads | Comfortable contact with your shoulders |
Back support | Upper back and hips stay supported |
Foot position | Feet flat and stable |
Safety stops | Properly positioned and working |
Squat depth | Comfortable and controlled |
Test repetitions | Smooth movement without pain |
Conclusion
Adjusting a hack squat machine doesn’t need to be complicated. Check the shoulder pads, back support, foot placement, safety stops, and squat depth before adding weight.
At YR Fitness, we focus on commercial strength equipment that supports comfortable, controlled training. Explore our equipment collection to learn more about the machines used in modern gyms.
Start light, make small adjustments, and focus on keeping every repetition controlled.
Related articles:



