


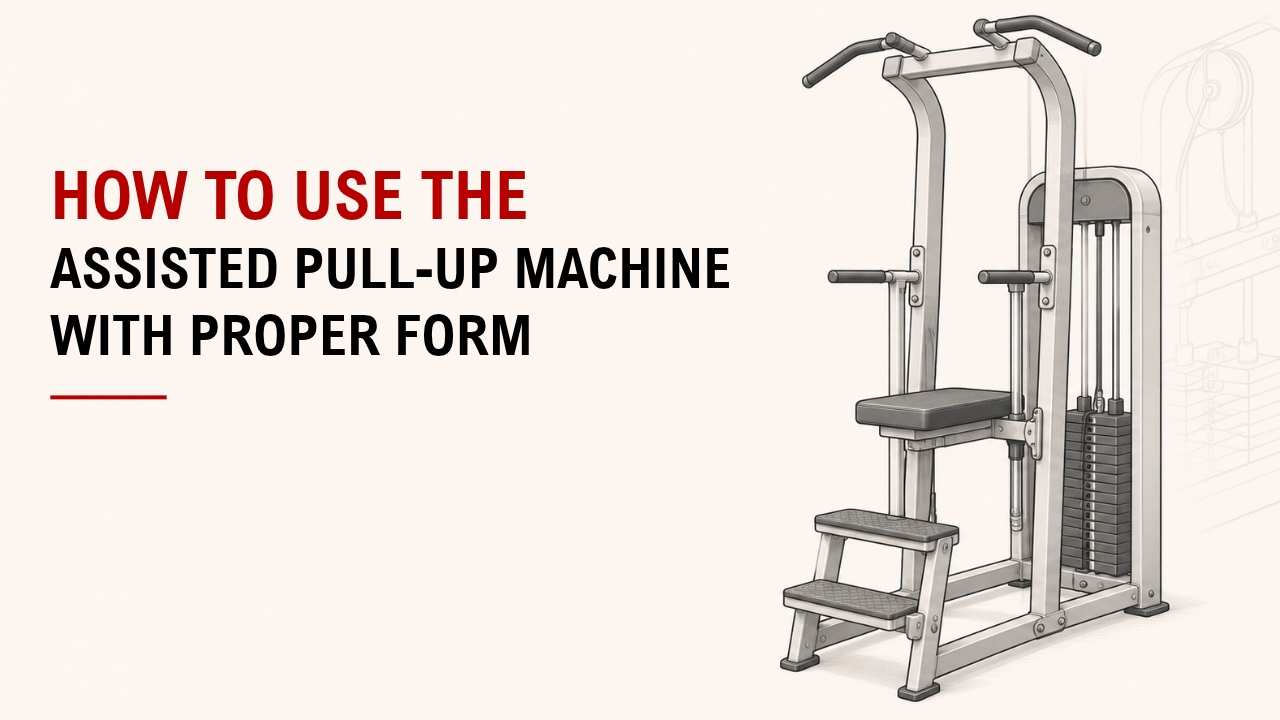

Struggling to do a full pull-up with your body weight? An assisted pull-up machine lets you practice the same basic movement with less load.
The quick answer is simple: choose enough assistance, stay stable, pull under control, and lower yourself slowly. More assistance makes exercise easier.
As an Exercise Physiology & Biomechanics Expert at YR Fitness, I study how resistance and body position affect exercise form. I often see pull-ups improve once people understand how the assistance setting and movement should work together.
Below, I’ll walk you through seven simple steps. Follow them in order, and you can build pull-up strength without making the exercise complicated.
1. Choose the Right Assistance Weight
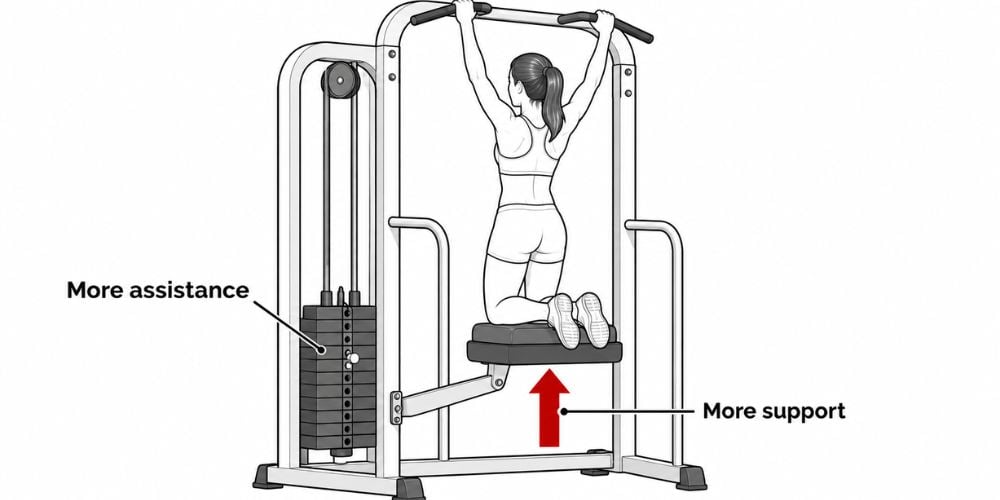
Start by selecting your assistance weight.
Here is the part that confuses many beginners: more weight on the assistance stack means more help, not a harder exercise.
For example, if you weigh 80 kg and the machine provides 30 kg of assistance, you are lifting roughly 50 kg of your body weight.
Your Situation | What to Do |
You cannot complete clean reps | Increase the assistance |
8–12 reps feel controlled | Keep the setting |
12 reps feel easy | Reduce the assistance slightly |
Your form breaks down | Add assistance again |
If you are new to the exercise, choose enough help to complete around 8–12 smooth repetitions.
I would rather see clean reps with more assistance than poorly controlled reps with less help. The American Council on Exercise pull-up progression guidance also uses assisted pull-ups as a way to build the movement pattern before progressing toward regular pull-ups.
2. Grip the Handles
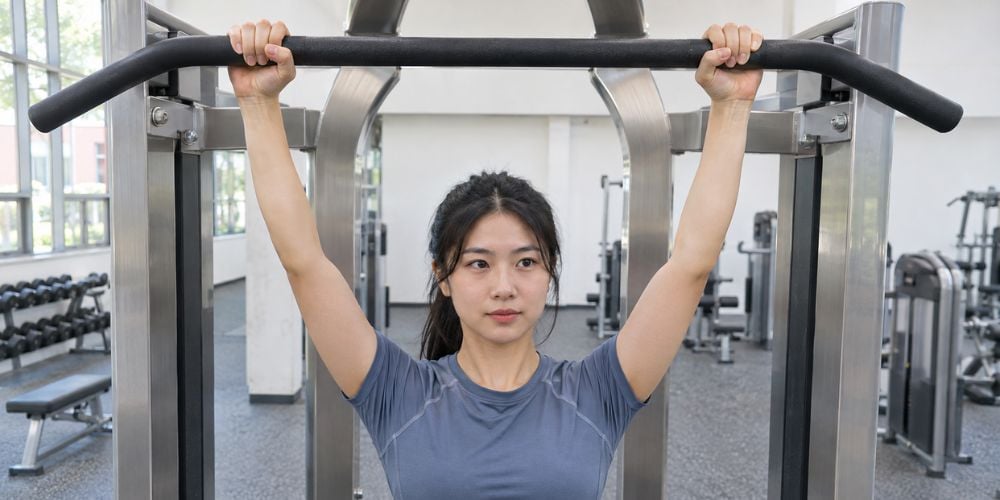
Hold the handles with an overhand grip.
Keep your hands around shoulder width or slightly wider, depending on the machine design and what feels comfortable.
Your wrists should stay fairly straight. Avoid choosing an extremely wide grip just because it looks harder.
Does wider always mean better? No.
I often see beginners grip too wide because they expect more back involvement. In practice, an excessively wide grip can make your comfortable range of motion smaller.
3. Step or Kneel onto the Assistance Pad
Hold the handles firmly before putting your body weight onto the machine.
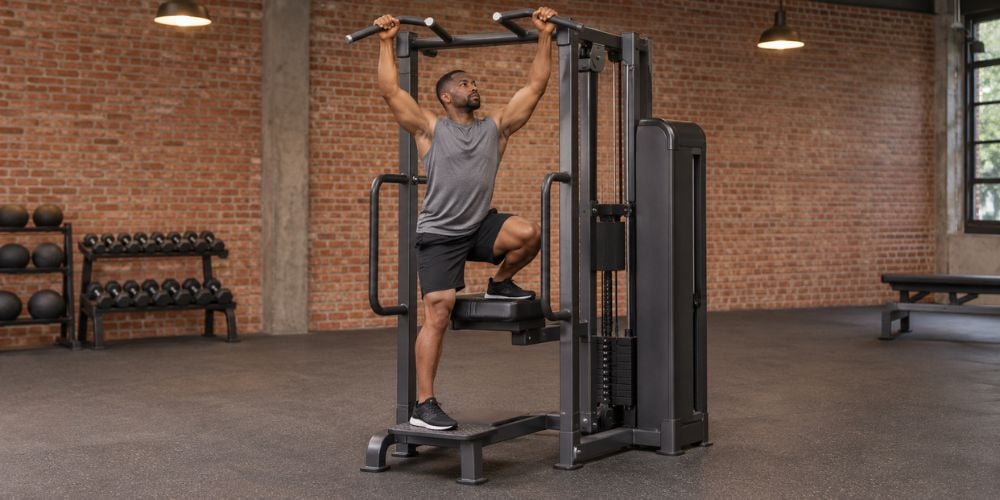
Depending on the design, place your knees or feet on the moving assistance pad.
Transfer your weight slowly. Do not jump onto the platform or suddenly let it take your full weight.
You should feel the pad move smoothly while supporting you.
At YR Fitness, we focus on stable frames, practical movement paths, and commercial strength equipment built for repeated daily training. Browse our equipment range if you want to compare how different strength machines handle resistance and user movement.
4. Set Your Starting Position
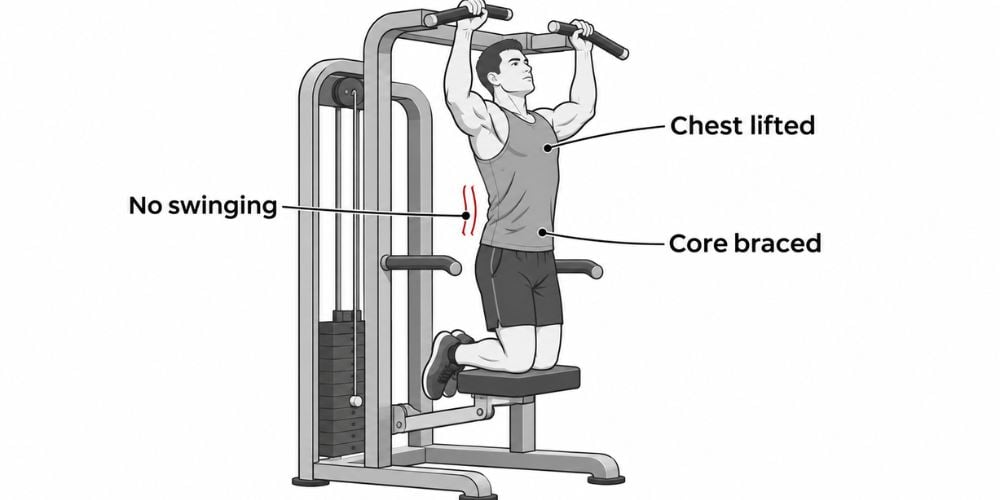
Before pulling, make sure your body is stable.
Keep these five points in mind:
- Chest: Slightly lifted
- Core: Gently braced
- Head: Facing forward
- Legs: Stable on the assistance pad
- Shoulders: Away from your ears
Let your arms extend near the bottom, but do not completely lose control through your shoulders.
Avoid swinging forward and backward.
Here is why this matters: a stable starting position lets you focus on pulling instead of using momentum to move your body.
5. Pull Yourself Up
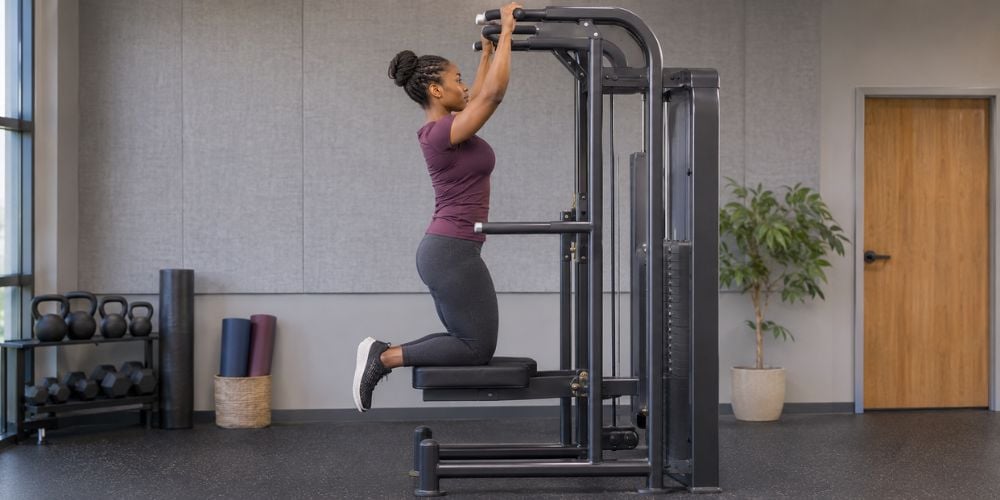
Start by gently pulling your shoulders down.
Then drive your elbows toward your sides as your body moves upward.
Think about bringing your chest toward the handles rather than throwing your chin over the bar. Continue until your chin reaches roughly the level of the pull-up bar or handles.
The NASM pull-up technique guide also emphasizes core control, driving the elbows downward, and avoiding excessive momentum during the movement.
Watch for these mistakes:
- Kicking your legs
- Swinging your body
- Shrugging your shoulders
- Throwing your head forward
- Rushing through the repetition
Not feeling your back much?
I often tell beginners to think about pulling their elbows downward. This simple cue can make the pulling motion easier to understand.
6. Lower Yourself Slowly
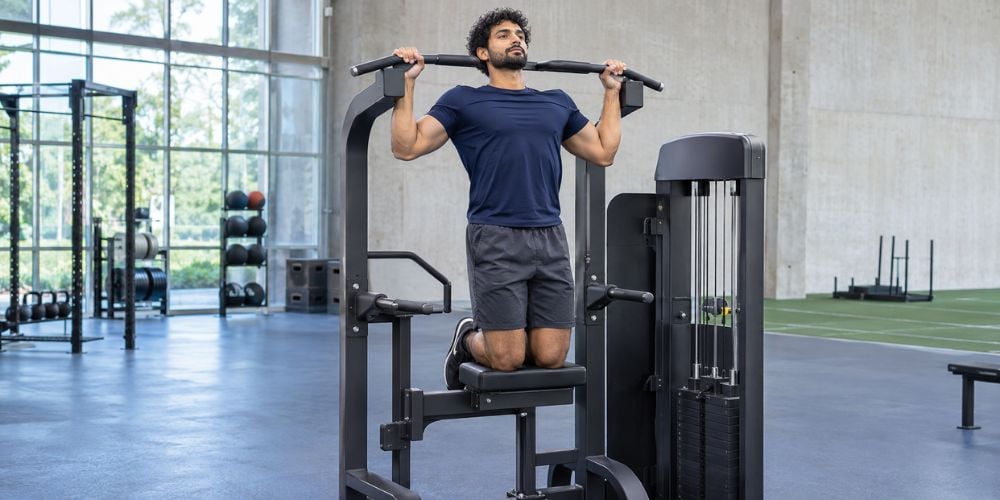
Do not rush the way down.
Slowly extend your elbows and return toward your starting position.
Try taking around 2–3 seconds to lower yourself if that helps you stay controlled.
Do not suddenly drop and let the assistance pad pull you downward. Your back and arms should keep controlling the movement until you reach the bottom.
Why slow down? Because the lowering phase is still part of the repetition, not just a reset before the next pull.
7. Repeat with Controlled Form
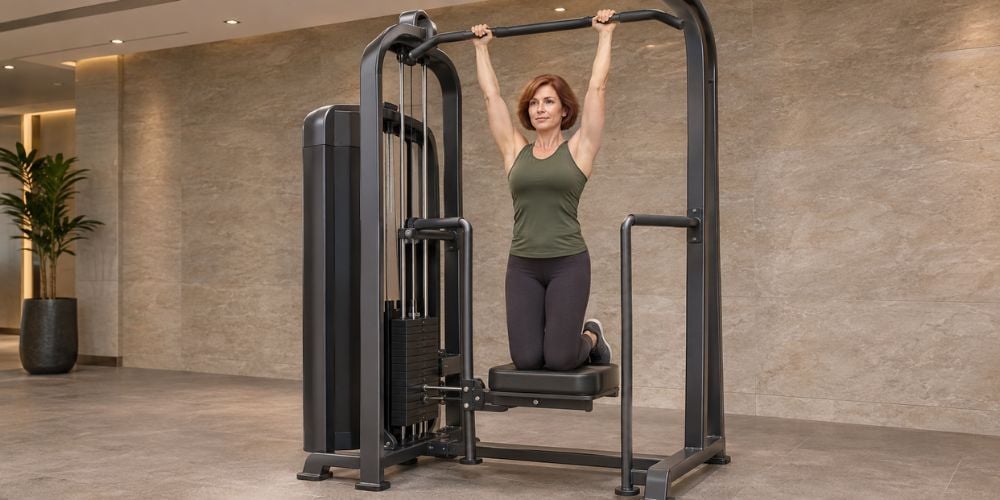
Aim for around 8–12 repetitions if that fits your current training goal.
A simple starting point looks like this:
Training Point | Starting Guideline |
Assistance | Enough to maintain good form |
Repetitions | 8–12 |
Sets | 2–3 |
Lowering | About 2–3 seconds |
Rest | 60–90 seconds |
Progression | Gradually use less assistance |
Once 12 repetitions feel comfortable, reduce the assistance a little.
For example, you might move from 40 kg of assistance to 35 kg rather than making a big jump.
Your progression should look like this:
Good form → stronger reps → less assistance → bodyweight pull-ups
Do not rush that process. Eight clean assisted pull-ups are more useful than three swinging half-reps.
If assisted pull-ups are part of your wider strength routine, the CDC physical activity guidelines for adults recommend muscle-strengthening activity on at least 2 days each week.
Quick Form Checklist
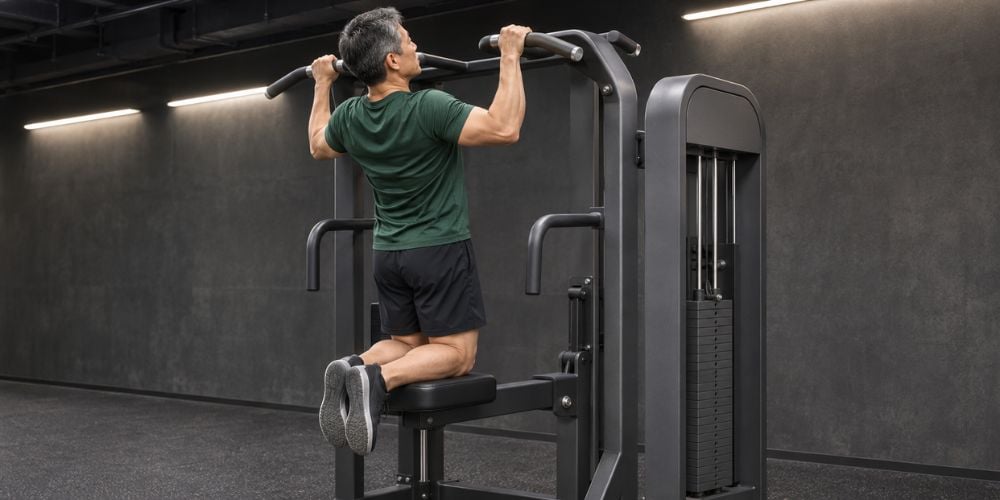
Before your next set, ask yourself:
- Am I using enough assistance?
- Is my grip around shoulder width or slightly wider?
- Is my chest lifted?
- Is my core braced?
- Am I pulling my elbows downward?
- Am I avoiding swinging?
- Am I reaching a comfortable top position?
- Am I lowering myself slowly?
If the answer is yes, keep going.
Conclusion
Using an assisted pull-up machine properly comes down to four things: choose enough help, stay stable, pull smoothly, and control the lowering phase.
Build good movement first, then gradually reduce assistance as you get stronger.
If you want to explore strength machines designed for controlled daily training, take a look at YR Fitness strength equipment. Compare the options and choose equipment that gives you a stable, comfortable movement for your training.
Related articles:



