









Have you ever worried that cleaning a strength machine might damage it? The wrong cleaner or too much liquid can affect pads, paint, and moving parts.
The simple rule is: wipe away dirt first, use a mild cleaner on a cloth, avoid excess moisture, and dry the machine afterward.
As the founder and chief designer of YR Fitness, I have spent decades working with commercial strength equipment and its materials. In my experience, gentle and regular cleaning is the safest way to protect the machine.
Below, I will show you how to clean each part properly. Follow the steps in order and keep it simple.
1. Turn Off and Prepare the Equipment
Start by making the machine safe to clean.
If it uses electricity, turn it off and unplug it. For plate-loaded or selectorized equipment, make sure the weight stack, handles, and moving arms are resting in a stable position.
Clear away anything that gets in your way:
- Towels
- Water bottles
- Personal items
- Loose weight plates
You do not need to take the machine apart.
Should you spray cleaner directly onto it?
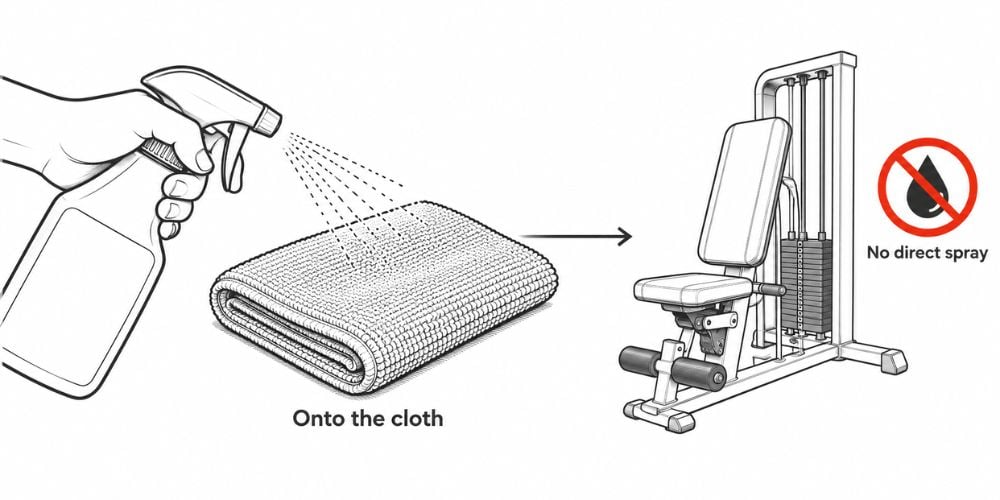
Usually, no. Apply the cleaner to your cloth so you have better control over where the liquid goes.
This also matches strength-equipment cleaning guidance from Life Fitness, which recommends applying cleaner to a microfiber cloth rather than directly to equipment surfaces.
2. Remove Dust and Loose Dirt First
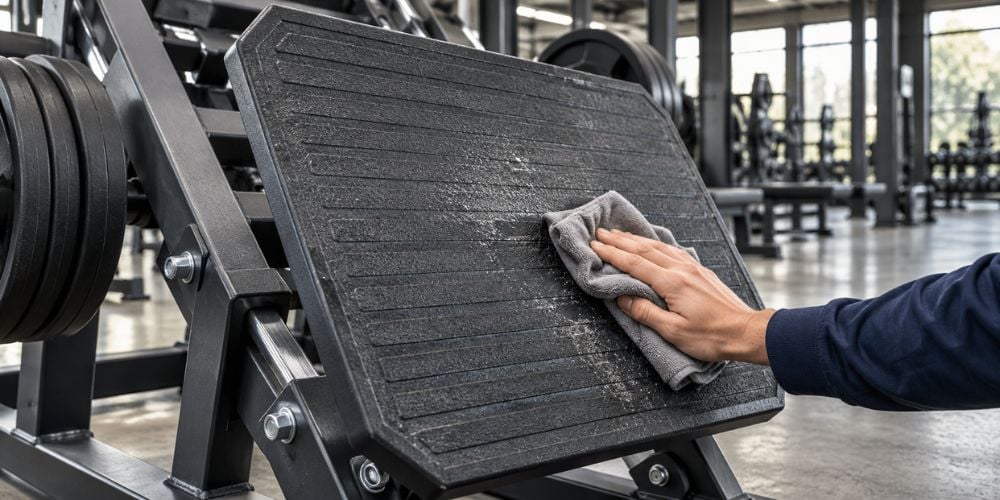
Grab a clean, dry microfiber cloth before using any liquid.
Wipe away:
- Dust
- Hair
- Chalk
- Loose debris
- Dried sweat around exposed surfaces
Pay extra attention to weight-stack covers, seat-adjustment rails, foot platforms, frames, bolts, and joints.
Why start dry?
Adding moisture too early can turn loose dust into grime. It is much easier to remove the loose material first.
There is another reason this works well. The CDC recommends cleaning surfaces before sanitizing or disinfecting them because dirt and other impurities can make disinfectants less effective.
3. Clean the Pads and Upholstery
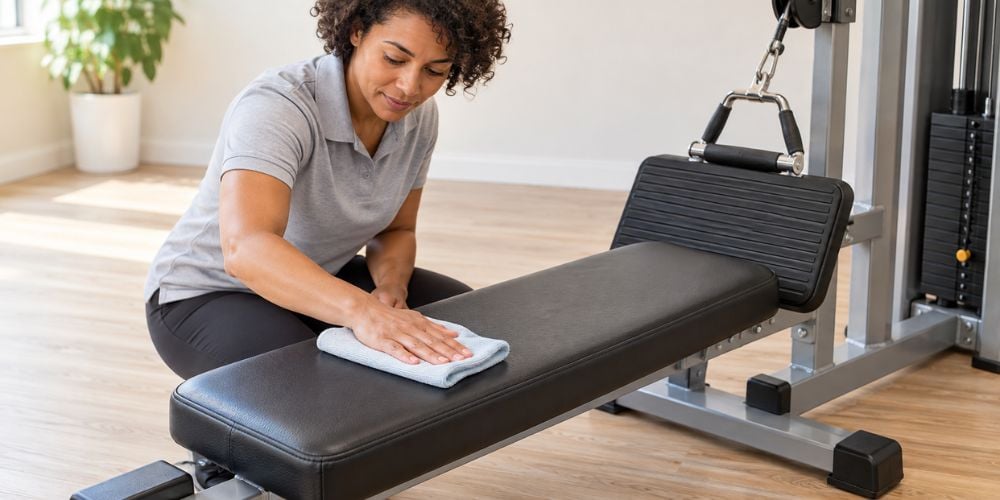
Seats, back pads, arm pads, and headrests collect plenty of sweat.
Put a small amount of mild cleaner on a microfiber cloth. Keep it damp, not dripping wet.
Wipe these areas carefully:
Area | How to Clean | Avoid |
Seat pads | Damp microfiber cloth | Soaking |
Back pads | Mild cleaner on cloth | Strong solvents |
Arm pads | Gentle wipe | Rough scrubbers |
Headrests | Wipe after sweaty use | Excess liquid |
Seams and edges | Light wipe | Saturating the material |
Avoid soaking seams because moisture can work its way underneath the upholstery.
Strong bleach solutions, harsh solvents, and abrasive cleaners may also be unsuitable for some equipment materials. Manufacturer guidance can vary, so check your machine’s manual before using anything stronger than mild soap or an approved cleaner; Life Fitness, for example, specifically advises against certain harsh cleaners on its equipment.
Got a stubborn mark?
Use soft cloth with gentle pressure. Do not immediately reach for a rough sponge or abrasive pad.
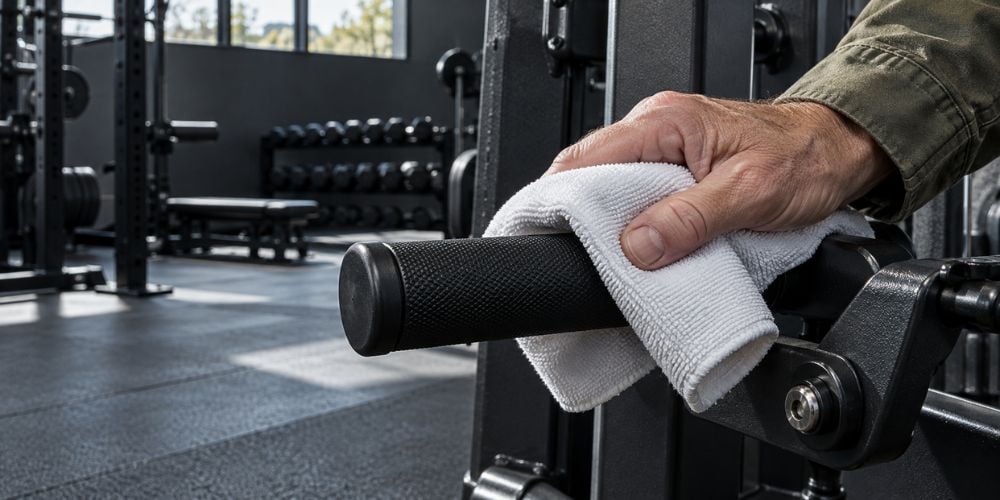
4. Wipe Handles and High-Touch Areas
Now move to the parts your hands touch most.
These usually include:
- Handles
- Rubber grips
- Selector pins
- Adjustment pins
- Seat levers
- Safety handles
These areas often need more frequent cleaning because sweat and skin oils build up quickly. The CDC also recommends cleaning high-touch surfaces regularly, especially in areas used by many people.
Use a cleaner that is suitable for the material. Rubber, plastic, vinyl, and coated metal do not always react the same way to strong chemicals.
Using a disinfectant?
Read the label first. The EPA advises following the product’s directions for use, including where it can be used, how it should be applied, and how long it needs to remain on the surface.
If you want to see how commercial strength machines are designed around pads, grips, frames, pulleys, and other high-use parts, explore the strength equipment from YR Fitness. We build these machines for repeated daily use, so practical cleaning and long-term maintenance are important parts of the design.
5. Be Careful Around Cables, Pulleys, and Guide Rods
This is the part where you should slow down.
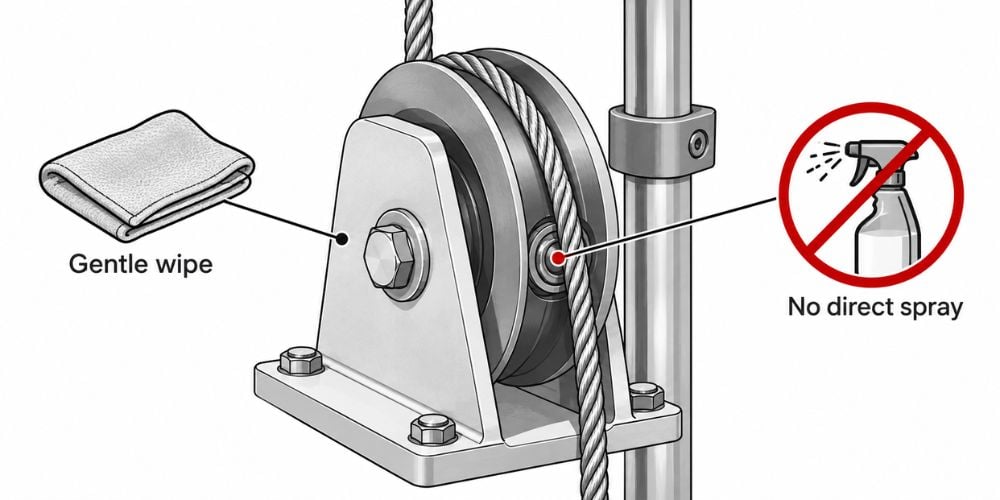
Do not spray cleaning liquid directly into:
- Pulleys
- Bearings
- Cable openings
- Weight-stack mechanisms
- Moving joints
Use a dry or lightly damp cloth on accessible surfaces instead.
For cables, wipe away visible sweat and dust without soaking them. While you are there, check for fraying, cracks, or unusual wear.
That quick inspection matters. Equipment manufacturers recommend regularly checking cables for wear and damage, particularly around bends and attachment points.
What About Guide Rods?
Wipe away visible dust first.
Do not automatically add oil after every cleaning. Lubrication requirements differ between machines, so check the manufacturer’s instructions for your specific model.
Why not just use whatever lubricant you have?
Because different equipment can require different products. Using the wrong one may attract dirt or interfere with how the parts move.
6. Clean the Frame Without Damaging the Finish
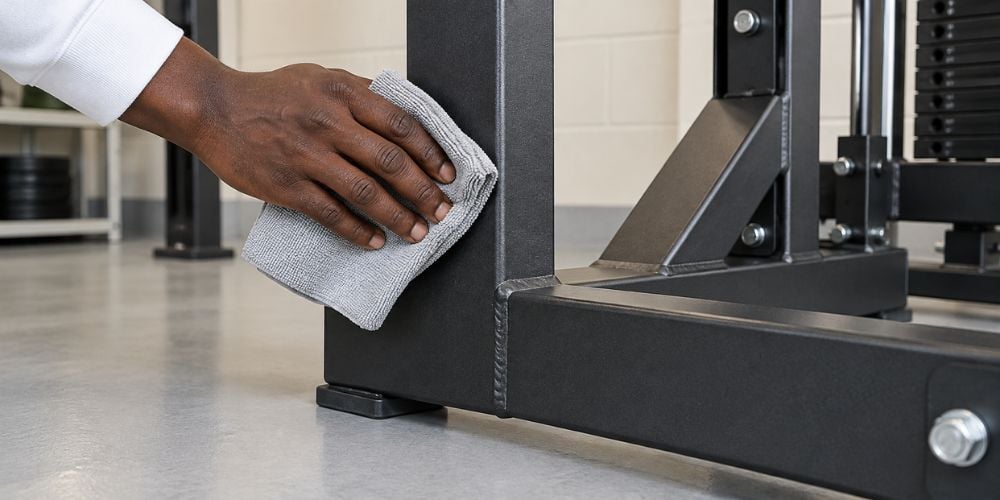
The frame is usually straightforward.
Use a soft microfiber cloth with mild soap and water or a cleaner approved for the surface. Life Fitness, for example, recommends mild soap and water for its strength-equipment frames.
Avoid:
- Steel wool
- Rough brushes
- Abrasive pads
- Strong solvents
- Excessive water
These can scratch, dull, or otherwise damage some finishes.
Pay closer attention to bolts, welds, and joints. Do not leave moisture sitting there longer than necessary.
A simple rule works well:
Clean it, then dry it.
7. Dry the Equipment Before Using It
Finish with a clean, dry microfiber cloth.
Before your next set, check that:
Check | What You Want |
Seat and back pads | Dry |
Handles | Clean and not slippery |
Foot platforms | No remaining moisture |
Adjustment areas | Dry and moving normally |
Moving parts | No pooled cleaner |
Frame | Wiped dry |
Do not start training if handles, pads, or foot platforms are still slippery.
I have seen people make equipment cleaning much more complicated than it needs to be. For most fitness lovers, regular light cleaning beats occasionally attacking the machine with harsh chemicals.
Conclusion
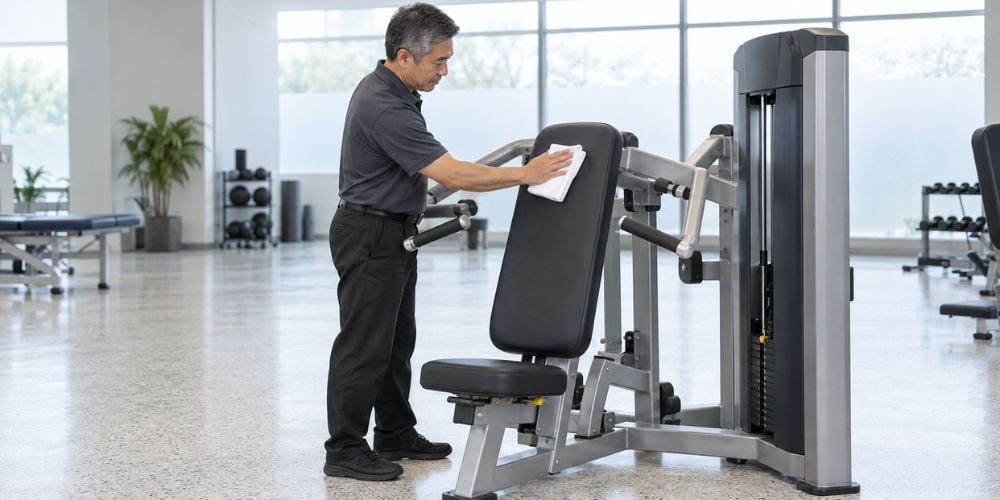
Cleaning strength equipment is simple when you keep moisture and harsh chemicals under control. Remove loose dirt, clean gently, protect the moving parts, and dry the machine before training.
Stronger cleaner does not automatically mean better cleaning. The right routine helps protect upholstery, grips, frame finishes, cables, and mechanical parts while keeping the machine pleasant to use.
If you want strength equipment designed for heavy daily training, explore the commercial strength machines from YR Fitness. We can help you find durable equipment built with solid materials and everyday usability in mind.
Related articles:



