









Not sure how often gym equipment should be checked or what you should look for? A simple inspection routine can help you catch wear before it becomes a bigger problem.
The short answer is to divide checks into daily, weekly, and monthly inspections. Equipment that gets used more often should also be inspected more frequently.
As a Machinery & Structural Engineer at YR Fitness, I work closely with frames, cables, pulleys, fasteners, bearings, and other machine components. I often see small wear problems become much easier to manage when they are spotted early.
Below, I’ll show you how to build a simple inspection schedule without making it complicated. Follow the steps in order, and you’ll have a practical system you can actually use.
1. List All Your Gym Equipment
Start by writing down every piece of equipment you want to inspect.
Group them into simple categories:
- Treadmills and cardio machines
- Strength machines
- Cable machines
- Benches
- Racks
- Free weights
- Fitness accessories
You do not need special software. A spreadsheet, notebook, or simple checklist is enough.
For larger machines, use clear names such as:
- Treadmill 1
- Chest Press
- Leg Press
- Cable Machine
- Adjustable Bench
Why bother naming them?
Because when you find a loose bolt or worn cable later, you need to know exactly which machine has the problem.
My Tip: Keep the list simple. I would rather see a short checklist that gets used every week than a detailed system that gets ignored.
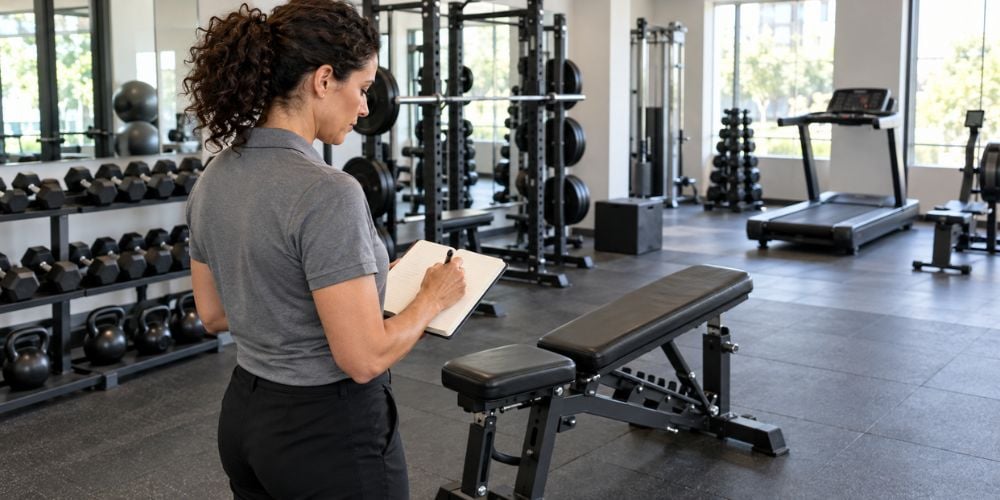
2. Decide What Needs to Be Checked
Next, decide which parts matter on each machine.
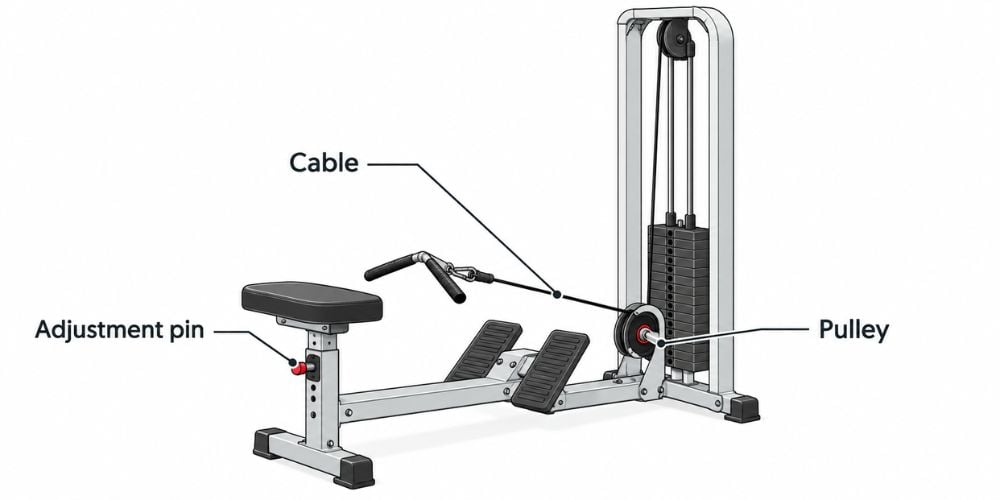
For most strength equipment, check:
- Bolts and fasteners
- Cables
- Pulleys
- Adjustment pins
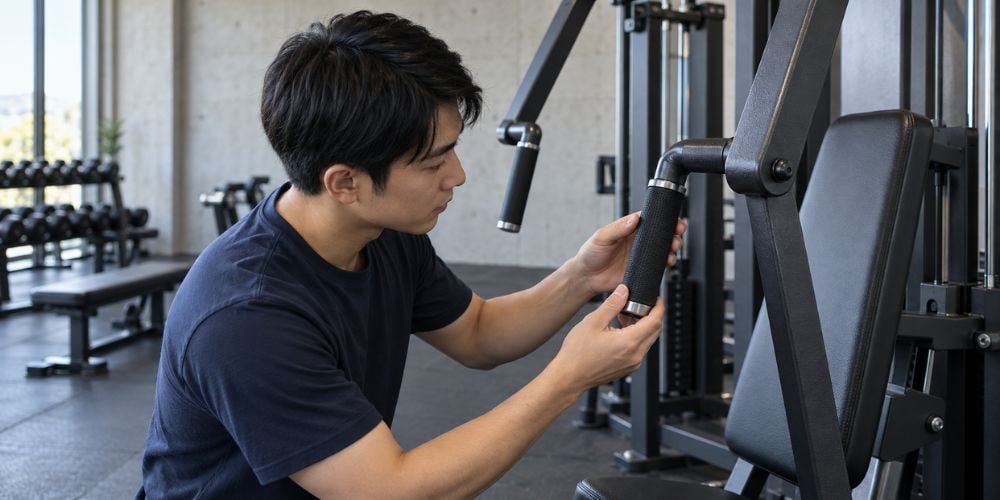
- Handles
- Grips
- Upholstery
- Weight stacks
- Frames
- Moving joints
For cardio machines, also look at:
- Power cables
- Belts
- Pedals
- Displays
- Emergency-stop systems
- Unusual vibration
- Unusual noise
You do not need to inspect every internal component each time. Focus first on the parts you touch, adjust, pull, press, or move regularly.
This approach lines up well with the Life Fitness preventive maintenance checklist, which includes checks for cables, pulleys, upholstery, hardware, welds, bearings, belts, electrical components, and other common wear areas.
Here is why this matters: different machine types wear in different places.
A treadmill belt deserves different attention from a chest press cable. Your checklist should reflect that.
3. Set Daily Inspection Tasks
Daily checks should be quick.
You are mainly looking for obvious problems before using the machine:
- Loose handles
- Damaged grips
- Frayed cables
- Torn upholstery
- Missing adjustment pins
- Unstable seats
- Loose pedals
- Strange noises
- Visible cracks
- Damaged power cords
Most of these checks take only a few seconds.
Before I use an unfamiliar machine, I naturally give it a quick look first. If something feels loose, sounds different, or moves strangely, I would rather check it before continuing.
Use this table as a simple starting point:
Frequency | Main Checks | What You Are Looking For |
Daily | Cables, grips, seats, frame, controls | Fraying, loose parts, cracks, abnormal operation |
Weekly | Bolts, pulleys, adjustments, belts | Looseness, sticking, alignment problems |
Monthly | Frames, bearings, welds, electrical parts | Deeper wear, damage, deterioration |
More often when needed | High-use or problem equipment | Changes since the previous inspection |
Daily checks are not full maintenance inspections. Their job is simply to catch obvious problems early.
4. Add Weekly Equipment Checks
Once a week, look a little closer.
Check:
- Bolts and hardware
- Cable condition
- Pulley movement
- Seat adjustments
- Weight stack movement
- Belt alignment
- Handles and attachments
- Machine stability
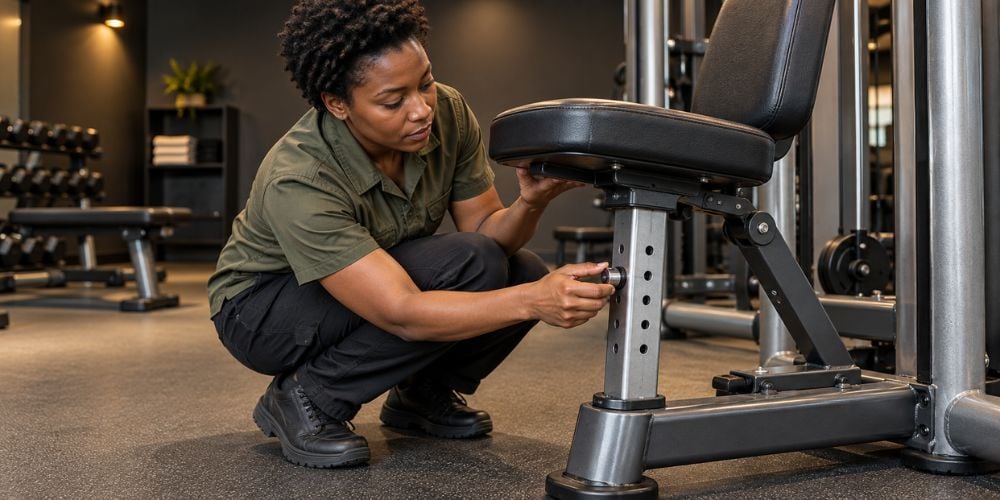
Then move the adjustable parts through their normal range.
For example, ask:
- Does the seat slide smoothly?
- Does the selector pin lock properly?
- Does the weight stack rise evenly?
- Does the pulley rotate without sticking?
- Does the treadmill belt stay centered?
Also listen while the machine moves.
Grinding, knocking, scraping, or repeated clicking can be early signs that something has changed. I often see people ignore a new sound because the machine still works, but those small changes can be useful warning signs.
5. Schedule Monthly Detailed Inspections
Monthly inspections should go deeper.
Check:
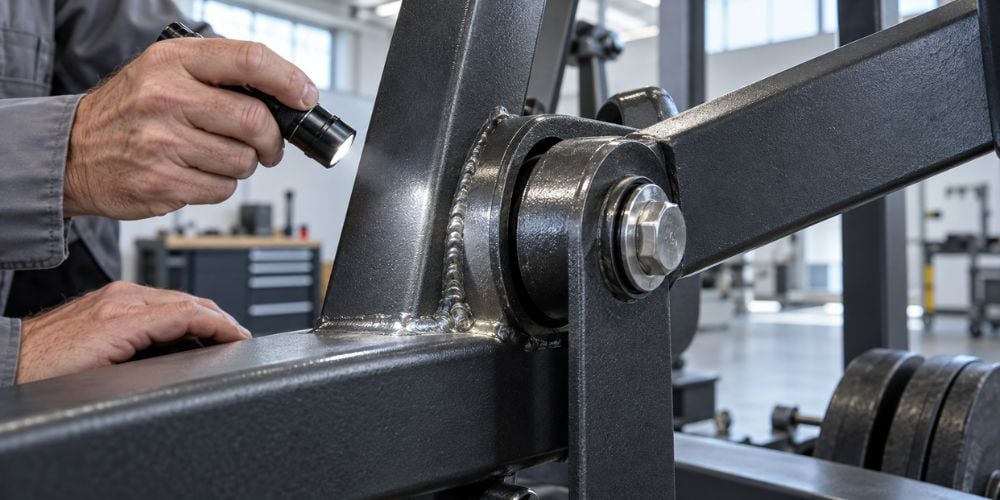
- Frames
- Welds
- Bearings
- Pivot points
- Pulleys
- Cables
- Belts
- Fasteners
- Electrical connections
- Resistance systems
For treadmills, inspect the running belt and deck condition.
For selectorized strength machines, follow the cable from end to end.
For plate-loaded machines, check:
- Pivot points
- Handles
- Stops
- Loading areas
I pay extra attention to places where parts repeatedly move against bearings, bushings, belts, or cables. These components can go through thousands of movement cycles, so early signs of wear are worth noticing.
If your inspections are showing that several older machines are reaching the end of their useful life, you can compare the commercial strength and cardio equipment we build at YR Fitness. Our equipment is designed for repeated daily use, so you can compare machine construction and specifications before deciding what fits your training needs.
6. Inspect High-Use Equipment More Often
Should every machine follow the same schedule?
No.
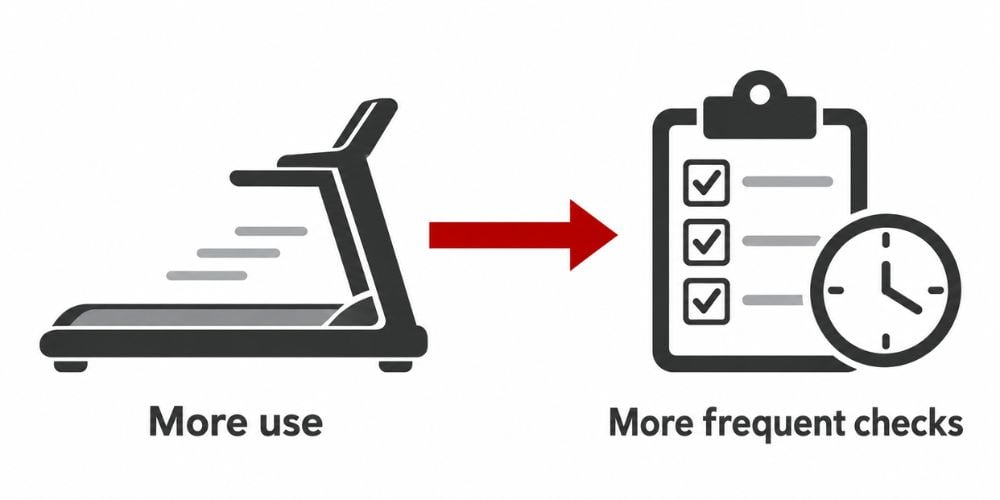
A treadmill used every day usually needs more attention than a machine used once or twice a week.
Pay extra attention to popular equipment such as:
- Cable stations
- Chest presses
- Leg presses
- Lat pulldowns
- Benches
- Squat racks
A simple rule works well:
More use = more frequent inspection.
Increase the frequency further if a machine:
- Carries heavy loads
- Uses cables
- Has many adjustment points
- Contains high-speed moving parts
- Has recently been repaired
- Has already shown signs of wear
For example, a very high-use machine may need a daily visual check plus a weekly detailed check.
Regular-use equipment can use a daily visual check plus a weekly or biweekly check.
Low-use equipment may only need a quick visual check plus a monthly detailed inspection.
The point is not to follow a rigid calendar. Match the schedule to how the equipment is actually being used.
7. Record Every Inspection
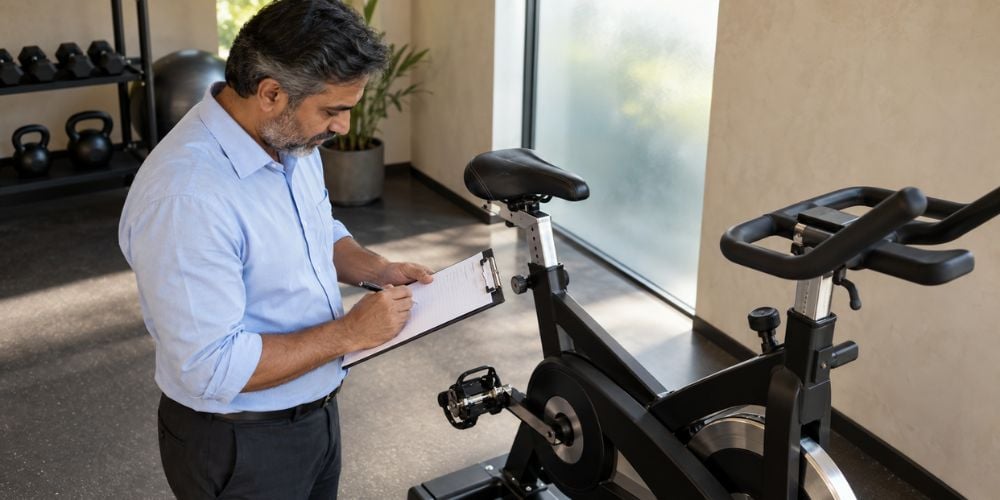
Finally, write down what you find.
Do you really need records for something this simple?
Yes, because memory becomes unreliable once you are checking several machines over several weeks.
A basic log is enough:
Equipment | Date | Condition | Problem Found | Action |
Treadmill 1 | Sept. 8 | Good | None | None |
Cable Machine | Sept. 8 | Check | Cable wear | Replace cable |
Bench | Sept. 8 | Good | Loose bolt | Tightened |
These records help you spot patterns.
You may notice that:
- One cable wears faster than others
- A treadmill belt keeps moving out of alignment
- The same bolt repeatedly becomes loose
- A seat adjustment keeps sticking
The principle of documenting inspections is also used in broader equipment-safety guidance. OSHA recommends regular equipment inspections and notes that inspection records can help confirm that identified hazards have actually been corrected. You can see the guidance in its hazard identification and assessment recommendations.
This is why I prefer written records instead of relying on memory. After several weeks, it becomes much easier to tell whether a problem happened once or keeps coming back.
Conclusion
Building a gym equipment inspection schedule is simple once you separate it into daily, weekly, and monthly checks. List your equipment, inspect the important wear points, check high-use machines more often, and record what you find.
Regular inspections can help you notice wear before it affects how a machine feels or performs. They can also reduce unexpected breakdowns and make your training equipment more dependable.
At YR Fitness, we build commercial strength and cardio equipment for heavy daily training and long-term use. If your current equipment is showing increasing wear, you can explore our machines and specifications to compare practical replacement options.
Related articles:



