








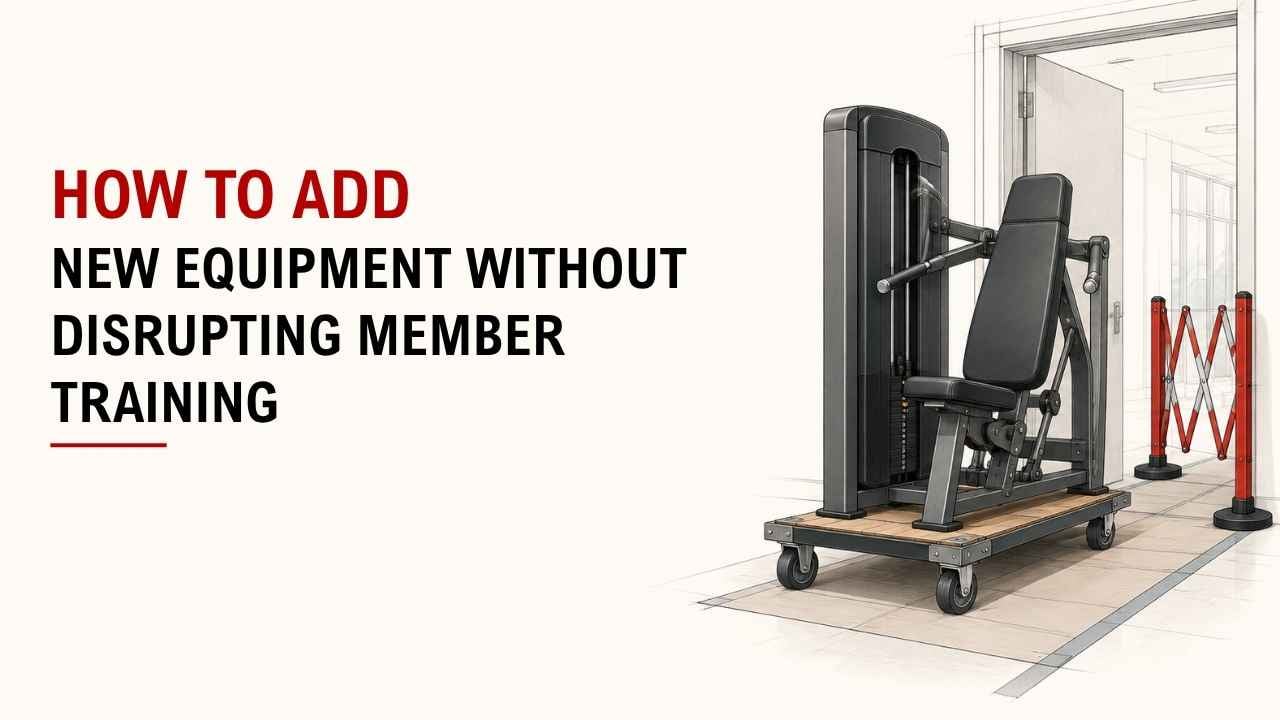

Adding new gym equipment without disrupting workouts can be tricky. Poor planning can quickly block training areas and frustrate members.
The simple approach is to install during quiet hours, prepare the space early, and work one section at a time. This keeps most of the gym open while the upgrade happens.
As a Machinery & Structural Engineering expert at YR Fitness, I work closely with commercial gym machine structures, layouts, and installation requirements. My experience with equipment positioning helps me understand what makes an installation safe, practical, and easier to manage.
Below are the practical steps you can follow. Work through them in order, and you can add equipment without turning your training floor into a construction zone.
1. Choose the Right Installation Time
Start with your quietest training hours.
For many gyms, that may mean early afternoon, late evening, before opening, or after closing.
Try to avoid:
- Morning rush periods
- After-work training hours
- Busy weekends
- Group class times
- Major gym events
What if you only have one or two machines coming?
Fit the work between busy periods if possible. For a larger installation, working outside normal opening hours is usually easier.
The goal is simple: move and install machines when fewer people are around.
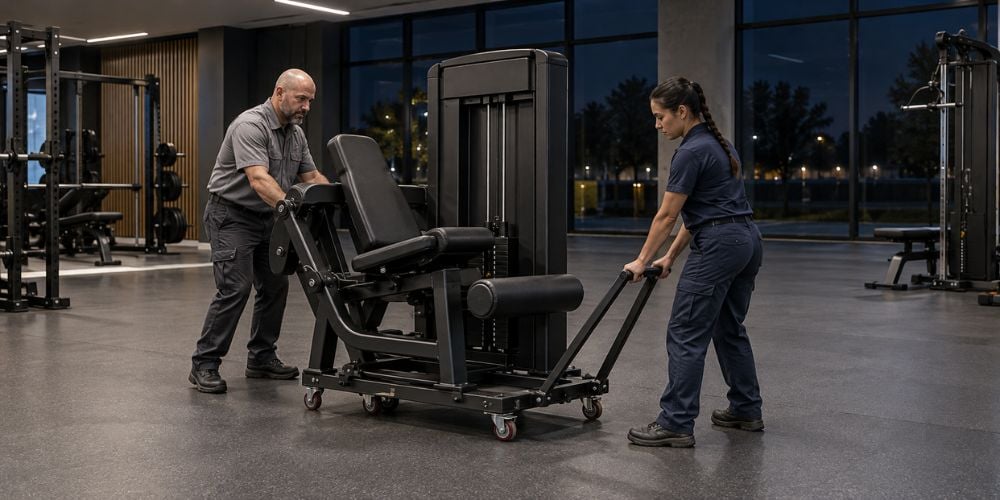
2. Prepare the Floor Space Before Delivery
Know exactly where each machine will go before the truck arrives.
Clear the area and check the important details first.
Check Before Delivery | What to Confirm |
Floor space | The full machine fits comfortably |
Ceiling height | Tall frames and attachments have clearance |
Nearby equipment | Users can move between machines |
Walking space | Main routes remain open |
Electrical outlets | Powered equipment can reach the correct supply |
Floor condition | Surface can support and stabilize the equipment |
Maintenance access | Staff can reach service points later |
Here is why this matters: a machine can fit on paper and still feel cramped in real use.
I have seen this happen when the footprint was measured correctly but nobody considered where the user would stand, enter, or adjust the machine.
For U.S. facilities, it is also worth checking the 2010 ADA Standards for Accessible Design when planning circulation space. For example, accessible walking surfaces generally require at least 36 inches (915 mm) of clear width, while door openings generally require at least 32 inches (815 mm).
Local accessibility rules may differ, so check the requirements that apply to your facility.
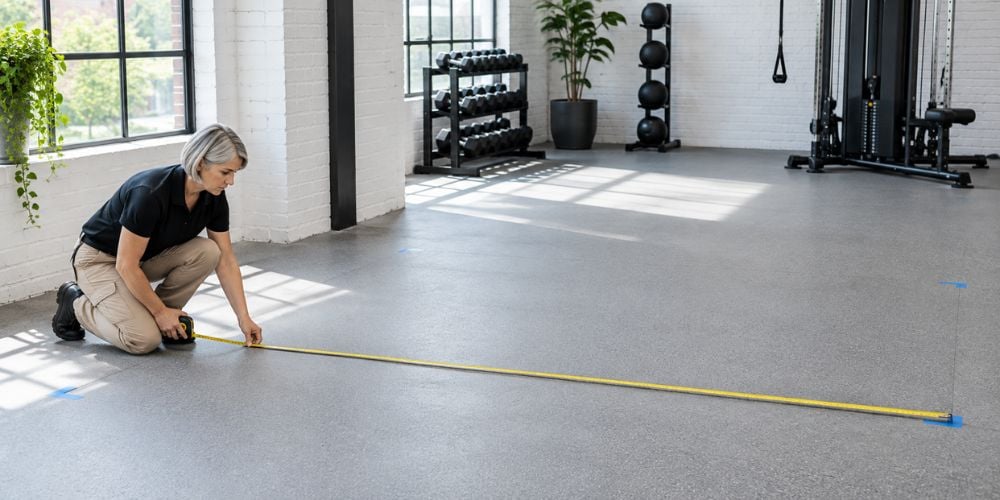
3. Plan the Delivery Route
Do not only measure where the machine will sit.
Measure how it will get there.
Check:
- Entrance doors
- Hallways
- Elevators
- Stairways
- Corners
- Internal doors
Some commercial machines arrive partially assembled, while larger frames may need much more clearance.
You should also decide where pallets, packaging, tools, and machine parts will sit during installation. Keep these away from active workout areas and normal walking routes.
OSHA’s materials-handling requirements say sufficient clearance should be provided where mechanical handling equipment moves through aisles, doorways, loading areas, and turns. Aisles and passageways should also remain clear of obstructions that could create a hazard.
Can a machine technically fit through the door? That is not always enough.
Think about corners, turning space, stairs, and where installers will stand while moving it.
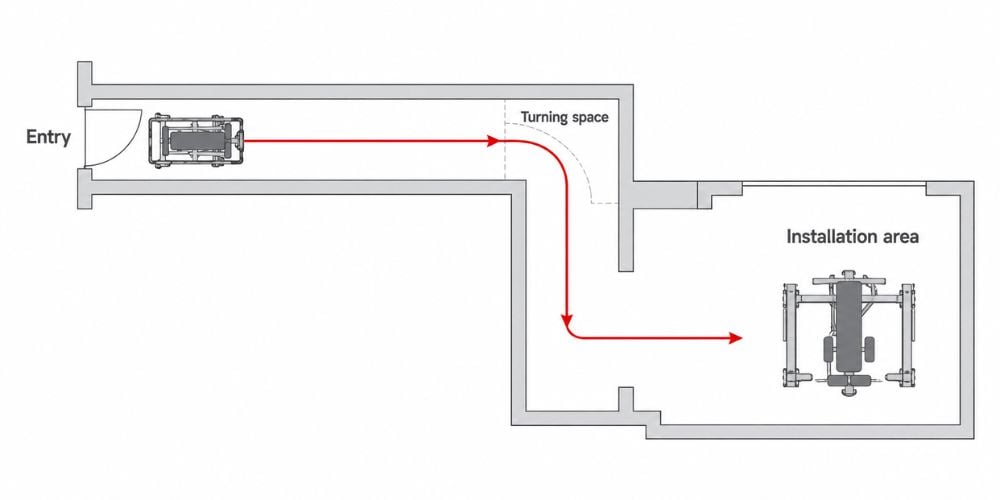
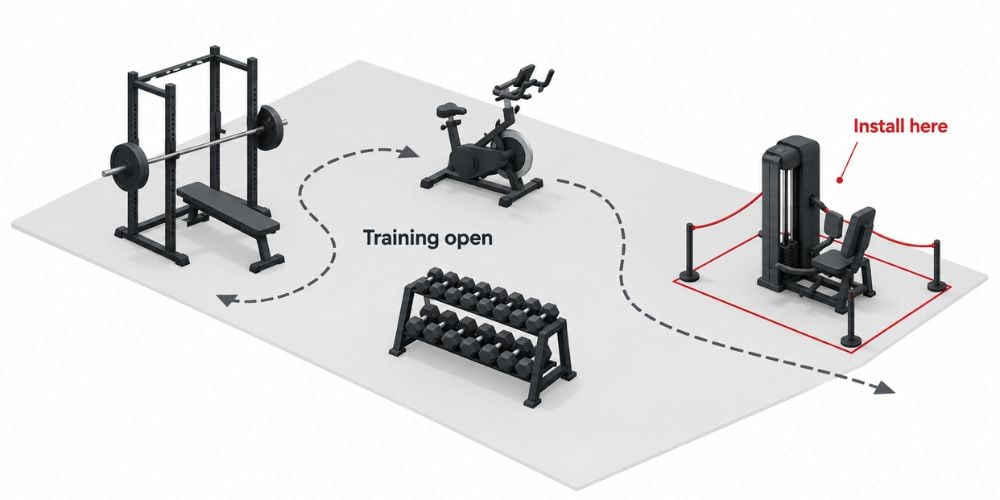
4. Install Equipment in Small Sections
Do not close a large training area if you only need to work on one part of it.
Install equipment one section at a time.
Training Area | Simple Installation Approach |
Cardio area | Replace a few machines at a time |
Strength area | Close one machine row temporarily |
Free-weight area | Keep main racks and benches accessible |
Functional zone | Block only the installation section |
If several machines are being replaced, remove and install them in stages.
I prefer this approach because members can still complete most of their workout. A small temporary closure is much easier to work around than losing an entire training area.
Planning a larger equipment upgrade? At YR Fitness, we help commercial gyms choose strength and cardio machines that fit their available space and daily training needs. Our equipment dimensions and product options can help you plan the floor before the machines arrive, reducing unnecessary changes during installation.
5. Tell Members What Is Happening
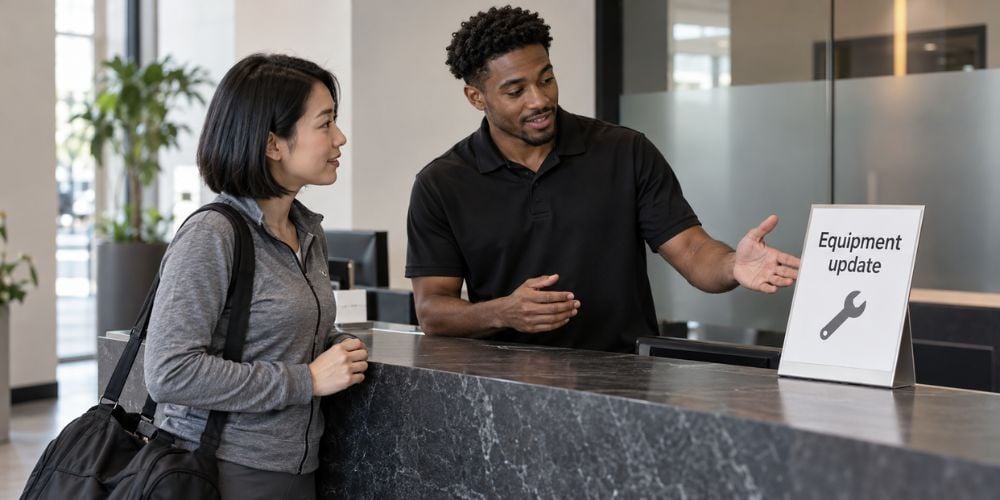
People are usually more understanding when they know about work in advance.
You do not need a long announcement.
Use:
- Front-desk signs
- Gym apps
- Social media
- Digital screens
- Notices near the affected area
Tell members four things:
What area is affected? When does work start? How long will access be limited? What can they use instead?
For example:
“New strength equipment will be installed Tuesday afternoon. Part of the lower-body area will be temporarily closed.”
That is usually enough.
You can also frame the disruption positively. Members are more likely to accept a short inconvenience when they know new equipment is being added.
6. Test the Equipment Before Members Use It
Do not open a new machine for use as soon as installation finishes.
Check it first.
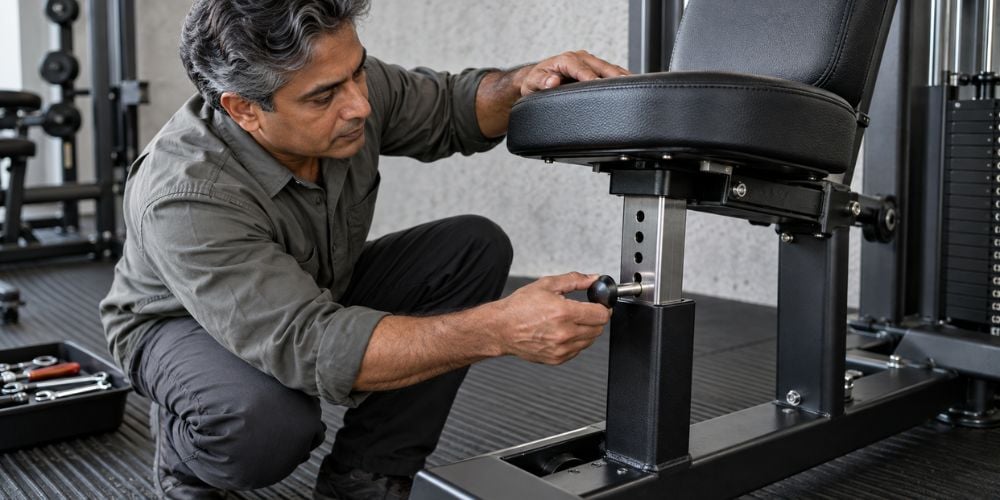
Look at:
- Bolts and fasteners
- Cables and pulleys
- Seats and pads
- Adjustment pins
- Handles
- Weight stacks
Then test the machine with a light load.
Listen for unusual noises and check for loose parts, difficult adjustments, or movement that does not feel right.
As an engineer, I pay particular attention to stability and adjustment points. Even a strong commercial machine needs correct assembly, positioning, and final testing before it goes into daily use.
7. Reopen the Area Quickly and Cleanly
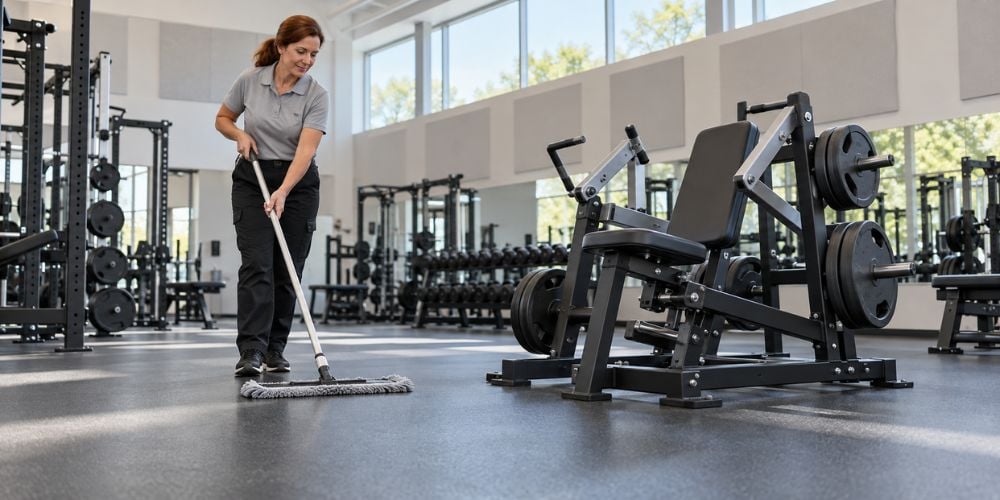
Once testing is finished, clear the installation area immediately.
Remove:
- Plastic wrapping
- Cardboard
- Pallets
- Tools
- Loose bolts
- Protective foam
Clean the new equipment and the surrounding floor. Then return nearby benches, weights, accessories, and machines to their proper positions.
OSHA’s walking-working surfaces standard requires workplaces to keep passageways and walking-working surfaces clean, orderly, and free from hazards such as loose objects or spills. It also requires hazardous conditions to be corrected or guarded before workers use the area again.
Before you remove the barriers, walk through the area yourself.
Ask:
- Can I reach the machine easily?
- Can I move around it safely?
- Is anything blocking another station?
- Are cables or packaging creating a trip hazard?
- Does the area look finished?
A five-minute final walk-through can catch problems that are easy to miss during installation.
Conclusion
Adding new equipment does not have to disrupt the whole gym. Choose a quiet installation time, prepare the floor, plan the delivery route, test each machine, and clean the area before reopening it.
The biggest difference comes from preparing before delivery day. In my experience, when the layout, access route, and installation sequence are already clear, the actual upgrade becomes much easier.
If you are replacing old machines or expanding your equipment lineup, YR Fitness can help you explore commercial equipment that fits your available space and everyday training needs.
Related articles:



