








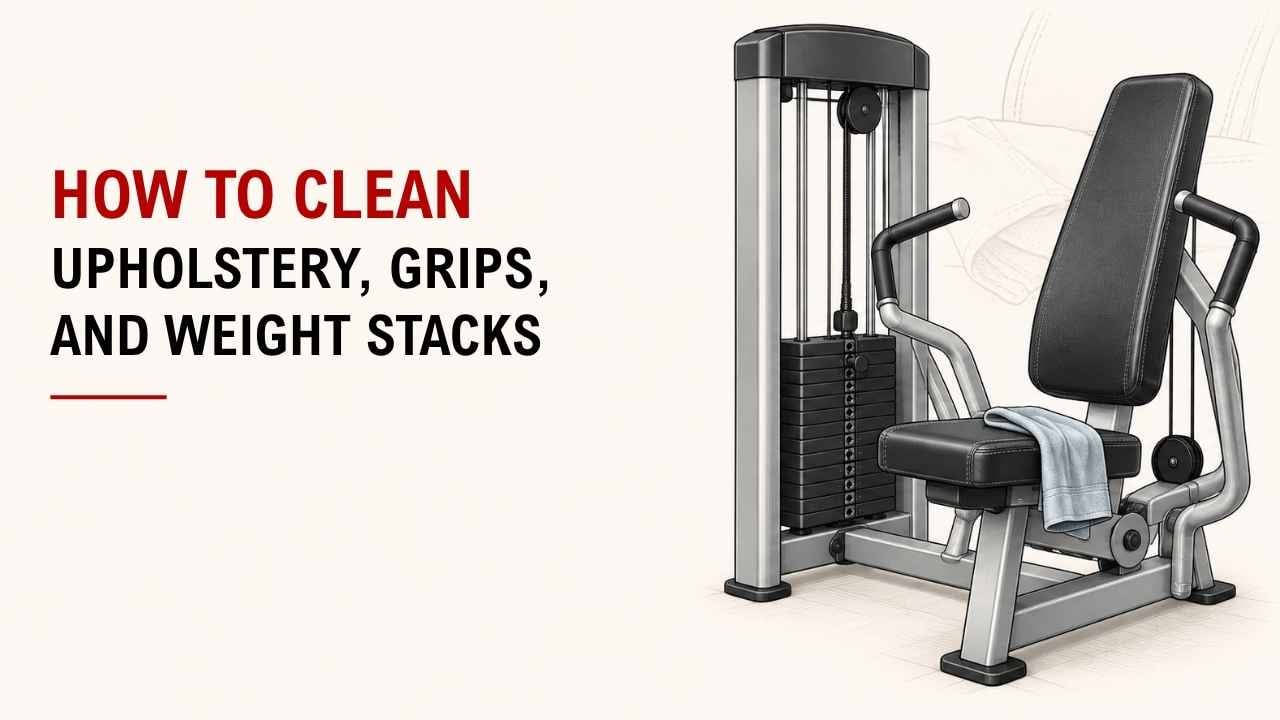

Have you noticed sweat, dust, or grime building up on your gym machine? A quick cleaning routine can keep it much better to touch and use.
The simple answer is: use a mild cleaner, wipe with a soft cloth, keep moisture away from moving parts, and dry each surface afterward. You do not need harsh chemicals or complicated cleaning tools.
As a Machinery & Structural Engineering expert at YR Fitness, I work closely with gym equipment materials, moving parts, and everyday machine wear. I often see that simple cleaning habits make a big difference in how clean and well-kept equipment feels.
Below, I’ll show you how to clean upholstery, grips, and weight stacks step by step. Follow the sections in order, and you can get the job done without overcomplicating it.
1. What You Need Before Cleaning
You only need a few basic supplies.
What You Need | What It Is For |
Microfiber cloths | Wiping upholstery, grips, frames, and weight plates |
Warm water | Light everyday cleaning |
Mild soap or equipment-safe cleaner | Removing sweat, oils, and grime |
Soft-bristle brush | Cleaning seams and textured grips |
Dry towel | Removing leftover moisture |
Spray bottle | Holding diluted cleaning solution |
For regular cleaning, a slightly damp microfiber cloth is usually enough. The CDC’s cleaning guidance also recommends cleaning high-touch surfaces regularly and cleaning other surfaces when they become visibly dirty.
What should you avoid?
Skip:
- Bleach unless the equipment maker specifically approves it
- Strong solvents
- Abrasive cleaning pads
- Very wet cloths
- Harsh household chemicals
These products may damage vinyl, rubber, paint, labels, and other machine surfaces.
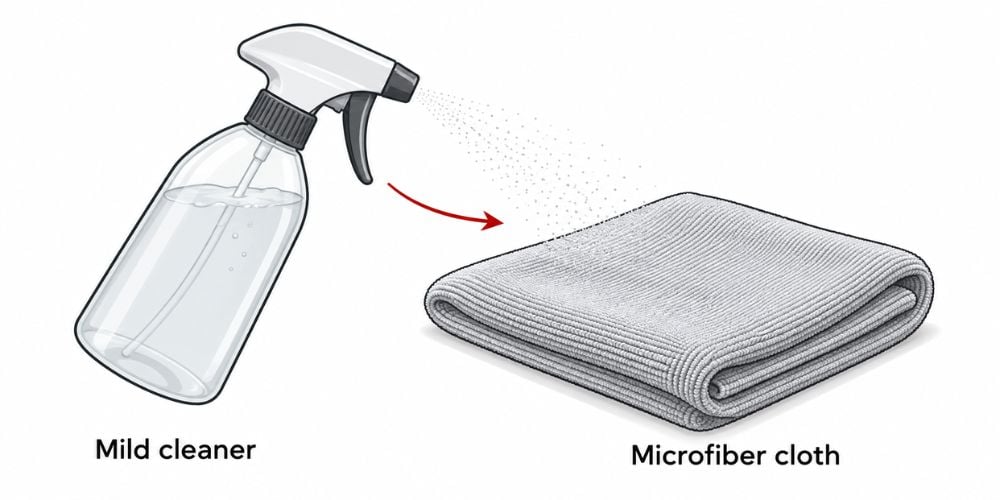
My Tip: Put the cleaner on the cloth instead of spraying it heavily onto the machine. Precor gives similar advice in its equipment cleaning instructions, telling users to apply spray cleaner to a soft cloth rather than directly onto equipment surfaces.
2. How to Clean Gym Machine Upholstery
Upholstery collects sweat, skin oils, hair, chalk, and dust during training. Seats and back pads usually need the most attention.
Remove Loose Dirt First
Wipe away:
- Dust
- Hair
- Chalk
- Small pieces of debris
Check the seams and edges too. Dirt often gathers there.
Wipe With a Mild Cleaner
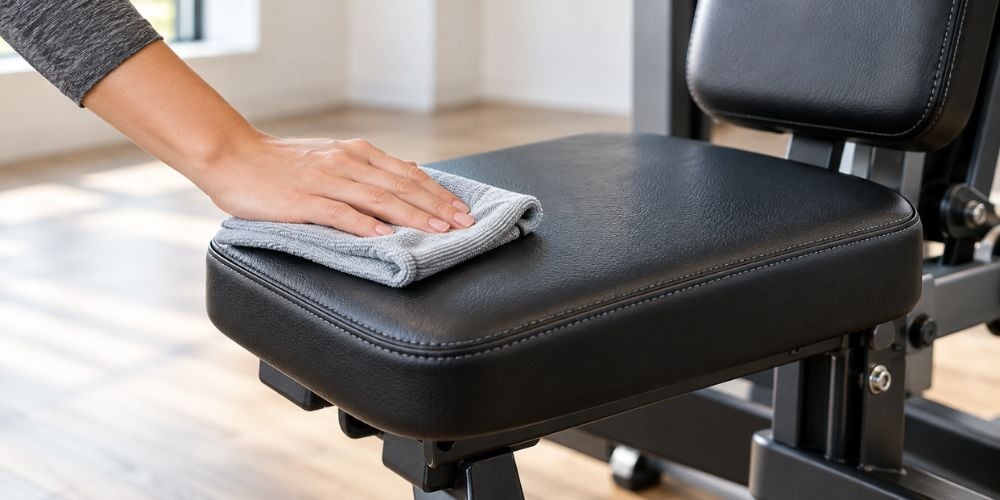
Apply a small amount of cleaner to a microfiber cloth.
Clean the:
- Seat pads
- Back pads
- Headrests
- Arm pads
- Leg pads
Keep the cloth damp, not soaking wet.
What About the Seams?
Run the cloth along the stitching and pad edges.
If dirt is stuck in a seam, loosen it gently with a soft brush. Avoid hard scrubbing because repeated friction can wear the upholstery.
Dry the Pad
Finish with a clean, dry cloth.
Let the upholstery dry fully before sitting or lying on it again.
Avoid These Upholstery Mistakes
Do not:
- Pour cleaner directly onto the pad
- Scrub vinyl aggressively
- Leave the surface wet
- Use strong alcohol or bleach unless the manufacturer says it is safe
- Use sharp tools to clean seams
In my experience, overcleaning with harsh products can sometimes cause more surface wear than normal gym use. Gentle and regular is usually the better approach.
3. How to Clean Machine Grips and Handles
Grips collect sweat, skin oils, chalk, and dirt from your hands. Luckily, they are one of the quickest parts to clean.
Wipe the Full Grip
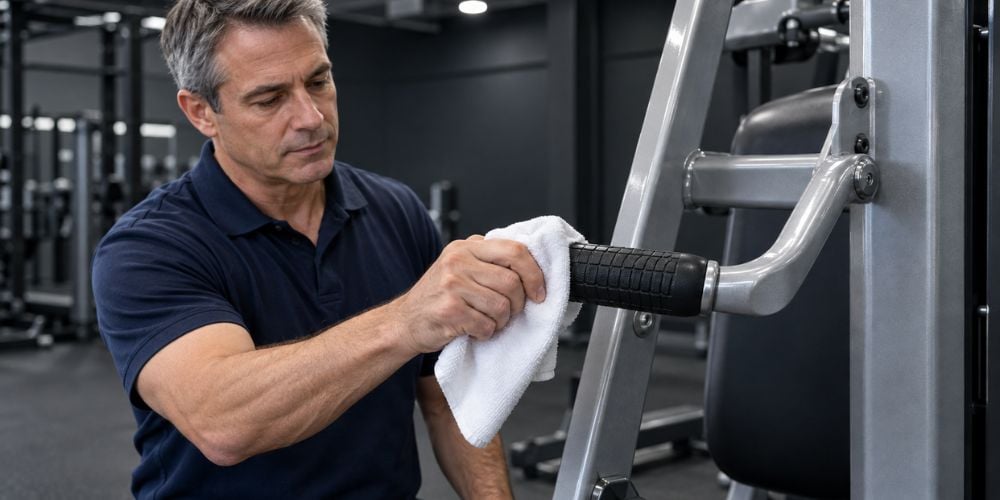
Use a damp microfiber cloth and clean all the way around the handle.
Do not forget the underside. That is an easy place for sweat and grime to build up.
Got Textured Grips?
Rubber and foam handles often have grooves or patterns that trap dirt.
Use a soft brush to loosen the buildup, then wipe the grip again with a clean cloth.
Dry Before Training
Dry the handle before using the machine.
A wet grip can become slippery during presses, rows, or pulldowns.
Check the Grip While You Clean
Look for:
- Cracks
- Loose rubber
- Torn foam
- Hard or slippery surfaces
If a grip feels damaged or unstable, avoid relying heavily on it until it has been checked.
Cleaning is easier when the machine gives you good access to its pads, grips, frames, and moving areas. At YR Fitness, we design commercial strength equipment for repeated daily training, with durable materials and practical machine structures in mind—so if you are comparing equipment for your training space, you can explore our strength equipment and machine designs here.
4. How to Clean Weight Stacks
Weight stacks need a little more care.
Why? You are now working around plates, guide rods, selector pins, cables, and other moving parts.
Stop Using the Machine
Make sure nobody is exercising on the machine while you clean it.
Keep your hands away from moving plates.
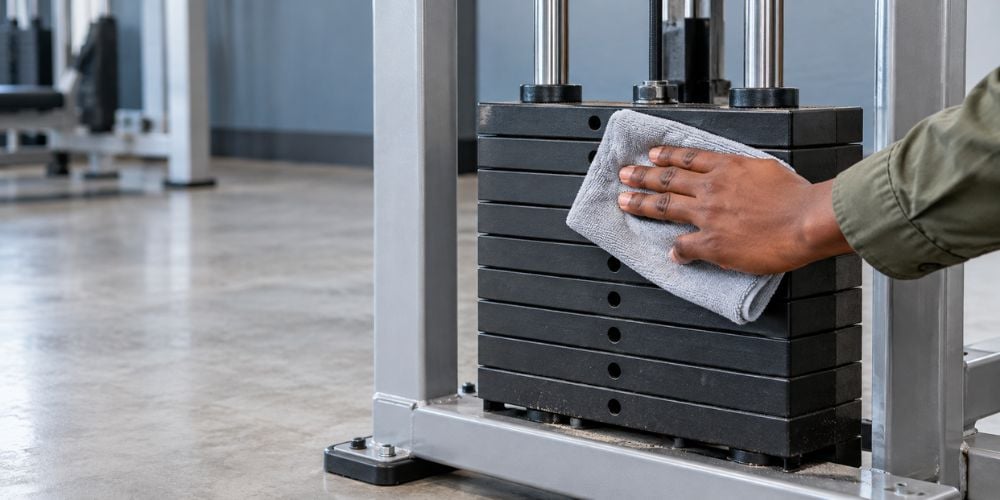
Wipe the Weight Plates
Use a dry or slightly damp microfiber cloth.
Clean:
- The front of the plates
- Exposed sides
- The top plate
- Areas around the weight labels
Dust often settles around and between the plates. Wipe only the areas you can reach safely.
Clean the Selector Pin
Remove the selector pin and wipe away dirt or sticky residue.
Also wipe around the weight-selection holes so the pin can move in and out smoothly.
What About the Guide Rods?
Guide rods help the weight stack travel vertically.
Do not spray cleaner directly onto them. Use a dry or lightly damp cloth to remove visible dust instead.
If lubrication is needed, use only the product recommended by your machine manufacturer. Do not automatically reach for household oil.
Keep Cleaner Away From Moving Parts
Avoid soaking:
- Cables
- Bearings
- Pulleys
- Bushings
- Adjustment mechanisms
These parts should be maintained according to the manufacturer’s instructions.
I usually treat the weight stack differently from a seat or handle. It needs careful wiping, not a heavy spray of cleaner.
Here is a quick reference:
Machine Area | Best Approach | Moisture Level | Main Thing to Avoid |
Upholstery | Microfiber cloth + mild cleaner | Damp | Soaking or harsh scrubbing |
Grips | Cloth + soft brush if needed | Damp | Leaving them slippery or wet |
Weight plates | Microfiber cloth | Dry to slightly damp | Spraying into the stack |
Guide rods | Clean cloth | Dry to lightly damp | Direct spray or random lubricant |
Cables and pulleys | Light exterior wipe only | Minimal | Soaking moving parts |
Selector pin | Wipe clean | Dry to slightly damp | Sticky dirt buildup |
5. How Often Should You Clean Them?
How often should you really do all of this?
It depends on how much you use the machine. For most fitness lovers, you can keep the schedule simple.
Area | When to Clean |
Upholstery | After sweaty workouts or when visibly dirty |
Grips and handles | After regular use |
Weight-stack surfaces | About once a week or when dusty |
Selector pin | Check and wipe weekly |
Machine frame | Weekly or as needed |
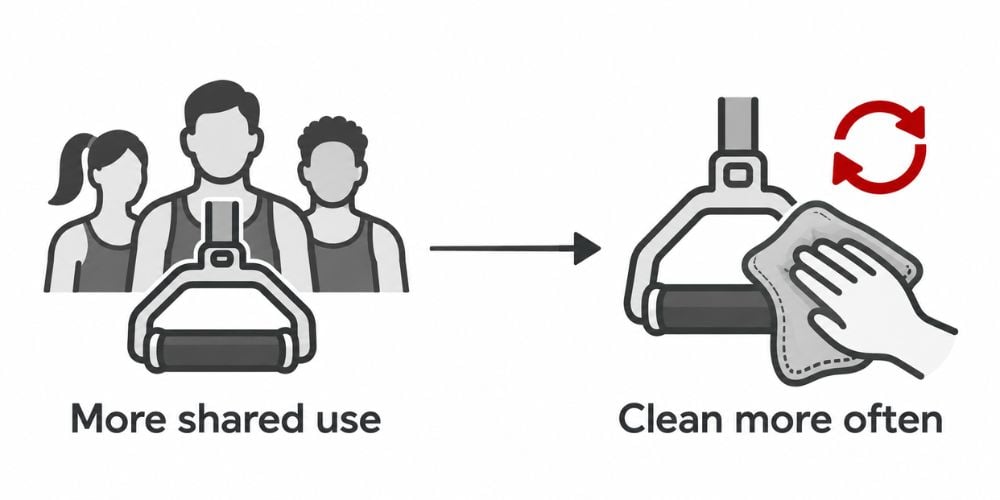
If several people use the same equipment, clean high-touch surfaces more often.
If it is your own home gym and you are the only person using it, you may not need to clean everything after every workout. The main goal is to stop sweat, dust, and grime from building up.
Want a manufacturer example? The Life Fitness strength maintenance schedule recommends daily upholstery cleaning, regular hand-grip checks, and periodic guide-rod cleaning for its commercial strength equipment.
Your home routine can be lighter, but the principle is the same: clean high-contact areas often and check moving areas regularly.
Conclusion
Cleaning gym equipment does not need to take much time. Use a mild cleaner, control the moisture, dry upholstery and grips, and be careful around moving parts.
Regular cleaning also gives you a chance to notice cracked grips, worn pads, sticky selector pins, or other small issues before your next workout.
If you want equipment designed for repeated training and straightforward maintenance, take a look at the strength and cardio machines from YR Fitness.
Related articles:



