








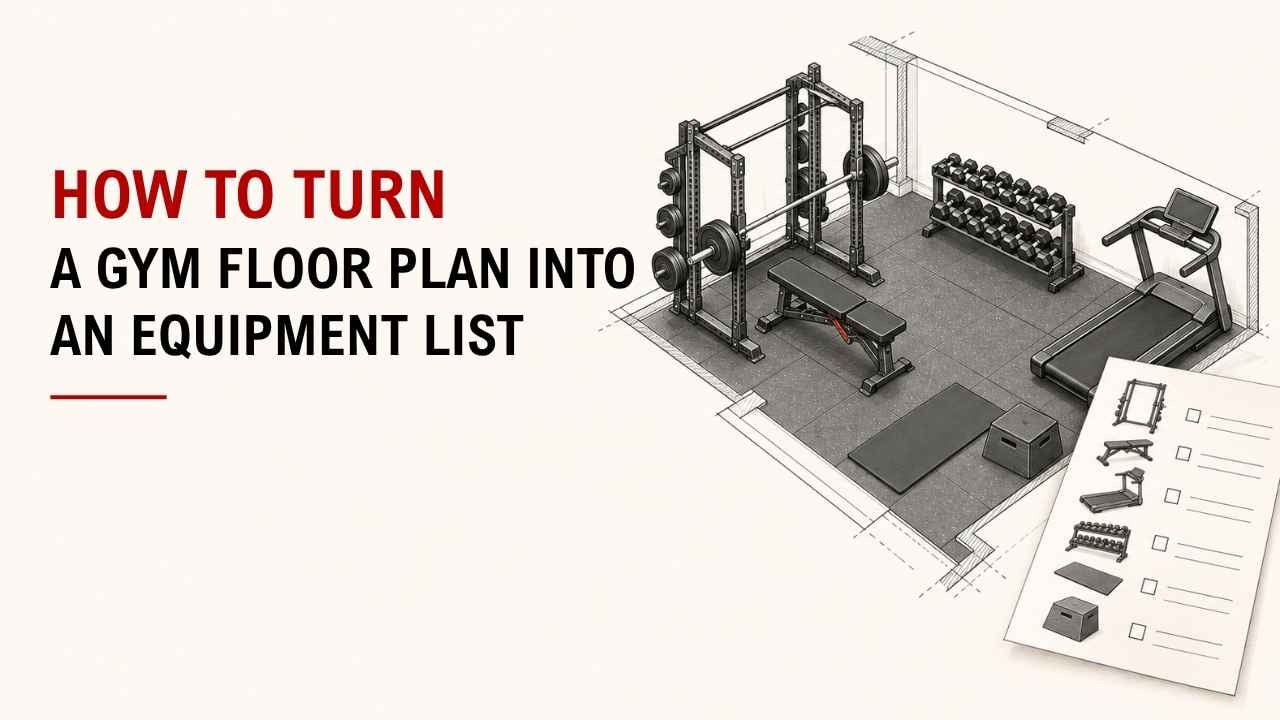

Have a gym floor plan but are not sure what equipment should go where? Turning the drawing into a clear equipment list is easier than it looks.
The simple answer is to measure the usable space, divide it into training zones, and match each zone with equipment that fits. Then count the machines to build your final list.
As an Ergonomics Engineer at YR Fitness, I work closely with equipment dimensions, user space, and training flow. I often see a well-planned layout prevent overcrowding and make equipment selection much easier.
Below, I’ll show you seven simple steps to turn your floor plan into a practical equipment list. Follow them to quickly see what fits and what you actually need.
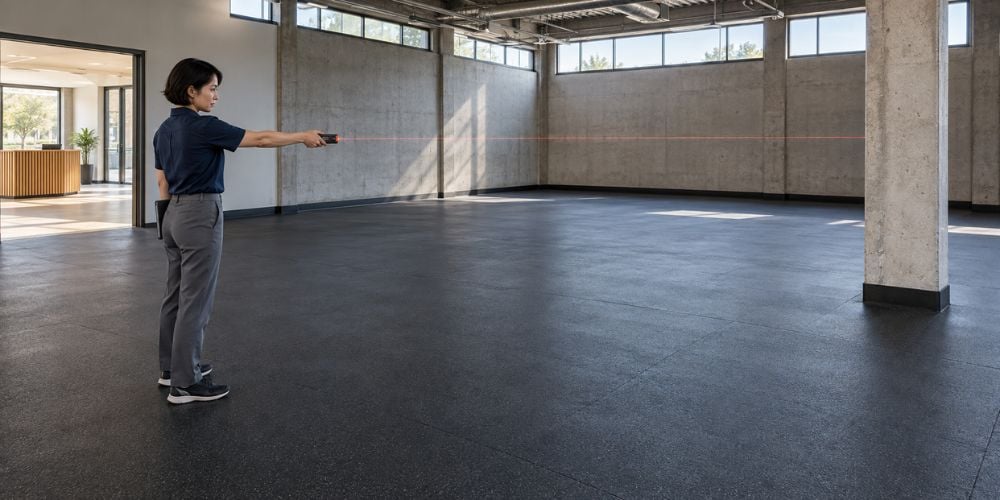
1. Measure the Usable Training Space
Start with the area that can actually hold equipment.
Your total floor size may include:
- Entrances
- Toilets
- Changing rooms
- Reception areas
- Storage rooms
- Columns
- Stairs
- Main walkways
Remove these areas from your equipment calculation first.
Why does this matter?
If you plan equipment around the full 300 m², you may end up with more machines than the room can comfortably hold.
I usually mark the unusable areas first. It makes the rest of the layout much easier to understand.
Also think about how people will move between machines. For U.S. facilities, the 2010 ADA Standards for Accessible Design require accessible routes to exercise equipment and generally specify a minimum 36-inch (915 mm) clear width for walking surfaces. Local accessibility rules may differ, so check the requirements that apply to your location.
2. Divide the Floor Plan Into Training Zones
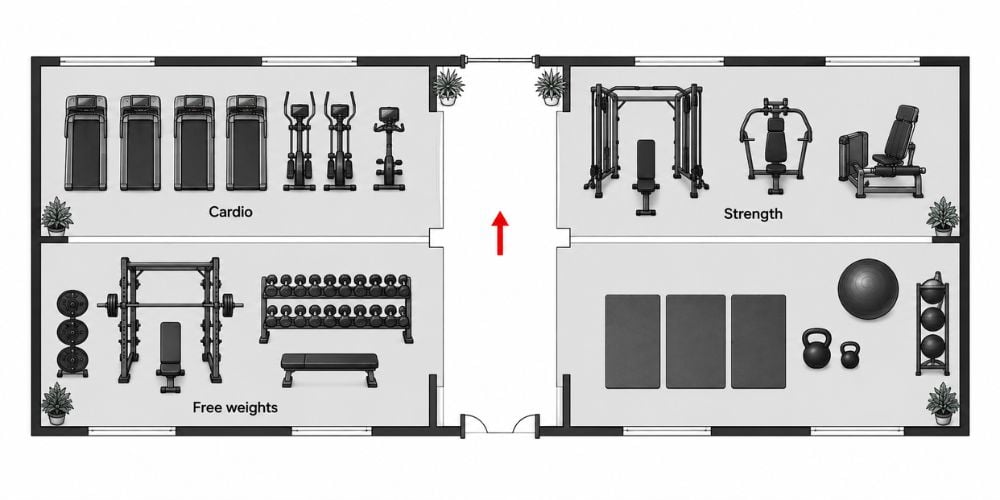
Next, split the usable area based on how people will train.
You do not need complicated calculations. Give each type of training a clear part of the floor.
Training Zone | Main Purpose | Possible Equipment |
Cardio | Aerobic training | Treadmills, bikes, ellipticals |
Strength | Guided resistance training | Chest press, lat pulldown, leg extension |
Free weights | Barbell and dumbbell work | Racks, benches, dumbbells |
Functional | Flexible full-body exercises | Cable trainer, kettlebells, accessories |
Stretching | Warm-up and mobility | Mats, foam rollers |
Which zone should get the most space?
Look at the workouts you actually want to do.
If strength training is your main focus, it makes little sense to give half of the floor to cardio machines. Let your training priorities guide the layout.
3. Decide Which Equipment Each Zone Needs
Now turn each zone into actual equipment.
Start with the main movements you want to cover.
For strength training, think about:
- Legs
- Chest
- Back
- Shoulders
- Arms
- Core
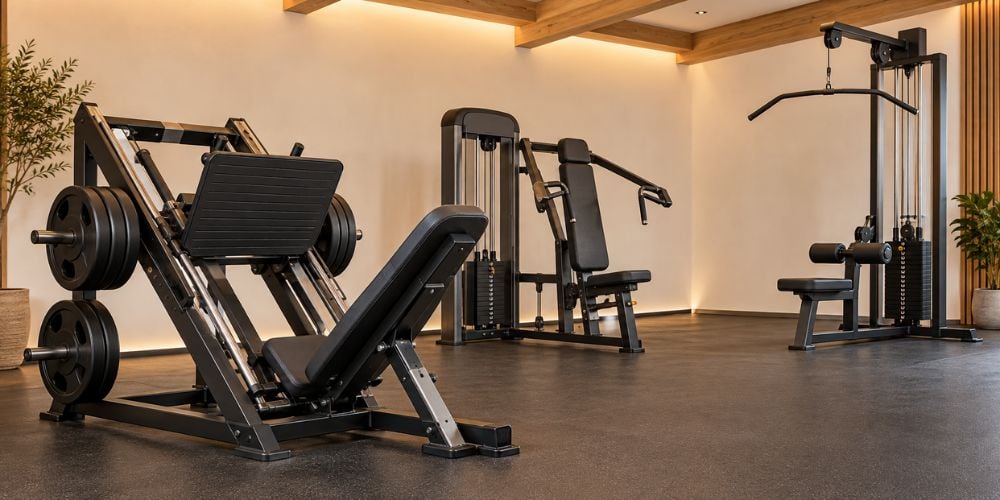
A simple strength area could include:
- Leg press
- Leg extension
- Leg curl
- Chest press
- Shoulder press
- Lat pulldown
- Seated row
For cardio, you might choose:
- Treadmills
- Upright bikes
- Recumbent bikes
- Ellipticals
Do you need every machine available?
No. Cover the main training needs first.
If 2 machines do almost the same job, ask whether that floor space could be better used for another movement or training style.
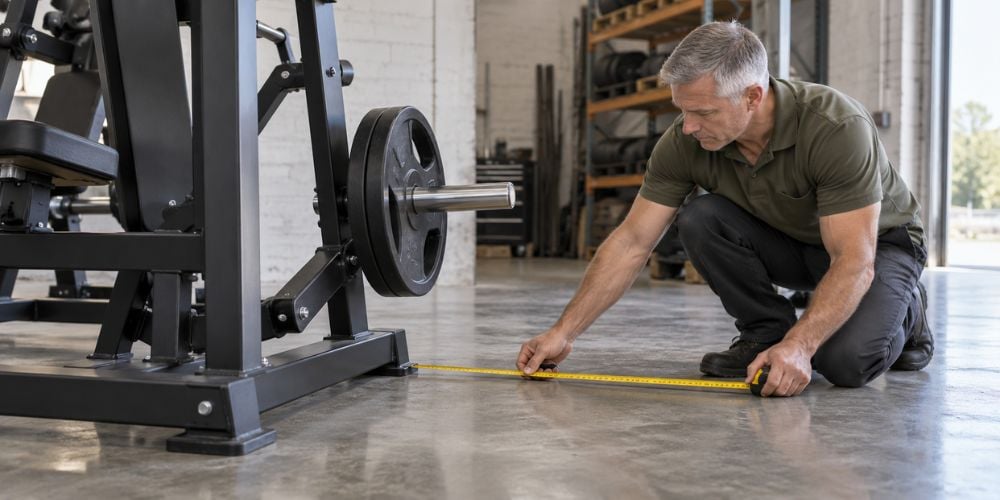
4. Check the Footprint of Every Machine
This step can change your equipment list quickly.
Check the actual specifications for every machine, including:
- Length
- Width
- Height
- User entry space
- Exercise movement space
- Plate-loading space
- Maintenance access
A machine may fit on the drawing but still be awkward to use.
Plate-loaded equipment also needs space beside the frame so you can add and remove plates.
I often see people measure the frame and forget about the person using it.
A real commercial treadmill shows why specifications matter. The Life Fitness Integrity+ model, for example, lists dimensions of about 209 cm long × 92 cm wide × 142 cm high on its official treadmill specifications. That is the machine itself, before you consider surrounding access or your room layout.
Quick check: If a machine only barely fits inside the rectangle on your floor plan, give it more room.
If you already have a floor plan, compare it with the machine dimensions before building your final list. At YR Fitness, we recommend checking our equipment dimensions, training purpose, and available floor space together, so you can narrow down suitable machines before committing space to them.
5. Place the Largest Equipment First
Now start placing equipment on the drawing.
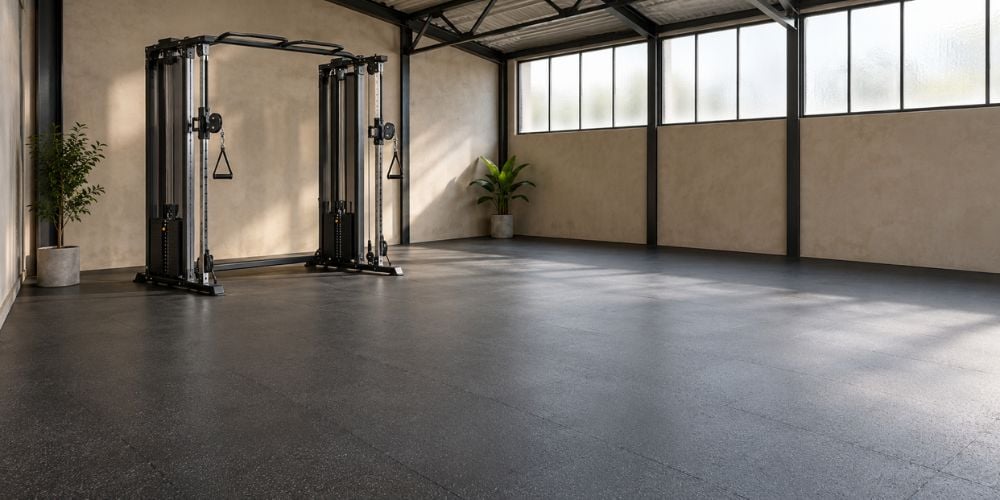
Begin with the biggest pieces, such as:
- Power racks
- Smith machines
- Functional trainers
- Cable crossover machines
- Large plate-loaded machines
- Rows of treadmills
These pieces give you less flexibility because they take up more space.
Once they are positioned, use the remaining areas for:
- Selectorized machines
- Benches
- Dumbbell racks
- Bikes
- Accessories
Why not start with the small machines?
Imagine placing ten smaller machines and then discovering that your cable crossover has nowhere to go. You may have to rearrange most of the floor.
Place the big pieces first. Then fill in the gaps.
6. Turn the Layout Into a Quantity List
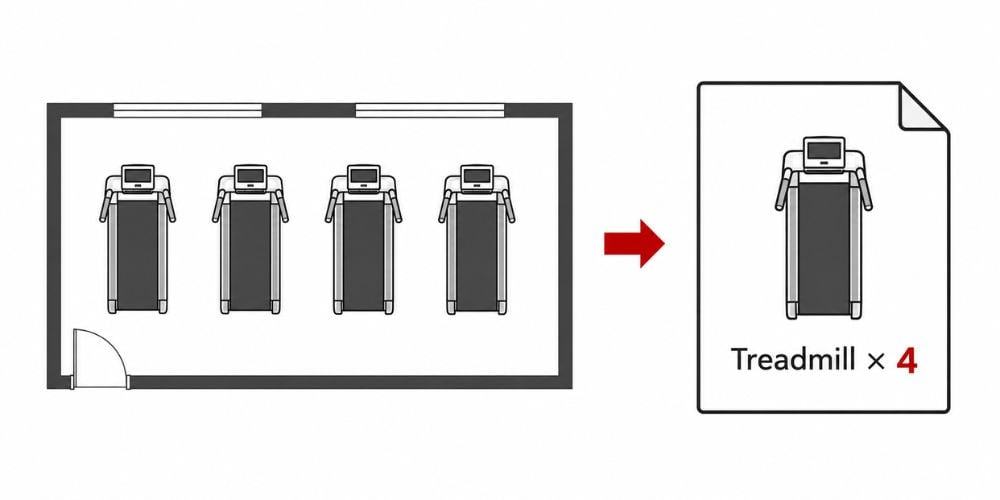
Once every machine has a position, count them.
Your floor plan can now become a practical equipment list.
Equipment | Quantity | Zone | Important Note |
Treadmill | 4 | Cardio | Power required |
Exercise Bike | 2 | Cardio | Allow entry space |
Chest Press | 1 | Strength | Selectorized |
Lat Pulldown | 1 | Strength | Check overhead height |
Leg Press | 1 | Strength | Large footprint |
Power Rack | 2 | Free Weight | Allow barbell clearance |
Adjustable Bench | 3 | Free Weight | Movable |
Functional Trainer | 1 | Functional | Allow cable movement |
At this stage, you should know:
- What equipment you need
- How many pieces do you need
- Where each machine will go
- How much space each one uses
That is the big change.
You have moved from “I think I need a few treadmills and strength machines” to an actual list with quantities and positions.
It is much easier to make changes now than after the equipment arrives.
7. Check Training Balance Before Ordering
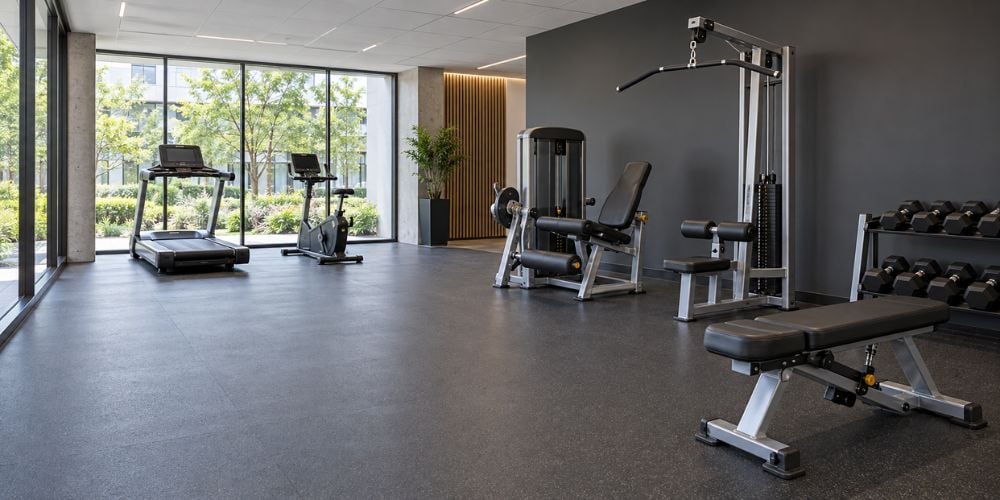
Before you finish, look at the equipment as a complete workout setup.
Ask yourself:
Can someone train their whole body here?
Check whether you have enough options for:
- Legs
- Chest
- Back
- Shoulders
- Arms
- Core
- Cardio
The CDC adult physical activity guidelines recommend both aerobic activity and muscle-strengthening work that covers the major muscle groups. You do not need to design your room around the guideline, but it gives you a useful reminder not to build a setup that heavily favors only one type of exercise.
Then look for unnecessary duplication.
For example, do you really need three similar chest press machines if you only have one machine for back training?
Finally, check the space around everything.
Make sure:
- Walkways stay open
- Machines are easy to enter
- Weight plates can be loaded
- Benches can be moved
I like to imagine someone completing a full workout on the finished layout. If they constantly have to squeeze between machines or cross crowded areas, I know the plan still needs adjusting.
Once these checks are complete, your floor plan has become a realistic equipment list rather than just a drawing.
Conclusion
Turning a gym floor plan into an equipment list is mainly about usable space, training zones, machine dimensions, quantity, and training balance.
A smaller, well-planned list is usually more useful than filling every open corner with another machine.
When you are ready to compare your layout with commercial equipment, explore YR Fitness and match the machine dimensions to your floor plan before making your final choices.
Related articles:



