








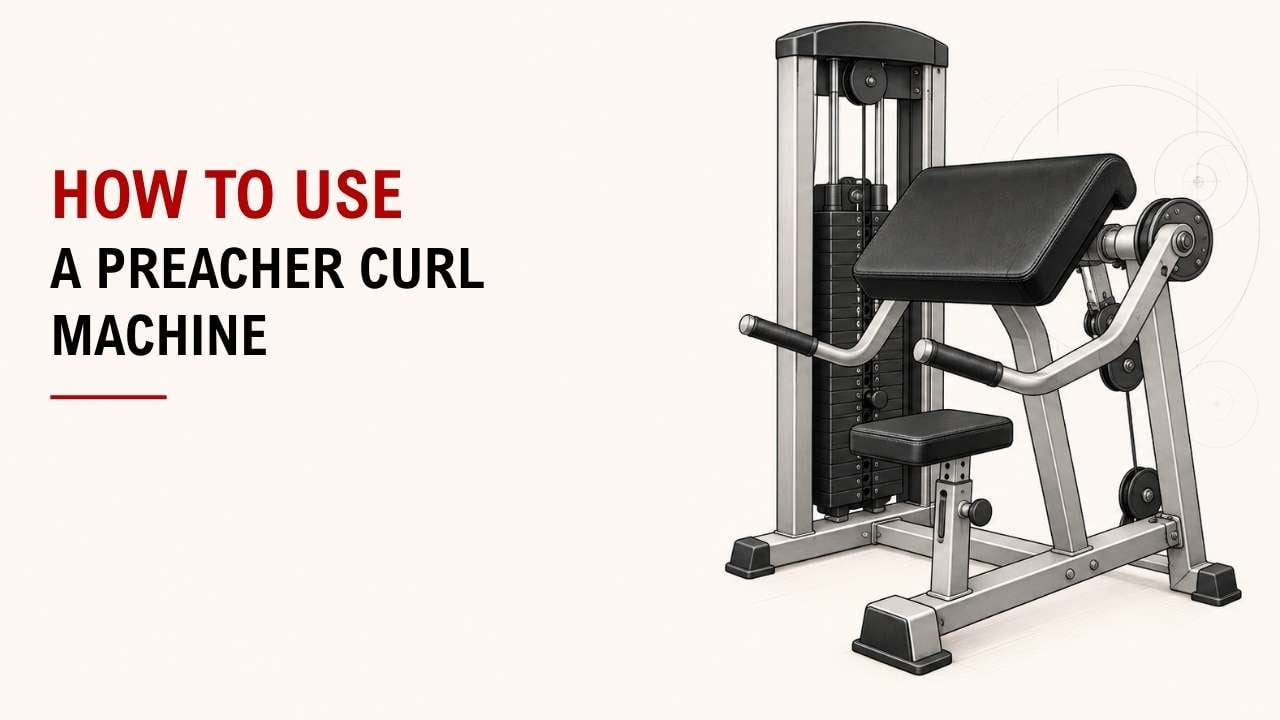

Want to train your biceps without swinging your body or letting your shoulders take over? A preacher curl machine supports your upper arms so you can focus more directly on the curl.
The short answer is: adjust the seat, choose a manageable weight, grip the handles, curl with control, and lower the weight slowly. Good form matters more than using heavy resistance.
As an Exercise Physiology & Biomechanics Expert at YR Fitness, I study how joint position, resistance, and machine setup affect exercise movement. I often see small setup mistakes make preacher curls harder than they need to be.
Below, I’ll show you how to use the machine correctly in six simple steps. Follow them in order, and you can start curling with better control right away.
1. Adjust the Seat
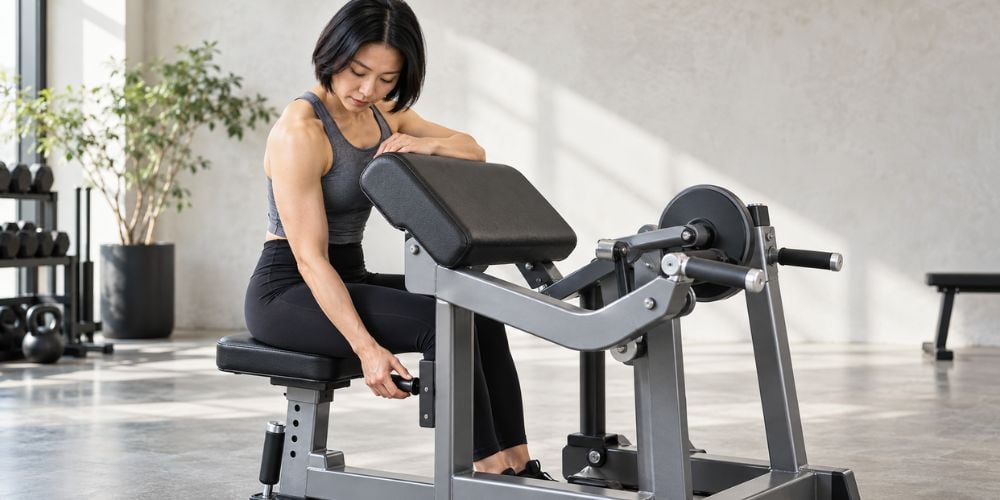
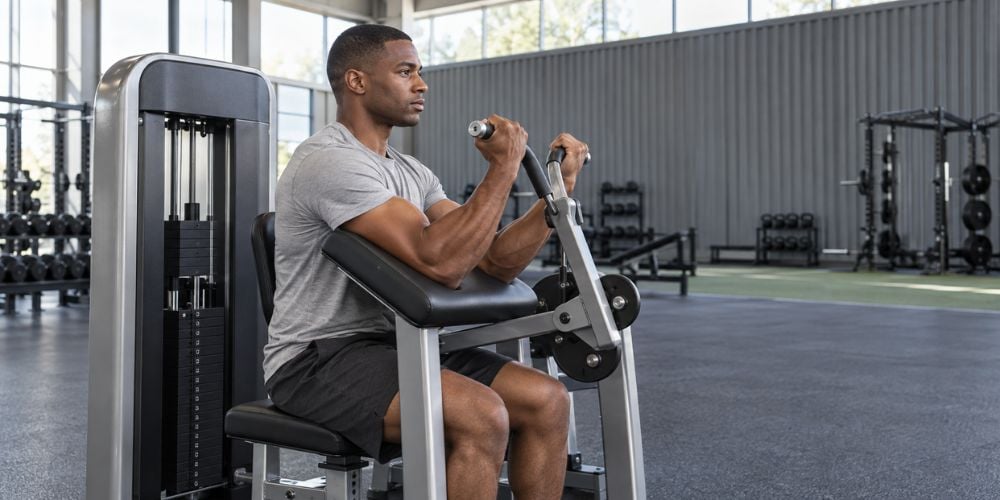
Sit down and place your upper arms against the preacher pad.
Adjust the seat until your armpits are close to the top edge of the pad. Your upper arms should rest comfortably without forcing your shoulders upward.
Keep your chest upright and your shoulders relaxed.
Setup Point | What to Check |
Seat height | Armpits close to the top of the pad |
Upper arms | Rest comfortably against the pad |
Shoulders | Relaxed, not pushed upward |
Chest | Upright |
Elbows | Able to move freely without leaving the pad |
Quick check: Can you keep your upper arms on the pad throughout the curl? If yes, your seat position is probably close.
I usually fix the seat before adding a lot of weight. A poor setup often makes people compensate with their shoulders.
2. Choose a Manageable Weight
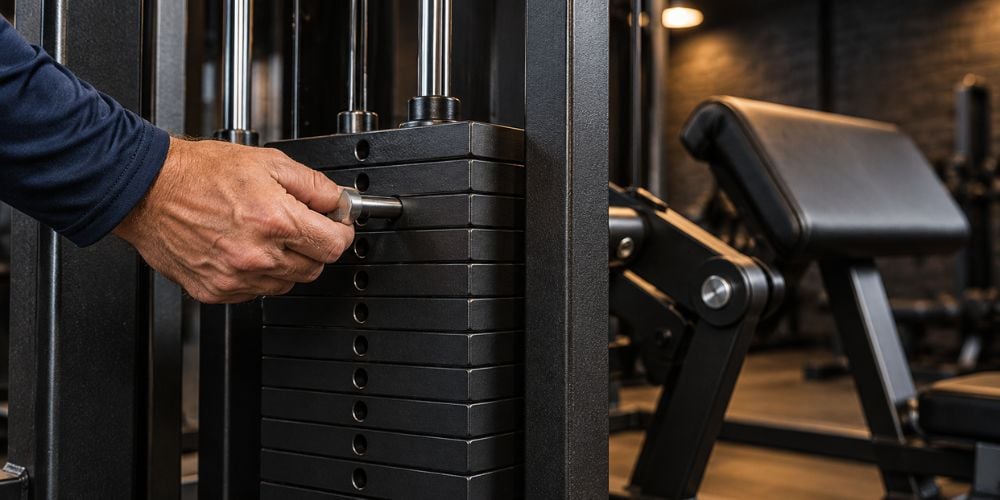
Start lighter than you think you need.
Choose a resistance that lets you complete every repetition without lifting your elbows, rocking your body, or rushing the movement.
For most fitness lovers, the goal is not simply to move the biggest weight possible. You want enough resistance to challenge your biceps while keeping the curl controlled.
How do you know the weight is right?
The last few reps should feel difficult, but your form should stay steady. If you have to swing or pull your elbows away from the pad, reduce the weight.
This simple approach also fits the latest ACSM resistance-training guidance, which emphasizes consistent resistance training over unnecessarily complicated programs.
3. Grip the Handles
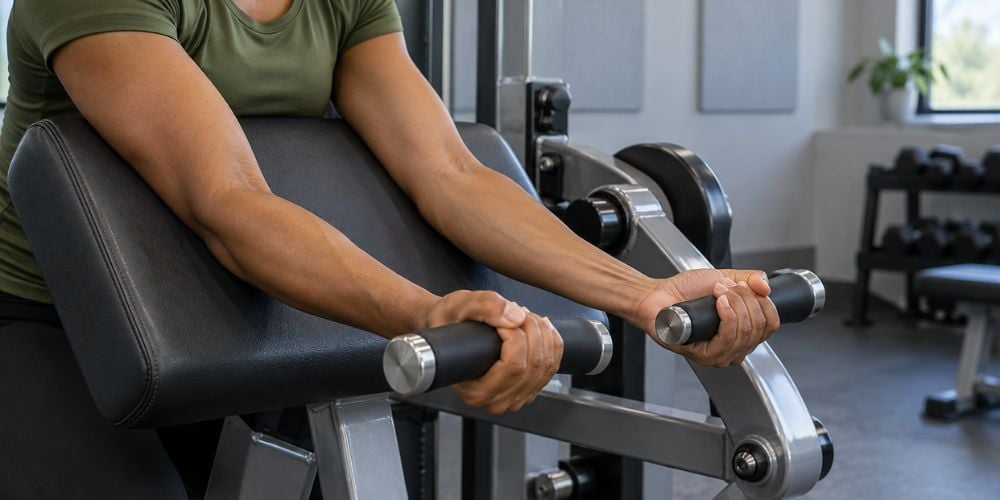
Hold the handles with your palms facing upward.
Keep your wrists neutral instead of letting them bend backward. Grip firmly, but you do not need to squeeze the handles as hard as possible.
Why does wrist position matter? Mayo Clinic’s weight-machine biceps curl guidance also recommends keeping the wrists straight and the movement smooth and controlled.
Keep your elbows pointing downward and your upper arms against the pad.
Some machines use different handle angles. Choose the position that feels natural for your wrists and elbows.
4. Curl the Weight Up
Bend your elbows and curl the handles toward your shoulders.
Keep your upper arms pressed into the pad while your forearms move upward. Do not lift your elbows just to finish the repetition.
Near the top, squeeze your biceps briefly.
Do the handles need to touch your shoulders? No. Stop when you feel a strong contraction without forcing your wrists or shoulders into an awkward position.
I prefer a smooth curl instead of an explosive one. If you need to jerk the handles upward, the resistance is probably too heavy.
Want to compare how different commercial strength machines handle movement and resistance? Explore our strength equipment and look for stable pads, easy adjustments, and a smooth movement path.
5. Lower Weight Slowly
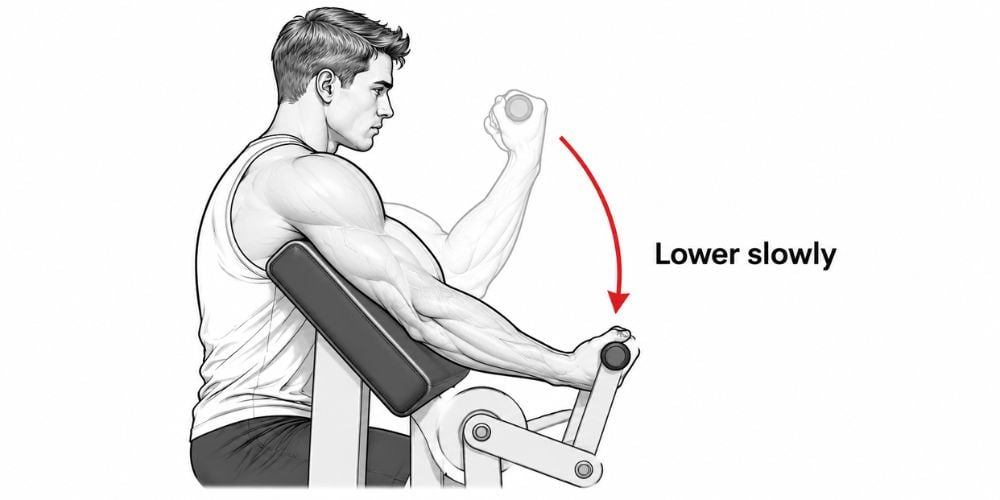
Do not ignore the downward part of repetition.
Slowly extend your elbows and let the handles return toward the starting position. Avoid letting the weight stack drop.
Keep your upper arms against the pad and stay in control until your elbows are almost straight.
Do not aggressively lock your elbows at the bottom. Reach a comfortable stretch, then start the next repetition.
A simple rhythm works well:
Curl up → squeeze → lower slowly → repeat.
I often see people focus only on lifting weight. Giving the lowering phase the same attention usually makes the whole repetition look much cleaner.
6. Use the Right Sets and Reps
You do not need a complicated plan.
Goal | Sets | Reps | Main Focus |
Beginner practice | 2–3 | 10–15 | Learn the movement |
Muscle building | 3–4 | 8–12 | Controlled resistance |
Lighter controlled work | 2–3 | 12–15 | Smooth, clean reps |
Rest around 60–90 seconds between sets.
Start with a range that lets you keep clean technique. Once you can complete every repetition comfortably, increase the resistance gradually.
For general health, strength work also fits the Physical Activity Guidelines for Americans, which recommend muscle-strengthening activity at least two days per week for adults.
Conclusion
Using a preacher curl machine is simple: set the seat correctly, keep your upper arms on the pad, curl without swinging, and lower the weight under control.
If you want to compare preacher curl machines with other strength-training options, visit the YR Fitness website. Look for equipment that gives you stable support, easy adjustment, and a movement you can control from start to finish.
Related articles:



