








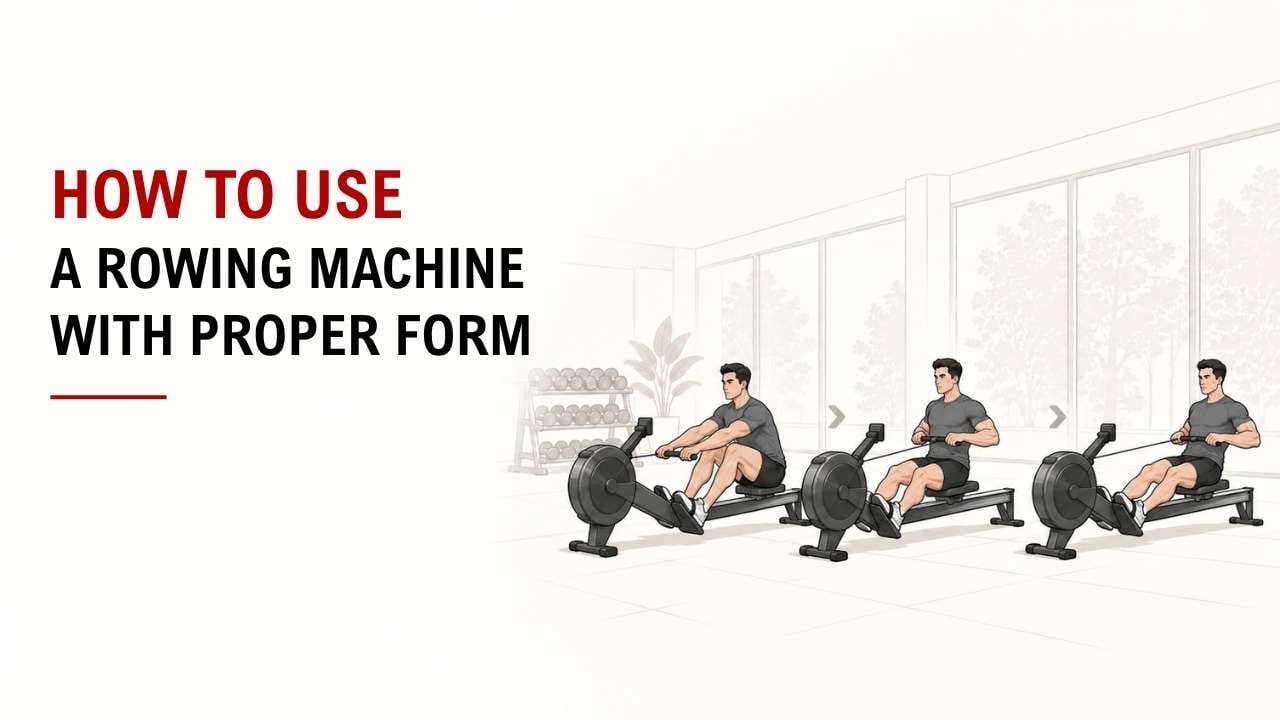

Do you feel like rowing should be simple, but the movement gets awkward once you start? Most beginners struggle because they pull too early with their arms or rush the return.
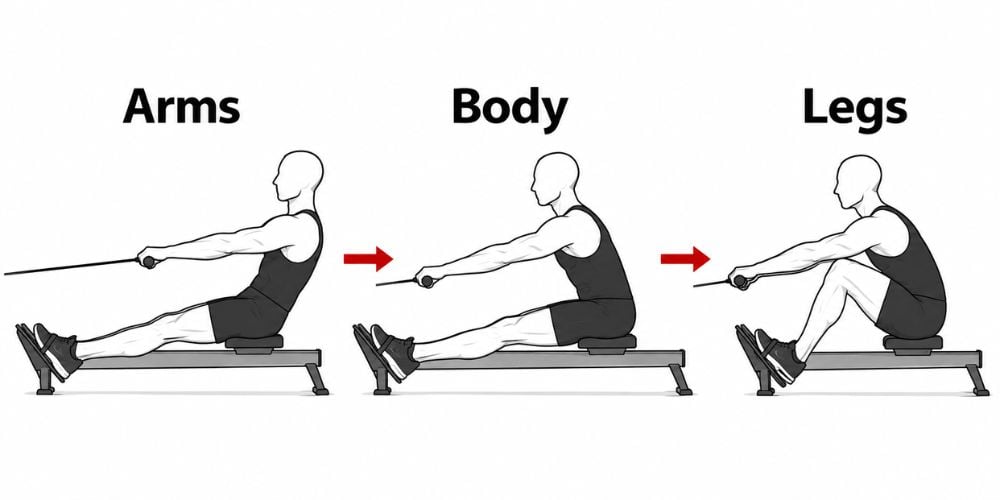
The short answer is simple: push with your legs first, then use your body and arms, and reverse that order on the way back. Think legs → body → arms, then arms → body → legs.
As an Exercise Physiology & Biomechanics Expert at YR Fitness, I study how body position and movement affect exercise efficiency. I often see beginners improve quickly once they stop trying to pull harder and start focusing on the right sequence.
This guide shows you exactly how to set up, start the stroke, drive back, pull the handle, and return smoothly. Follow these seven steps and focus on control before speed.
1. Set Up the Rowing Machine First
Before you start rowing, take a few seconds to set up correctly.
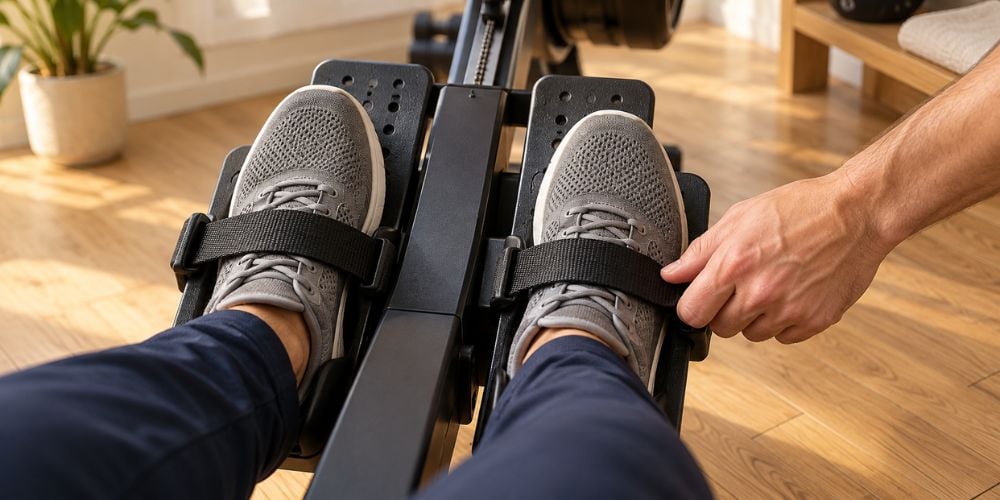
Sit on the seat and place both feet firmly on the footplates. Adjust the straps so they sit across the widest part of your feet without feeling painfully tight.
Then check your position:
- Sit tall.
- Relax your shoulders.
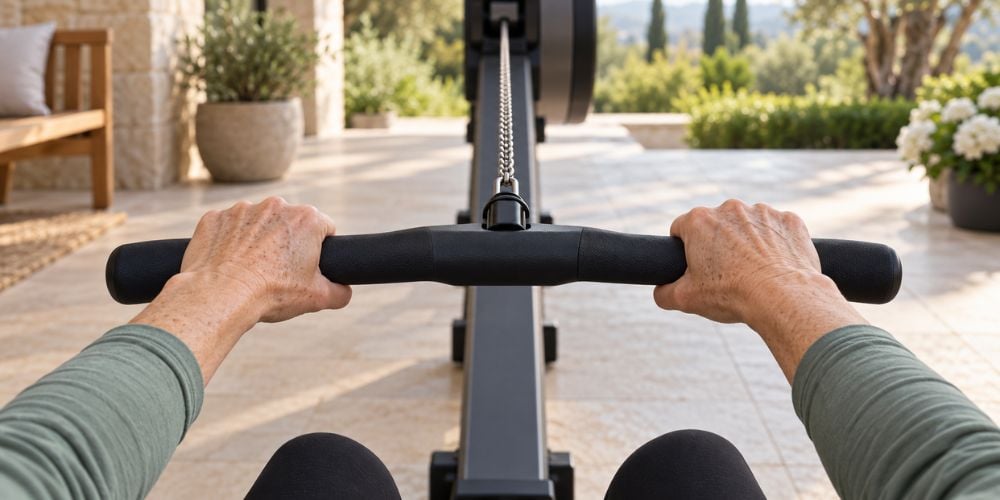
- Hold the handle with an overhand grip.
- Keep your wrists straight.
- Choose resistance you can control comfortably.
Do not assume higher resistance automatically means a better workout. If the resistance feels too heavy, your form can break down quickly.
I usually recommend starting lighter than you think you need. It is much easier to learn the stroke when you are not fighting the machine.
Quick question: Should the handle feel tight in your hands?
No. Keep a secure but relaxed grip rather than squeezing the handle.
The Concept2 indoor rowing technique guide also recommends relaxed shoulders, flat wrists, and a light grip during the stroke.
2. Start in the Catch Position
The catch is your starting position at the front of the machine.
Slide forward until your knees are bent and your shins are close to vertical.
Your position should look like this:
- Arms straight.
- Shoulders relaxed.
- Back neutral.
- Core lightly engaged.
- The upper body leans slightly forward.
- Knees bent.
- Handle held firmly but not tightly.
Do not round your lower back just to reach farther forward.
Your forward lean should come mainly from your hips. Your shoulders should sit slightly ahead of your hips while your spine stays controlled.
Quick check: Are your arms straight and your back controlled?
If so, you are ready to drive.
3. Push with Your Legs First
This is one of the most important parts of proper rowing form.
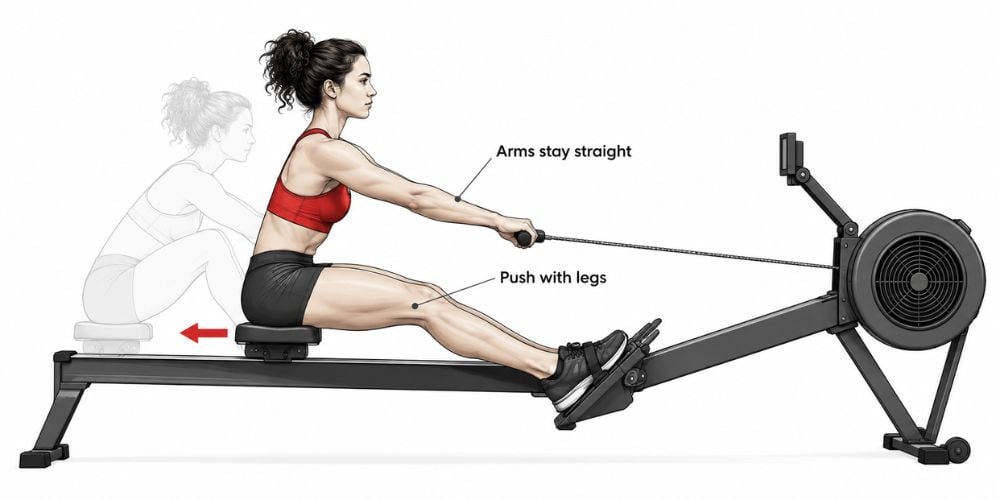
Do not start by pulling the handle with your arms. Start by pushing through your feet.
Drive the seat backward by extending your knees. Keep your arms straight and your upper body controlled during the first part of the movement.
Think:
Push first. Pull later.
Your legs contain much larger muscle groups than your arms, so they should create most of the initial drive.
British Rowing describes the approximate contribution as 60% legs, 30% body, and 10% arms during the stroke. The exact feeling will vary between people, but the lesson is clear: rowing should not feel like an arm exercise.
I often tell beginners to imagine they are pushing the machine away with their feet. That simple cue usually moves feel more natural.
Keep your feet connected to the footplates. Avoid jumping or jerking backward.
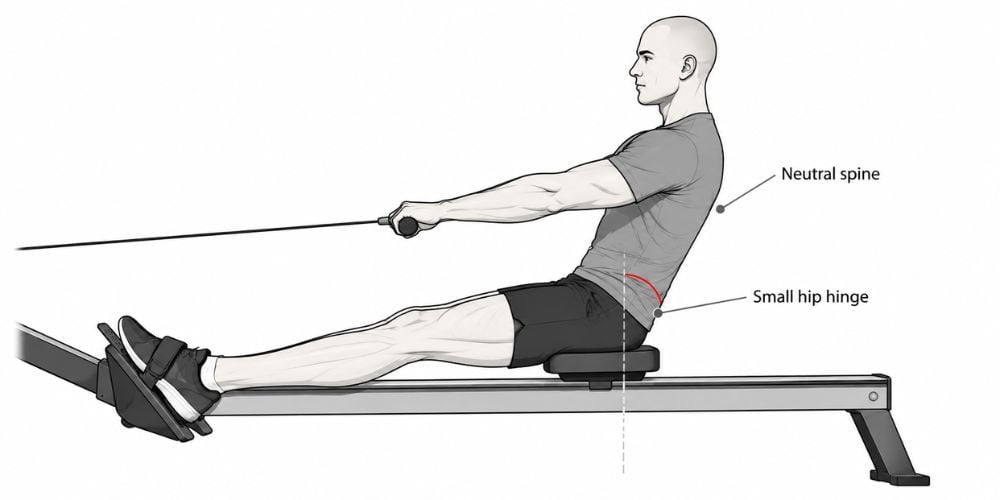
4. Lean Back Slightly
As your legs straighten, let your upper body move.
Hinge slightly backward from your hips. You only need a small lean.
Keep:
- Your core being controlled.
- Your chest open.
- Your spine is neutral.
- Your shoulders relaxed.
Do not throw your shoulders far behind your hips.
Why does that matter?
A large backward lean adds unnecessary movement. It can also make it harder to return smoothly into the next stroke.
The goal is simple: transfer the power from your legs through your body without losing control.
If you are comparing equipment for regular cardio training, we design our commercial machines around stable construction, smooth movement, and repeated daily use. You can explore our commercial fitness equipment here and compare options that fit your training space.
5. Pull the Handle Toward Your Body
Now bring your arms into the stroke.
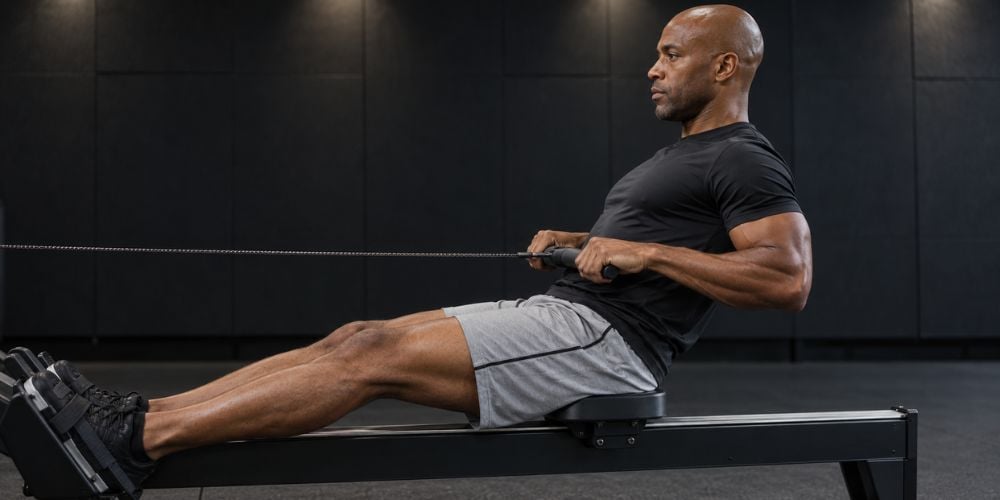
Once your legs are nearly straight and your torso has leaned slightly backward, bend your elbows and pull the handle toward your lower ribs or upper abdomen.
Keep your wrists straight.
Let your elbows travel naturally behind your body without flaring too far outward.
At the end of the stroke:
- Legs are straight.
- Torso is slightly leaned back.
- Handle is close to your body.
- Elbows are behind you.
- Shoulders stay down.
This is called the finish position.
Do not pull the handle toward your neck or high into your chest. Keep the movement low, smooth, and controlled.
What Should Each Part Feel Like?
Body Part | What to Do | What to Avoid |
Legs | Push firmly through the feet | Pulling with arms first |
Back | Hinge slightly from the hips | Rounding or excessive leaning |
Arms | Pull after the leg drive | Bending elbows too early |
Wrists | Keep them straight | Curling the handle upward |
Shoulders | Keep them relaxed | Shrugging toward the ears |
6. Return in the Correct Order
Now reverse the movement.
This part is called recovery, and order matters.
First, straighten your arms and move the handle away from your body.
Second, hinge your torso slightly forward.
Third, bend your knees and allow the seat to slide toward the front.
Remember:
Drive: Legs → Body → Arms
Recovery: Arms → Body → Legs
One common mistake is bending the knees too early. Your knees can then get in the way of the handle.
Let the handle pass your knees before you slide forward.
I find that slowing recovery makes this much easier. You have more time to reset your posture before the next drive.
If this sequence still feels awkward, Concept2 has several rowing technique drills for practicing the stroke in smaller pieces.
7. Keep Your Rowing Rhythm Smooth
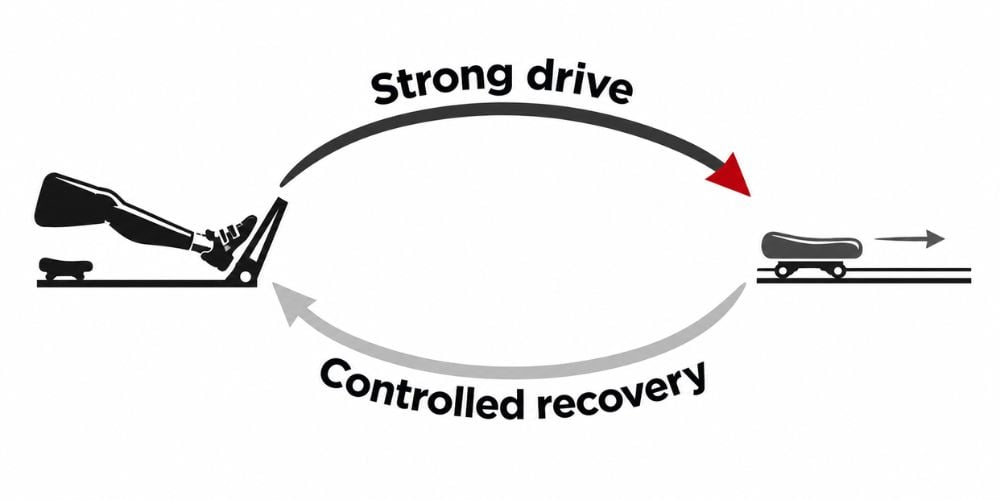
Good rowing should feel controlled, not rushed.
Push backward with power, then return forward more slowly.
A simple rhythm is:
Strong drive → controlled recovery → strong drive → controlled recovery.
Avoid racing the seat forward after every stroke.
The recovery is your chance to reset your posture and prepare for the next drive. If you rush it, your next stroke often becomes rushed too.
What if your rowing starts feeling messy?
Slow down.
Focus again on:
Legs → body → arms.
Then:
Arms → body → legs.
Proper form matters more than stroke speed, especially while you are still learning.
Conclusion
Using a rowing machine correctly becomes much easier when you remember one sequence: legs, body, arms — then arms, body, legs. Start slowly, keep your back neutral, and let smooth technique come before speed.
If you also want to compare equipment designed for frequent cardio and strength training, visit YR Fitness and explore our equipment range. Choose equipment that feels stable and smooth so you can focus more on your form and workout.
Related articles:



