








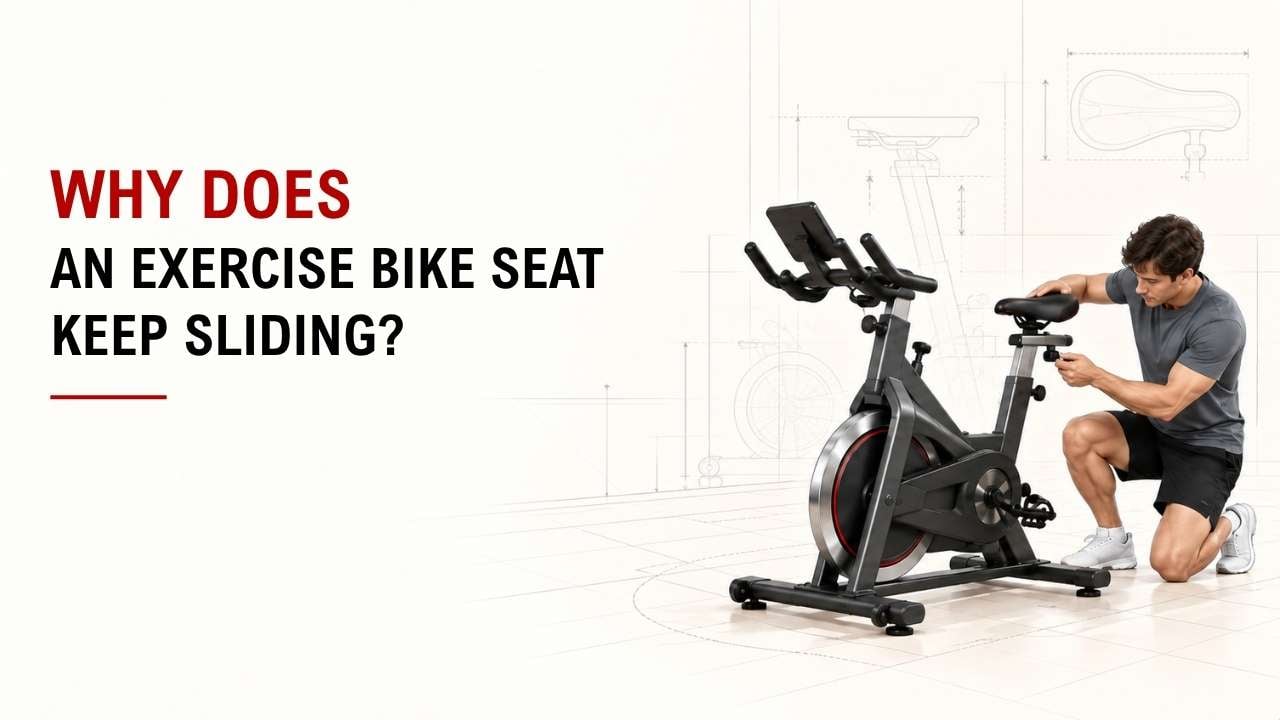

Does your exercise bike seat keep sliding forward, backward, or downward while you ride? It can quickly turn a normal workout into a frustrating one.
The short answer is: the seat clamp, adjustment knob, locking pin, or saddle rails may be loose, worn, dirty, or installed incorrectly. Most of these problems are easy to narrow down once you know where to look.
As a Machinery & Structural Engineer at YR Fitness, I work with equipment frames, fastening systems, adjustment mechanisms, and moving parts. I often see seat problems come from one small locking point rather than a major bike failure.
Below, I’ll show you the seven most common reasons an exercise bike seat keeps sliding. Start with the first few checks before assuming you need replacement parts.
- 1. The Seat Clamp Is Not Tight Enough
- 2. The Seat Adjustment Knob Is Loose
- 3. The Locking Pin Is Not Fully Engaged
- 4. The Seat Rails Are Loose
- 5. The Clamp or Adjustment Parts Are Worn
- 6. The Seat Was Installed Incorrectly
- 7. The Seat Post Has Too Much Lubrication or Contamination
- What Should You Check First?
- Conclusion
1. The Seat Clamp Is Not Tight Enough
The seat clamp holds the saddle rails in position. If it is slightly loose, your body weight and pedaling movement can slowly push the seat forward or backward.
Check the bolts underneath the saddle. Tighten both sides evenly, so the seat stays centered.
This matters because most saddles use rails that are held by the seatpost clamp. Park Tool’s saddle and seatpost adjustment guide also recommends loosening or tightening multiple mounting bolts evenly on two-bolt designs.
Quick Check: Can you move the saddle with your hands after tightening it? If yes, the clamp still needs attention.
Avoid simply forcing one bolt tighter. Use the bike manufacturer’s recommended tightening method or torque specification when available.
2. The Seat Adjustment Knob Is Loose
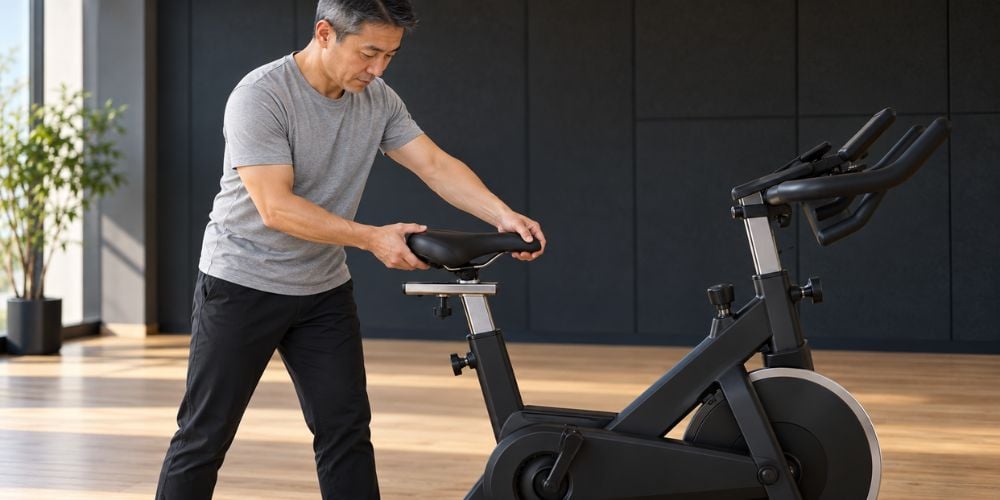
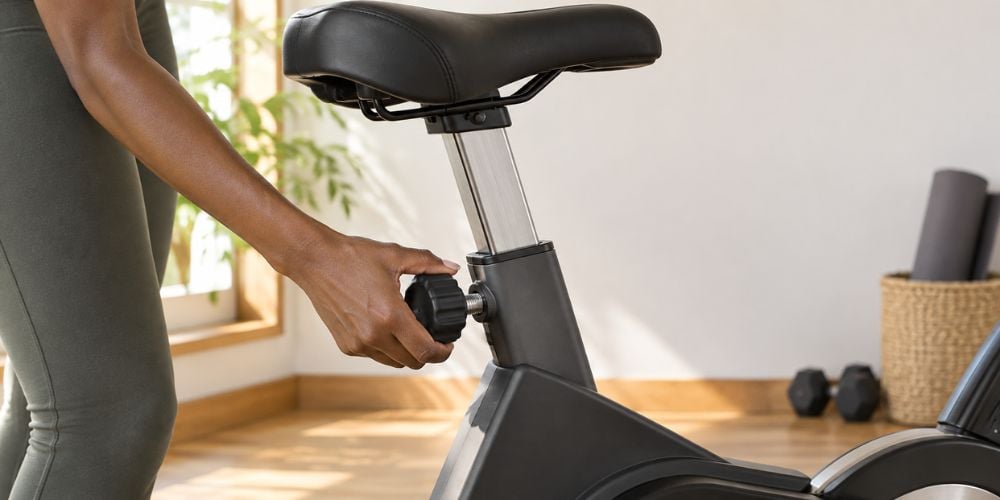
Many exercise bikes use a large knob or handle to lock the seat position.
If it is not fully tightened, repeated movement during your workout can make the seat slide. Depending on the bike, that movement may be vertical or horizontal.
I often see riders adjust the seat quickly and start pedaling before the knob is fully secured.
For example, Schwinn’s IC4 assembly instructions tell users to position the seat, lock the adjustment mechanism, and tighten the knob or handle securely.
Before riding:
- Set the seat in the correct position.
- Tighten the knob firmly.
- Push and pull the seat.
- Check for obvious movement.
You should not need extreme force. The adjustment mechanism simply needs to lock securely.
3. The Locking Pin Is Not Fully Engaged
Does your seat suddenly drop while you ride? Check the locking pin first.
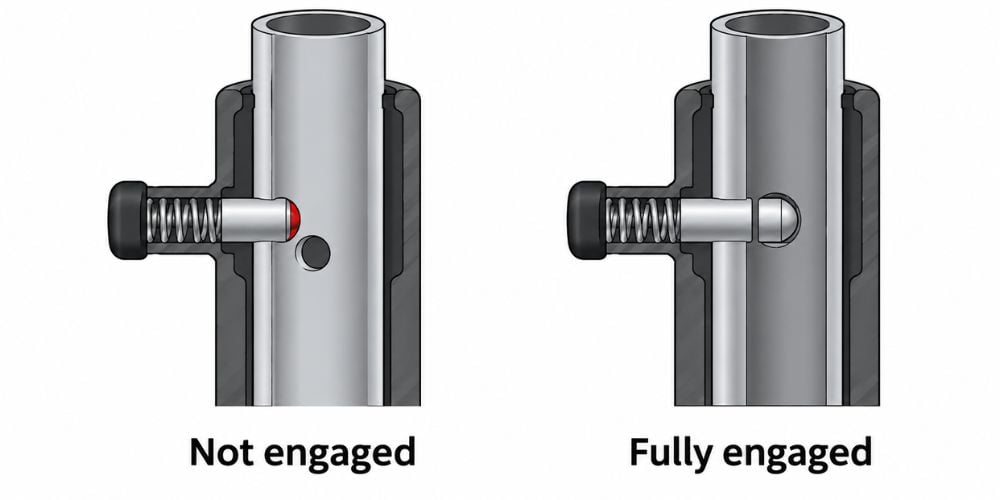
Many exercise bikes have holes in the seat post. A spring-loaded pin enters one of these holes to hold your chosen seat height.
If the pin is only resting against the post, the seat may appear secure. Once you sit down, however, it can slip.
Life Fitness’ exercise-bike seat adjustment guidance recommends releasing the adjustment knob only after it lines up with the seat-post hole and checking that it has fully engaged before riding.
Move the seat slightly until you feel the pin enter the hole. Then secure the adjustment knob.
Important: Do not keep riding if the seat height cannot lock securely.
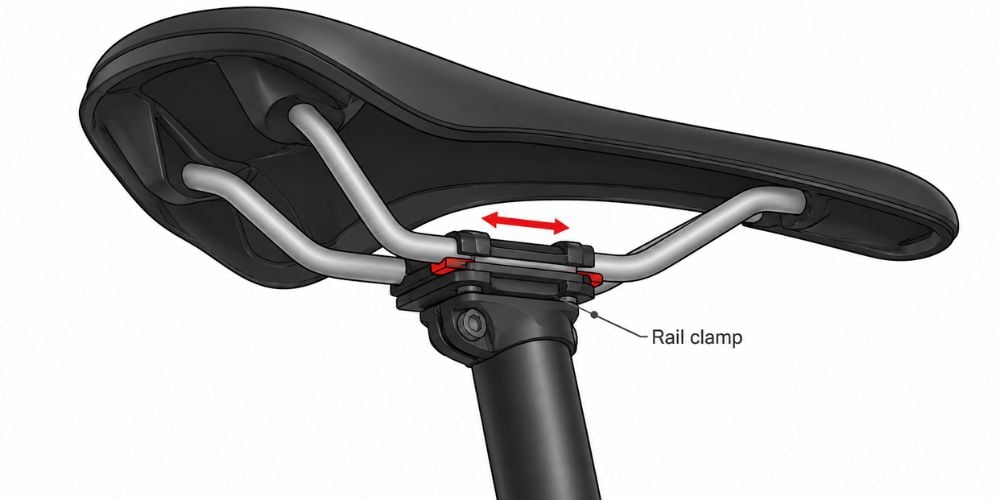
4. The Seat Rails Are Loose
Most bike saddles have two metal rails underneath. These connect the saddle to the mounting bracket.
If the mounting hardware becomes loose, you may notice:
- The seat sliding forward.
- The seat sliding backward.
- The saddle nose tilting.
- A clicking sound while pedaling.
Loose saddle-rail binders can also create movement between the saddle and seatpost.
Here is why this matters: the seat should stay in the position you selected. If it changes angle or position while you ride, stop and inspect the clamp before continuing.
If loose adjustment points are becoming a regular problem on your bike, it may be worth comparing equipment built for repeated daily use. At YR Fitness, we focus on stable adjustment systems, solid structures, and practical durability in our cardio equipment, so you can explore our exercise equipment and compare options that fit your training needs.
5. The Clamp or Adjustment Parts Are Worn
What if you tighten everything and the seat still moves?
The parts themselves may be worn.
Check for:
- Stripped bolt threads.
- Rounded locking surfaces.
- Damaged adjustment teeth.
- Worn knobs.
- Bent clamps.
- Damaged seat-post holes.
I use one simple rule here: if you tighten the same part correctly and it keeps coming loose, inspect the part instead of tightening it harder.
Over-tightening damaged hardware will not restore its grip. The worn component may need to be replaced.
Repair or Replace?
What You Find | What to Do |
Knob was simply loose | Tighten and test again |
Pin was not lined up | Reposition and fully engage it |
Saddle bolts are loose | Tighten evenly |
Threads are stripped | Replace the damaged fastener or part |
Clamp is bent or badly worn | Replace the clamp |
Seat-post hole is damaged | Stop riding and inspect the assembly |
Saddle rails are damaged | Replace the affected saddle or hardware |
If you are not sure whether a damaged component is safe to reuse, check the bike manufacturer’s instructions before riding again.
6. The Seat Was Installed Incorrectly
Did the problem start after replacing or adjusting the saddle? The installation may be the cause.
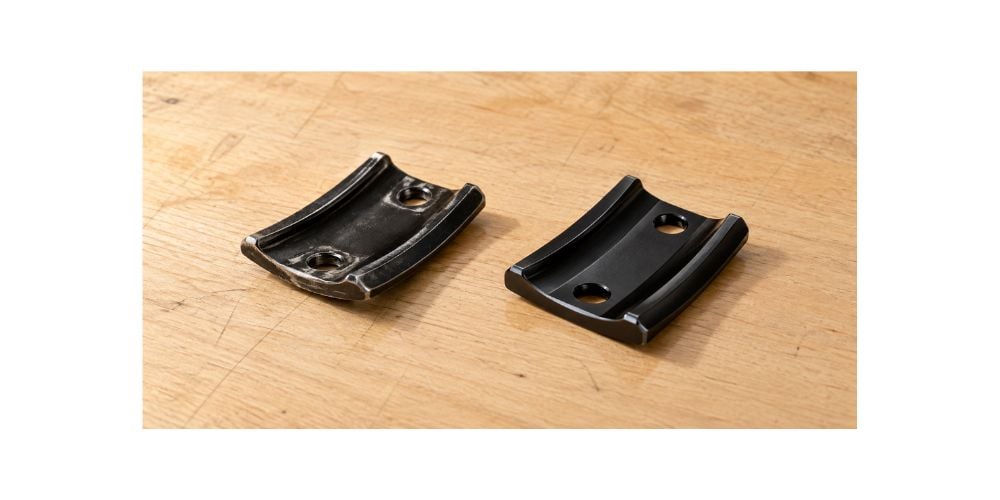
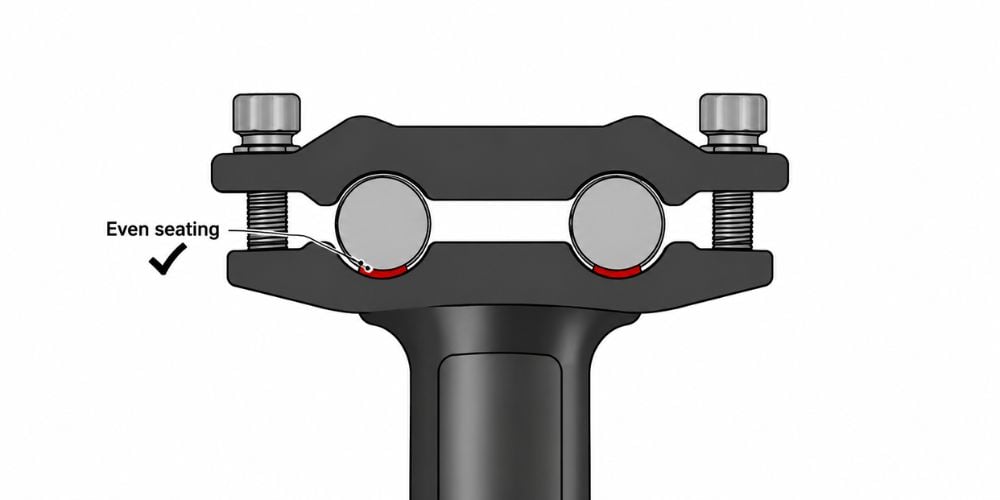
The saddle rails need to sit correctly inside the clamp. Bolts, washers, and mounting plates also need to be positioned properly.
Check that:
- Both rails sit evenly in the clamp.
- The seat is centered.
- The mounting plates face the correct direction.
- Both sides are tightened evenly.
- No washer or fastening part is missing.
I often see this after a saddle replacement. The new seat itself may be fine, but one clamp plate or washer has been installed incorrectly.
If you still have the bike’s assembly manual, compare your setup with the manufacturer’s instructions.
7. The Seat Post Has Too Much Lubrication or Contamination
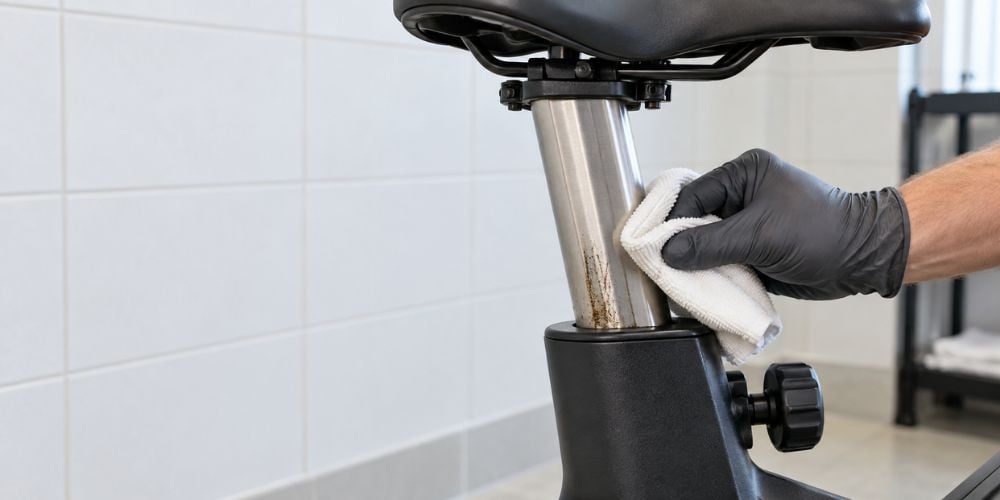
Lubrication helps some bike parts move properly. But grease, sweat, dirt, or cleaning products in the wrong area can interfere with how securely some contact surfaces grip.
So, should you remove every bit of lubricant?
No.
Some bolts, pivots, and seatpost systems actually require lubrication or specific assembly compounds. Park Tool notes that lubrication can be appropriate on fasteners and certain seatpost interfaces, depending on the design.
Instead, look for obvious dirt, excess product, or contamination around the locking area. Clean the area appropriately and follow the manufacturer’s maintenance instructions for your specific bike.
What Should You Check First?
Start with the easy checks:
- Tighten the seat clamp.
- Check the adjustment knob.
- Make sure the locking pin enters the correct hole.
- Inspect the saddle rails.
- Look for worn threads or damaged parts.
- Confirm the seat was installed correctly.
- Check dirty or contaminated locking surfaces.
Still sliding? Stop using the bike until you find the cause rather than repeatedly adjusting the seat during your workout.
Conclusion
An exercise bike seat usually keeps sliding because a clamp is loose, the adjustment knob is not locked, the pin is not engaged, the rails are moving, or the hardware is worn, dirty, or incorrectly installed.
Start with the simple locking points before replacing anything.
I recommend fixing the movement before your next workout instead of repeatedly readjusting the saddle while riding. If you are also comparing durable cardio equipment for regular training, you can explore exercise equipment from YR Fitness and find an option that fits how you train.
Related articles:



