








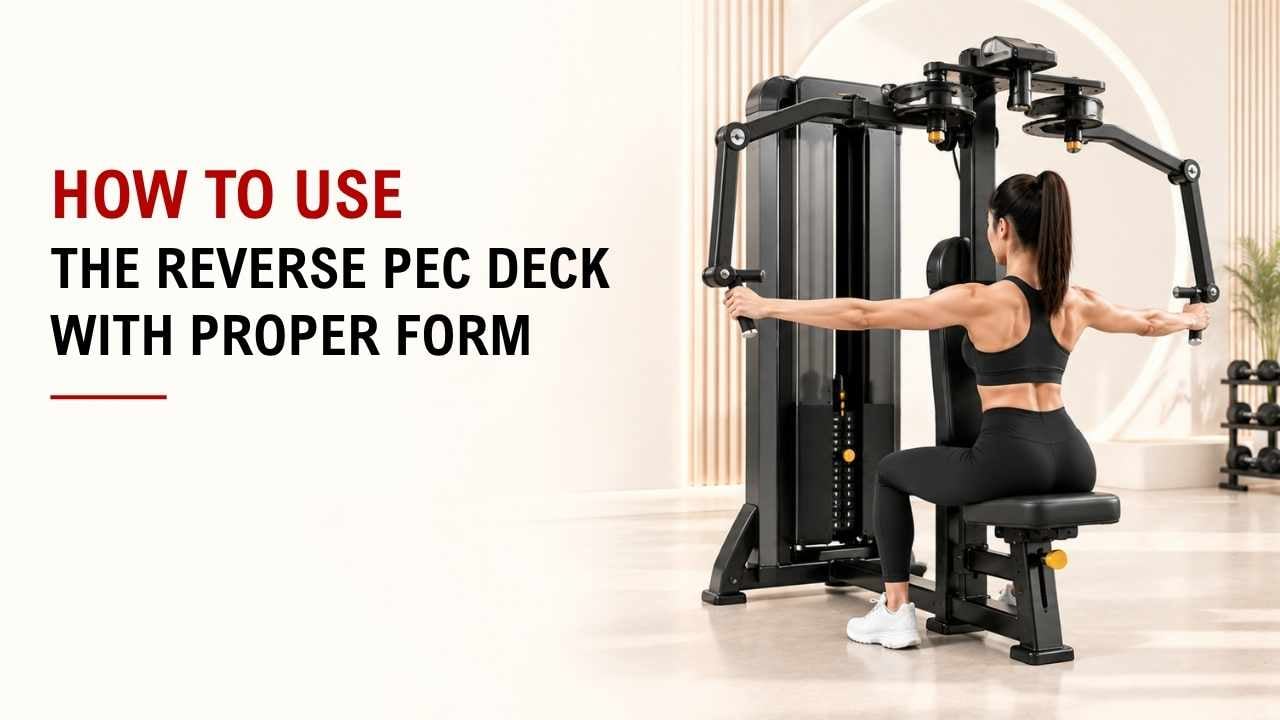

Not sure how to use the reverse pec deck correctly? The right setup makes it much easier to target your rear shoulders.
The key is simple: set the handles around shoulder height, keep your chest supported, open your arms smoothly, and return slowly. Use a weight you can control.
As an Exercise Physiology & Biomechanics Expert at YR Fitness, I work closely with joint position, movement paths, and strength-machine design. I often see better rear-delt engagement once the seat height and starting position are set correctly.
Below, I’ll show you the setup, movement, and right sets and reps. Follow the steps, and you can use the reverse pec deck with better form.
1. Adjust the Seat Height
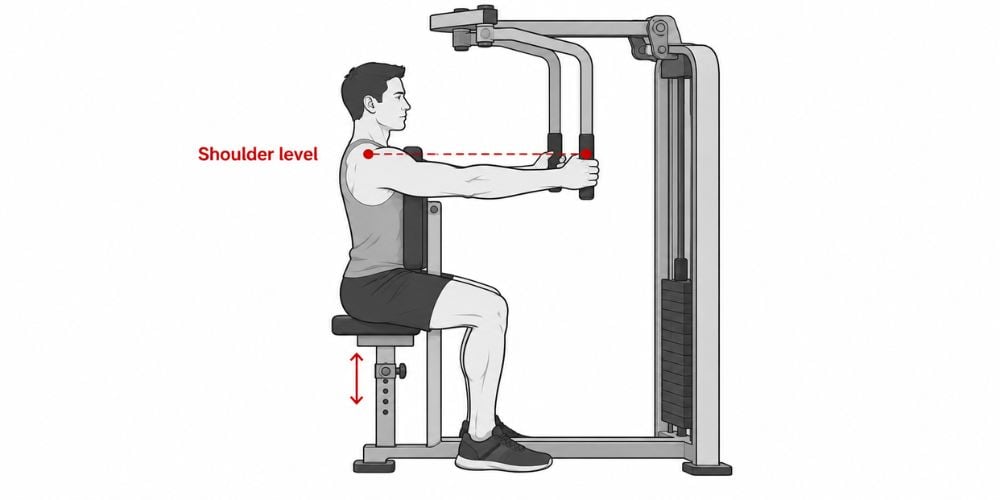
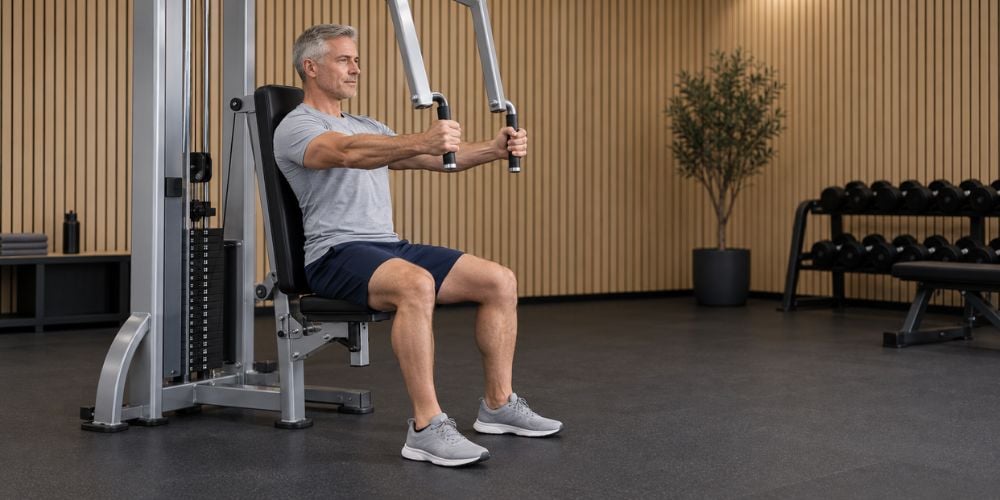
Sit facing the machine with your chest against the pad.
Adjust the seat until the handles are roughly level with your shoulders. Keep both feet flat on the floor.
You should be able to reach the handles without shrugging or leaning forward.
Quick check: Is the seat right?
Check | What You Want |
Handle height | Roughly shoulder level |
Chest | Supported against the pad |
Feet | Flat on the floor |
Shoulders | Down, not shrugged |
Reach | Comfortable without leaning |
If your shoulders rise toward your ears, adjust the seat before you start.
I often recommend fixing the seat first before worrying about weight. A small change here can make the exercise feel much more natural.
2. Set the Starting Position
Adjust the machine arms if your reverse pec deck allows it.
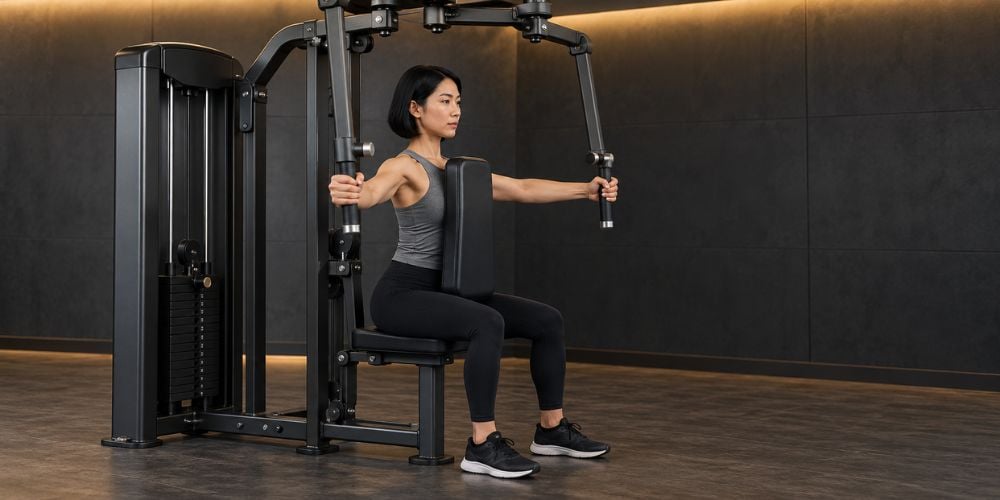
Start with your arms slightly in front of your body. Keep a small bend in your elbows and hold the handles comfortably.
Do not lock your elbows completely straight.
Keep your chest against the pad and your head neutral. Avoid forcing your shoulders too far forward just to create a bigger stretch.
What about your grip?
Use the grip that lets your shoulders move comfortably. If your machine offers a neutral grip, it can be a useful option.
A study published on PubMed on reverse-fly hand position found greater posterior-deltoid and infraspinatus activity with a neutral hand position than with a pronated grip in the participants tested. That does not mean every machine or every person needs the same grip, so comfort and control still matter.
3. Choose a Light, Controlled Weight
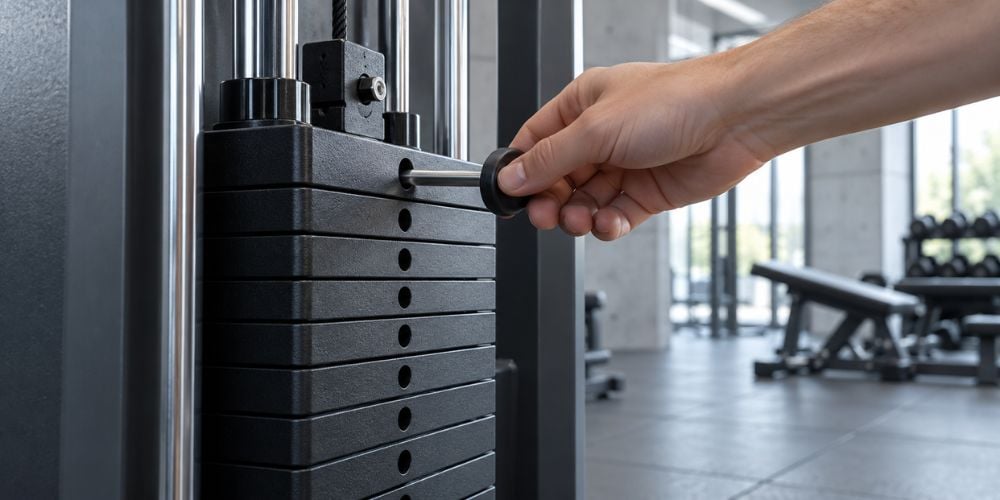
Start lighter than you think you need.
The rear deltoids are smaller than many of the muscles used in heavy pressing or pulling exercises. Too much weight can make you swing, shrug, or let your upper back take over.
Choose a load that lets you complete every rep smoothly.
I would rather see 12 clean reps than 8 heavy reps with poor control. If the weight stack keeps slamming down, reduce the load.
The latest ACSM resistance-training position stand also emphasizes progressive resistance training rather than treating heavier weight as the only route to results.
4. Open Your Arms Backward
Hold the handles and keep your chest against the pad.
Move your arms outward and backward in a smooth arc. Think about moving your elbows apart instead of simply pulling on the handles.
Keep the same slight bend in your elbows throughout the rep.
Stop when your upper arms are roughly in line with your body. You do not need to force your arms far behind your torso.
Keep your shoulders down instead of shrugging.
The basic movement is similar to the horizontal arm-opening pattern shown in the ACE reverse fly exercise guide, which also emphasizes opening the arms, pausing, and returning under control.
Machine geometry can change how natural the exercise feels. At YR Fitness, we pay close attention to movement angles and exercise paths when developing strength equipment, because a well-positioned machine makes it easier to focus on controlled reps instead of fighting the setup.
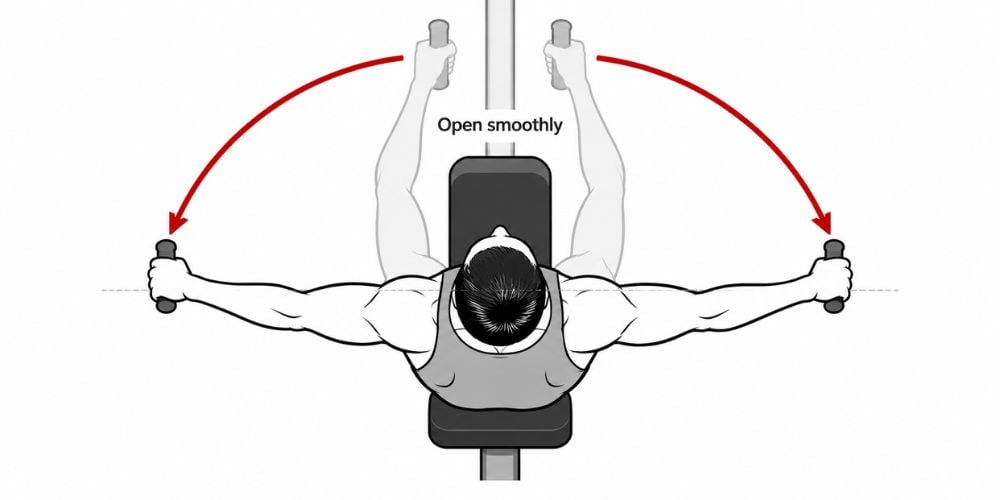
5. Squeeze Your Rear Delts
Pause briefly when you reach the back of the movement.
Focus on the muscles at the back of your shoulders. Your upper-back muscles will also help control the motion.
Do not aggressively squeeze your shoulder blades together.
A simple cue works well:
Open the arms → feel the rear shoulders → pause.
Should you pull as far back as possible? No.
I often see people pull much farther back than they need to. More range is not automatically better if you lose control or your shoulders start moving out of position.
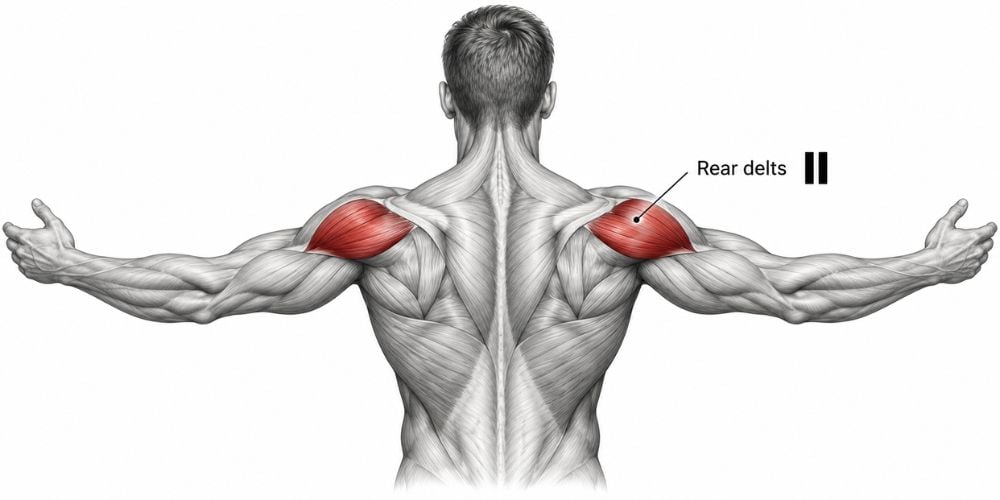
6. Return Slowly
Bring your arms forward under control.
Do not let the weight pull your arms back to the starting position. Keep resisting the load as your arms move forward.
Return until you reach your original starting position, then begin the next rep.
A simple rhythm is:
Open under control → pause → return slowly.
If you cannot control the return, the weight is probably too heavy.
7. Use the Right Sets and Reps
You do not need complicated programming for the reverse pec deck.
Goal | Sets | Reps | Rest |
Beginner | 2–3 | 10–12 | 45–90 sec |
Muscle building | 3–4 | 10–15 | 45–90 sec |
Higher-rep rear-delt work | 2–4 | 15–20 | 45–90 sec |
Choose a weight that feels challenging near the end of the set without changing your form.
When should you add weight? Increase the load only when you can complete your target reps without swinging, shrugging, or lifting your chest away from the pad.
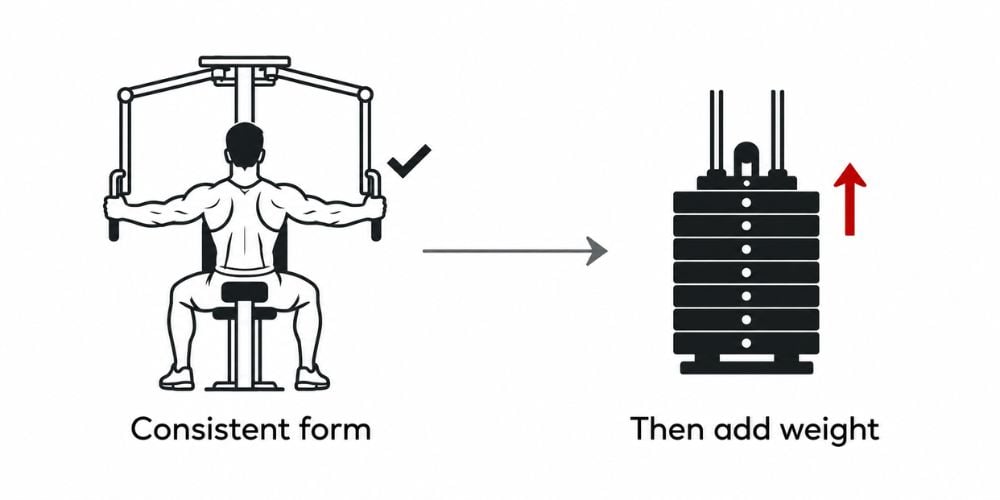
Conclusion
Good reverse pec deck form comes down to correct seat height, chest support, controlled arm movement, and manageable weight. Keep the reps smooth and focus on feeling the rear shoulders work.
If you want to compare professionally designed strength machines, explore YR Fitness equipment built around practical movement paths, solid construction, and reliable daily training.
Related articles:



