








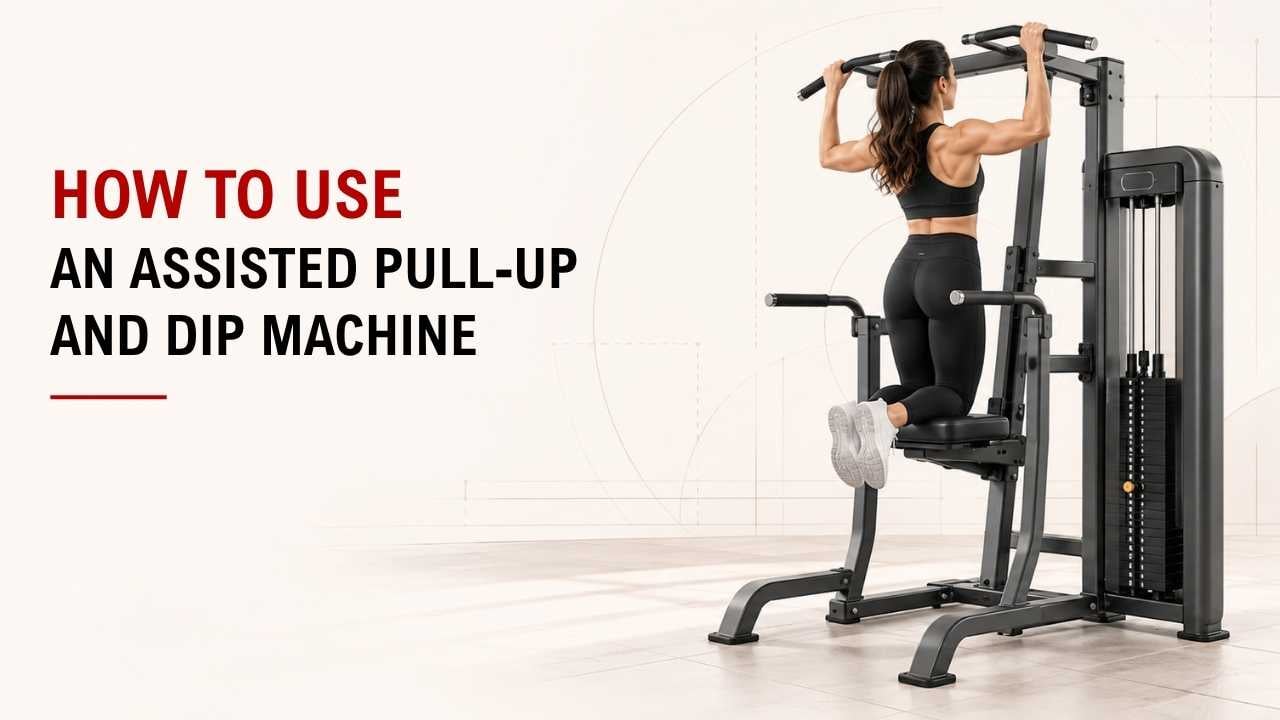

Not strong enough for full pull-ups or dips yet? An assisted pull-up and dip machine lets you practice both movements while supporting part of your body weight.
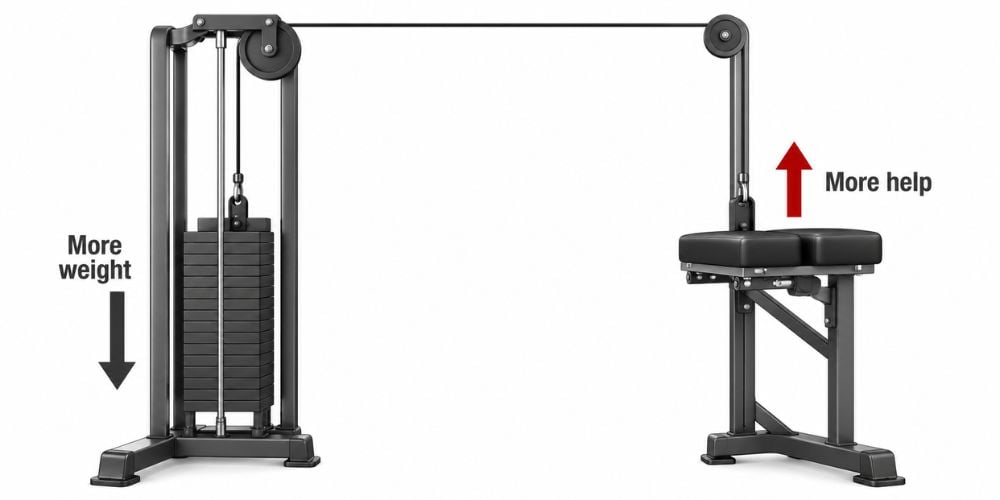
The simple answer is: choose enough assistance, get into position safely, control every rep, and gradually use less assistance as you get stronger. Remember that more weight on the assistance stack usually means more help.
As an Exercise Physiology & Biomechanics Expert at YR Fitness, I look closely at how resistance, body position, and movement affect exercise technique. I often see beginners progress better when they focus on clean reps instead of trying to remove assistance too quickly.
Below, I’ll take you through the machine from setup to your final rep. Scroll down and follow the steps in order.
1. Choose Assistance Weight
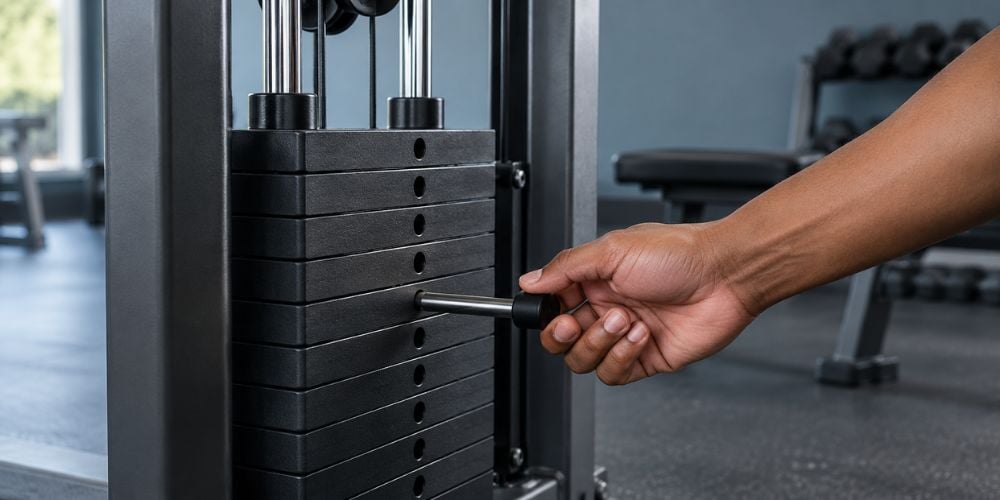
Start with the weight stack.
Unlike many strength machines:
- More weight = more assistance
- Less weight = less assistance
- Less assistance means you move more of your own body weight.
If you are new to the machine, start with more help. Try one or two reps, then adjust.
What Happens | What to Do |
You cannot finish a clean rep | Add assistance |
You swing or struggle | Add assistance |
Reps feel controlled | Keep the setting |
Reps feel very easy | Reduce assistance slightly |
Quick question: How do you know the weight is right?
You should be able to move without kicking, bouncing, or losing control.
2. Step Onto the Machine
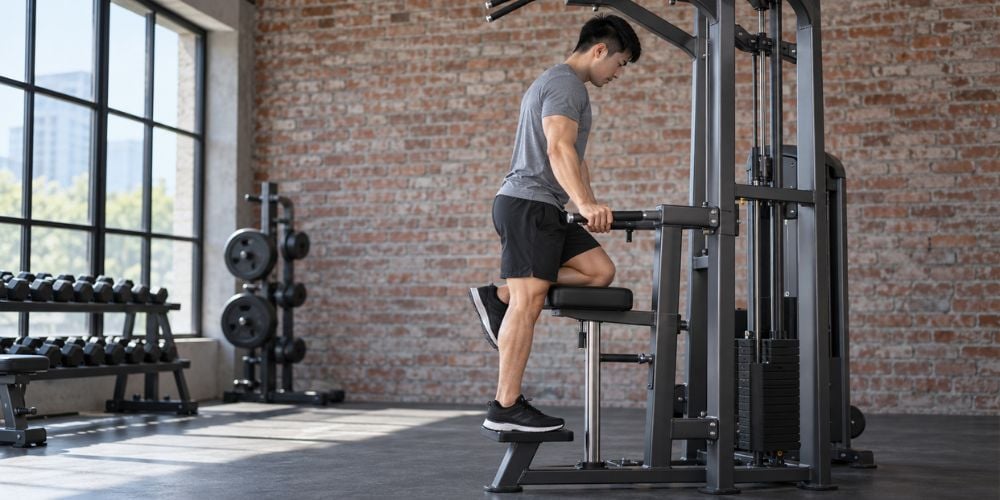
Hold the handles before stepping onto the assistance pad.
Place one knee or foot on the pad first. Bring the other side into position slowly.
Do not jump onto it.
The pad moves as your body moves, so get balanced before starting. I usually tell beginners to take an extra second here rather than rushing into the first rep.
3. Set Up for Assisted Pull-Ups
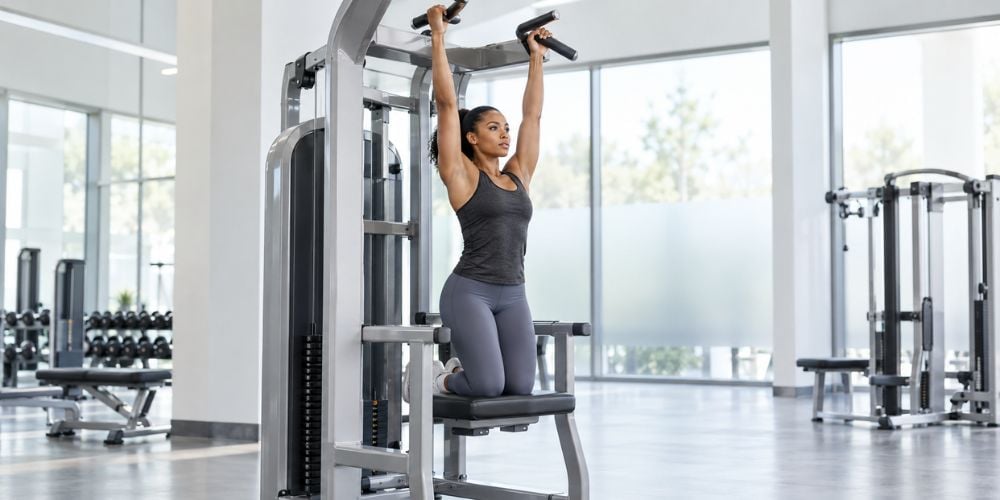
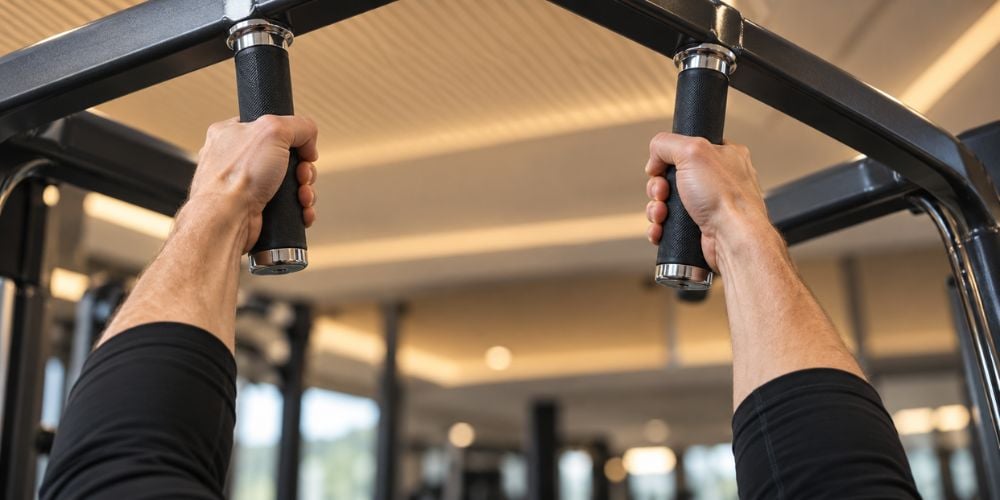
Move your hands to the pull-up handles.
Your machine may offer:
- Wide grip
- Medium grip
- Neutral grip
- Underhand grip
A comfortable shoulder-width or neutral grip is a simple place to start.
Keep your core tight and your chest slightly lifted. Control your shoulders instead of hanging loosely at the bottom.
Need a visual reference for the movement? The NASM pull-up technique guide shows the same basic idea: brace the body, drive the elbows down, and control the return.
4. Pull Your Body Up
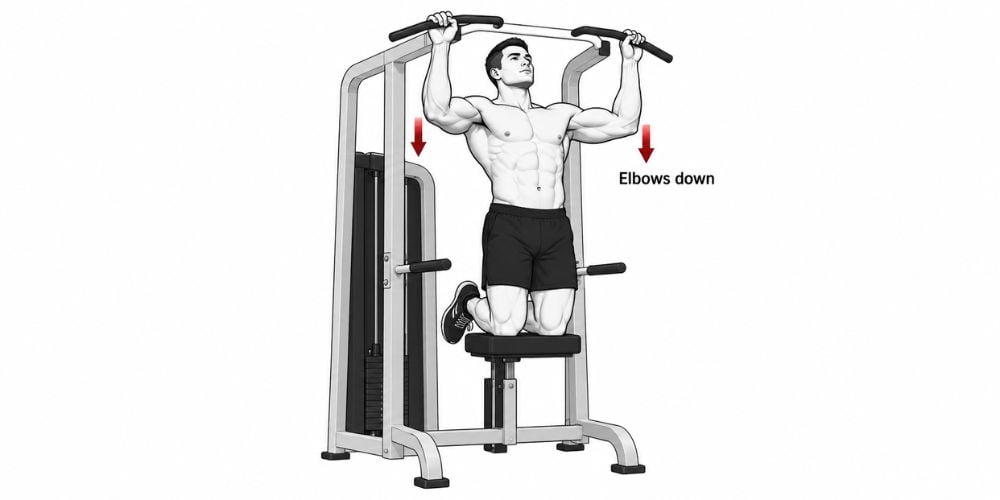
Start by driving your elbows downward.
Pull your body toward the handles while keeping your chest lifted. Avoid swinging your legs to create momentum.
A cue I often use is:
“Pull your elbows toward your sides.”
This helps you think about using your back rather than doing everything with your arms.
Pull until your chin reaches around handle height, or until you reach the highest comfortable position you can control.
Then pause briefly.
A smooth assistance mechanism makes it much easier to focus on your technique instead of fighting the machine. At YR Fitness, we design our commercial strength equipment around stable structures, practical adjustments, and controlled movement paths for repeated daily training.
5. Lower Yourself Slowly
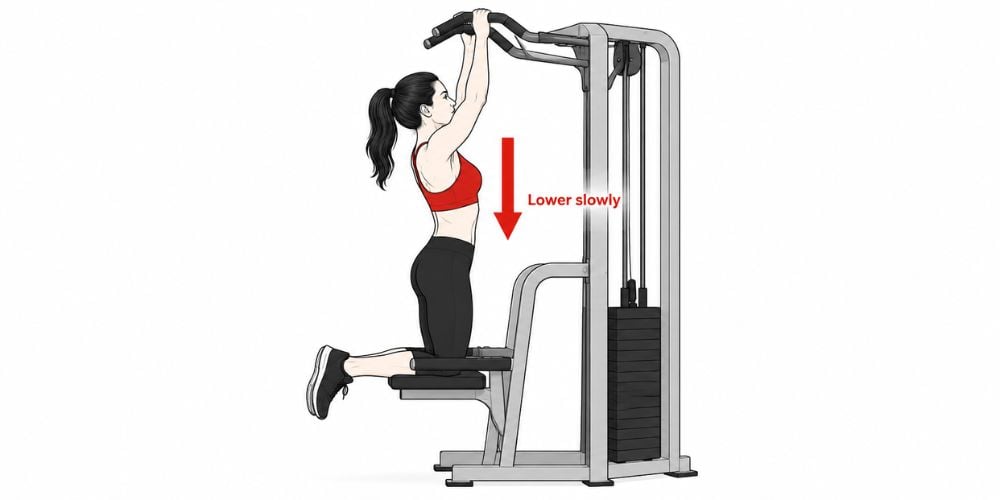
Do not drop straight back down.
Extend your elbows gradually and lower your body under control.
Think:
Pull up → brief pause → lower slowly.
Why does this matter? Rushing lets momentum take over, while controlled movement makes it easier to maintain good form.
The Mayo Clinic weight-training technique guide also recommends moving resistance in a controlled way rather than rushing through repetitions.
If you cannot control the lowering phase, increase the assistance.
6. Set Up for Assisted Dips
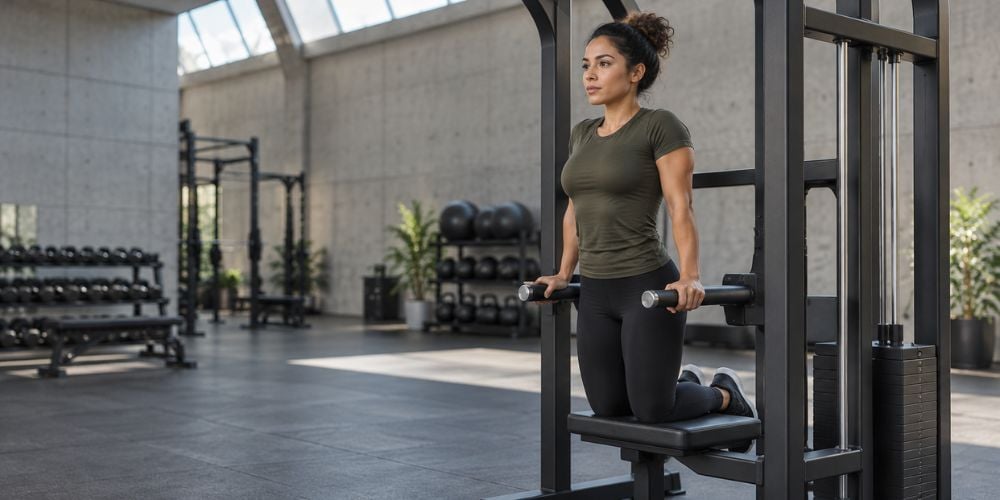
Now move your hands to the dip handles.
Keep:
- Hands firmly around the handles
- Shoulders down
- Chest controlled
- Core lightly braced
Start with your arms nearly straight.
Your torso may stay fairly upright or lean slightly forward depending on the machine. Use the position that feels stable and comfortable.
Pull-Up vs. Dip Setup
Check | Assisted Pull-Up | Assisted Dip |
Hands | Pull-up handles | Dip handles |
Starting arms | Extended | Nearly straight |
Main cue | Drive elbows down | Press through handles |
Body | Stable, no swinging | Stable, no bouncing |
Return | Lower slowly | Lower slowly |
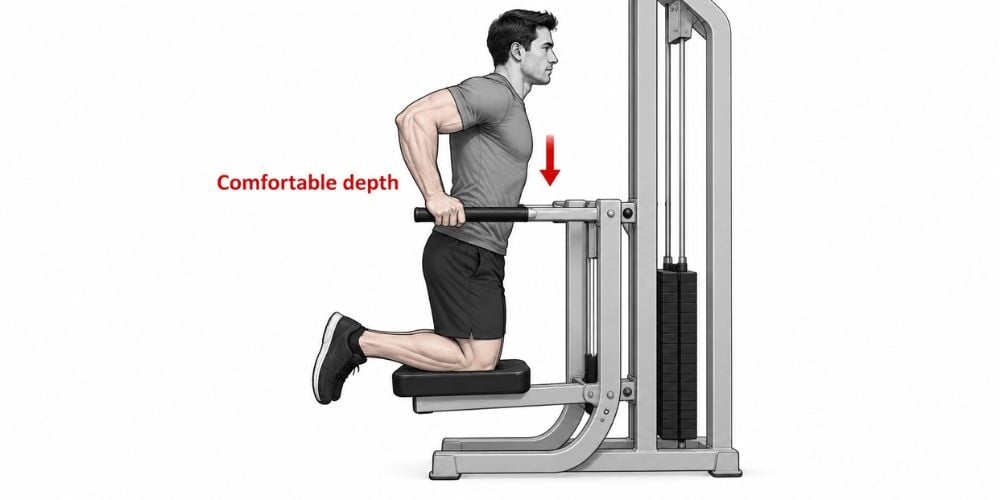
7. Lower Into the Dip
Bend your elbows and lower your body slowly.
Let your elbows move naturally behind or slightly outward from your body. Do not force them into an uncomfortable position.
How deep should you go?
Only as deep as you can comfortably control.
I often see people think deeper automatically means better. If you lose shoulder control, a shorter clean rep is the smarter option.
If the movement causes pain rather than normal muscular effort, stop and check your technique before continuing.
8. Push Back Up
Press firmly through the handles.
Straighten your elbows as your body rises. Keep your shoulders away from your ears instead of shrugging upward.
Finish with your arms nearly straight.
Then repeat.
Do not bounce at the bottom or use the assistance pad like a spring. The machine provides support, but you should still control the rep.
9. Adjust the Assistance as You Improve
Once the same setting starts to feel easier, reduce the assistance gradually.
Small changes work well. You can keep the same number of reps while using slightly less help.
Stage | Assistance | Goal |
Beginner | Higher | Learn the movement |
Improving | Moderate | Build strength and control |
Stronger | Lower | Move more of your body weight |
Advanced | Very low | Prepare for bodyweight reps |
The current ACSM resistance-training guidance emphasizes keeping resistance training practical, matching it to your ability and goals, and progressing rather than chasing unnecessarily complicated methods.
So let your technique decide when to progress.
Ask yourself:
- Can I finish every rep without swinging?
- Can I control the lowering phase?
- Can I keep the same range of motion?
If the answer is yes, reduce the assistance a little.
Over time, you may reach the point where you can perform your first unassisted pull-up or dip.
Final Tips
Using an assisted pull-up and dip machine gets much easier once you understand the counterweight. Start with enough assistance to keep your reps clean, stay stable, and control both the upward and downward phases.
Good technique gives you a much stronger base, and you can reduce the assistance gradually as your strength improves.
Want to compare different strength machines and see how their movement systems are designed? Explore YR Fitness commercial gym equipment and find the setup that fits the way you want to train.
Related articles:



